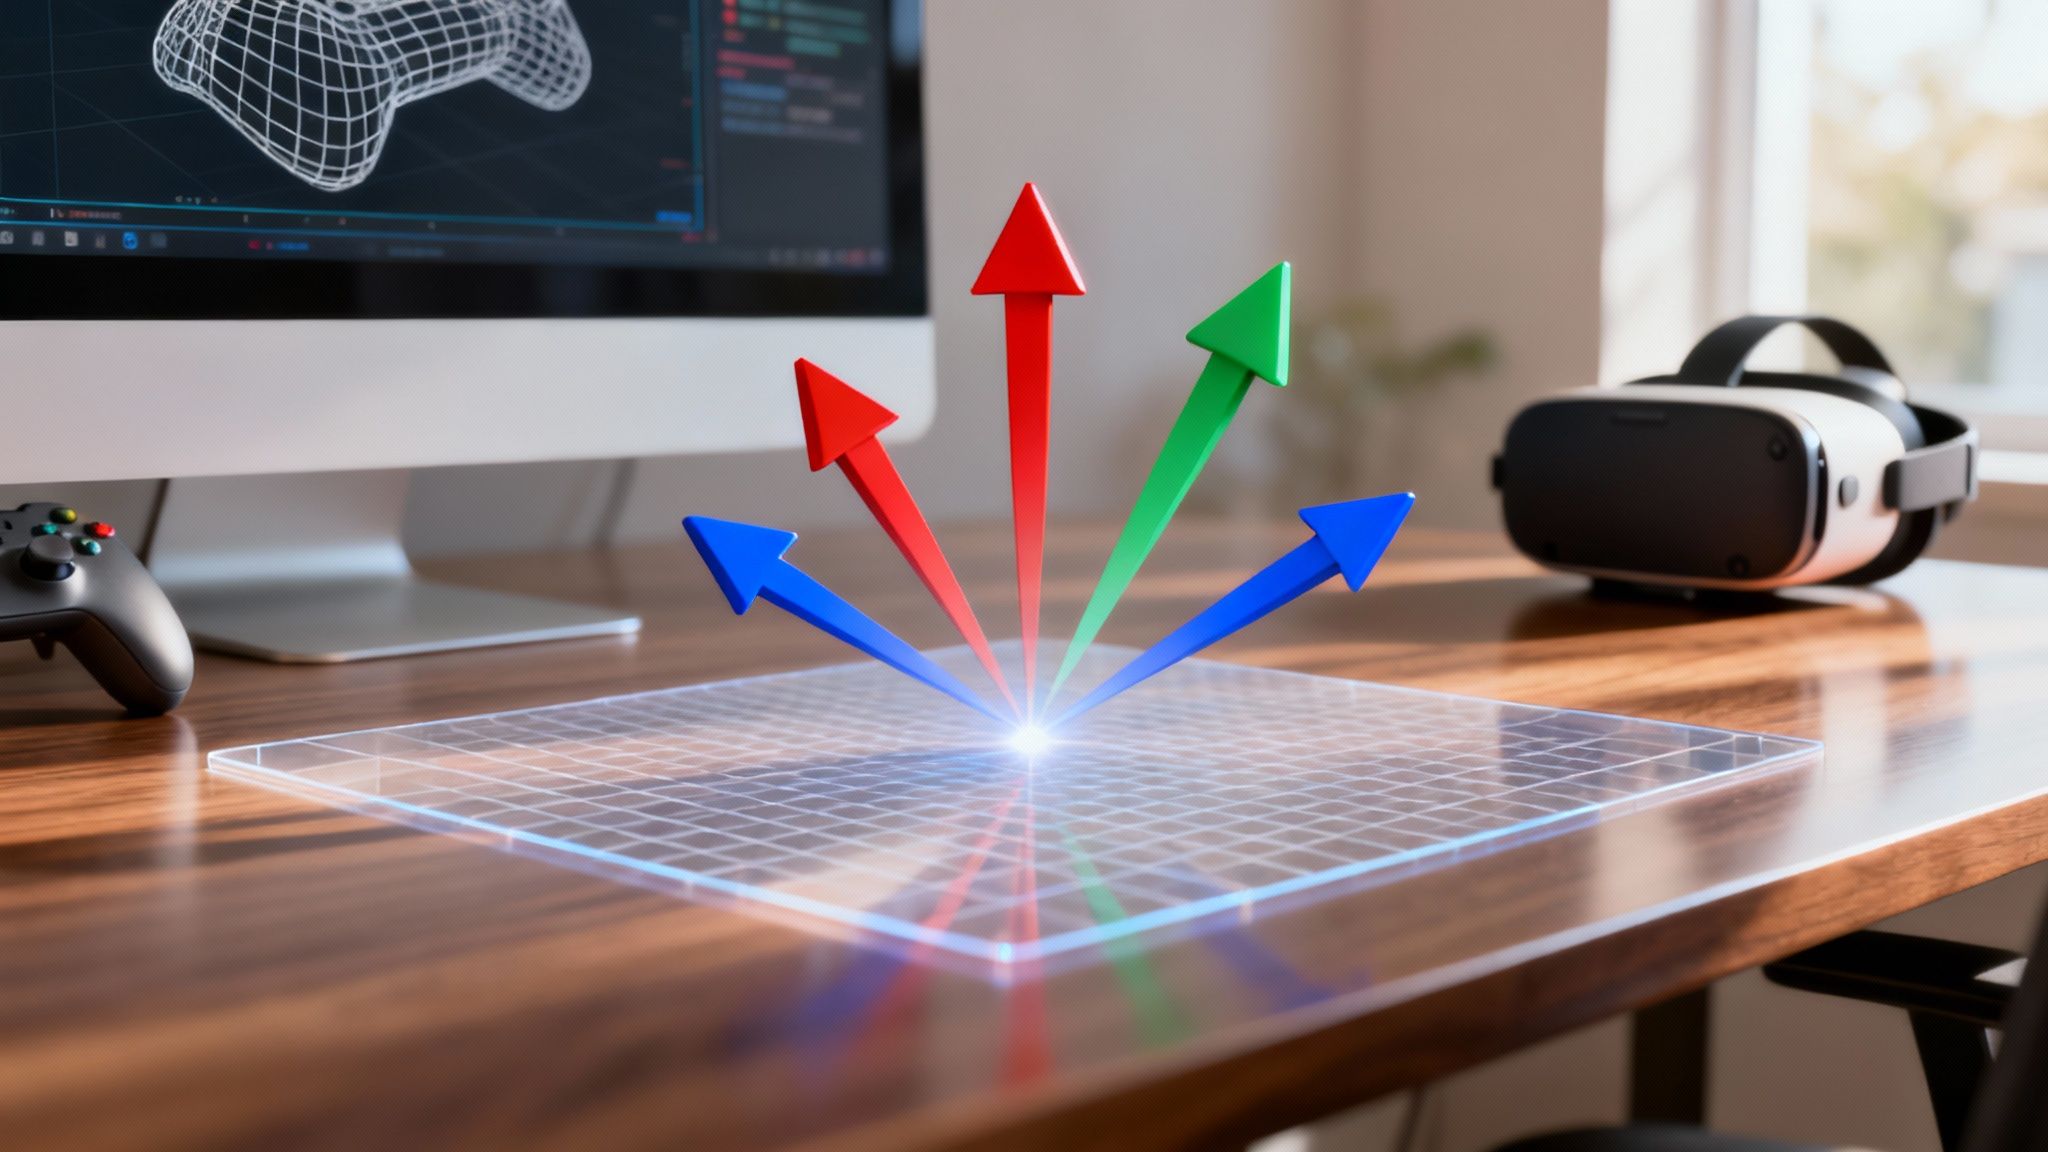
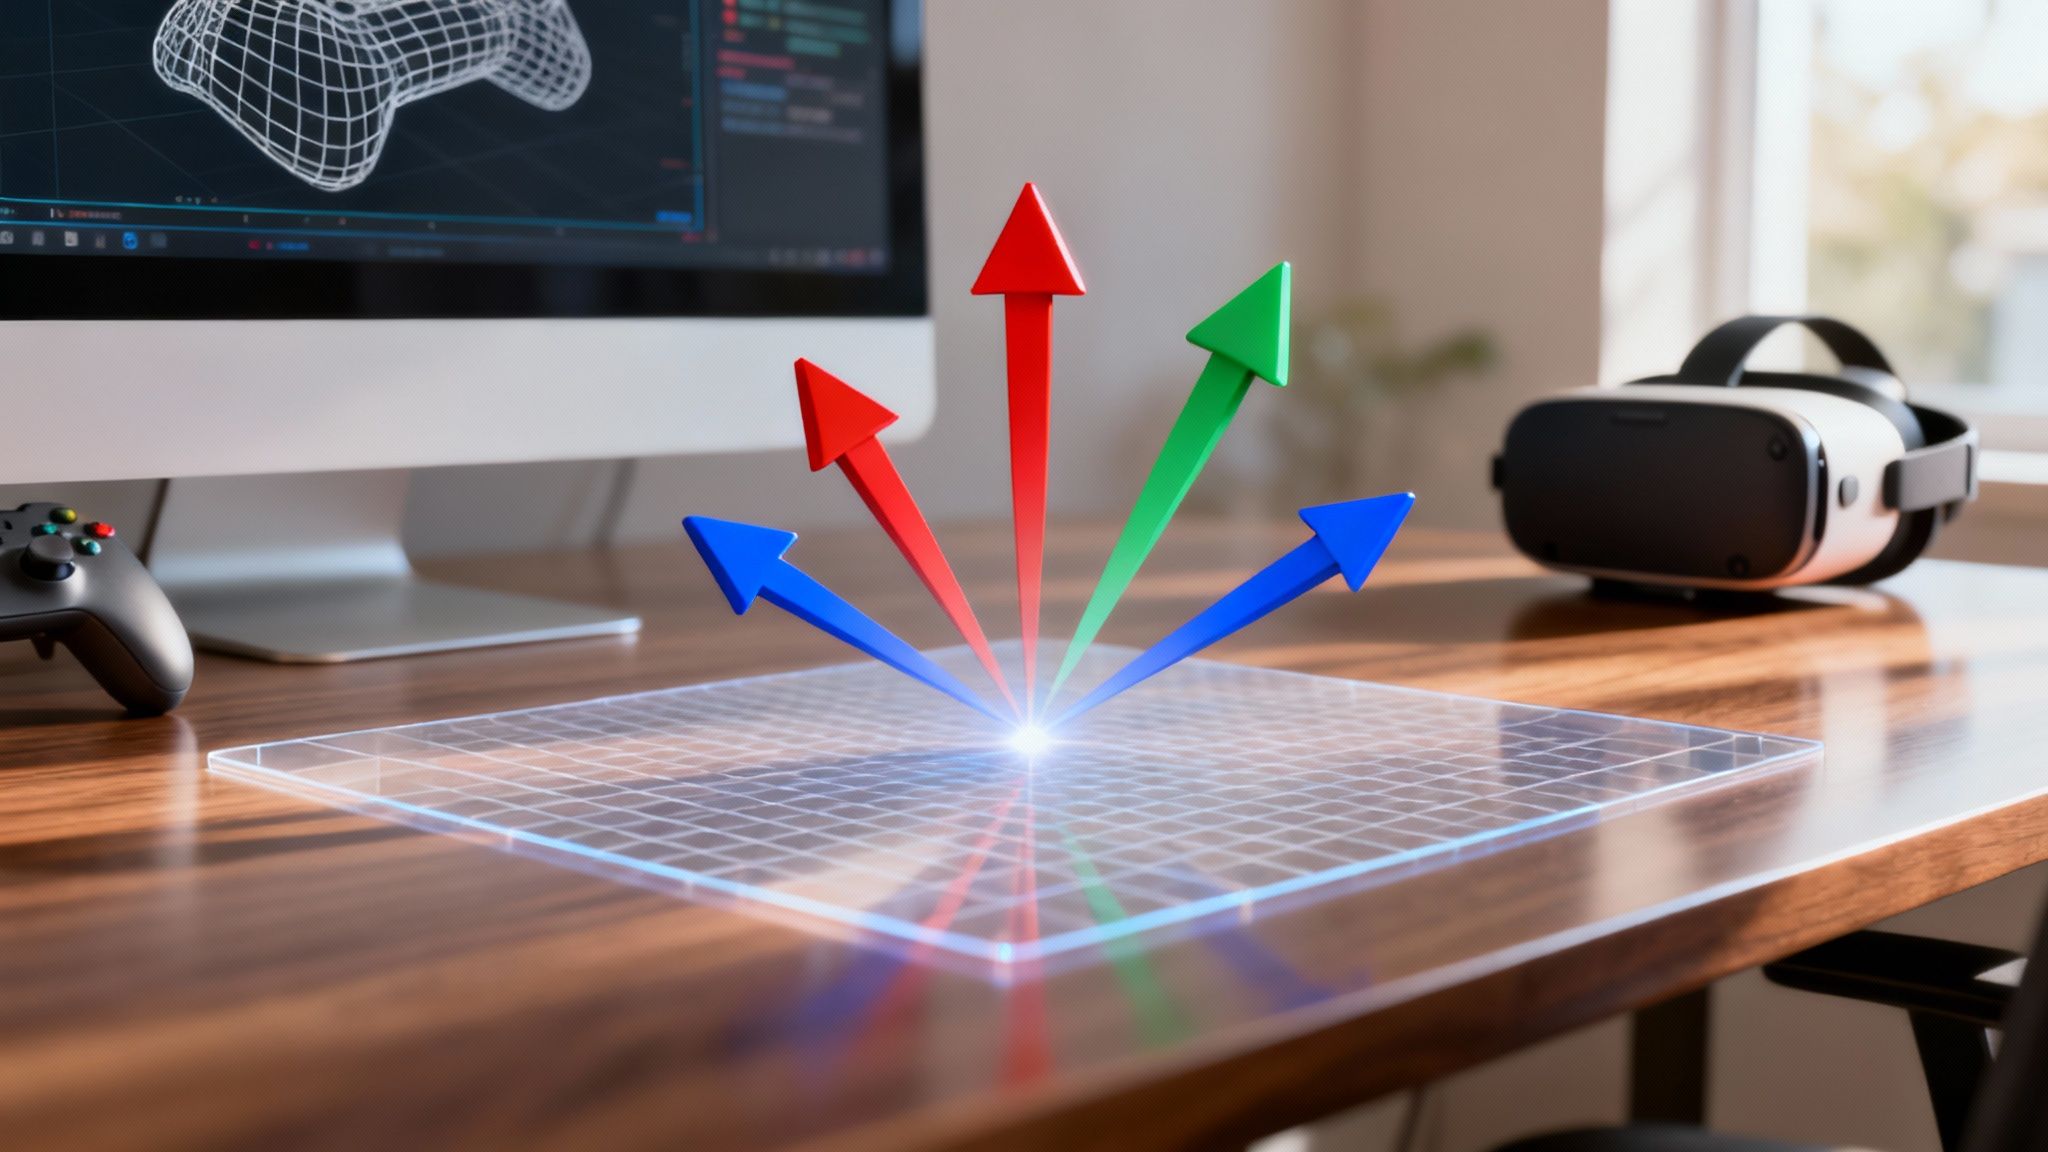
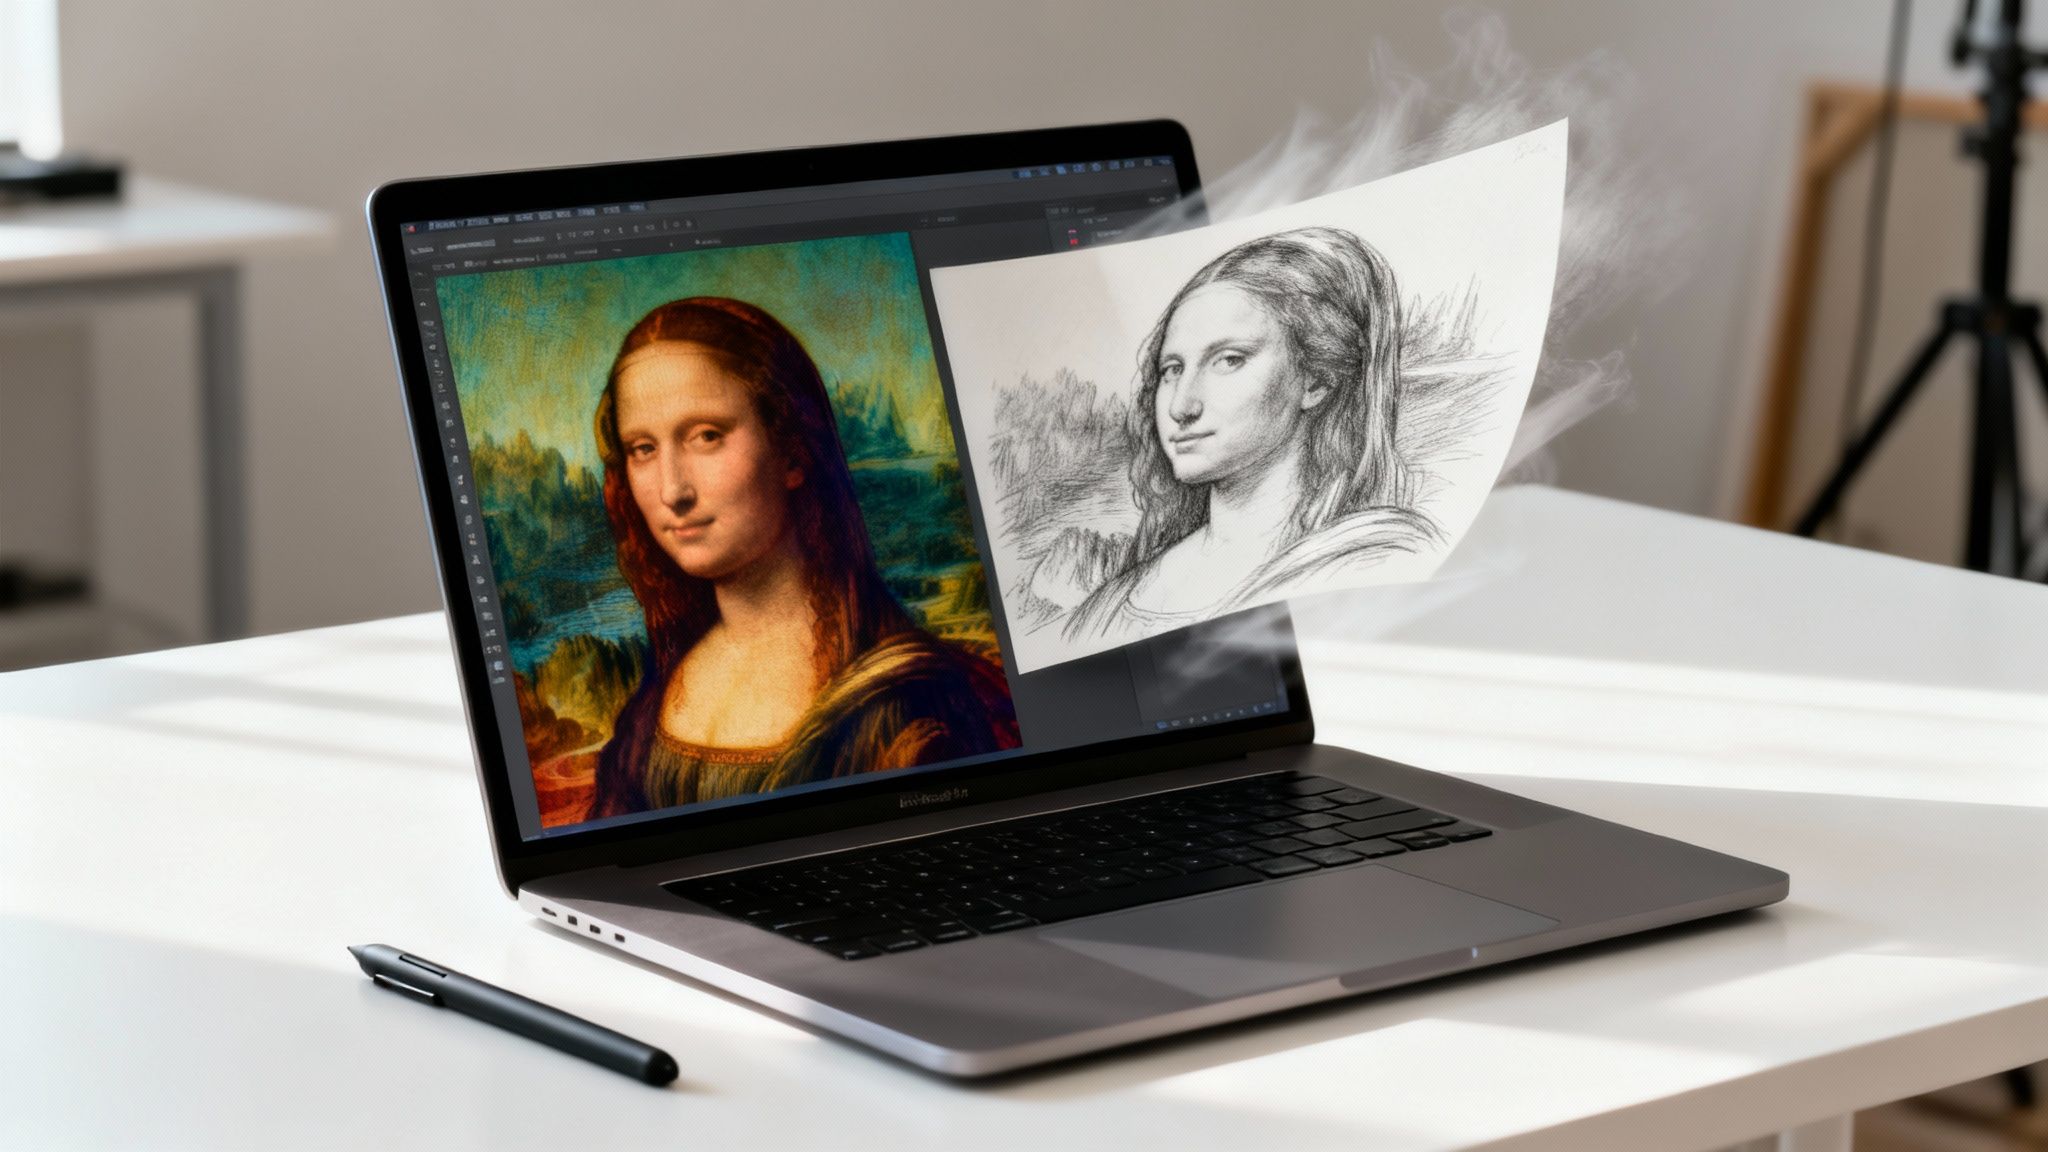
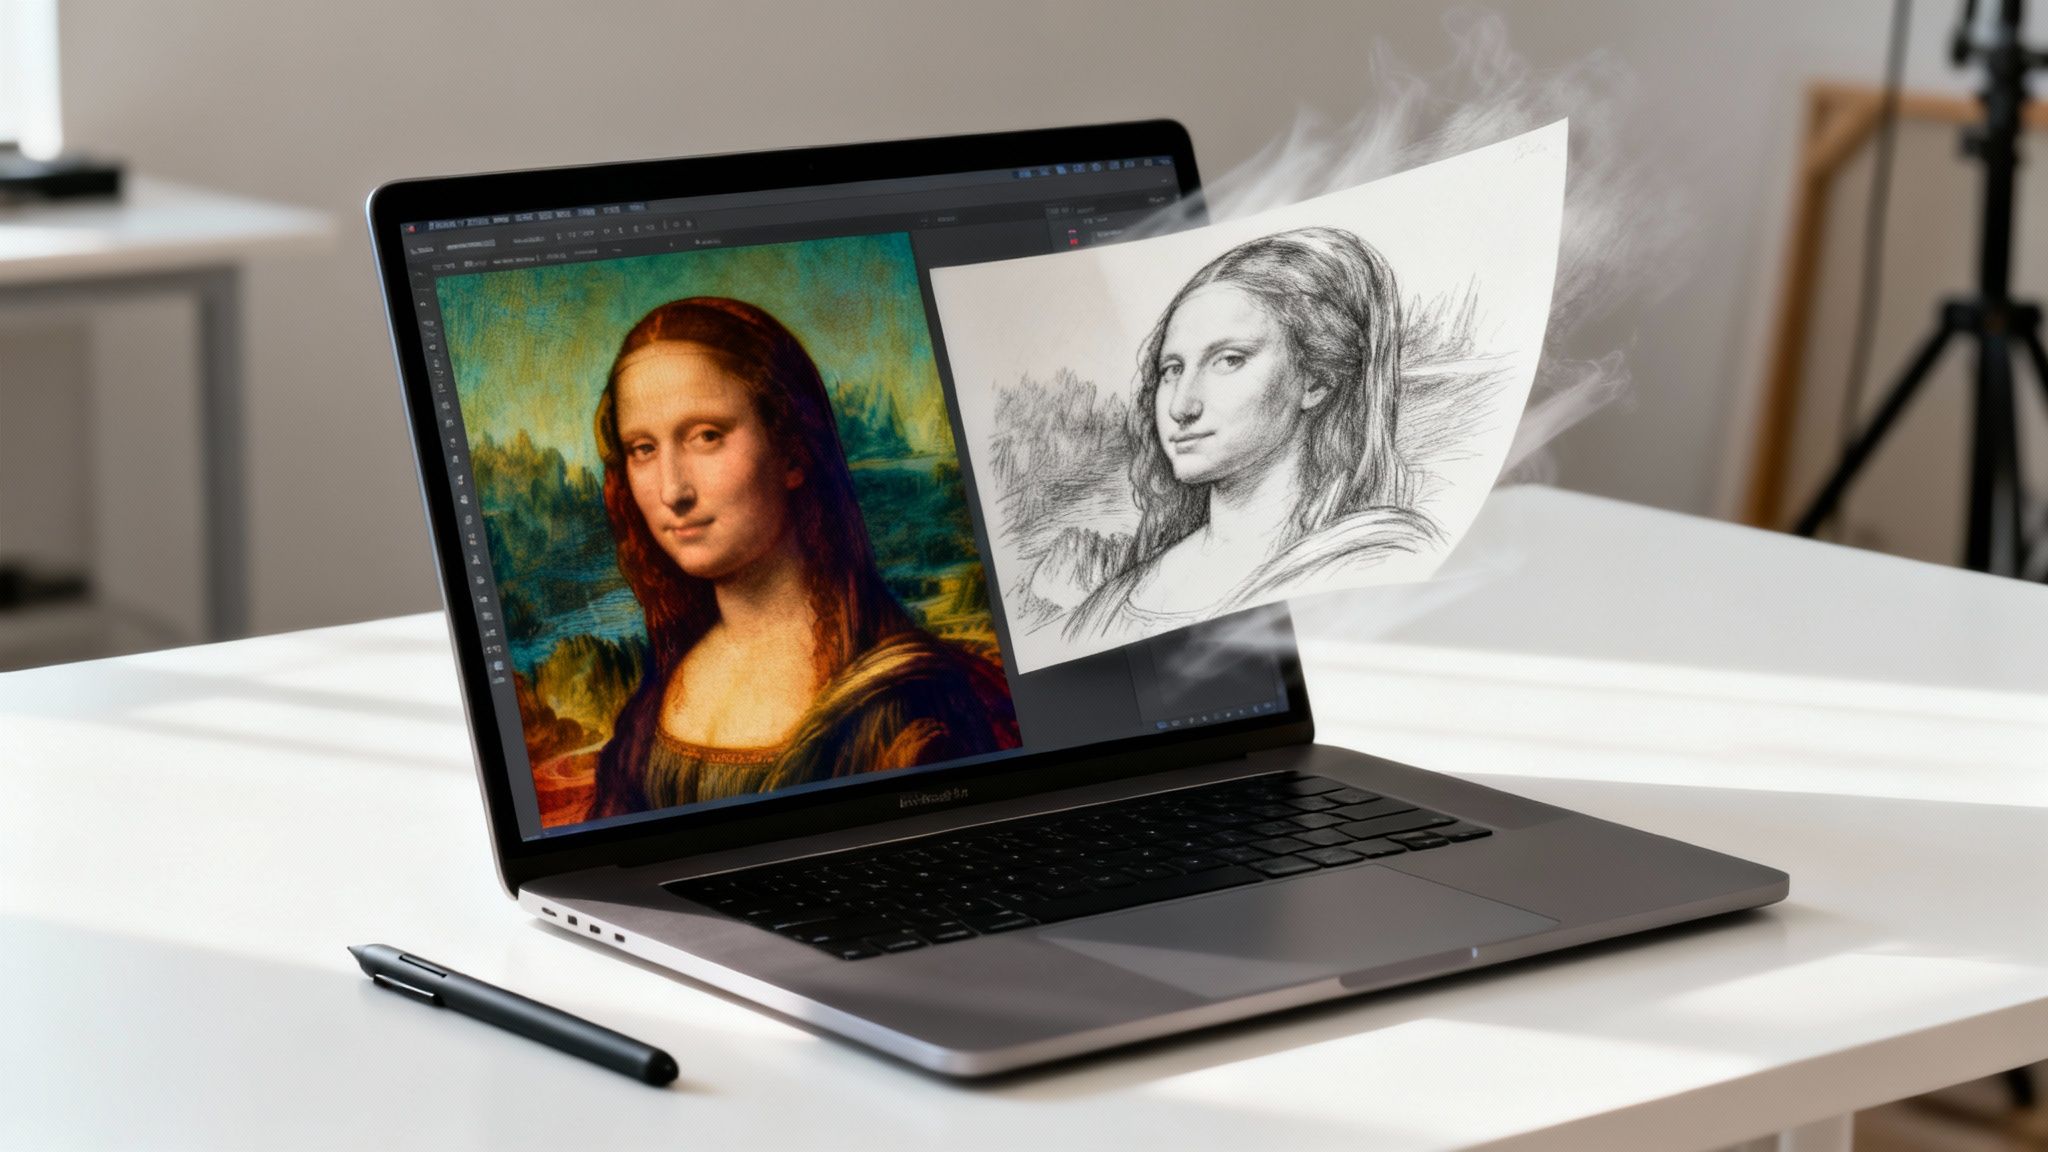
You can convert an image to 3D using AI tools that analyze a picture to interpret its depth, shape, and texture, building a model automatically. This process is a significant advancement for professionals in game development, product design, and virtual simulations who need to turn flat concepts into tangible assets.
From 2D Photo to 3D Model: How It Actually Works
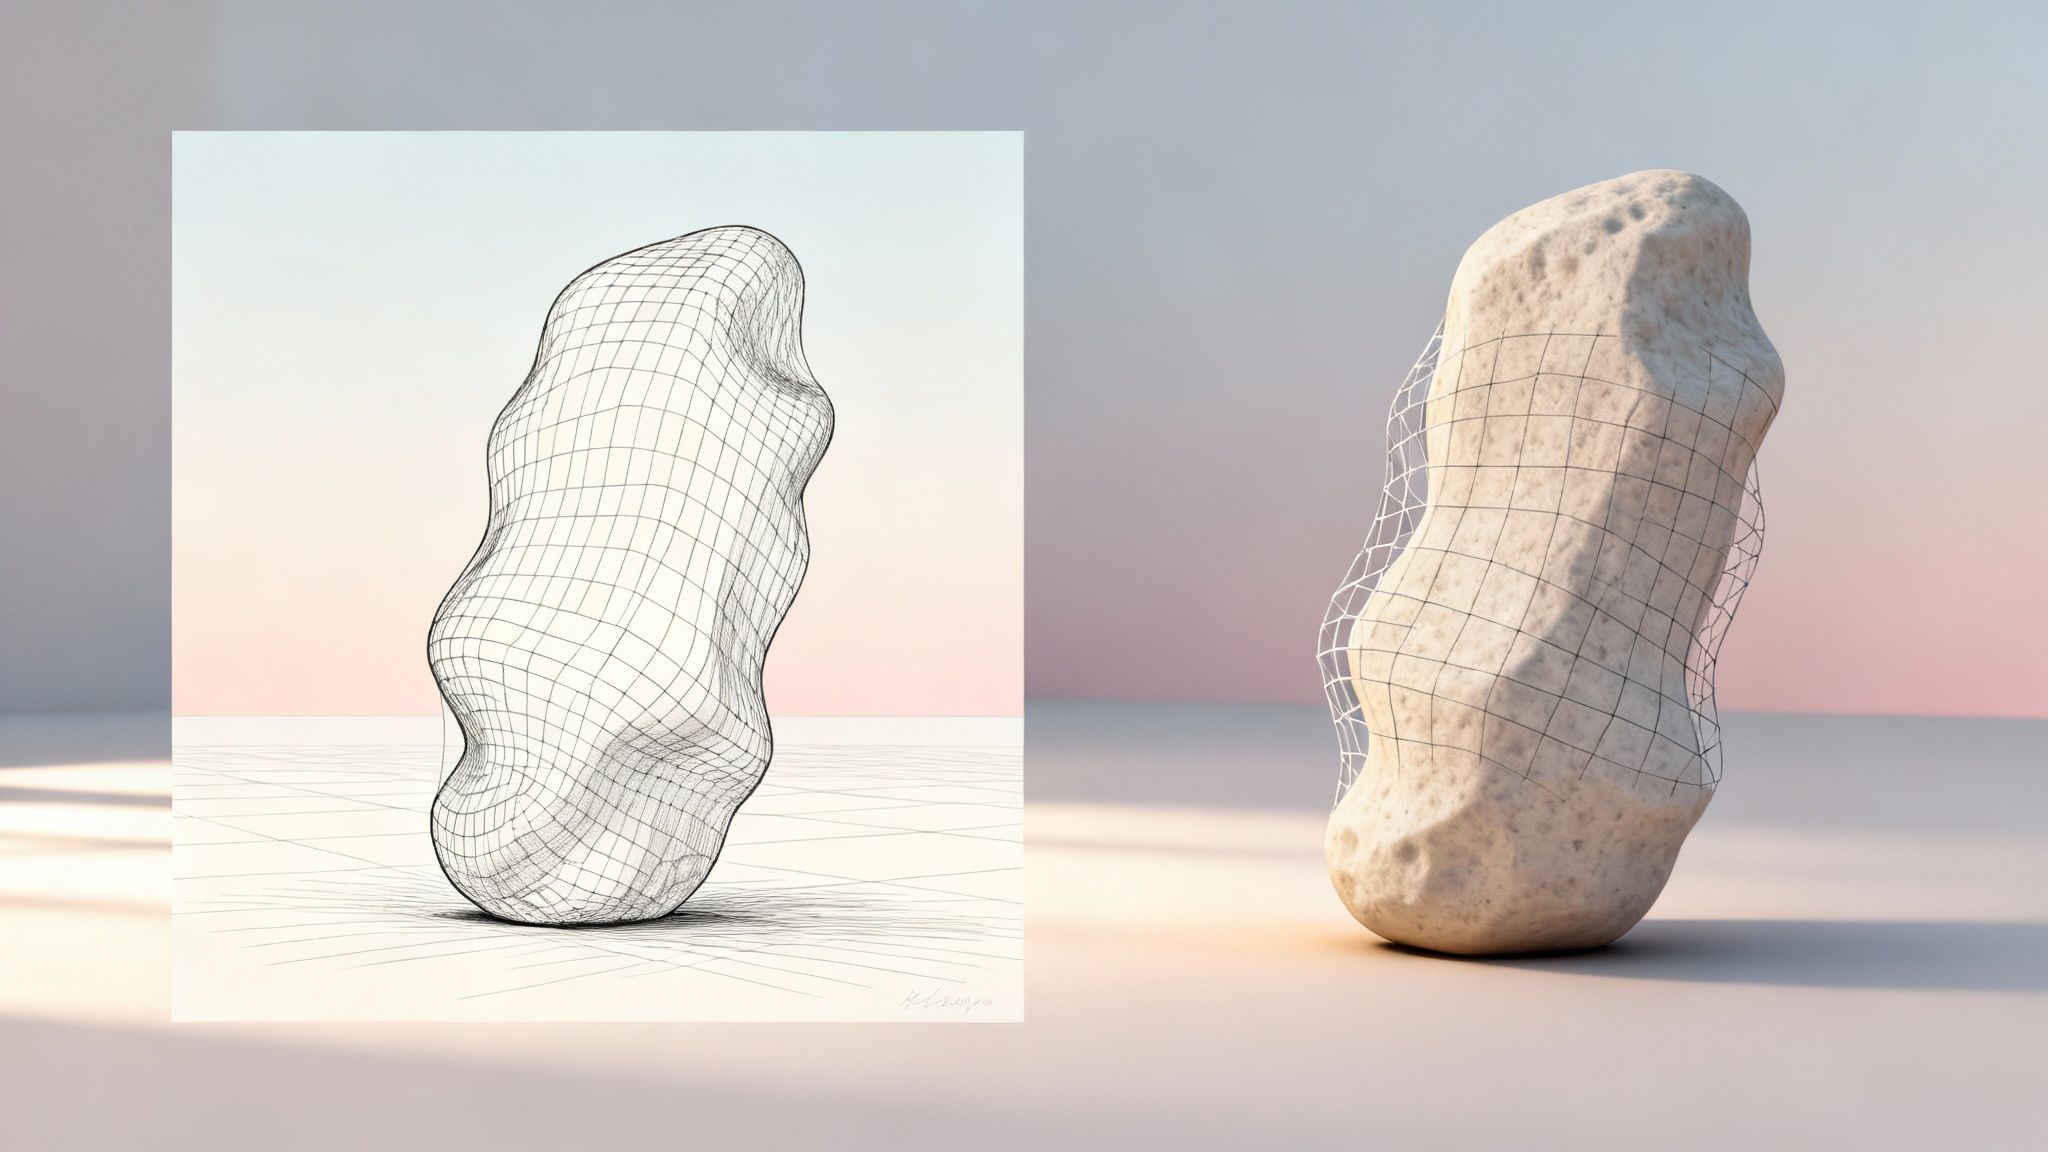
The idea of generating a 3D model from a single photograph once seemed like a futuristic concept. Now, it’s a practical part of the modern creative workflow. Today's AI algorithms are sophisticated enough to analyze visual cues—such as shadows, perspective, and an object's contours—to construct a corresponding 3D mesh.
This shift is a considerable advantage for creative teams. It means you can go from an idea to a tangible asset in minutes, not days. Instead of meticulously modeling a product from scratch, a designer can generate a solid starting point almost instantly and focus their energy on refinement.
A Brief History of 3D Imaging
The desire to create 3D visuals is not new. The concept can be traced back to 1891 with the anaglyph technique, which used two slightly offset images in different colors to create an illusion of depth. Viewers wore red-and-blue glasses to experience the stereoscopic effect.
This technology saw a surge in popularity during the 1950s Hollywood 3D movie boom, with an estimated 30 million pairs of glasses distributed. While it was an effective visual effect, it was a long way from creating actual, usable assets.
Modern Tools for Professional Workflows
Today, the technology has evolved from a visual novelty to an essential production tool across multiple industries.
- Game Development: Generate environmental props or character concepts directly from concept art.
- Product Prototyping: Transform a simple sketch or a photo of a competitor's product into a 3D model for visualization.
- Virtual and Augmented Reality: Efficiently populate entire immersive worlds with realistic objects generated from images.
For professional teams, the challenge isn't just generating a model—it's finding a secure, reliable platform. You need high-quality, compliant results that integrate directly into your collaborative pipeline without friction.
If you’re just starting to explore this, reviewing a guide on online room design tools can provide a practical sense of how these concepts are applied. The objective is to turn simple images into assets you can use professionally.
Preparing Your Image for a Flawless 3D Conversion

The success of your attempt to convert an image to 3D is fundamentally dependent on the quality of your source photo. An AI model is only as effective as the information it is provided, so a blurry, cluttered, or poorly lit image will invariably result in a distorted 3D model.
This is not an optional step—it's a core requirement. A small amount of preparation makes the difference between a production-ready asset and an unusable digital artifact.
Consider this: the AI needs to clearly perceive the object's shape to understand its depth. Busy backgrounds, low resolution, and harsh shadows create visual noise, confusing the algorithm and leading to flawed geometry and textures. For any professional application, starting with a clean, high-resolution photo is essential.
Getting Your Image Ready
Before uploading, a few key adjustments are necessary. The single most important action you can take is to ensure your subject is perfectly clear.
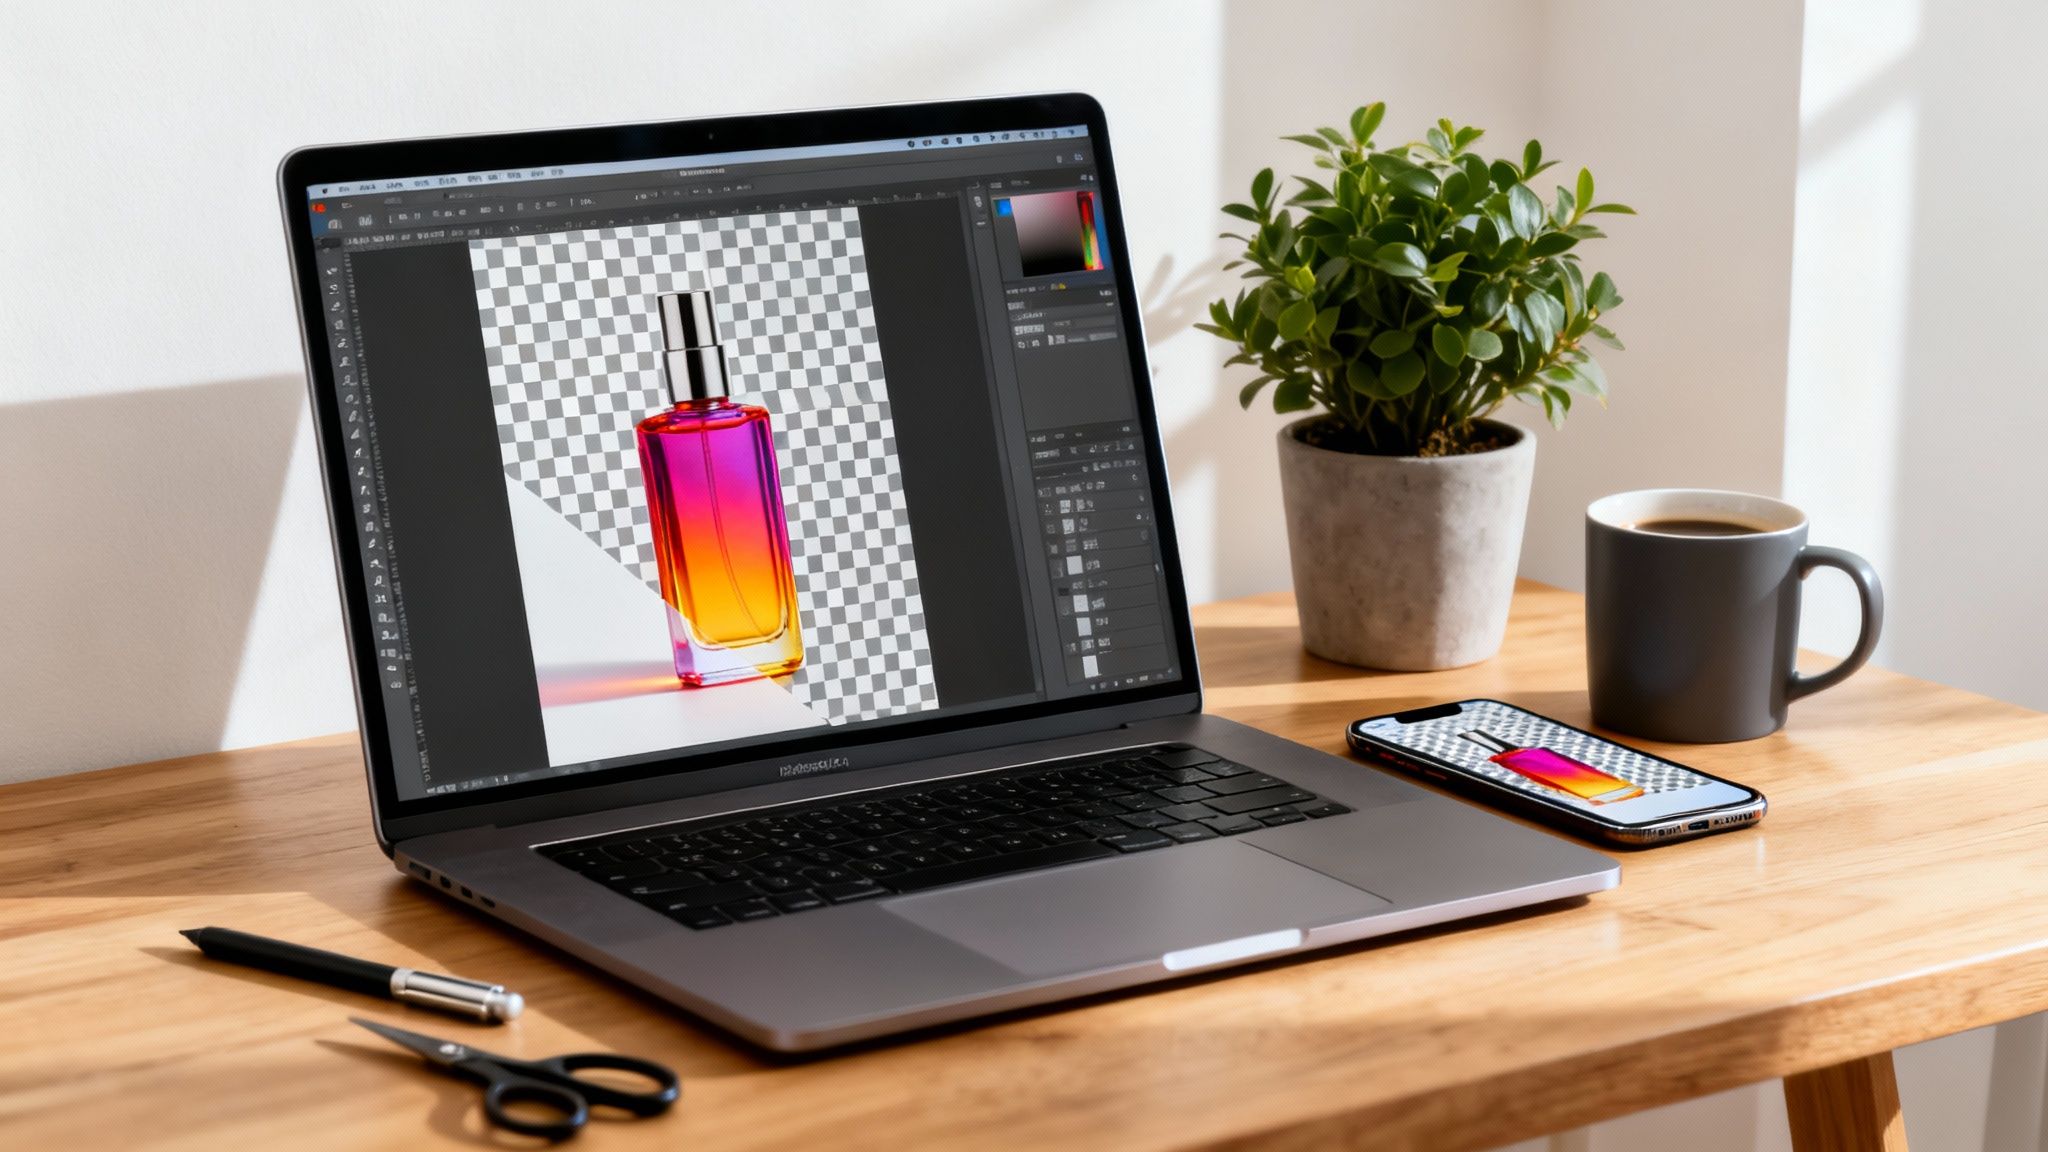
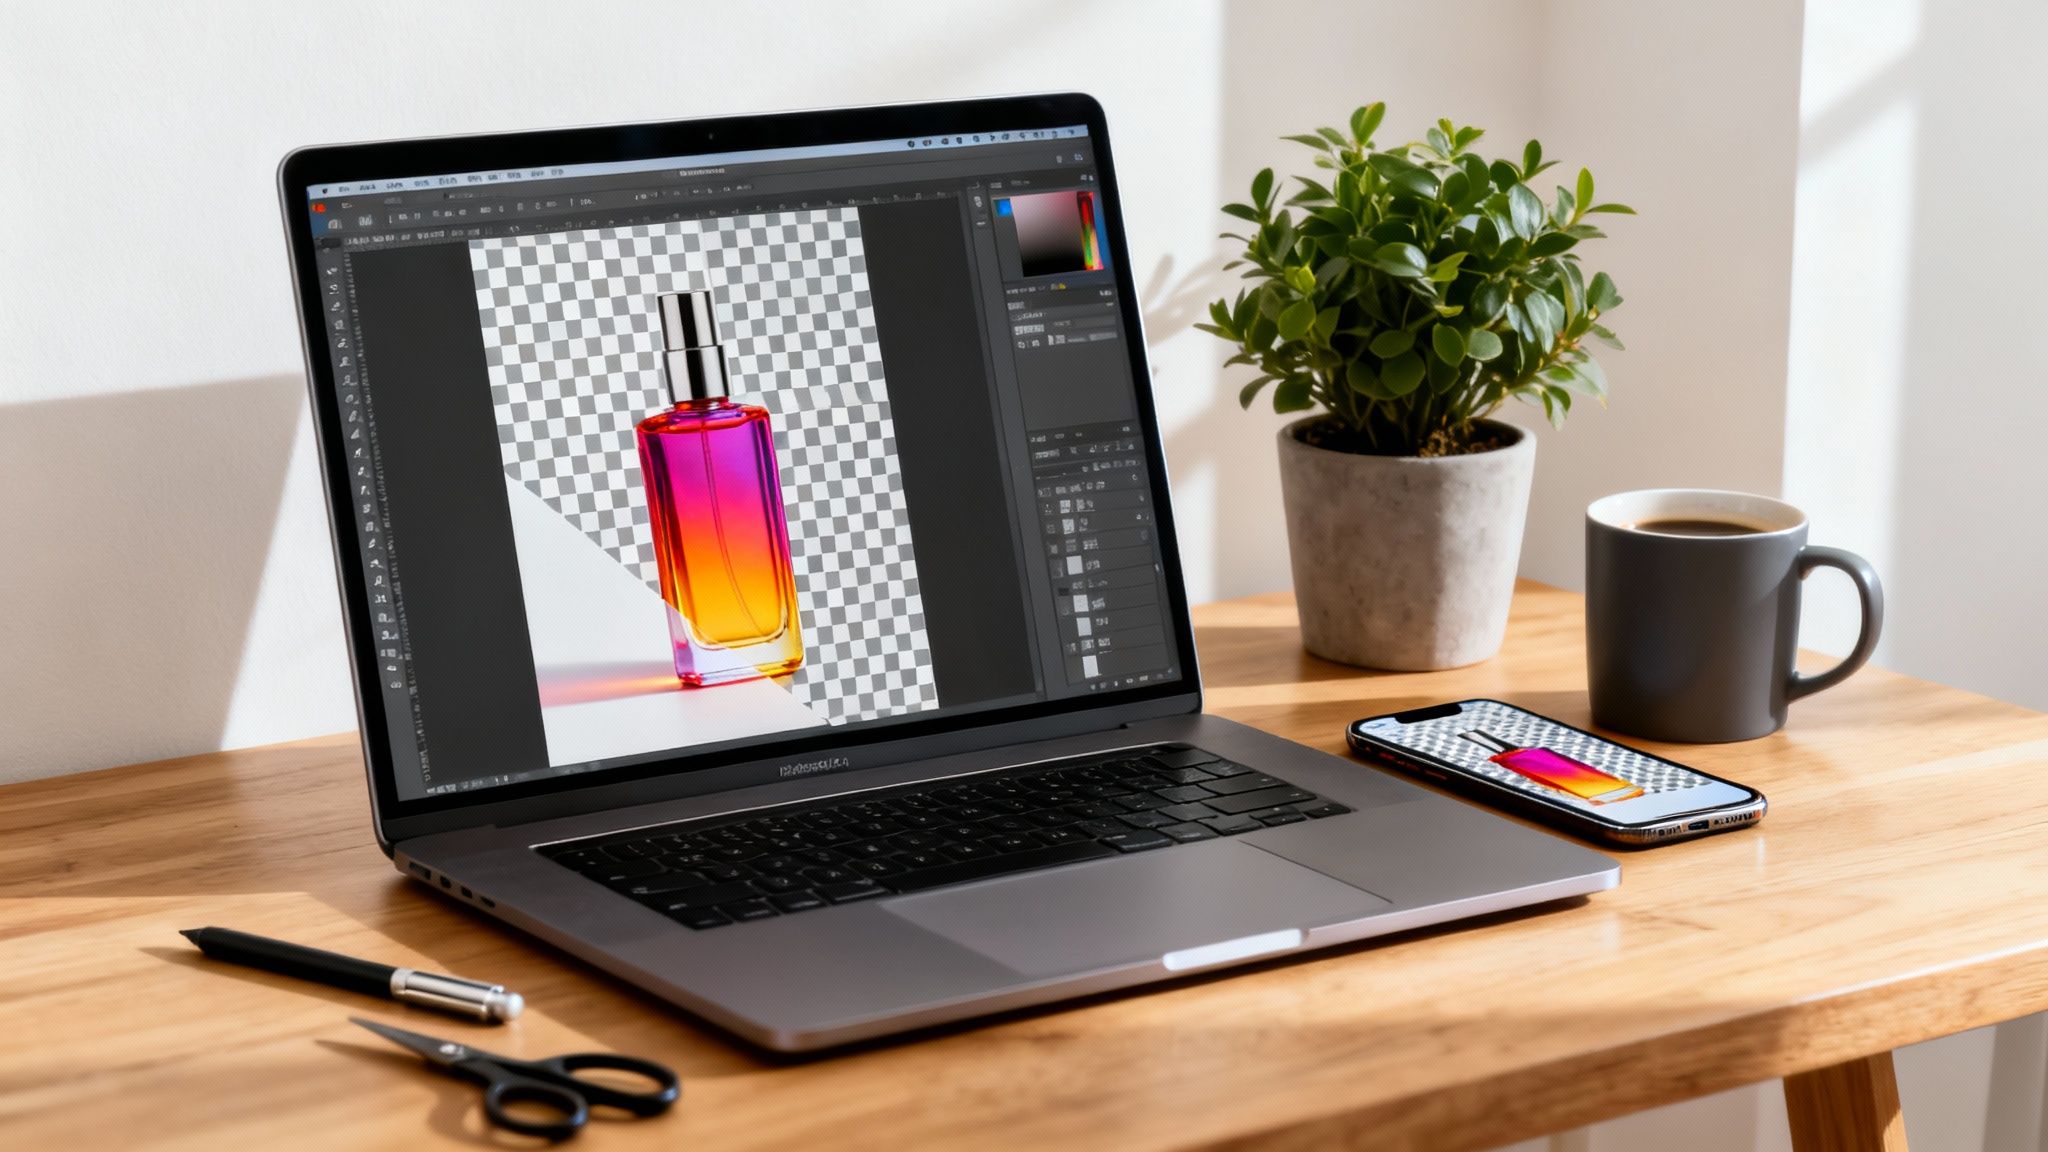
- Isolate Your Subject: The AI needs to know exactly what you want it to model. A photo of a chair in a cluttered room is not a suitable input. Use an editing tool to remove the background, placing your object on a clean, neutral canvas.
- Correct Your Lighting: Deep shadows and overexposed highlights can be misinterpreted by the AI as part of the object's physical shape. The goal is soft, even lighting that defines the form without hiding or exaggerating details.
- Choose the Right Format: A compressed JPG may seem convenient, but it often contains artifacts that can compromise the AI's accuracy. A PNG file with a clean alpha channel is the recommended format, as it preserves detail and handles transparency effectively.
A well-prepared image serves as a precise blueprint for the AI. By removing distracting backgrounds and confusing shadows, you are providing clear instructions to the algorithm: "Model this." The result is a clean, accurate 3D asset suitable for professional use.
This initial cleanup has a significant impact on your final model. For a deeper dive into this topic, our guide on how to train images for drawing offers related tips that will help you prepare your source files correctly every time.
Choosing Your 2D to 3D Conversion Platform
With many new tools available to convert an image to 3D, selecting the right one is a critical decision. For professional teams, the criteria extend beyond just generating an impressive-looking model. You need a platform that is secure, reliable, and integrates into your existing workflow.
Tools like Virtuall are designed for that purpose—generating dependable assets for business use where security and collaboration are paramount. However, the market offers a range of options. Popular alternatives like Luma AI, Kaedim, and Meshy each serve different needs, from a hobbyist exploring 3D to an indie developer requiring rapid prototypes.
Ultimately, the "best" tool depends on your specific objectives.
What to Look For in a 2D to 3D Tool
When evaluating your options, consider the entire asset lifecycle beyond the initial generation. How will the asset be used in your projects?
- Output Quality and Reliability: Does the tool consistently produce clean geometry and usable textures? Professional-grade platforms focus on predictable results to minimize time spent on manual cleanup.
- Available Export Formats: This is a crucial consideration. Can you export models in standard formats like .obj, .glb, and .fbx? If the platform is not compatible with Blender, Unity, or Unreal Engine, it may not be suitable for professional pipelines.
- Security and Compliance: If you are working with client assets or proprietary designs, it is essential to ensure your source images and final models are handled securely and in compliance with data protection standards.
This infographic summarizes the core decision points effectively.
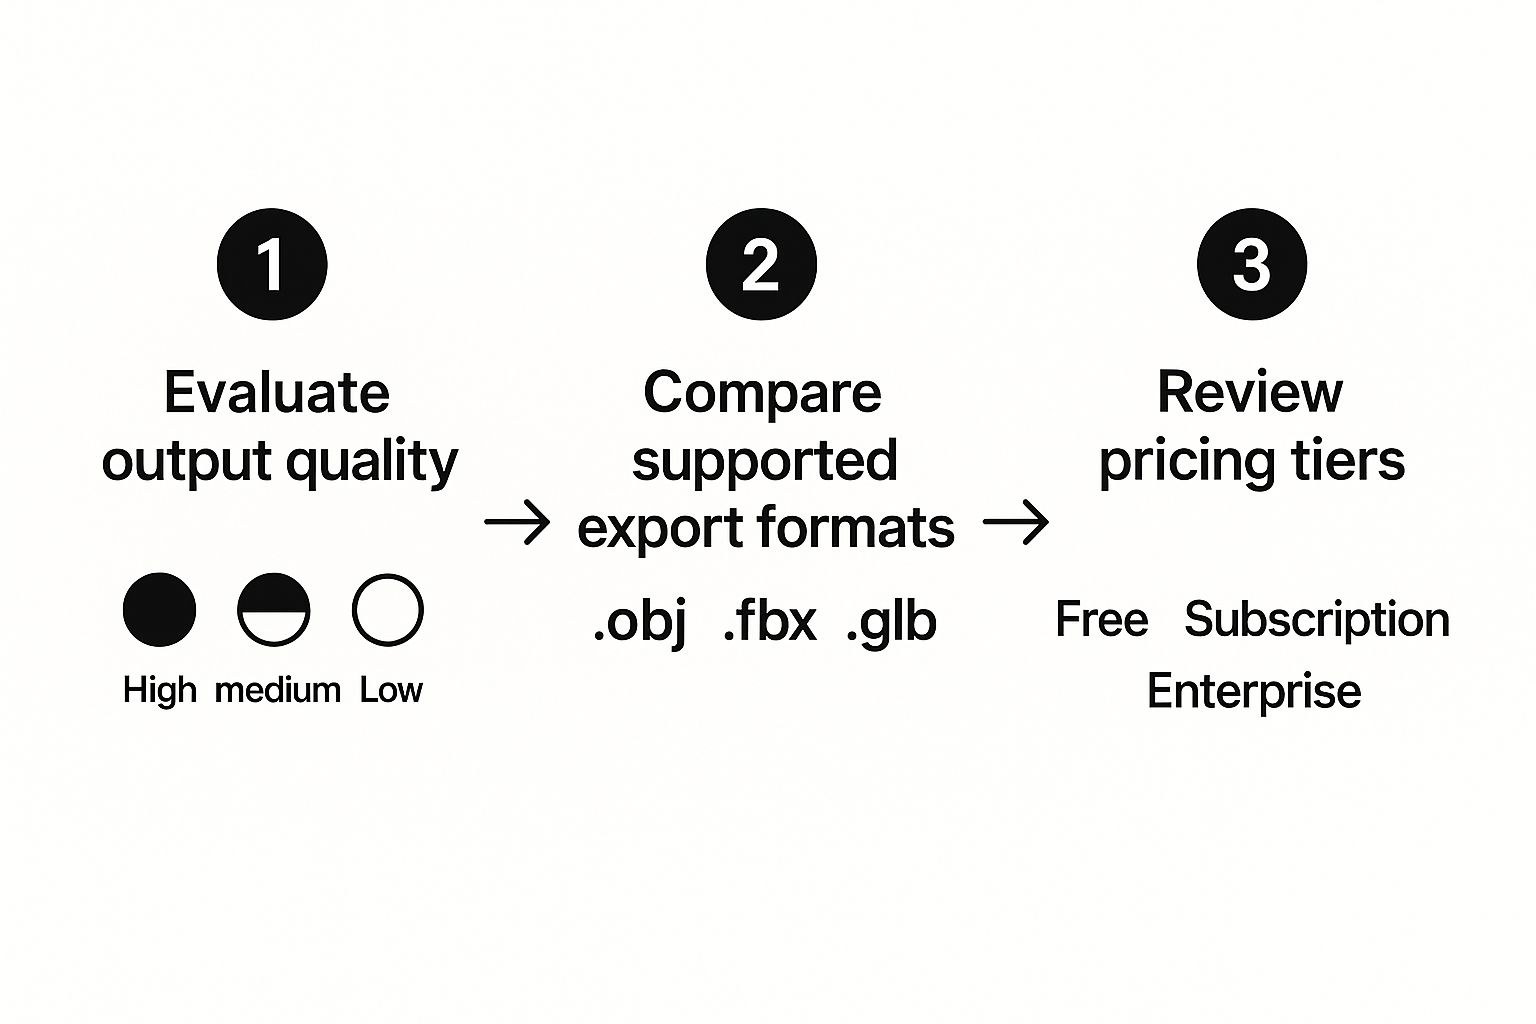
It serves as a good reminder that technical specifications, such as export formats, are as important as the visual output and cost.
A Quick Look at the Main Players
To clarify the choice, here is a high-level comparison of some of the leading platforms. Each has its own strengths, so consider which one aligns best with your project requirements.
AI 3D Conversion Tool Comparison
This table is not exhaustive, as new tools and features are constantly being developed, but it provides a solid starting point for your evaluation.
The key takeaway is that there is no single "best" platform—only the most suitable one for your project. A tool that is perfect for a solo artist may not meet the security and collaboration requirements of a large design agency.
For a more comprehensive analysis of the options, see our complete guide on AI tools for 3D modeling. It details additional platforms and features to help you find the ideal solution.
A Practical Walkthrough of AI Model Generation
Once you have your prepared image, the next step is turning that 2D picture into a 3D asset. This process is often less complicated than it might seem, particularly when using a platform designed for professional use. We will walk through the process using Virtuall, but the core principles apply to most modern generation tools.
The process begins with a simple upload. Inside the Virtuall workspace, a clean interface is ready for your file—either drag-and-drop or browse your computer. This is your entry point to the AI engine.
This upload interface is designed to be straightforward, without complicated menus, providing a clear starting point.
As soon as your image is uploaded, you gain immediate control over the generation settings.
Configuring Your First Generation
After the upload, you will be presented with a few key options. These are essentially controls to guide the AI on your desired output. The most common setting to adjust is model complexity, sometimes referred to as polygon count.
A lower polygon count produces a simpler, more lightweight model—ideal for real-time applications like games or AR experiences. A higher setting increases the level of detail but also the file size, making it better suited for high-quality renders. When you first convert an image to 3d, a medium setting is typically a good starting point.
Your objective is to provide the AI with just enough guidance to achieve the desired result. By defining the complexity and starting with a clean source image, you steer the generation process toward a predictable, high-quality outcome.
The progress in this field is remarkable. In the 1990s, digitizing an object like the 'Stanford Bunny' was a significant manual effort. Today, technologies like Microsoft's Photosynth can reconstruct entire 3D scenes from millions of photos.
With your settings configured, you can initiate the AI conversion. If you are interested in the broader context, it is worth reading about AI's role in accelerating XR, VR, and AR technologies. The model you are creating could easily become an asset in one of these immersive experiences.
Refining Your Model for Production-Ready Use
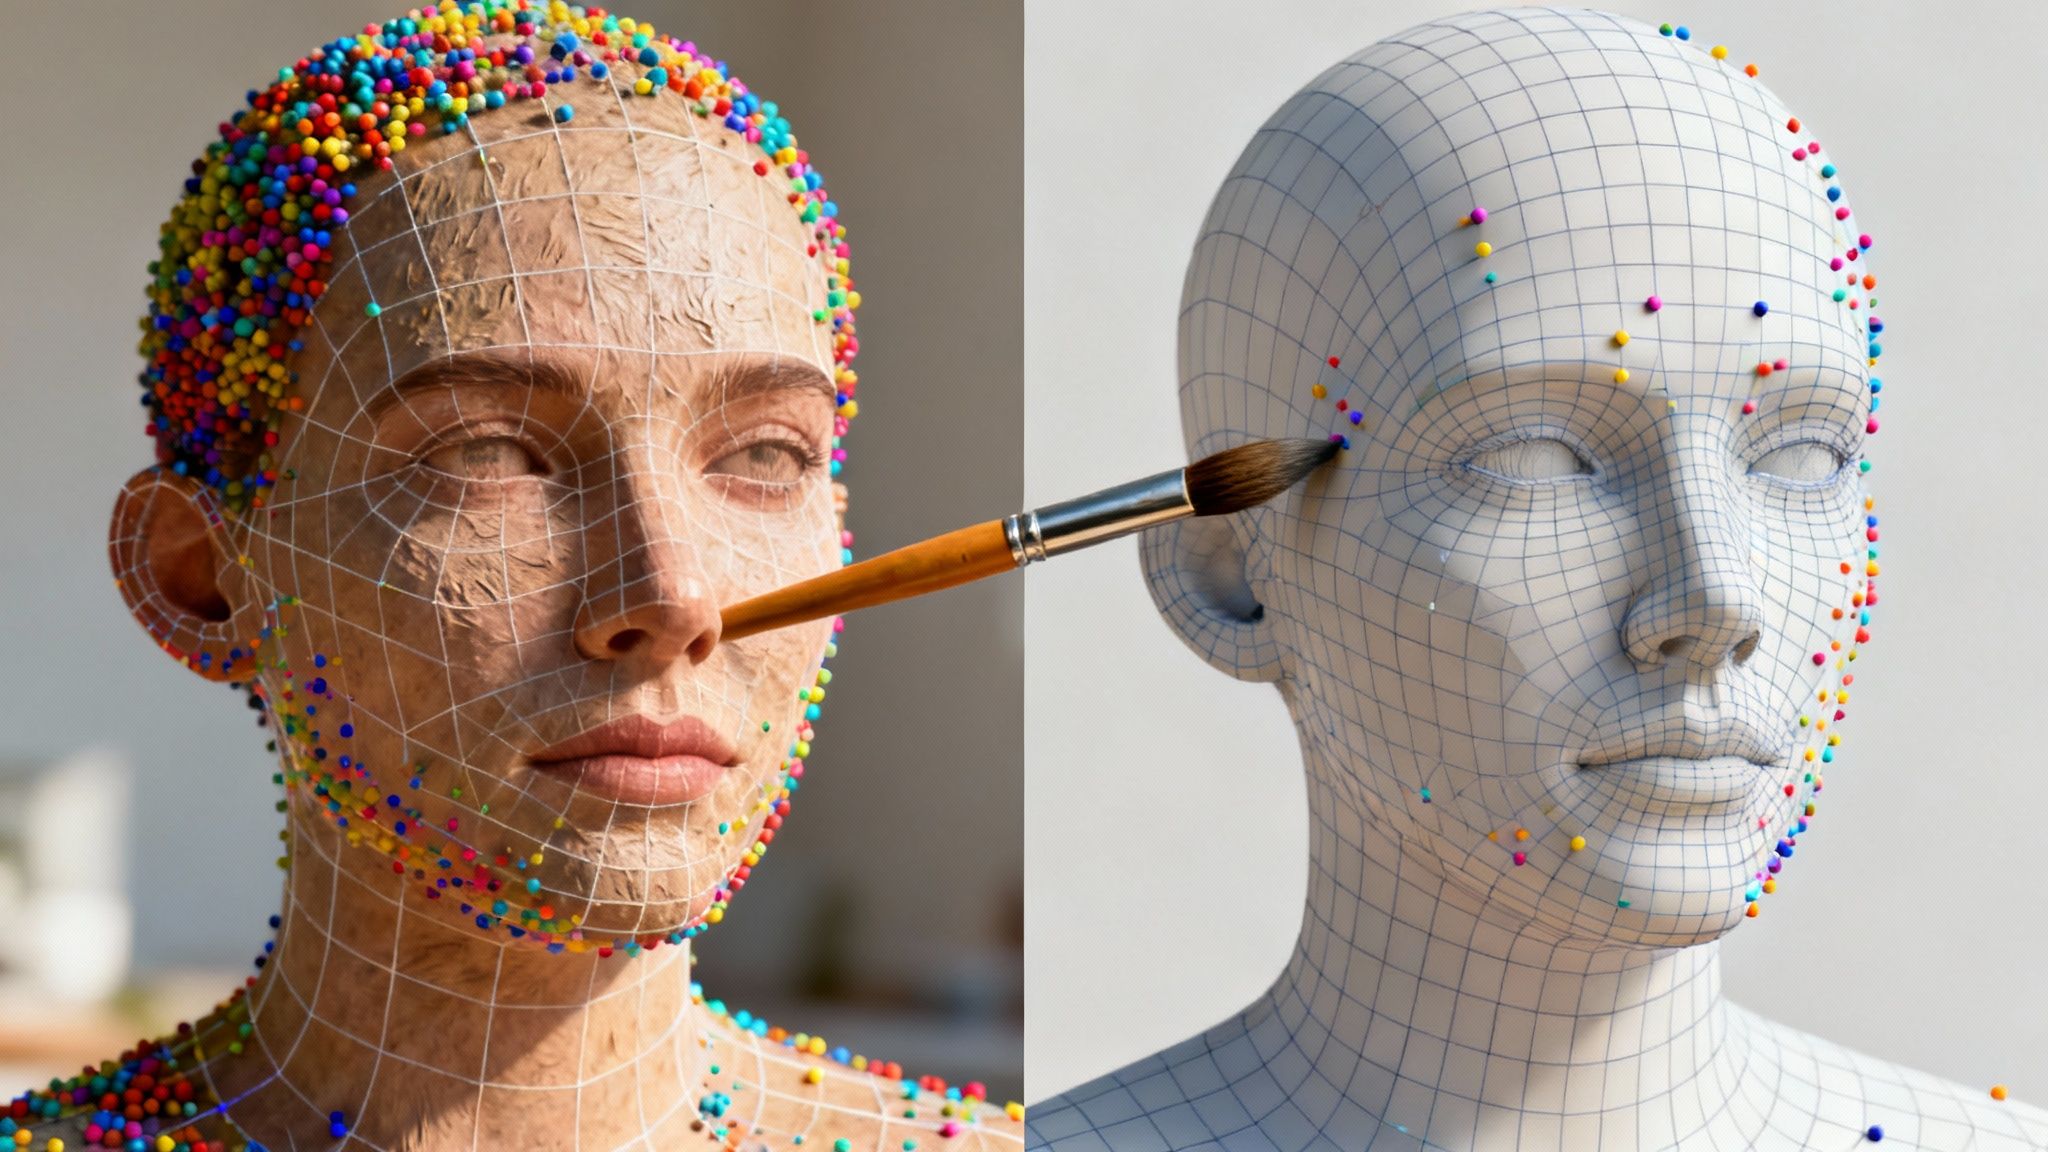
It is important to recognize that an AI-generated 3D model is an excellent starting point, but it is rarely the final deliverable for a professional project. Once you have converted your image to 3D, the raw output typically requires manual refinement to become a truly production-ready asset.
This is the cleanup stage, where common artifacts of AI generation are addressed. You might encounter messy topology (the model's underlying wireframe), geometric anomalies, or textures that lack sufficient detail. If left unaddressed, these issues can cause significant problems in a game engine or animation software.
Fortunately, powerful and often free tools like Blender are specifically designed for this type of post-production work.
Key Refinement Tasks
This part of the process focuses on making your model efficient and visually polished. The goal is to optimize the asset for its intended application, whether that is an AR app or a high-end cinematic render.
- Mesh Cleanup and Retopology: This involves simplifying the model’s polygon count to improve performance without sacrificing important detail. For any asset intended for real-time rendering, a clean, optimized mesh is essential.
- Texture Repainting and Enhancement: It is sometimes necessary to sharpen blurry textures or add finer details by hand. A small amount of texture work can dramatically improve a model's realism. For example, learning how to make a normal map can add impressive surface detail that was not present in the original generation.
Consider this stage as quality assurance. By cleaning up the geometry and textures, you ensure the asset will perform flawlessly and look professional in any environment.
Finally, you need to export your model correctly. Choosing the appropriate format—such as .fbx for game engines or .glb for web applications—ensures it can be seamlessly integrated into your pipeline, ready for use.
A Few Common Questions We Hear
As you begin to explore image-to-3D conversion, a few questions commonly arise. Addressing these early can prevent complications and lead to much better results.
The most frequent question concerns the source image. As we have noted, the AI requires clear, unambiguous information to function effectively. If a key part of your object is obscured by shadow or is blurry, the AI is forced to make assumptions, which often leads to inaccurate results.
Can I Use Any Image?
Technically, you can upload most standard JPEG or PNG files. However, whether you receive a usable 3D model is another matter. The quality of the output is directly correlated with the quality of the input.
An image of a single, well-lit object—such as a vase or a shoe—will yield significantly better results than a busy photograph of a crowded room.
For the best results, use images where:
- The subject is centrally located.
- The entire object is visible and not cropped.
- There are no overlapping objects or obstructions.
Another common question is about processing time. The duration of the generation process can vary significantly depending on the platform and the complexity of the final model. A simple prop might be ready in 60 seconds, while a more detailed asset could take several minutes.
The most important principle to remember is that image-to-3D AI is a starting point, not a final solution. It is designed to provide an excellent first draft, not a perfect, production-ready asset. Plan for a post-generation refinement phase.
Ultimately, the most effective way to learn is through experimentation. Test a few different types of images to see the outcomes. You will quickly develop an understanding of what works, what does not, and which photos are most likely to become high-quality 3D models.
Ready to bring your creative concepts to life? With Virtuall, your team can generate, manage, and collaborate on 3D models, images, and video in a single, secure workspace. Move from idea to finished asset faster than ever before at https://virtuall.pro.

