The concept of transforming a flat picture into a fully-realized 3D model was once a futuristic idea. Today, it's a practical reality. With modern AI tools, you can now generate a 2D to 3D conversion from a single image, fundamentally changing how creative work is accomplished.
From Flat Image to Dynamic 3D Model
This leap from a simple 2D image to a complex 3D asset is reshaping entire industries. AI algorithms have been developed to analyze a photograph or sketch and interpret its depth, texture, and geometry. From this data, they generate a dimensional object ready for professional use.
This is a significant development for product designers, architects, and marketers. It reduces the need for years of specialized 3D modeling experience to bring a concept to life. We’re seeing this firsthand in places like Denmark, where the shift from 2D to 3D CAD systems has already delivered substantial efficiency gains in manufacturing.
This is not a niche trend. The global 3D modeling market reached $3.1 billion USD in 2023 and is projected to continue its growth. For those interested in the data, Stratview Research offers detailed insights on its expansion.
The Core Concept of 3D Conversion
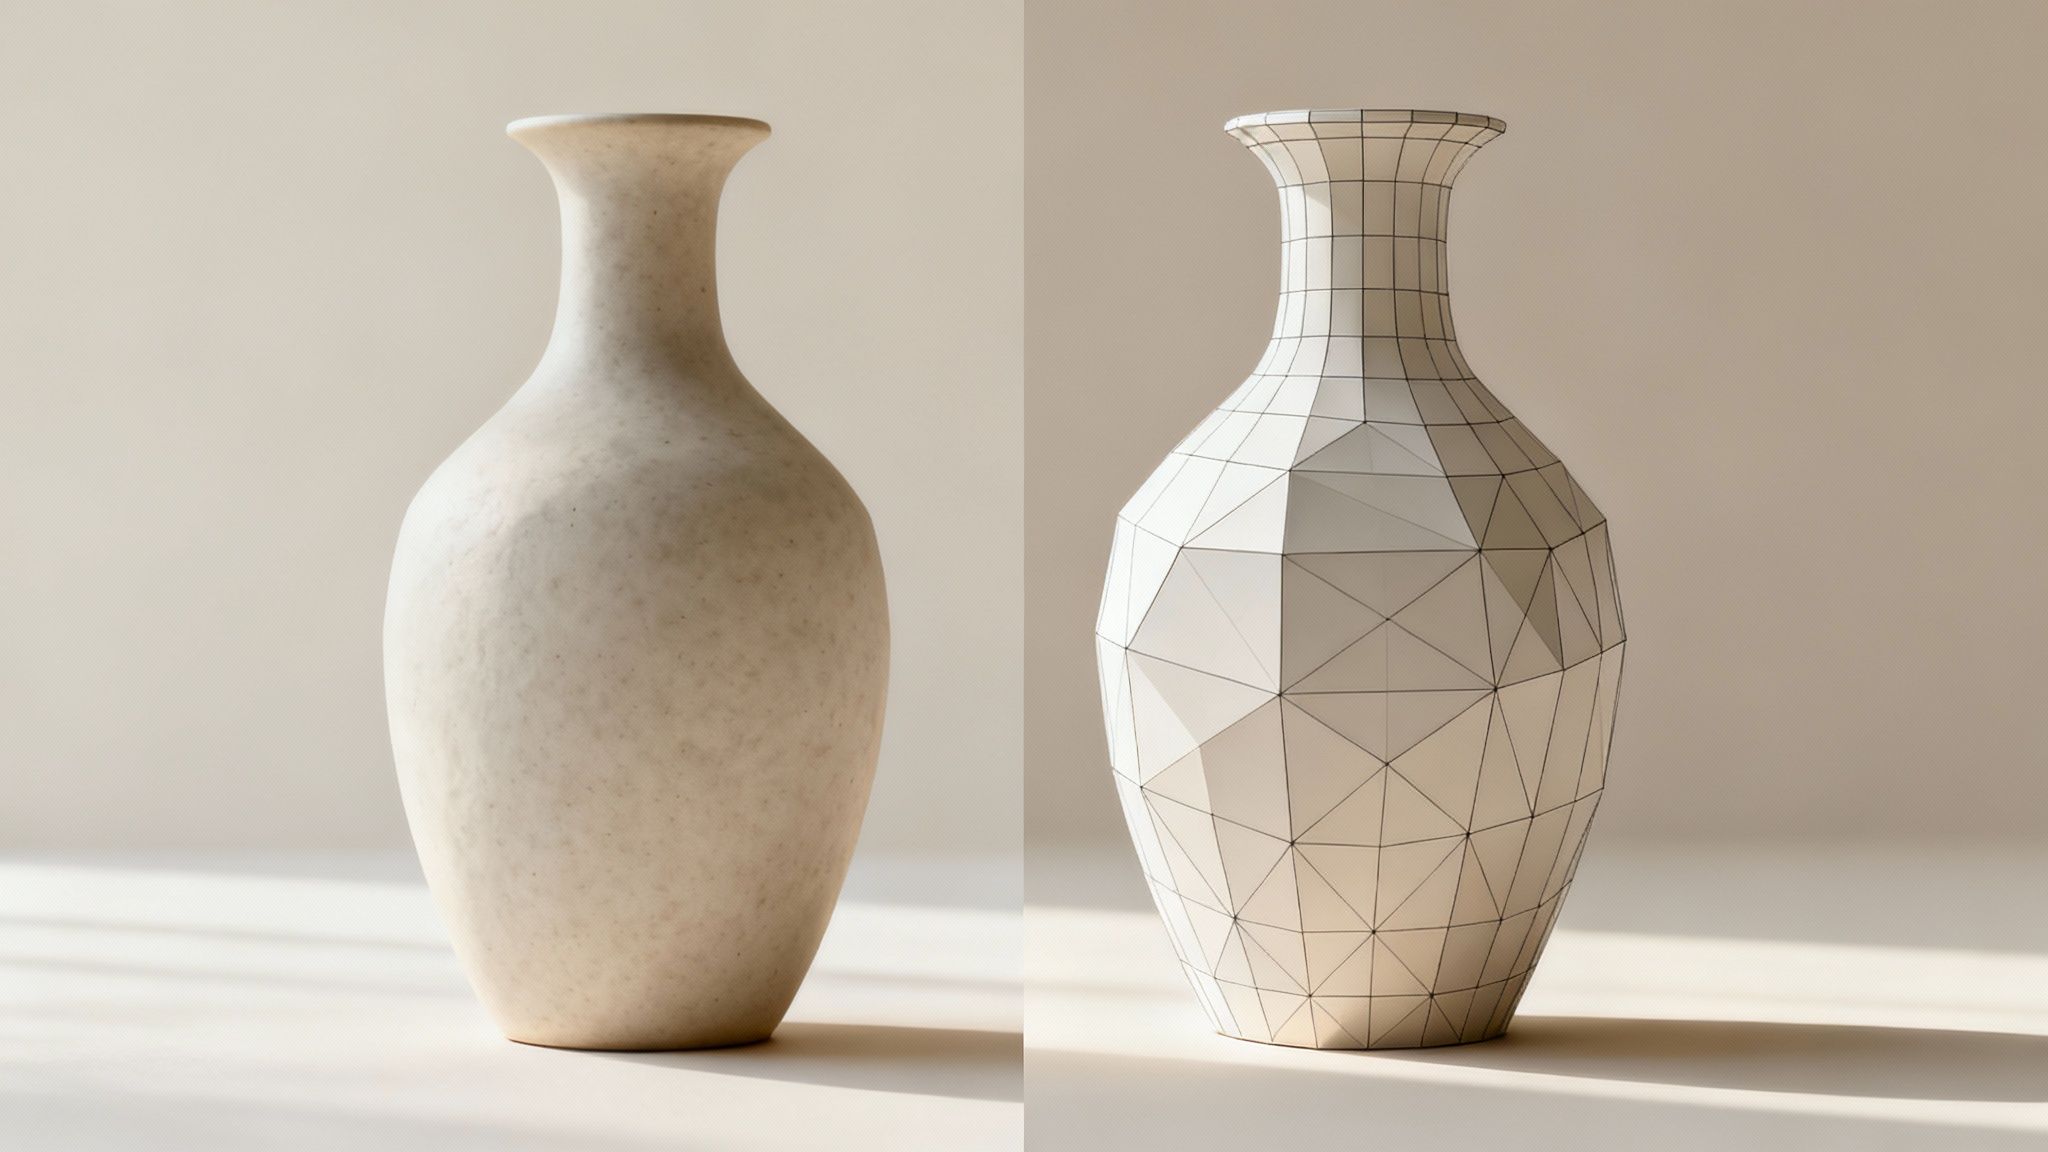
How does this process work? At its core, you're training an AI to 'see' a 2D image much like a person would—recognizing shape and volume from clues such as shading, perspective, and context. The AI processes this pixel data to construct a geometric mesh, which is the foundational structure of any 3D model.
The image below provides a clear example of a typical wireframe. It’s this underlying structure of polygons that defines the model's shape.
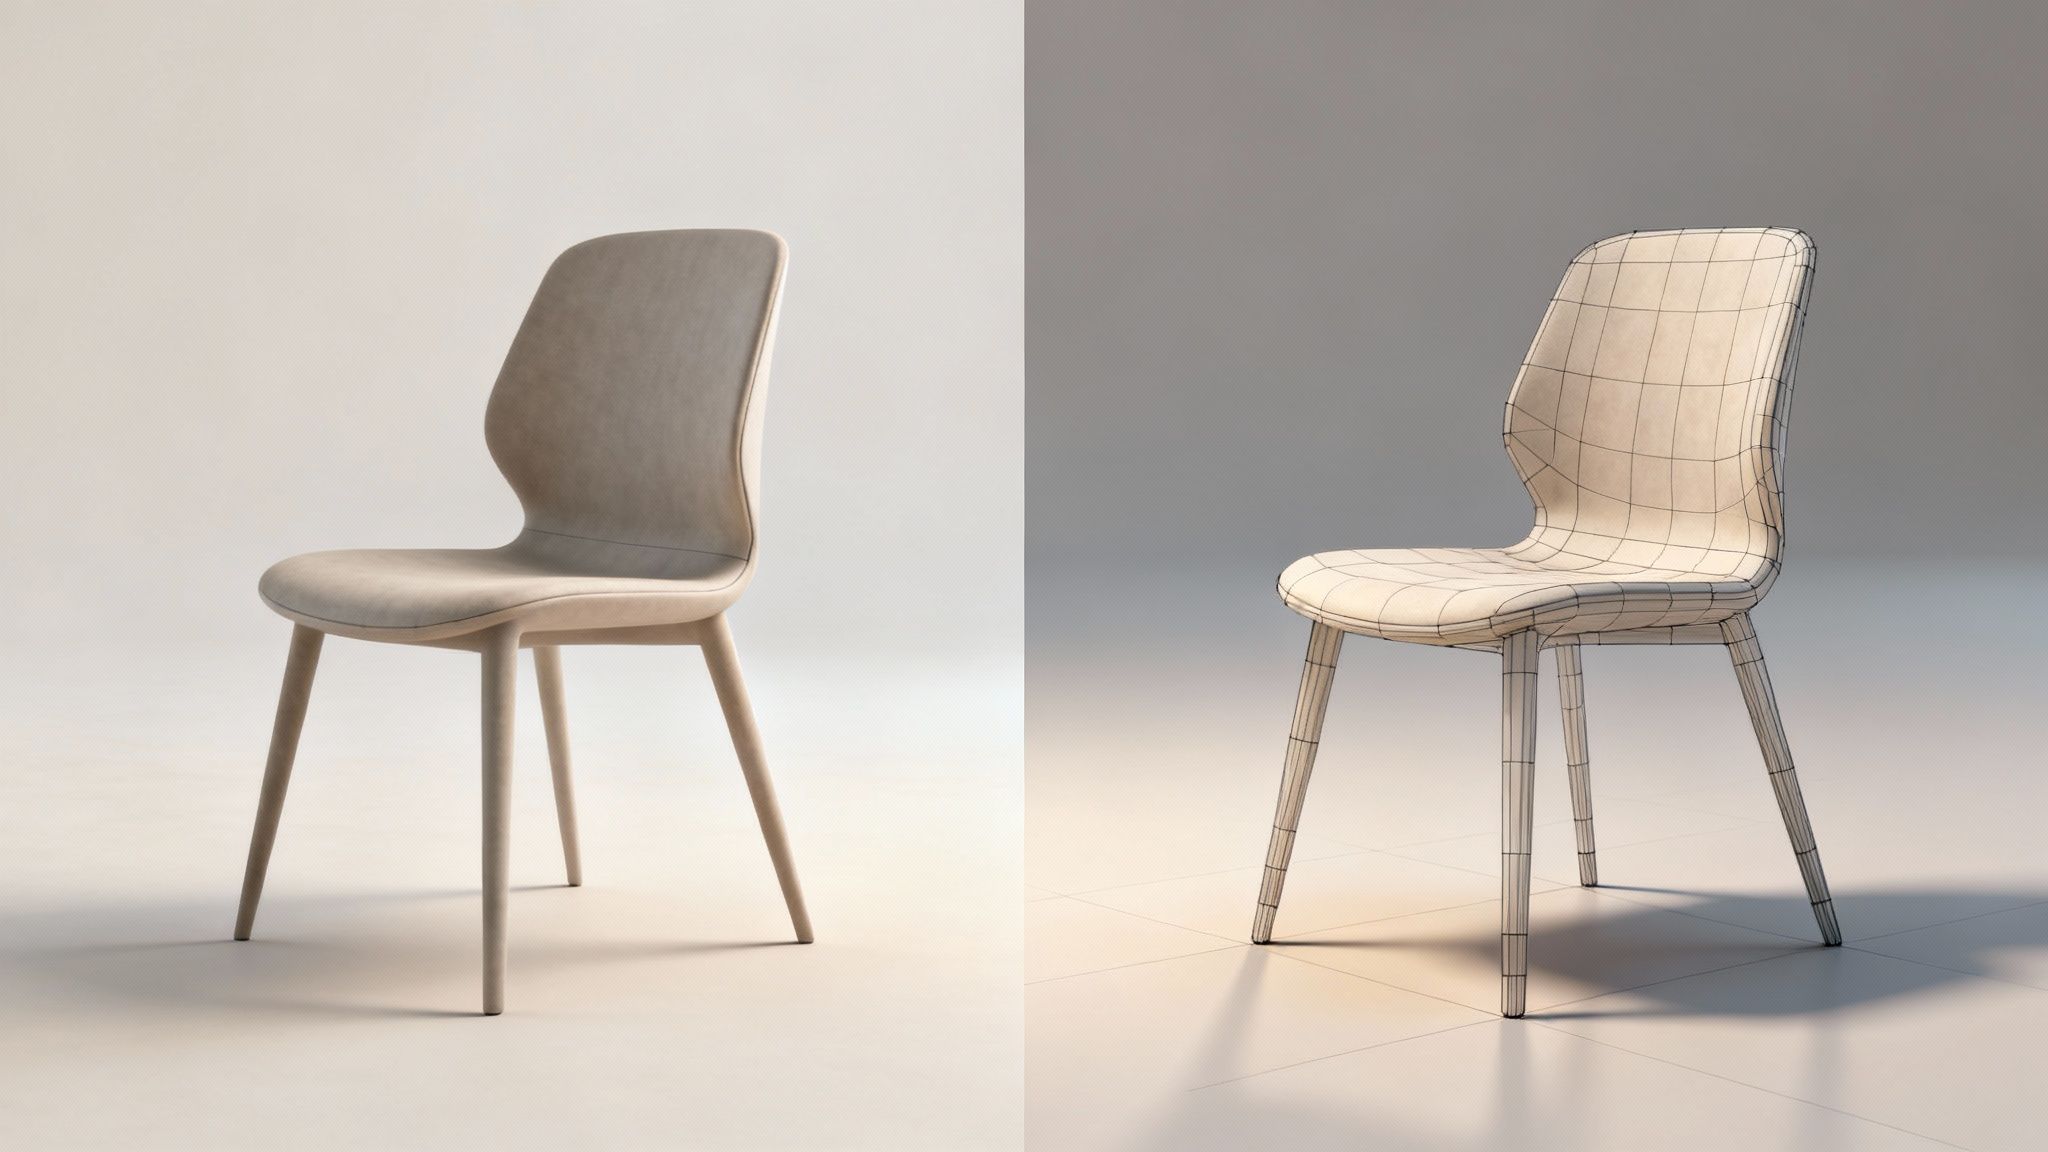
This wireframe is precisely what the AI builds from your 2D source image. Once that digital skeleton is in place, it gets wrapped in textures to create the final, detailed model you can integrate into your workflow.
Key Benefits for Creative Teams
For any creative professional, the advantages of this technology are immediate and substantial. It serves as a powerful accelerator, turning initial ideas into tangible assets in minutes, not days.
- Accelerated Prototyping: Designers can generate quick 3D mock-ups from concept art, enabling faster iteration and feedback cycles.
- Enhanced Marketing Visuals: Brands can create interactive 360-degree product views for their e-commerce sites using standard product photos.
- Efficient Asset Creation: Game developers and AR/VR creators can produce initial 3D assets much more quickly, freeing up their artists to focus on polishing and refinement.
This technology allows teams to bypass the often tedious initial stages of 3D modeling. Instead of building from a blank slate, you get a solid starting point. This enables you to allocate more time and energy to the creative details that make a true impact. It’s about working more efficiently.
Prepping Your Image for a Flawless Conversion
The success of your image to 3D conversion depends almost entirely on the quality of your source image. A simple principle applies: quality in, quality out. Taking a few minutes to prepare your file can save hours of corrective work on the back end.
AI models are not magic; they interpret visual data—light, shadows, and silhouettes—to construct a 3D shape. A clean, high-resolution input provides the algorithm with clear instructions, which translates to a more accurate and detailed model from the outset.

Key Principles for Image Selection
Before you upload an image, review it carefully. The objective is to remove as much ambiguity for the AI as possible.
A high-resolution image is non-negotiable. More pixels give the AI more data to analyze, resulting in better geometry and sharper textures.
Lighting is equally important. Harsh shadows or overexposed highlights can confuse the AI's understanding of depth. Seek images with soft, even lighting that clearly reveals the object's form, without concealing details in dark spots or bright glares.
Finally, examine the silhouette. The AI needs to know precisely where your object ends and the background begins. An object that blends into a busy background is likely to produce a messy, distorted model. A crisp, well-defined silhouette is essential.
To help you manage this part of the process, here's a quick checklist for pre-conversion review.
Image Preparation Checklist for Optimal 3D Conversion
Getting these elements right from the start is the difference between a quick, successful generation and a frustrating one that requires extensive manual fixes.
Optimising Different Image Types
The optimal preparation method for your image depends on its type. Each has its own specific considerations.
Photographs: When working with a product shot, isolate the object completely. The most effective way is to remove the background, leaving just the product on a transparent or neutral canvas. This directs the AI to focus only on what matters.
Sketches and Concept Art: Clean linework is paramount. Ensure the form is easy to interpret. A straightforward orthographic view (front-on) typically yields the best results. A small amount of shading can help define the volume, but avoid messy cross-hatching, as the AI might read it as surface texture instead of form.
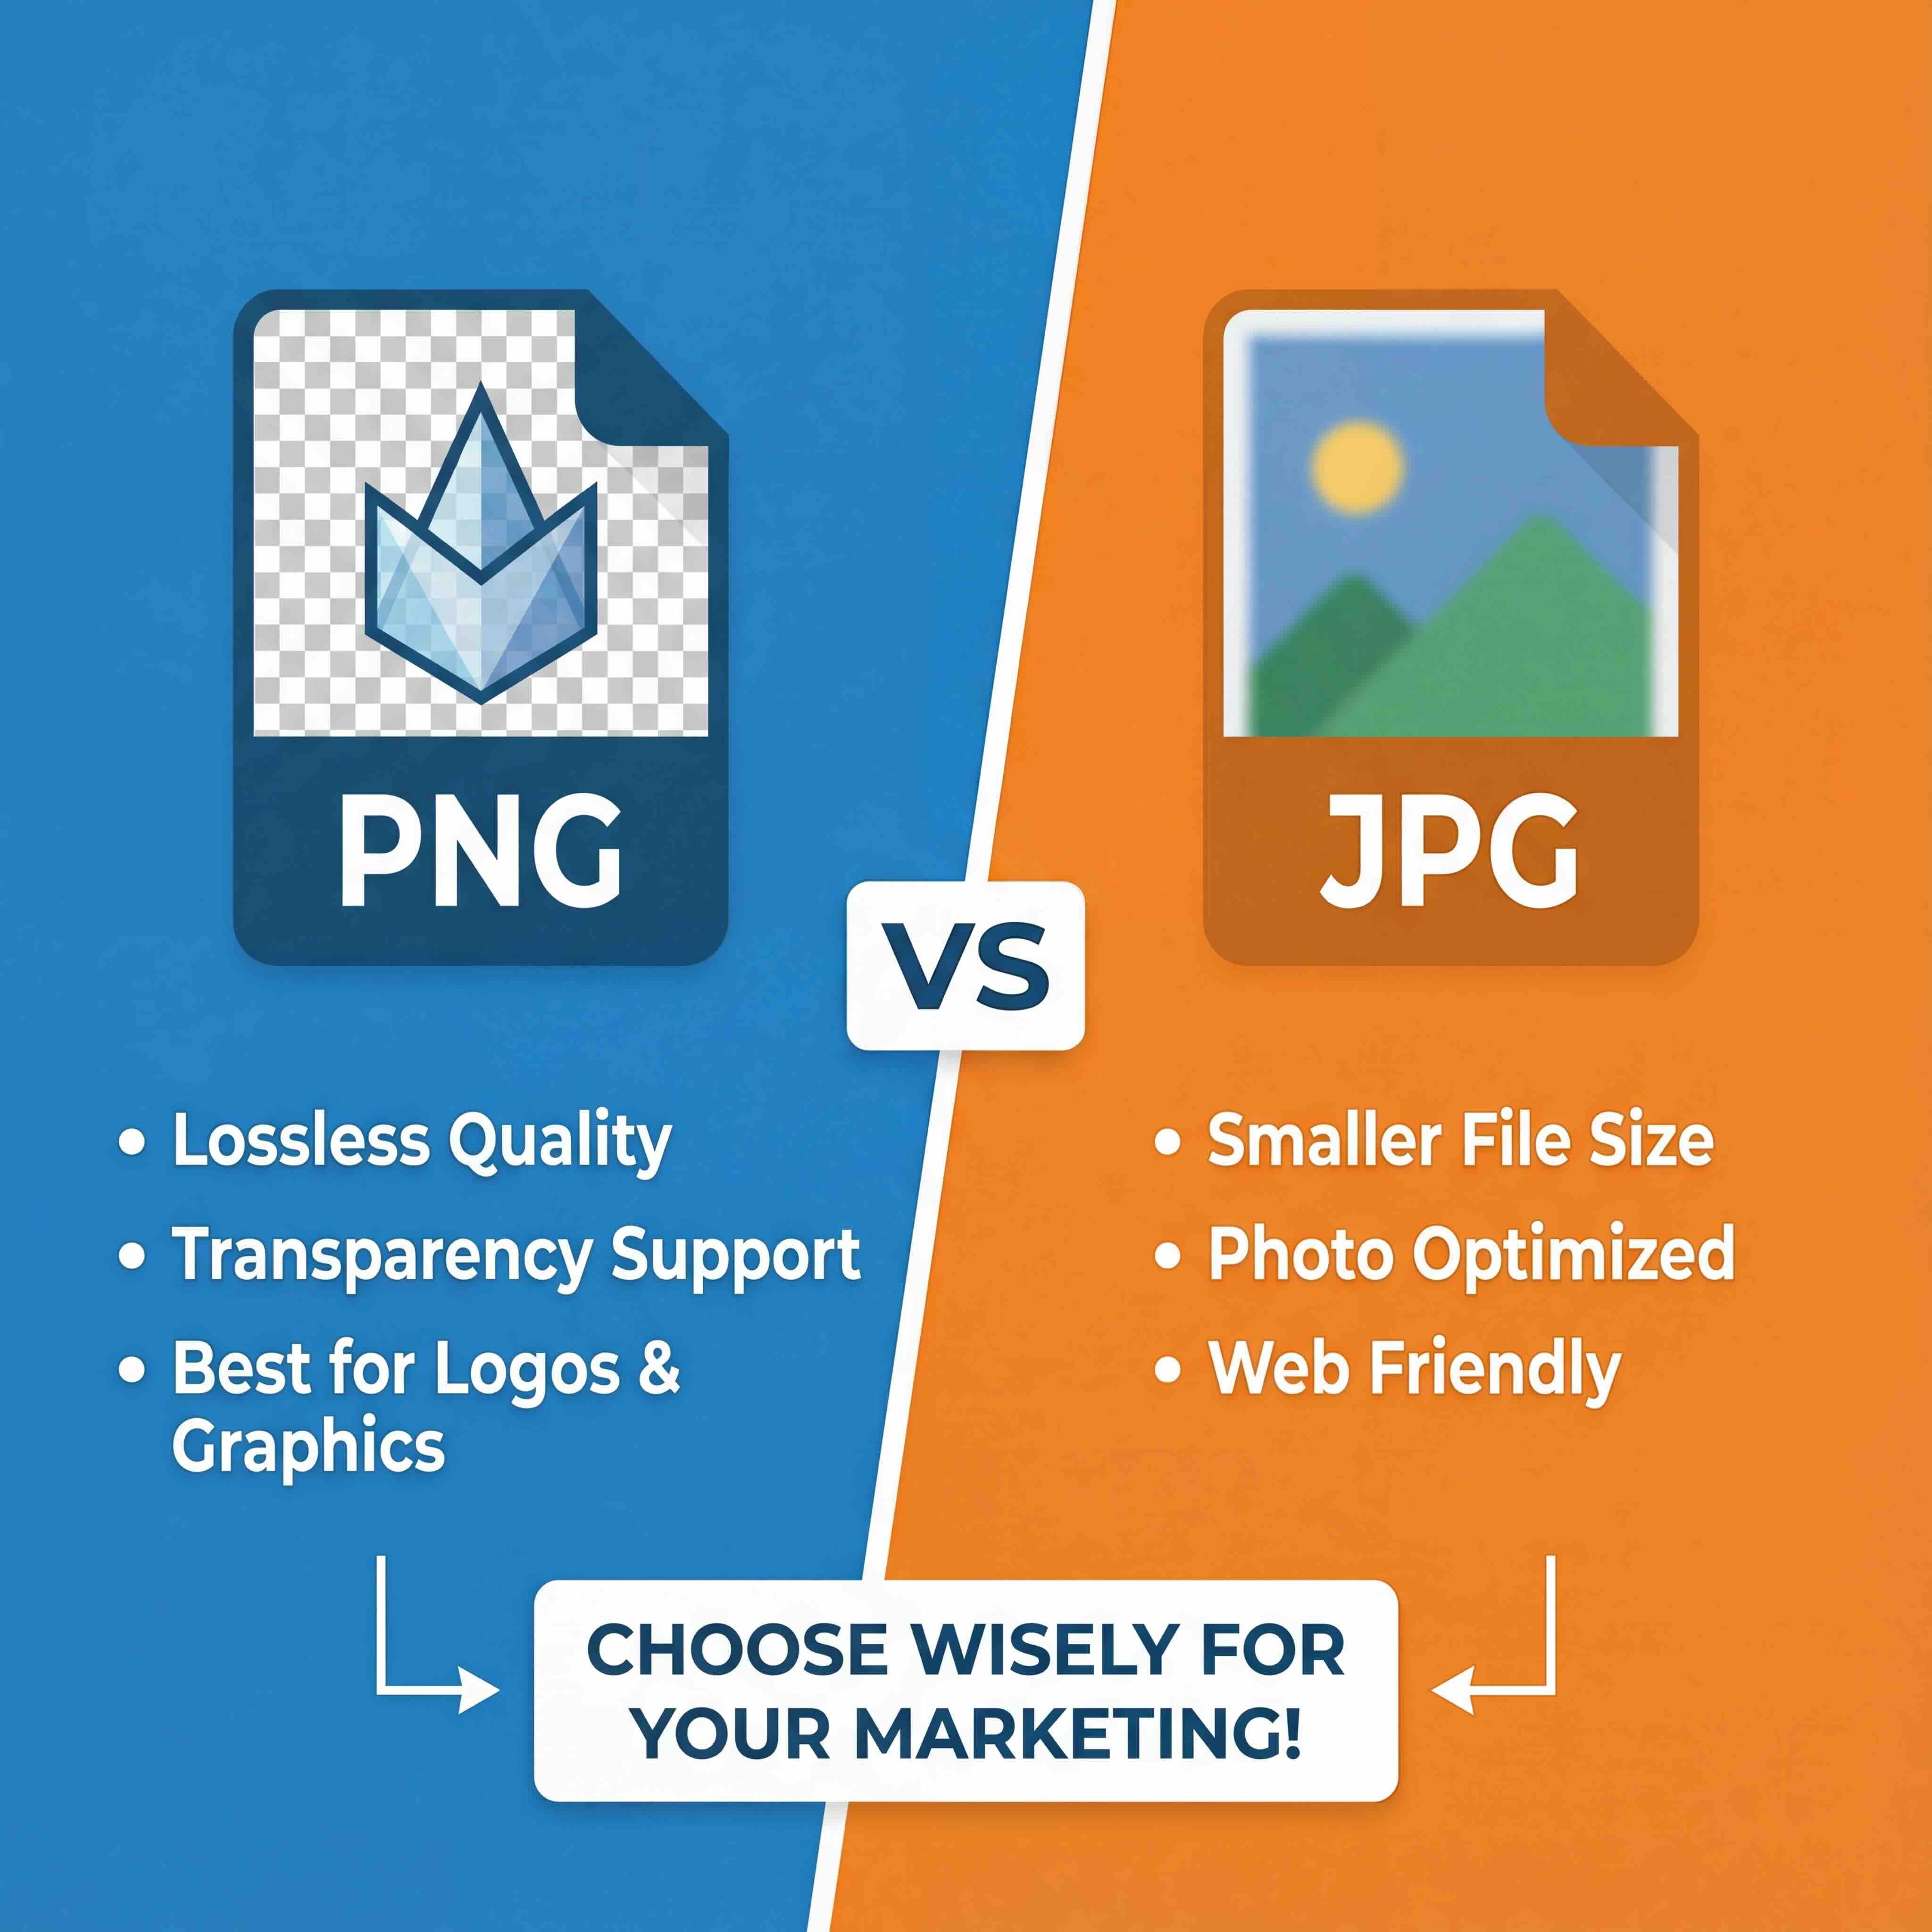
Brand Logos and Icons: Start with a high-resolution PNG with a transparent background. Verify that all edges are sharp and free of compression artifacts. For logos with text, make sure the letters are distinct and not positioned in a way that hides their individual shapes.
Remember, the AI is a powerful tool, but it cannot read your mind. Every preparation step you take acts as a clear instruction, guiding the conversion to align with your vision. The clearer your input, the cleaner your 3D output will be.
Running Your First AI-Powered 3D Conversion
With your image prepared, it's time for the next step: turning that 2D concept into its first three-dimensional form. With modern AI platforms, the initial image 2d to 3d conversion is remarkably quick, and it all begins with a simple upload.
Once your high-quality image is in the system, you’ll see several key settings. Think of these as creative controls you can adjust to guide the AI. Understanding them is the first step to getting a result that fits your project's requirements.
Navigating Key Generation Settings
You can think of these settings as a creative brief for the AI. You're not just telling it what to build, but how to build it. While different platforms have their own unique features, most center on a few core concepts that shape the final output.
Here are the most common parameters you'll encounter:
- Model Complexity (Polycount): This setting determines how many polygons, or faces, your model will have. A low-poly model is lightweight and suitable for real-time applications like mobile games or AR experiences. Conversely, a high-poly model contains extensive detail, making it ideal for product prototypes or cinematic renders where visual fidelity is paramount.
- Texture Resolution: This slider defines the quality of the surface details. Increasing this allows the AI to capture finer details like wood grain or fabric weave, making the model appear more realistic. For assets that will only be viewed from a distance, a lower resolution is often sufficient and helps keep file sizes manageable.
- Geometry Detail: This parameter controls how accurately the AI captures the subtle curves and sharp edges of your subject. High detail settings will attempt to replicate every nuance, which is excellent for organic shapes. Lower settings might produce a more stylized or simplified interpretation.
For your first attempt, it's advisable to start with medium settings across the board. This provides a balanced baseline. From there, it's much easier to see what needs adjustment—you can then modify specific parameters on your next iteration based on that initial result.
From Generation to Initial Review
After you’ve configured your settings and initiated the process, the AI begins its work. This can take anywhere from a few seconds to several minutes, depending on the complexity you’ve requested. What you receive is a draft—the AI's first interpretation of your 2D image.
Do not expect a perfect, production-ready asset on the first try. This initial output is a starting point. Open it in a 3D viewer and examine it from all angles. Look for any obvious flaws, such as warped geometry or visual artifacts. This first review is crucial for deciding your next move, whether that's regenerating with different settings or moving on to refinement. If you're looking to explore different platforms, our guide on the top AI tools for 3D modeling is a great place to see what's available.
Configuring these initial parameters correctly can save a significant amount of clean-up work later. For instance, generating a game asset with an unnecessarily high polycount means you’ll spend hours optimizing it afterward. Similarly, a low-poly product prototype won’t have the detail needed for a compelling marketing image. Becoming comfortable with these settings is the first real step toward a more efficient creative workflow.
Refining Your AI-Generated 3D Model
Obtaining a model from an AI generator is an excellent head start, but it's just that—a start. The raw output from an image 2d to 3d conversion is rarely perfect. Think of it as a sculptor's first pass on a block of marble; the basic shape is present, but the true artistry lies in refining the rough edges and adding details.
This post-conversion workflow is where you transform a promising draft into a polished, portfolio-ready asset. It involves cleaning up the underlying geometry, enhancing the textures, and adding the human touch that makes a model feel complete.
The infographic below provides a high-level overview of the initial conversion process.
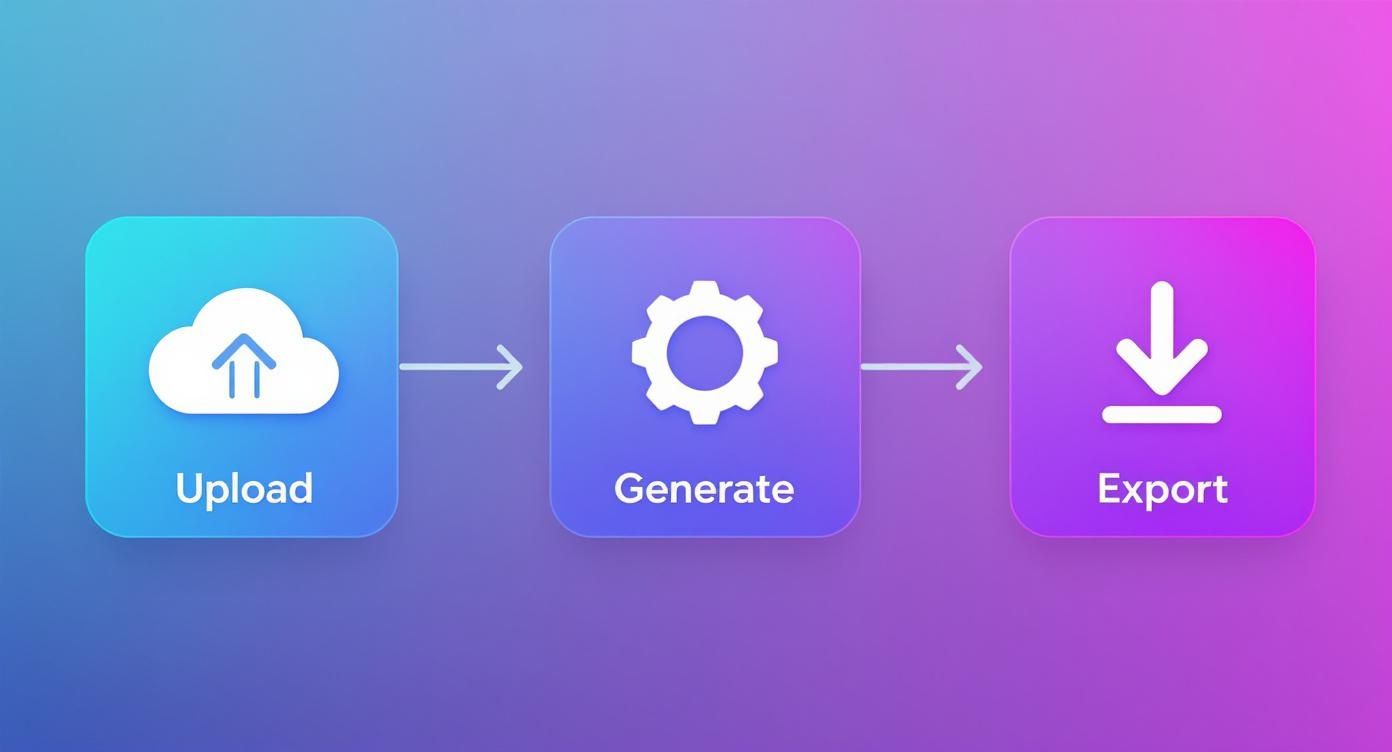
As you can see, the core steps are straightforward—Upload, Generate, Export. But the real work begins right after you download the file.
Cleaning Up Geometry and Mesh Imperfections
Your first task is always to inspect the mesh. AI can sometimes produce messy geometry—overlapping faces, non-manifold edges, and floating vertices are common issues. Left unaddressed, these problems can cause significant difficulties with texturing, rigging, and rendering later on.
Most standard 3D software includes automated clean-up tools that can fix many of these common errors with a single click. For more persistent problems, you’ll need to intervene manually to merge vertices, delete stray polygons, and ensure the model has a clean, continuous surface. A solid, well-structured mesh is the foundation for everything that follows.
This focus on digital precision is becoming standard practice in many fields. Take Denmark, for example, which has become a leader in adopting 3D conversion for construction. An impressive 90% of all building planning initiatives there now use 3D models converted from 2D plans, a strategy that greatly improves accuracy and communication.
Enhancing Surface Details and Textures
Once your mesh is clean, it's time to focus on the model's appearance. AI-generated textures can sometimes look flat, blurry, or low-resolution. This is your opportunity to add realism and depth.
A powerful technique is to improve the texture maps themselves. This could involve upscaling the resolution with other AI tools or, for best results, re-texturing the model entirely with higher-quality materials. Adjusting properties like specularity (how shiny a surface is) and roughness can dramatically change how an object reacts to light, making it look far more believable.
For a deeper dive into adding surface detail, check out our guide on how to make a normal map. It’s an essential skill for simulating high-poly detail on a low-poly model.
After generating your base model, you can elevate its appearance by applying incredibly detailed textures. To see how AI can assist with this crucial step, you should Master AI Texture Generation.
Adding Finer Details with Digital Sculpting
Finally, ask yourself what subtle details the AI missed. Automated conversions are excellent at capturing the main form, but they often lack the small imperfections and nuances that make an object feel authentic.
Using digital sculpting tools is perfect for adding these finishing touches:
- Introduce wear and tear: Add small scratches, dents, or worn edges to make an object look as if it has a history.
- Refine organic shapes: Smooth out uneven surfaces on characters or natural objects for a more fluid, believable form.
- Carve in fine details: Etch intricate patterns, logos, or text that the initial AI conversion might have blurred.
This refinement stage is what separates a good model from a great one. It’s how you transform a quick AI generation into a truly compelling 3D asset.
Putting Your 3D Models to Work in the Real World
Once you’ve polished your model, the practical applications begin. Converting an image into a 3D asset isn't just a technical exercise; it's about solving real-world problems and unlocking new creative potential across a surprising number of fields.
The applications are highly practical. From rapid prototyping to interactive marketing, these AI-generated models are becoming essential tools for teams that need to visualize concepts accurately and efficiently.
E-commerce and Product Visualisation
For any online retailer, creating an excellent shopping experience is paramount. Static product photos are often no longer sufficient. By turning simple images into 3D models, brands can offer interactive 360-degree views that let customers rotate, zoom, and inspect products from every angle.
This provides shoppers with greater confidence and has a direct impact on engagement and sales. After you have your model, a great next step is to utilise 3D product mockups, turning a basic asset into a compelling sales tool that shows your designs in context.
Accelerating Game Development and Design
In the world of game development, speed is a critical factor. Building every single environmental prop or character asset from scratch is a time-consuming process that can impede progress.
With AI conversion, artists can generate baseline assets from concept art or reference photos in minutes. This fundamentally changes the workflow, reducing initial modeling time and freeing up artists to focus on their core competencies: refinement, texturing, and optimization. The result is a much more streamlined pipeline, allowing even small teams to build rich and detailed game worlds.
The real impact is on iteration speed. A product designer can take a sketch, convert it to a basic 3D form, and have a printable prototype ready in under an hour. This rapid feedback loop is what drives genuine innovation.
Innovations in Healthcare and Beyond
This technology's influence extends far beyond creative studios. In Denmark's advanced healthcare sector, for example, 3D modeling is becoming indispensable. The Danish 3D bioprinting market, which often relies on creating precise models from 2D biomedical scans, was valued at approximately $11.2 million USD in 2023.
That market is projected to nearly double by 2030, which indicates its growing role in medicine and pharmaceuticals.
From creating custom medical implants based on CT scans to visualizing complex biological structures, 2D to 3D conversion provides the precision needed for mission-critical applications. It’s a powerful reminder of just how versatile this technology has become.
Of course, once you export your model, you need to know what to do with it. Our guide on 3D model file formats can help you pick the perfect one for whatever project you're tackling next.
Common Questions About 2D to 3D Conversion
Whenever you explore a new creative process, questions are bound to arise. The world of image 2d to 3d conversion is no different.
Understanding the common queries helps you set the right expectations and, more importantly, refine your workflow for better results. Let’s address a few of the most frequent ones.
What Kinds of Images Produce the Best 3D Models?
A useful principle to remember is: quality in, quality out. The quality of your starting image has a significant impact on the final 3D model.
For the best results, always start with an image that has a single, clear subject. A simple, neutral, or even transparent background is ideal, as it gives the AI a clean slate to work from and helps it distinguish the object from its surroundings.
Good lighting is just as crucial. You’re looking for soft, diffused light that clearly shows the object’s form without creating harsh shadows or overexposed highlights. The AI can easily misinterpret these as indentations or bumps in the final geometry. A crisp, high-resolution image provides the AI with the most data to work with, which almost always results in a more detailed and accurate 3D model.
How Accurate Are AI-Generated Models?
They are remarkably good at capturing the overall shape and proportions, giving you an excellent starting point. However, it’s important to treat the initial output as a high-quality draft, not the finished product.
The AI is a master of the broad strokes, but it can struggle with minute details or complex, overlapping geometry. This is simply the nature of the current technology.
You should always plan to spend some time on manual refinement. This is where your skills as an artist are essential—cleaning up small mesh imperfections, sharpening textures, and adding those subtle details that give a model a professional finish. The AI gets you about 80% of the way there, but that final 20% of polish is what elevates an asset to production quality.
What Are the Best Export Formats for My 3D Model?
Choosing the right file format depends entirely on where your model is headed next. Selecting the correct format ensures it functions perfectly in your target software or platform. Each format has its own strengths.
- OBJ (.obj): This is a universal standard. It’s widely supported, making it a safe and versatile choice if you're transferring a model between different 3D programs for further editing.
- FBX (.fbx): If you're working in game development or animation, this is your primary choice. FBX files can contain much more than just geometry and textures—they can also include animation data, cameras, and lights.
- GLB (.glb): This is the leading format for web-based applications. It is perfect for AR experiences, online 3D viewers, and e-commerce. It neatly bundles everything—the model, textures, and more—into a single, compact file.
Familiarizing yourself with these formats means your model won't just look great; it'll be perfectly optimized for its final destination, whether that’s a game engine, a 3D printer, or an interactive website.
Ready to streamline your entire creative pipeline? Virtuall is the AI-powered Creative OS that brings 3D model, image, and video generation into a single, collaborative workspace. Move from concept to final asset faster than ever at https://virtuall.pro.

