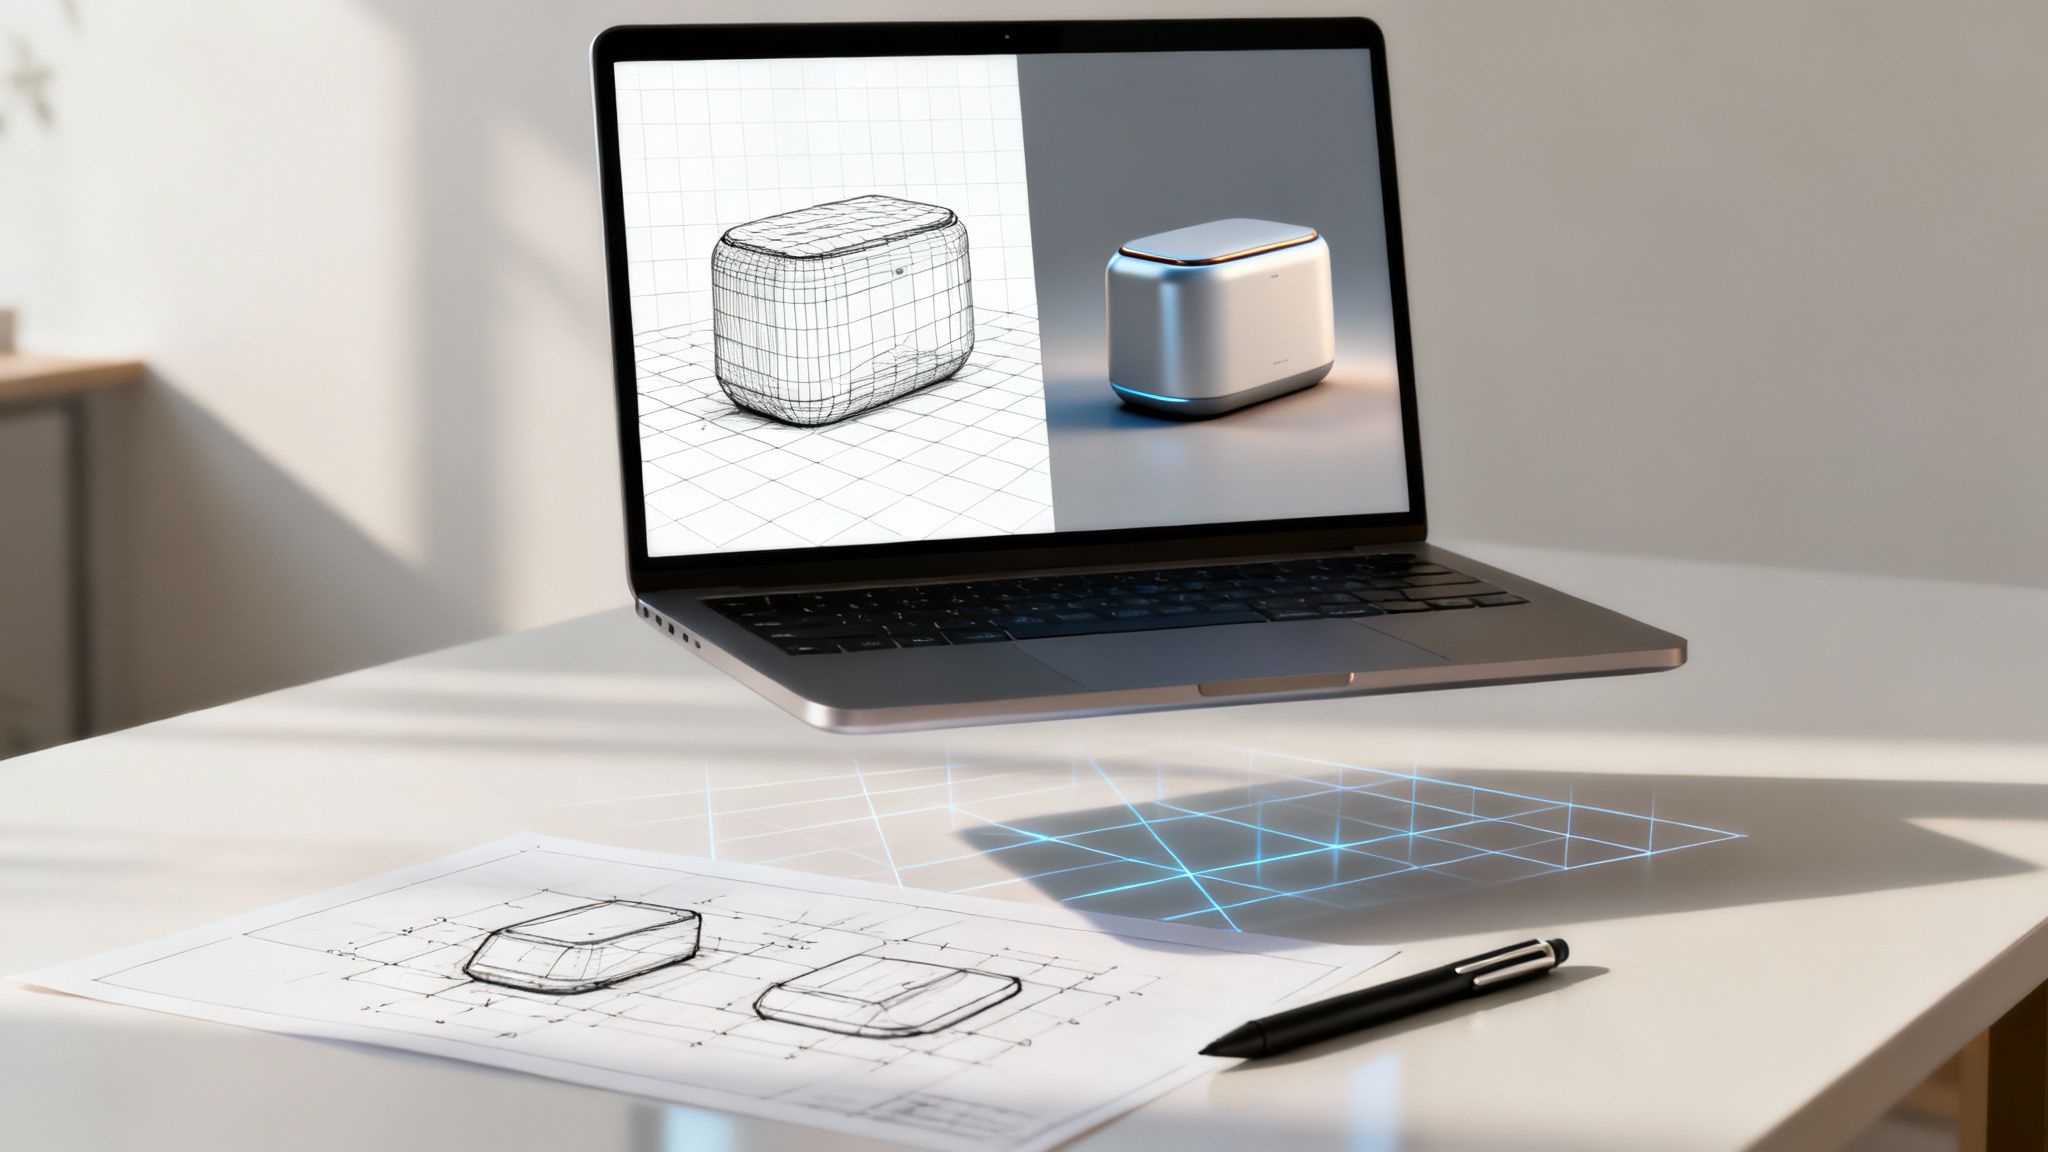
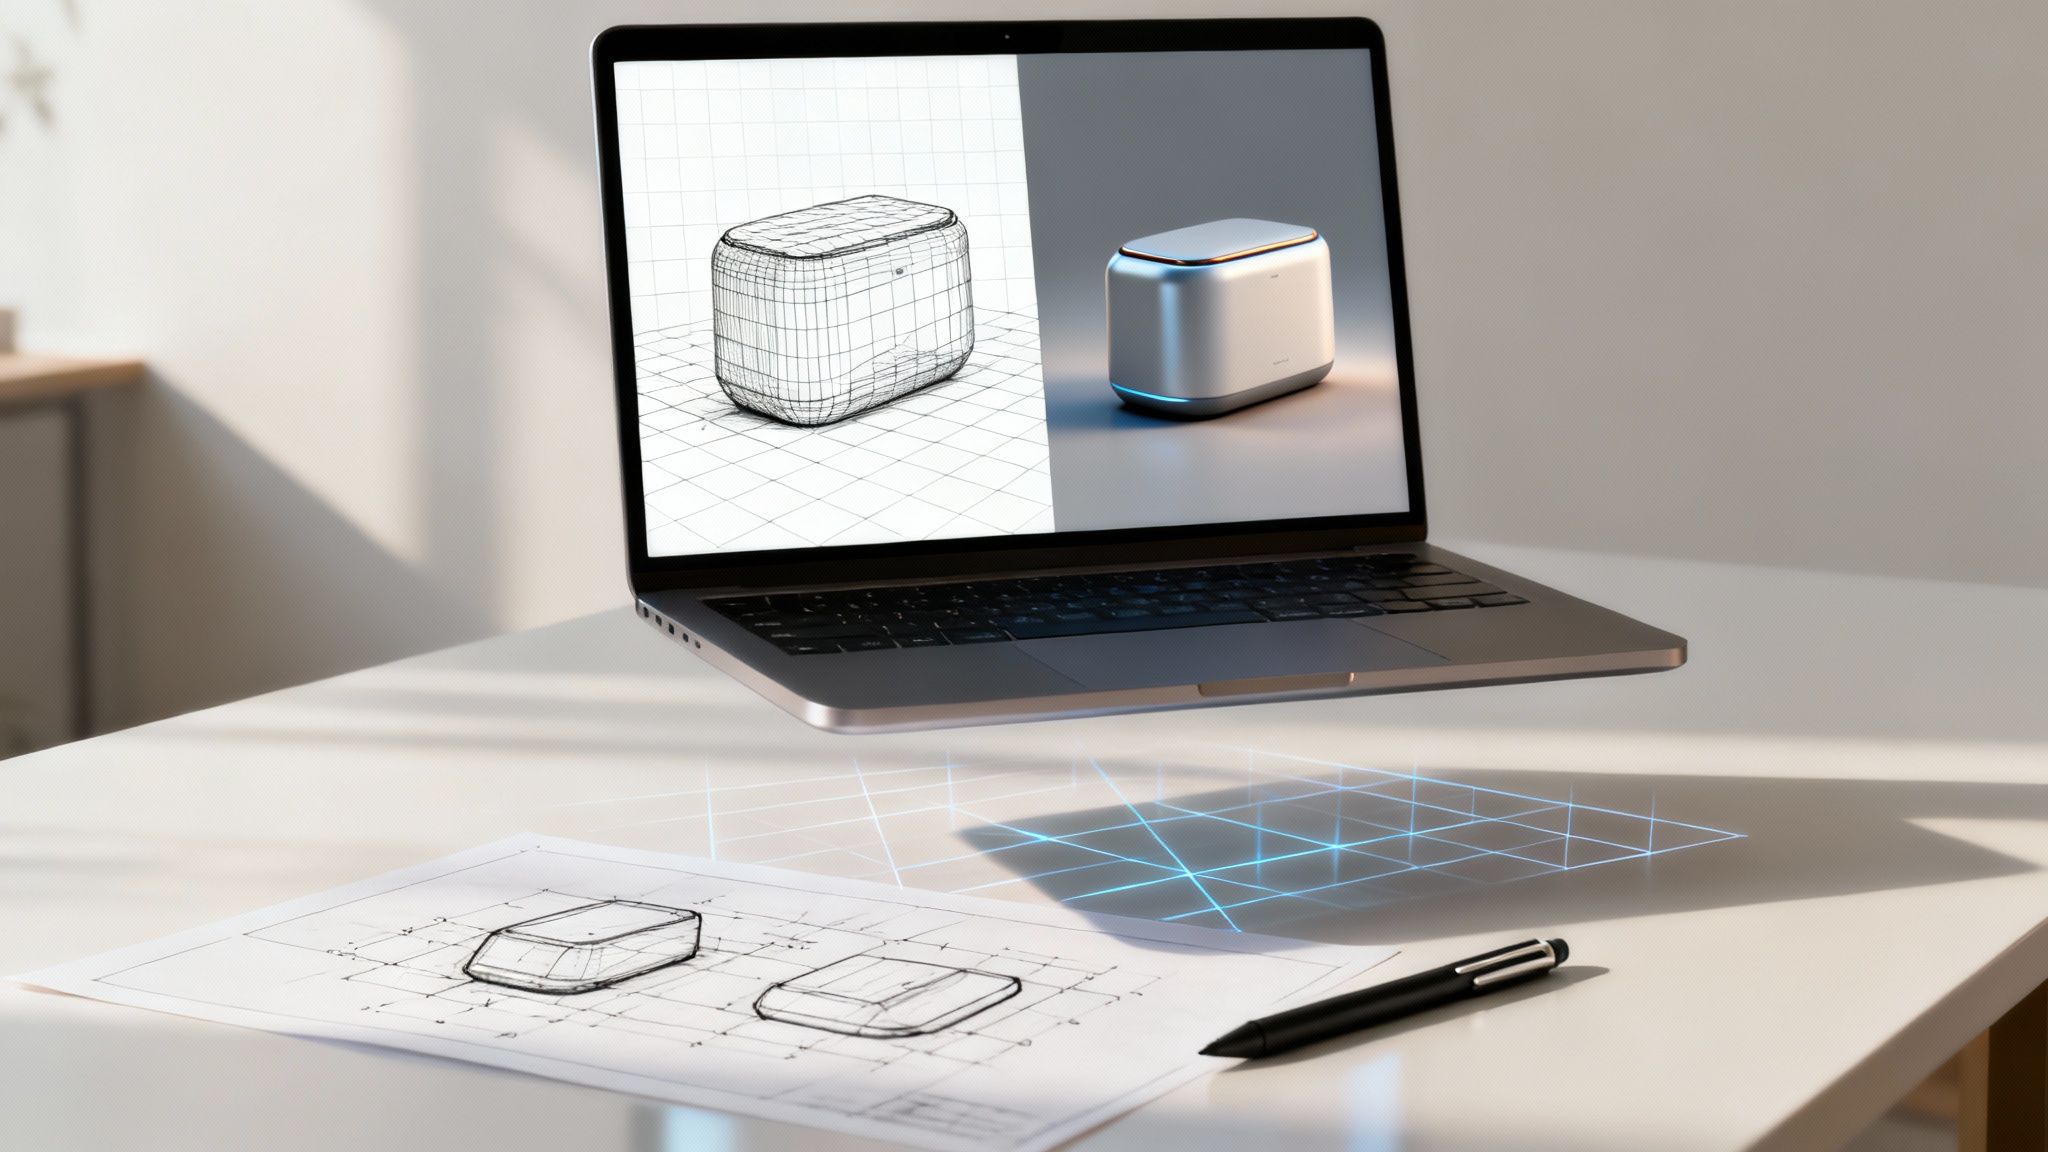
Imagine requiring a professional photoshoot for a product that hasn’t been manufactured yet. This is the advantage of 3D rendering of products. It is a digital process that converts a 3D blueprint into a high-quality, photorealistic image. This allows you to create precise visuals long before the first item comes off the production line.
What Exactly Is 3D Product Rendering
You can think of 3D product rendering as a structured collaboration between a digital artist and a virtual photographer. First, the artist constructs the product's shape and form in specialised software. Then, the virtual photographer arranges lighting, applies materials, and sets camera angles to capture the ideal shot—all without a physical studio or camera.
This process transforms a digital file into a powerful marketing asset, often indistinguishable from a real photograph. For businesses, this is a significant advantage. You can generate flawless images for your website, social media campaigns, or investor presentations before committing funds to manufacturing.
The Foundation of Modern Visuals
While the goal is often to match or exceed the quality of real-world photography, 3D rendering offers a level of flexibility that traditional methods cannot. Understanding the fundamentals of capturing stunning product shots through traditional product photography provides valuable context for how significant this technology is.
Physical photoshoots are constrained by location, time of day, and the availability of prototypes. With 3D rendering, you have complete creative control. It is more than an alternative; it is a strategic advantage. It allows you to:
- Visualise Pre-Production: See exactly how your product will look and approve visuals while it is still in the design phase.
- Create Endless Variations: Easily generate images of the same product in dozens of different colours, materials, or settings—all from a single 3D model.
- Achieve Perfect Consistency: Ensure every product image across your entire catalogue shares the same lighting, angle, and style.
This technology empowers brands to operate more efficiently. Instead of waiting for a finished product, marketing teams can create high-impact visuals in parallel with development, significantly accelerating the time-to-market.
A Growing Trend in Europe and Beyond
This is not a niche trend. The growing adoption of 3D rendering in markets like Denmark is part of a larger European movement. The European 3D rendering market was valued at approximately USD 945.66 million and is on a significant growth trajectory. This continent-wide shift highlights how critical the technology has become for modern commerce.
Ultimately, the 3d rendering of products is a foundational process for any brand looking to create cost-effective, flexible, and powerful visual content that drives business forward.
The Strategic Business Benefits of 3D Rendering
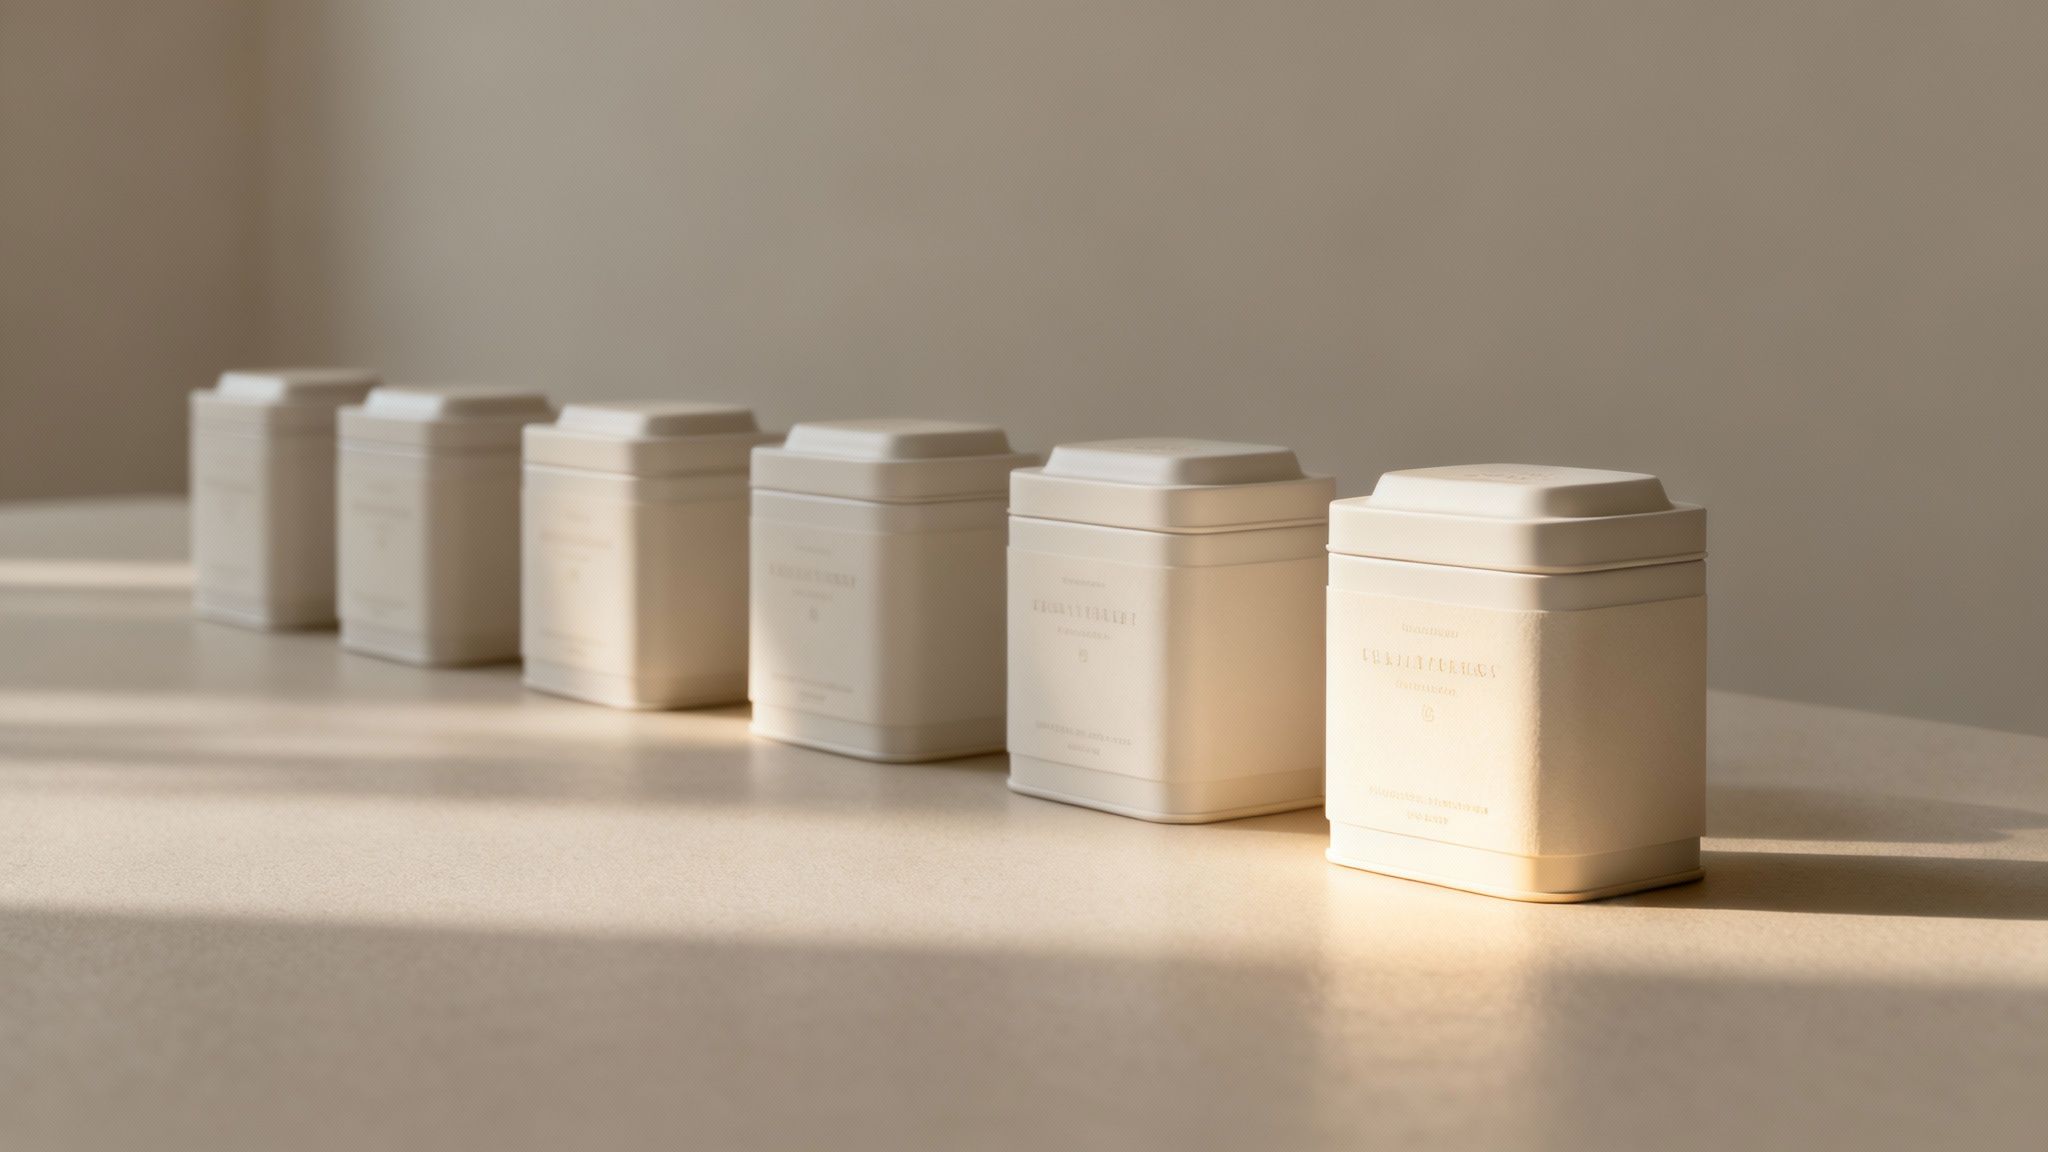
While 3D renders are visually impressive, their real power is strategic. Adopting 3D rendering of products is not just a visual upgrade; it is a sound business decision that provides a competitive edge by reducing costs, boosting efficiency, and accelerating product launches.
Consider it a direct solution to the challenges of traditional product marketing. It bypasses logistical complexities and opens up a far more flexible and powerful way to create visuals.
Let's examine how this works in practice.
Drastically Reduce Marketing Costs
One of the most significant benefits is the immediate reduction in marketing expenditures. Traditional photoshoots can be costly, involving expenses for physical prototypes, studio hire, photographers, stylists, and the complex logistics of coordinating them. These costs add up quickly.
With 3D rendering, most of these expenses are eliminated. There is no need to ship prototypes or book expensive locations. A single digital model can generate all the visual assets required for an entire campaign—from clean e-commerce shots to rich, detailed lifestyle scenes. This saves money and eliminates the risk of a valuable prototype being damaged in transit.
Accelerate Your Speed to Market
In today's market, speed is crucial. 3D rendering allows your marketing efforts to run in parallel with product development, which is impossible with traditional methods that require a finished physical product.
The moment your 3D design file is ready, the marketing team can begin creating visuals. This means your promotional materials, website listings, and ad campaigns can be finalised and ready to go live the moment the product is available.
By decoupling visual asset creation from the manufacturing timeline, businesses can launch products weeks or even months earlier. This proactive approach captures market interest and generates revenue from day one.
Unlock Unlimited Creative Freedom
Imagine showcasing your product in any conceivable location without leaving your office. That is what 3D rendering delivers. You can place a sofa in a chic Parisian apartment, a new watch on a mountaineer’s wrist, or a kitchen appliance in a sun-drenched modern home.
This creative flexibility allows you to tailor visuals for different audiences and marketing channels with minimal friction. You can test concepts, explore unique compositions, and create emotionally resonant scenes that would be prohibitively expensive or physically impossible to shoot. It empowers your brand to move beyond simply showing products and start telling compelling stories.
Ensure Perfect Visual Consistency
A consistent brand image builds recognition and trust. However, maintaining visual uniformity across a large product catalogue can be a constant challenge. Lighting changes, camera angles shift, and styling varies from one photoshoot to another.
The 3D rendering of products resolves this issue entirely. Every image is created in a controlled digital environment. This guarantees that lighting, shadows, camera angles, and colours are absolutely identical across every single asset. This level of precision elevates your brand's professionalism and creates a seamless, high-end experience for your customers.
This control is what differentiates leading brands, helping you build a polished and trustworthy visual identity that stands out.
For many businesses, the choice between traditional photoshoots and 3D rendering comes down to a few key factors. Here is a brief comparison to highlight the main advantages.
Traditional Photography vs 3D Rendering for Products
Ultimately, while photography has its place, 3D rendering offers scalability, cost-effectiveness, and creative agility that are simply out of reach for traditional methods. It is not just a different way to create images; it is a more effective way to build a modern brand.
How a 3D Product Render Is Created
Transforming a design concept into a photorealistic image is a structured process that combines artistry with technology. High-quality 3d rendering of products is a detailed workflow that demands precision at every stage to achieve the desired realism and brand alignment.
Think of it as building a custom piece of furniture. You start with a blueprint, shape the raw materials, apply the perfect finish, place it in a well-lit room, and finally, capture the photo from the ideal angle. The digital process is quite similar. Let's break down this digital production line.
Step 1: Building the Digital Blueprint
It all begins with a three-dimensional model—the digital framework of your product. This initial phase, known as 3D modelling, is where an artist uses specialised software to construct the product's geometry from scratch. Every curve, edge, and component must be accurate.
This is essentially digital sculpting. An artist might start with a simple primitive shape, like a cube or a sphere, and manipulate the virtual form until it precisely matches the design specifications. The accuracy of this step is critical. A poorly constructed model will result in a subpar final render, regardless of the quality of the subsequent steps. These foundational steps are a vital piece of the overall key product development process steps.
Step 2: Applying Realistic Surfaces
With the model built, you have a perfectly shaped but entirely blank, grey object. The next step, texturing, is where the visual transformation truly begins. This is where materials and surface details are applied to turn the generic shape into brushed metal, polished wood, soft fabric, or gleaming glass.
This process is more than just applying colour. Artists work with texture maps, which are images that instruct the software on how a surface should look and feel. These maps define attributes such as:
- Colour and Pattern: The basic appearance of the material.
- Roughness: Whether it has a matte finish or a glossy, reflective one.
- Imperfections: The small details—scratches, smudges, dust—that create a sense of realism.
Making a surface look authentic is an art form. It involves layering these details to create something that feels tangible. This is the step that makes the final image seem touchable.
Step 3: Setting the Virtual Stage
Now that the model looks like a real product, it is time for its photoshoot. Lighting and camera setup involves placing virtual lights and cameras to compose the perfect shot. The 3D artist essentially becomes a director of photography.
They can use various types of lights—large, soft lights to mimic a photography studio softbox, or a single, hard light to simulate direct sun. The goal is always to highlight the product’s best features, create interesting shadows, and establish a mood that aligns with the brand. The virtual camera is equally important, with settings like focal length and aperture adjusted to frame the product for maximum impact.
Step 4: The Final Image Generation
This is the final step: rendering. It is a computationally intensive process where the software calculates how the model, its textures, and all the lights interact. The rendering engine meticulously traces the path of light as it bounces around the scene, ultimately producing the final 2D image.
Think of it as the digital darkroom where the image is finally "developed." Depending on the complexity of the scene, this can take anywhere from a few minutes to many hours.
Once the render is complete, there is typically a final post-production phase. Using tools like Photoshop, artists will adjust the colour balance, enhance contrast, or add subtle effects like lens flares. It is this last 10% of polish that readies the image for any marketing campaign.
The adoption of this technology speaks for itself. The 3D rendering software market is poised for significant growth, with a projected compound annual growth rate (CAGR) of 18.8% from 2025 to 2033 in some regions. The software component is dominant, making up a substantial 82.89% of total revenue in those markets. It is clear that these powerful tools are at the heart of modern visual production.
The Essential Technology Behind Professional Renders
Creating a photorealistic 3D rendering of products that feels real enough to touch is a combination of artistry and a powerful technology stack. Similar to a professional photoshoot where you need the right lenses, lights, and editing software, 3D artists rely on a suite of specialised tools to turn a digital concept into a stunning commercial visual.
Each tool in this workflow has a specific function, but they all work together seamlessly. From building the initial shape to adding the final polish, this process gives artists complete control over every detail.
Core 3D Modelling Software
Everything begins with 3D modelling software. This is the digital workshop where the product's fundamental shape and geometry are built from scratch. It is where artists meticulously define the size, curves, and structure of the object, laying the foundation for all subsequent steps.
This first step is critical. The quality of the 3D model has a massive impact on the final render's realism. A well-constructed model ensures textures wrap correctly and that light bounces off surfaces in a believable way. If you're exploring the options, our detailed guide on choosing the right 3D modelling software is a great place to start.
Powerful Rendering Engines
With the model built, the rendering engine takes centre stage. This is the powerhouse of the entire operation. It is a specialised piece of software that calculates precisely how light, shadows, and materials interact in the virtual scene. In short, it is what turns the geometric blueprint into a photorealistic 2D image.
Think of it as a virtual camera and physics simulator combined. Engines like V-Ray and Corona Renderer are known for their ability to simulate real-world light accurately. They handle everything from the soft glow of a lamp to the sharp reflections on a chrome finish. It is a computationally intensive process, but it is absolutely essential for achieving a hyper-realistic look.
The core function of a rendering engine is to translate complex data about light, materials, and geometry into the pixels that form the final image. This step is where the visual magic truly happens, turning a technical file into an artful and convincing visual.
The infographic below shows a simplified view of this journey, from the initial model to the final, polished render.
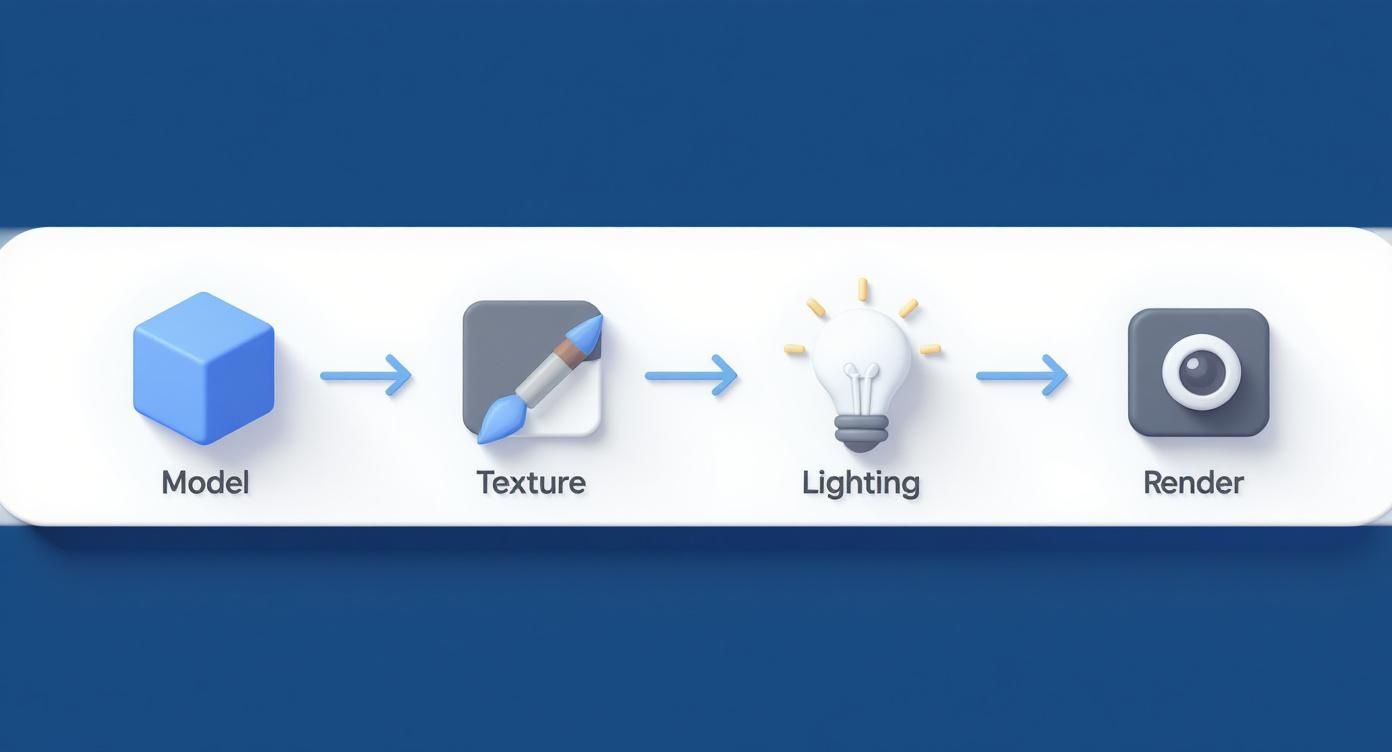
As you can see, each phase builds directly on the last, culminating in that high-impact final image.
Essential Supporting Tools
Beyond the core modelling and rendering software, a professional workflow relies on a few other key technologies to add depth and polish. These tools complete the ecosystem, helping teams produce incredible visuals efficiently.
Texture Libraries: Instead of creating every material from scratch, artists often use large libraries like Poliigon or Quixel Megascans. These resources offer ready-to-use, high-resolution textures for everything imaginable—wood grain, concrete, fabric weaves—complete with data on roughness and reflectivity.
Post-Production Software: The work does not stop once the render is finished. Artists use tools like Adobe Photoshop or After Effects for post-production adjustments. This is where they perform colour correction, adjust contrast, and composite different render passes to achieve that final, picture-perfect look.
Cloud Rendering Platforms: For large projects or tight deadlines, cloud rendering platforms have become indispensable. These services provide on-demand access to massive computing power, significantly reducing the time it takes to render complex scenes from days to hours. They offer a secure and scalable way for businesses to manage a high volume of assets without purchasing and maintaining expensive hardware.
It is no surprise that the market for these tools is expanding rapidly. Globally, it is projected to grow from USD 2.70 billion to USD 12.85 billion by 2030, a CAGR of 25%. Many regional markets are seeing similar growth, driven by demand from both manufacturing and advertising. You can learn more about the growth of the 3D rendering software market.
Achieving High-Impact Photorealistic Renders

What distinguishes a standard 3d rendering of products from one that genuinely captures attention? It comes down to two elements: photorealism and storytelling.
An excellent render is not just a digital picture of an object. It is a visual experience, crafted to connect with an audience and encourage action. Achieving this requires more than just technical skill; it demands an artist’s eye for what makes an image feel authentic. The aim is to convince the human eye it is looking at a photograph, which means focusing on the details.
Embracing the Art of Imperfection
The most common indicator of a computer-generated image is its perfection. In the real world, objects have flaws. Surfaces get scuffed, dust gathers in tiny crevices, and light never behaves perfectly. The best photorealistic renders incorporate these imperfections to create a powerful sense of authenticity.
This means artists will meticulously add details that disrupt the sterile perfection of a digital model. Consider the faint smudges on a phone screen, the subtle wear-and-tear on a leather product, or the soft, uneven shadows cast by a realistic light source. These are the small touches that give a digital asset its character.
The most convincing renders are not those that are flawless, but those that are believably flawed. It is the careful application of realistic imperfections—smudges, textures, and subtle asymmetries—that ultimately sells the illusion of reality.
Lighting is arguably the most important piece of this puzzle. Instead of flat, uniform light, skilled artists construct complex lighting setups that mimic reality. They use soft, diffused light to create gentle highlights and deep, natural shadows that give the product a real sense of weight and presence in the scene.
Storytelling Through Strategic Composition
Even a technically perfect render can feel empty if it does not tell a story. This is where composition becomes central. The camera angle, the background, and the overall scene work together to build a mood and convey a clear message about the product and the brand behind it.
A low-angle shot can make a product feel powerful and aspirational. A tight, macro-level close-up can highlight incredible craftsmanship. Placing the product in a lifestyle scene helps customers envision it in their own world, forging an immediate emotional connection. The right composition elevates a simple product shot into a compelling narrative.
Best Practices for Commissioning Impactful Renders
To ensure your visuals drive business results, a structured, collaborative process is necessary. Following a few best practices will help guide your creative team or agency toward producing assets that are both high-impact and on-brand.
Develop a Detailed Creative Brief: This is your foundation. A solid brief should outline the project goals, target audience, desired mood, specific camera angles, and lighting style. Always include visual references. The more information provided upfront, the more efficient the project will be.
Maintain Brand Consistency: Your 3D visuals must feel like they come from your brand. Provide your team with brand guidelines, covering everything from colour palettes to the overall aesthetic. This ensures every render strengthens your brand identity.
Optimise for Every Platform: An image that looks impressive on a large website banner may not be effective as a small social media ad. It is important to plan for different aspect ratios and resolutions from the start. Create variations of your key visuals tailored for each platform—from your e-commerce store to Instagram Stories—to guarantee they look great everywhere.
By combining a deep understanding of photorealism with a strategic approach to storytelling and project management, you can obtain a 3d rendering of products that does more than just showcase features. It grabs attention, creates desire, and ultimately drives sales.
If you're looking for tools to get started, our guide on free software for rendering is a great place to begin your creative journey.
Common Questions About 3D Product Rendering
If you are considering incorporating 3d rendering of products into your creative workflow, it is natural to have questions about the practical aspects. How much does it cost? How long does it take? What can be done with the final files?
Let’s address the most common questions to help you move forward with confidence.
How Much Does 3D Rendering of Products Cost?
The cost of a project depends on its complexity.
A simple render of a single product on a clean white background will be the most budget-friendly option. In contrast, a rich lifestyle scene with multiple products, custom environments, and complex lighting will represent a larger investment.
Here is what typically drives the cost:
- Model Intricacy: A simple object like a bottle is less complex than a detailed engine with numerous internal components. Greater complexity requires more artist time.
- Material Realism: Creating a realistic brushed-metal finish with subtle scratches requires a higher level of skill than a simple plastic surface.
- Scene Complexity: The more objects, lights, and background details in the shot, the higher the cost.
- Number of Deliverables: The total number of final images or animations required will affect the price.
However, 3d rendering of products is almost always more cost-effective than a traditional photoshoot. Once the digital asset is created, generating variations—different colours, angles, or backgrounds—is incredibly efficient. There is no need to book a new studio, ship products, or hire a crew again.
What Is the Typical Timeline for a 3D Rendering Project?
Similar to cost, the timeline is directly tied to the project's scope. If you already have a high-quality 3D model, a straightforward render could be completed in just a few days.
However, a project starting from scratch—building a complex 3D model, creating custom materials, and staging an intricate scene—can take several weeks.
The process usually includes these key stages:
- 3D Modelling: Creating the digital blueprint of your product.
- Texturing and Materials: Applying realistic surfaces and finishes.
- Lighting and Composition: Setting up the virtual photoshoot.
- Rendering: The computer performs the calculations to generate the final image.
- Post-Production: Fine-tuning colours and making final adjustments.
The most effective way to keep a project on schedule is to provide a clear and detailed brief from the outset. Supplying CAD drawings, product specifications, and specific visual references helps the creative team work faster and with fewer revisions.
Can 3D Models Be Used for More Than Static Images?
Absolutely. This is where the true value of 3D models becomes apparent. The initial 3D model is a versatile digital asset that can be used repeatedly across various applications.
Beyond standard website or catalogue images, that single 3D model can be repurposed to create:
- 360-Degree Product Spins: Allow customers to explore your product from every angle.
- Animated Videos: Ideal for product demonstrations, assembly guides, or engaging social media content.
- Interactive Product Configurators: Enable users to customise colours, materials, or features directly on your website.
- Augmented Reality (AR) Experiences: Let people use their phone to see a virtual version of your product in their own environment.
This approach helps maximise the return on your initial investment by creating a full suite of engaging content from a single core asset.
What Do I Need to Provide to Start a Project?
To ensure a project starts efficiently, providing comprehensive information is key. A detailed package of materials gives 3D artists everything they need to create a pixel-perfect representation of your product.
Here is an ideal checklist:
- Design Files: CAD files, technical drawings, or blueprints are the gold standard for accuracy.
- Reference Photos: Clear, high-quality photos of the actual product from all sides.
- Dimensions: Precise measurements are essential.
- Material Details: Specify every material, texture, and finish (e.g., matte plastic, polished chrome, grained wood).
In addition to the technical files, a solid creative brief is crucial. This is where you outline the mood, lighting style, camera angles, and the overall story you want the visuals to convey. The more detail you provide, the closer the final render will be to your vision.

