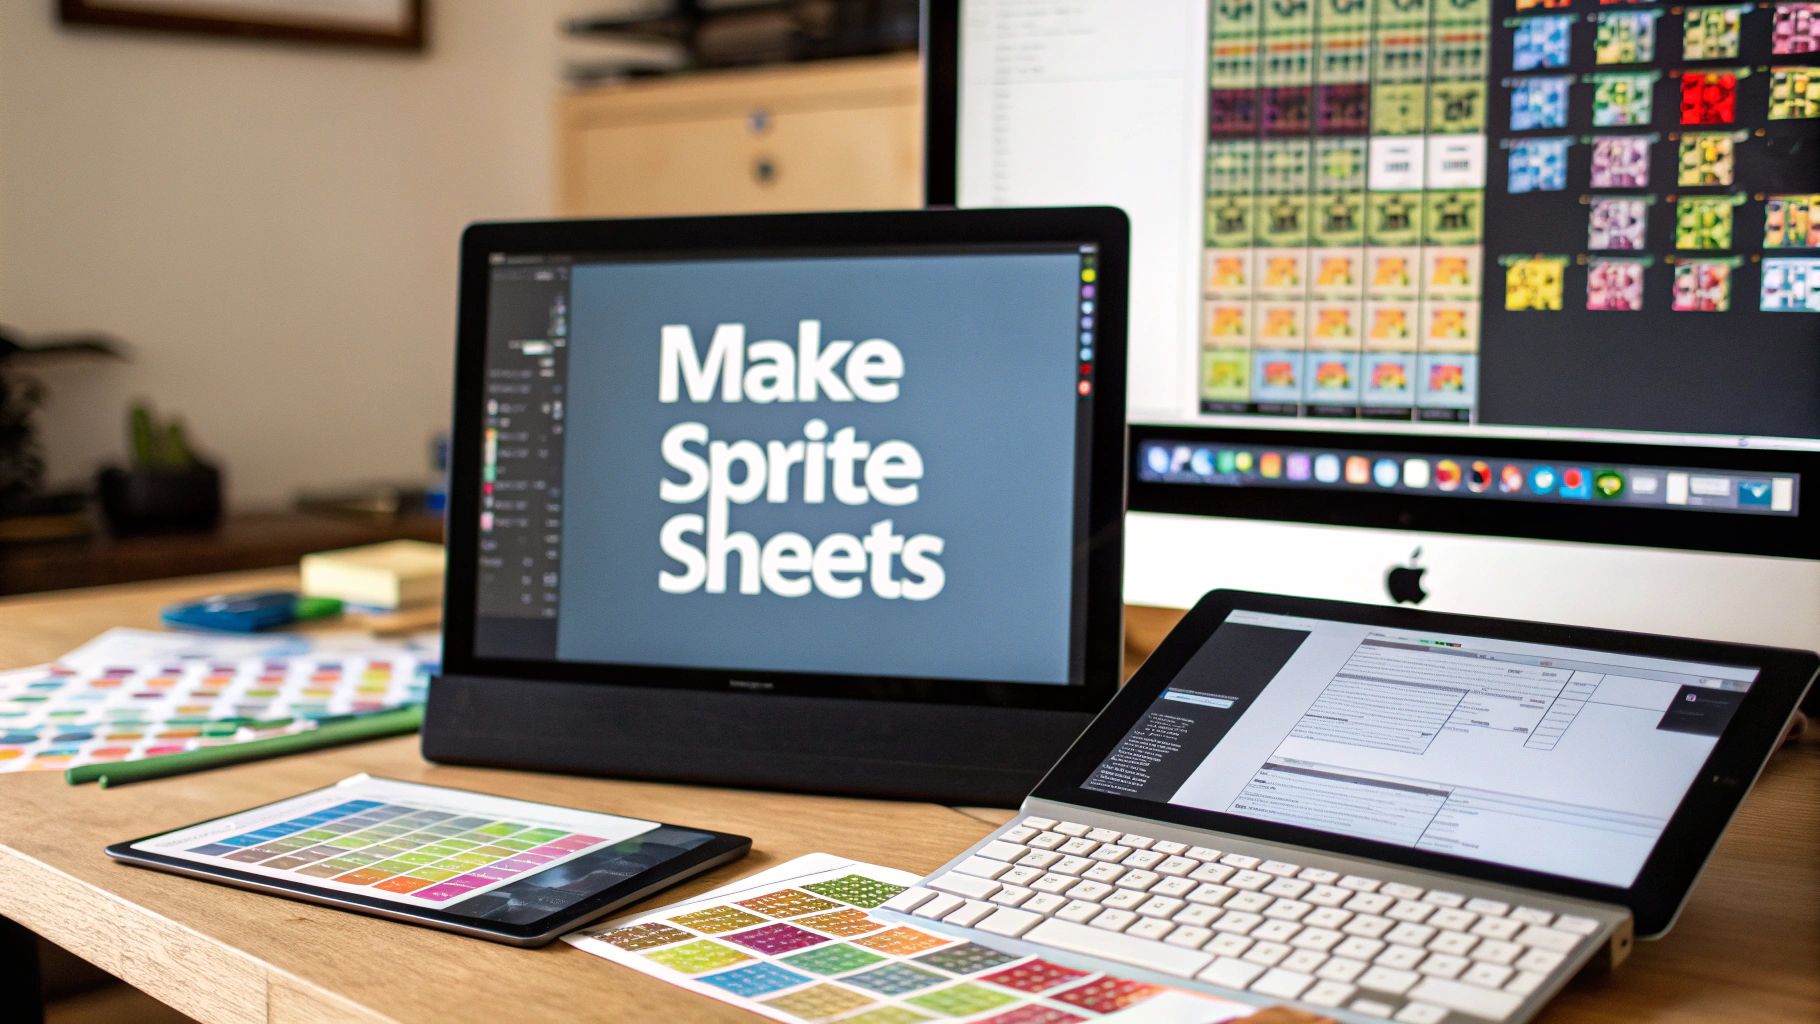
If you’ve ever wondered how 2D games run so smoothly, the answer often comes down to a powerful, well-established technique: the sprite sheet.
At its heart, a sprite sheet is a single image file containing multiple frames of an animation. Game engines then use this single file—often called a texture atlas—to display animations without constantly loading new assets. This isn't just a convenience; it's a foundational method for optimizing game performance by reducing the load on the graphics processor.
Why Sprite Sheets Are a Game Dev's Secret Weapon
Before we get into the "how," it's important to understand the "why." Why go through the process of packing all your images together? The primary reason is performance. A sprite sheet is one of the most effective optimization tools you have, and it dramatically improves how your game runs on any platform.
The biggest win comes from cutting down on GPU draw calls. Every time your game needs to render a separate image, it issues a "draw call" to the graphics card. Too many of these commands can create a bottleneck, leading to stutter, lag, and lower frame rates. By bundling dozens of animation frames into one sprite sheet, the engine only has to load a single texture into memory once.
The Power of a Single File
This concept is not new. In fact, it dates back to the 1980s when consoles like the Nintendo Entertainment System had severe memory limitations, forcing developers to be creative. Today, the same principle helps modern engines avoid constantly switching texture resources, which can reduce GPU bandwidth usage by up to 70% compared to loading individual files. For a deeper look at industry stats, kasradesign.com offers some great insights.
This efficiency boost affects everything from how fast your game loads to how long a phone's battery lasts while playing it.
Here’s what that looks like in practice:
- Faster Loading Times: It's almost always quicker to load one large image than dozens of small ones.
- Lower Memory Usage: The engine holds a single texture in memory instead of juggling a folder full of separate files.
- Smoother Animations: With fewer draw calls, the GPU can render frames more consistently, resulting in fluid character movement.
- Cleaner Asset Management: Managing one sprite sheet per character is much more organized than navigating folders packed with hundreds of individual PNGs.
A quick look at the numbers shows just how significant the difference can be.
Performance Impact of Sprite Sheets vs Individual Images
This table provides a quick comparison illustrating the performance gains achieved by using sprite sheets over loading individual image files.
As you can see, the benefits add up quickly, making sprite sheets a clear winner for any project where performance matters.
A well-organized sprite sheet doesn’t just boost performance; it streamlines your entire animation pipeline. It’s the bridge between raw art assets and the final in-game product, making life easier for artists and programmers alike.
The logic behind sprite sheets is also a key part of building efficient user interfaces. If you're interested in that, you should check out our guide on game interface design.
Ultimately, learning to create and use sprite sheets is a critical step toward building games that are professional, polished, and performant.
Laying the Groundwork for a Perfect Sprite Sheet
Before you begin stitching images together, it's essential to focus on preparation. A high-quality sprite sheet is built from clean, organized, and consistent frames. Taking the time to establish a solid foundation will prevent numerous issues later in the process.
Think of each animation frame as a building block. If your blocks are all different sizes and shapes, the final structure will be unstable. Mastering this prep phase is a hallmark of professional animation pipelines and a critical skill in a growing industry.
The global animation market was valued at approximately USD 394.6 billion in 2022 and is projected to reach USD 528.8 billion by 2030. The software that powers 2D animation and sprite sheet creation is expected to grow from USD 35.64 billion to USD 92.93 billion in that same period. Clearly, these skills are more valuable than ever. You can explore more animation industry statistics on passivesecrets.com.
Establish a Naming Convention First
If there’s one habit that will provide long-term benefits, it’s adopting a logical naming convention. This isn’t just about being neat; it’s about making your assets readable for both humans and machines. A folder full of files like final_v2_run.png can quickly lead to confusion.
Instead, create a simple, sequential pattern that makes sense.
- A good example:
hero_run_001.png,hero_run_002.png,hero_jump_001.png - Why it works: It clearly states the character (
hero), the action (run), and the frame number (001). The leading zeros are crucial—they ensure your files sort correctly, regardless of the operating system.
This small step makes batch processing, importing, and scripting much smoother.
Exporting and Handling Transparency
Next is exporting your frames from your animation software. If you're creating new animations in a tool like Aseprite or Adobe Animate, you have full control. Always export your frames as PNGs with a transparent background. This is essential to avoid visible boxes around your character in-game.
Extracting frames from existing assets, like a GIF or video, requires more effort. You’ll need a tool to split the source file into individual images. From there, it's often a manual cleanup process to ensure every frame has clean transparency and consistent dimensions.
Pro Tip: Every single frame in an animation sequence must have the exact same dimensions. Even if a frame has less visual content, do not crop it. This consistency is what keeps your character's pivot point stable and prevents a jittery, misaligned appearance when the animation plays.
Pre-Optimize Your Individual Frames
Before you assemble everything, take a moment to optimize the individual PNGs. Running your frames through an image compression tool can reduce file size without a noticeable drop in quality. Think of it as "pre-optimization"—it ensures your final sprite sheet is as lean as possible right from the start.
This is especially critical for mobile games, where every kilobyte matters. A smaller texture atlas means less memory usage, faster load times, and a smoother experience for the player. It all starts with proper preparation.
Choosing the Right Tool for the Job
With your animation frames named, optimized, and ready, the next step is assembling them into the final sprite sheet. The tool you choose will define your workflow, offering a choice between automated speed and hands-on, pixel-perfect control.
There’s no single "best" tool. The right choice depends on your project's needs, your budget, and how much you prefer to control the final layout. Some developers rely on dedicated software for its efficient algorithms, while others prefer the direct control of arranging frames manually in an art program they already use.
Let's break down the most popular options to find the right fit for you.
Dedicated Sprite Sheet Software
If you're aiming for professional-grade results and efficiency, dedicated tools are the best option. These applications are purpose-built for creating and optimizing sprite sheets. They are often packed with features that handle everything from packing algorithms to exporting directly for your game engine.
- TexturePacker: This is a widely-used industry tool. TexturePacker uses advanced packing algorithms to arrange your sprites into the smallest possible space, which is a significant advantage for reducing memory usage. It also exports directly into formats for major engines like Unity, Godot, and Unreal, saving considerable setup time.
- ShoeBox: A great free alternative. ShoeBox is a lightweight, drag-and-drop tool with a simple interface. While it may not have all the features of its paid counterparts, it is more than powerful enough for most indie projects and game jam prototypes.
Here’s a look at the TexturePacker interface. You can immediately see how it organizes sprites and gives you granular control over the export.
Notice how it visually shows the packed sprites and offers specific data formats for different engines. That integration is a massive time-saver.
Built-in and Manual Methods
If you prefer not to add another piece of software to your toolkit, you might already have what you need. Many creative applications come with sprite sheet features built in, or you can use traditional methods.
Aseprite: If you're creating pixel art, you’re likely already using Aseprite. Its "Export Sprite Sheet" function is very useful. It lets you generate a perfectly arranged sheet right from your animation file, making it a favorite among pixel artists for its seamless workflow.
Photoshop or GIMP: For artists who desire absolute control over every pixel, assembling a sprite sheet by hand is always an option. You can create a large canvas, set up a grid, and place each frame individually. It’s time-consuming, but it provides complete authority over the layout. The main drawback is the potential for human error, as it’s easy to misalign a frame.
Choosing a tool is about trade-offs. Automated packers like TexturePacker save significant time and optimize your game’s memory. On the other hand, manual methods in Photoshop offer the fine-grained control that some artists prefer.
The growth of automated tools is a significant topic in game development. If you're curious about how automation and AI are reshaping the industry, our article on AI in game development takes a deeper dive into these modern workflows.
Ultimately, the best tool is whatever gets you from a folder of frames to a game-ready asset with the least amount of friction.
Comparison of Popular Sprite Sheet Creation Tools
To help you decide, here’s a quick feature-by-feature comparison. This table should make it easier to see which tool best fits your project, budget, and preferred way of working.
At the end of the day, there's a reason TexturePacker is an industry standard—it is a reliable tool. But for smaller projects or artists already deep in the Aseprite ecosystem, the built-in tools are often more than enough to get the job done right.
Mastering the Art of Sprite Sheet Packing
How you arrange your animation frames on the final sheet—what we call packing—is more than just an organizational exercise. It has a direct, measurable impact on your game's memory footprint and rendering performance. Simply placing frames into a grid is a start, but to achieve significant efficiency gains, you need to use smarter packing strategies.
This means becoming familiar with a few key concepts that every professional game artist uses. These aren't just technical terms; they are the levers you'll pull to balance file size against performance, making sure your game runs smoothly on as much hardware as possible.
The Foundations of Smart Packing
The first two concepts to understand are trimming and padding.
Trimming is the process of automatically removing all the transparent, empty pixels around a sprite. Think about a character's "idle" animation—most of the time, the character only occupies the center of the frame. Trimming gets rid of all that wasted transparent space, allowing other sprites to pack in much tighter. This single step can reduce your final texture size by 20-50%, depending on the animation.
Padding, on the other hand, adds space. It's a small, transparent border inserted between each sprite on the sheet. While it may seem counterintuitive to add pixels when trying to save space, padding prevents a graphical glitch called texture bleeding. That’s when pixels from a nearby sprite appear on the edges of another one. Just 2-4 pixels of padding is usually enough to resolve this issue.
This flow chart gives you a sense of a basic, sequential packing method.
As you can see, a simple grid approach is easy to understand but often leaves a significant amount of empty space. This is why more advanced packing algorithms are necessary.
Why Power-of-Two Dimensions Matter
Here’s another important rule: the final dimensions of your sprite sheet. Game GPUs are optimized to handle textures with dimensions that are powers of two—such as 256, 512, 1024, 2048, and so on. A sprite sheet that's 1024x1024 pixels will almost always be more memory-efficient and perform better than one sized at something arbitrary like 980x1150 pixels.
In fact, many game engines will automatically resize non-power-of-two textures at runtime, which can cause visual artifacts and actually increase memory usage.
For mobile game development, sticking to power-of-two dimensions isn't just a good idea—it's essential. It's a simple constraint that helps ensure maximum compatibility and performance, preventing unexpected memory spikes and rendering problems on older devices.
The difference this makes can be substantial. A basic grid layout might require a 2048x2048 sheet. However, a smarter packing algorithm that uses trimming and sprite rotation could fit the exact same sprites onto a 1024x1024 sheet. That's a 75% reduction in texture memory. This is the power of smart packing. It’s not just about saving a few kilobytes; it’s about making your game run better for everyone.
Getting Your Sprite Sheets Into the Game Engine
You've created your perfectly packed sprite sheet. Now, the process begins to bring it into your game engine and make it move. This is where your careful preparation pays off, and your static frames become a dynamic animation.
So, how does it work? You’ll import two items: the sprite sheet image (your PNG) and its corresponding data file (usually a JSON or XML). The data file acts as a map, telling the engine where every single frame is located on that large image, its dimensions, and its name. Without that map, the engine only sees one large, unorganized picture.
Importing and Slicing the Texture
Modern game engines like Unity and Godot are designed for this workflow. They have tools that read your data file and automatically "slice" the texture into individual sprites.
In Unity, for example, you would select the texture and change its Texture Type to "Sprite (2D and UI)" and the Sprite Mode to "Multiple." From there, the Sprite Editor can use the data file to slice it for you. In a single step, you have a complete library of individual sprites ready to use, all referencing the one master texture.
A quick pro tip: Configure your import settings correctly from the start. Set compression to 'None' to avoid visual artifacts. For pixel art, always set the filter mode to 'Point (no filter)'. This keeps your sprites sharp and prevents the blurry appearance that anti-aliasing can cause.
Managing these assets well is a discipline in itself. If you want to get serious about organizing your project files, our guide on digital asset management best practices offers a great framework for keeping things clean and efficient.
Assembling Your Animation Clips
With your sprite sheet sliced, it's time to build the actual animation clips. This is where you will use your engine's animation editor.
You’ll create new sequences—such as "Run," "Jump," or "Idle"—and then drag the sliced sprites onto the timeline in the correct order. This is where naming your frames properly (hero_run_01, hero_run_02, etc.) becomes a huge time-saver. Once they’re arranged, you can tweak the animation’s speed by adjusting the sample rate or FPS until the movement feels fluid.
Resolving Common Problems
Even with a well-defined workflow, issues can arise. Here are the most common challenges and how to address them:
- Texture Bleeding: If you see thin lines from other frames flickering around your sprite, it's almost always a padding issue. Return to your packing tool and give each sprite 2-4 pixels of padding.
- Animation Plays Out of Order: If your character's animation is incorrect, the data file may not have imported correctly, or the frames were not named sequentially. Check your file names and try re-importing the asset.
- Blurry Sprites in-Game: This is a classic import setting problem. Ensure your filter mode is set to "Point" and that compression is turned off to maintain sharpness.
The efficiency of sprite sheets is a significant reason for the growth of the mobile and indie game markets. Casual games, which rely heavily on 2D animation, currently represent the largest share of the advertising market at 27.2%. This has also led to a rise in outsourced game art, which helps studios scale production and reduce costs by as much as 40%. You can check out more game market insights on devtodev.com.
Your Top Sprite Sheet Questions, Answered
Even when you understand the tools, a few questions often come up during the sprite sheet creation process. This section provides a quick guide to the most common issues artists and developers encounter.
Let's clarify these points so you can continue your work.
Is There an Ideal Size for a Sprite Sheet?
There's no single "magic number," but the best practice is to stick to power-of-two dimensions. This means sizes like 512x512, 1024x1024, or 2048x2048 pixels. GPUs are optimized for textures in these sizes, which helps them run faster and use less memory.
For most games, 1024x1024 is an excellent balance. If you’re building a lightweight mobile game, you might use 512x512. Conversely, a high-resolution 2D game for PC or console might need a larger 2048x2048 or even 4096x4096 sheet to keep everything looking crisp.
How Many Animations Should I Put on One Sheet?
This depends on the project, but a good rule of thumb is to group animations by character or object. Place your hero's "run," "jump," "idle," and "attack" animations all on one sheet. Avoid creating a separate sheet for every single action.
Why? It’s about performance. When your hero is on-screen, the game engine only has to load that single texture to access every animation needed. This reduces texture swapping, which can be a performance bottleneck. Keep unrelated assets separate—your hero's animations should not be on the same sheet as an enemy's.
Can I Use Different Sized Frames?
Yes, absolutely. Modern packing tools are designed to handle frames of different sizes. They trim empty space and use smart algorithms to pack everything tightly, then generate a data file that tells the engine the exact location and size of each frame. It's a huge space-saver.
The one non-negotiable rule is this: within a single animation sequence, like a run cycle, every frame must have the same canvas size. This ensures your character's pivot point stays consistent and prevents a jittery appearance.
Should I Compress My Final Sprite Sheet?
It is generally recommended to avoid heavy compression. Avoid formats like JPEG, as it introduces visual artifacts, especially around the edges of your sprites, and can degrade the visual quality of your game.
Always export your sprite sheet as a lossless PNG-32 to preserve transparency and image quality. The real optimization comes from smart packing, trimming whitespace, and using power-of-two dimensions—not from degrading your work with compression.
Ready to move beyond 2D and bring your creative concepts into the third dimension? Virtuall helps your team generate high-quality 3D models from simple text and images in seconds. Streamline your entire creative workflow and manage your projects with ease. Discover the future of 3D asset creation at https://virtuall.pro.


