Creating unique, game-ready 3D assets for games used to take days. Now, with responsible and compliant AI tools, it can take just minutes. As a creative professional, you can generate props, characters, and entire environments from simple text prompts, speeding up your workflow without compromising on safety or quality.
This guide is your practical roadmap. We're moving past the hype and into hands-on application, showing you exactly how to integrate AI into your professional workflow. To fully appreciate the power of this technology, we encourage you to try the Creative AI OS. If you haven't generated anything already, you can try it for free and see how a secure, enterprise-ready platform can transform your creative process.
How AI Is Changing Game Asset Creation
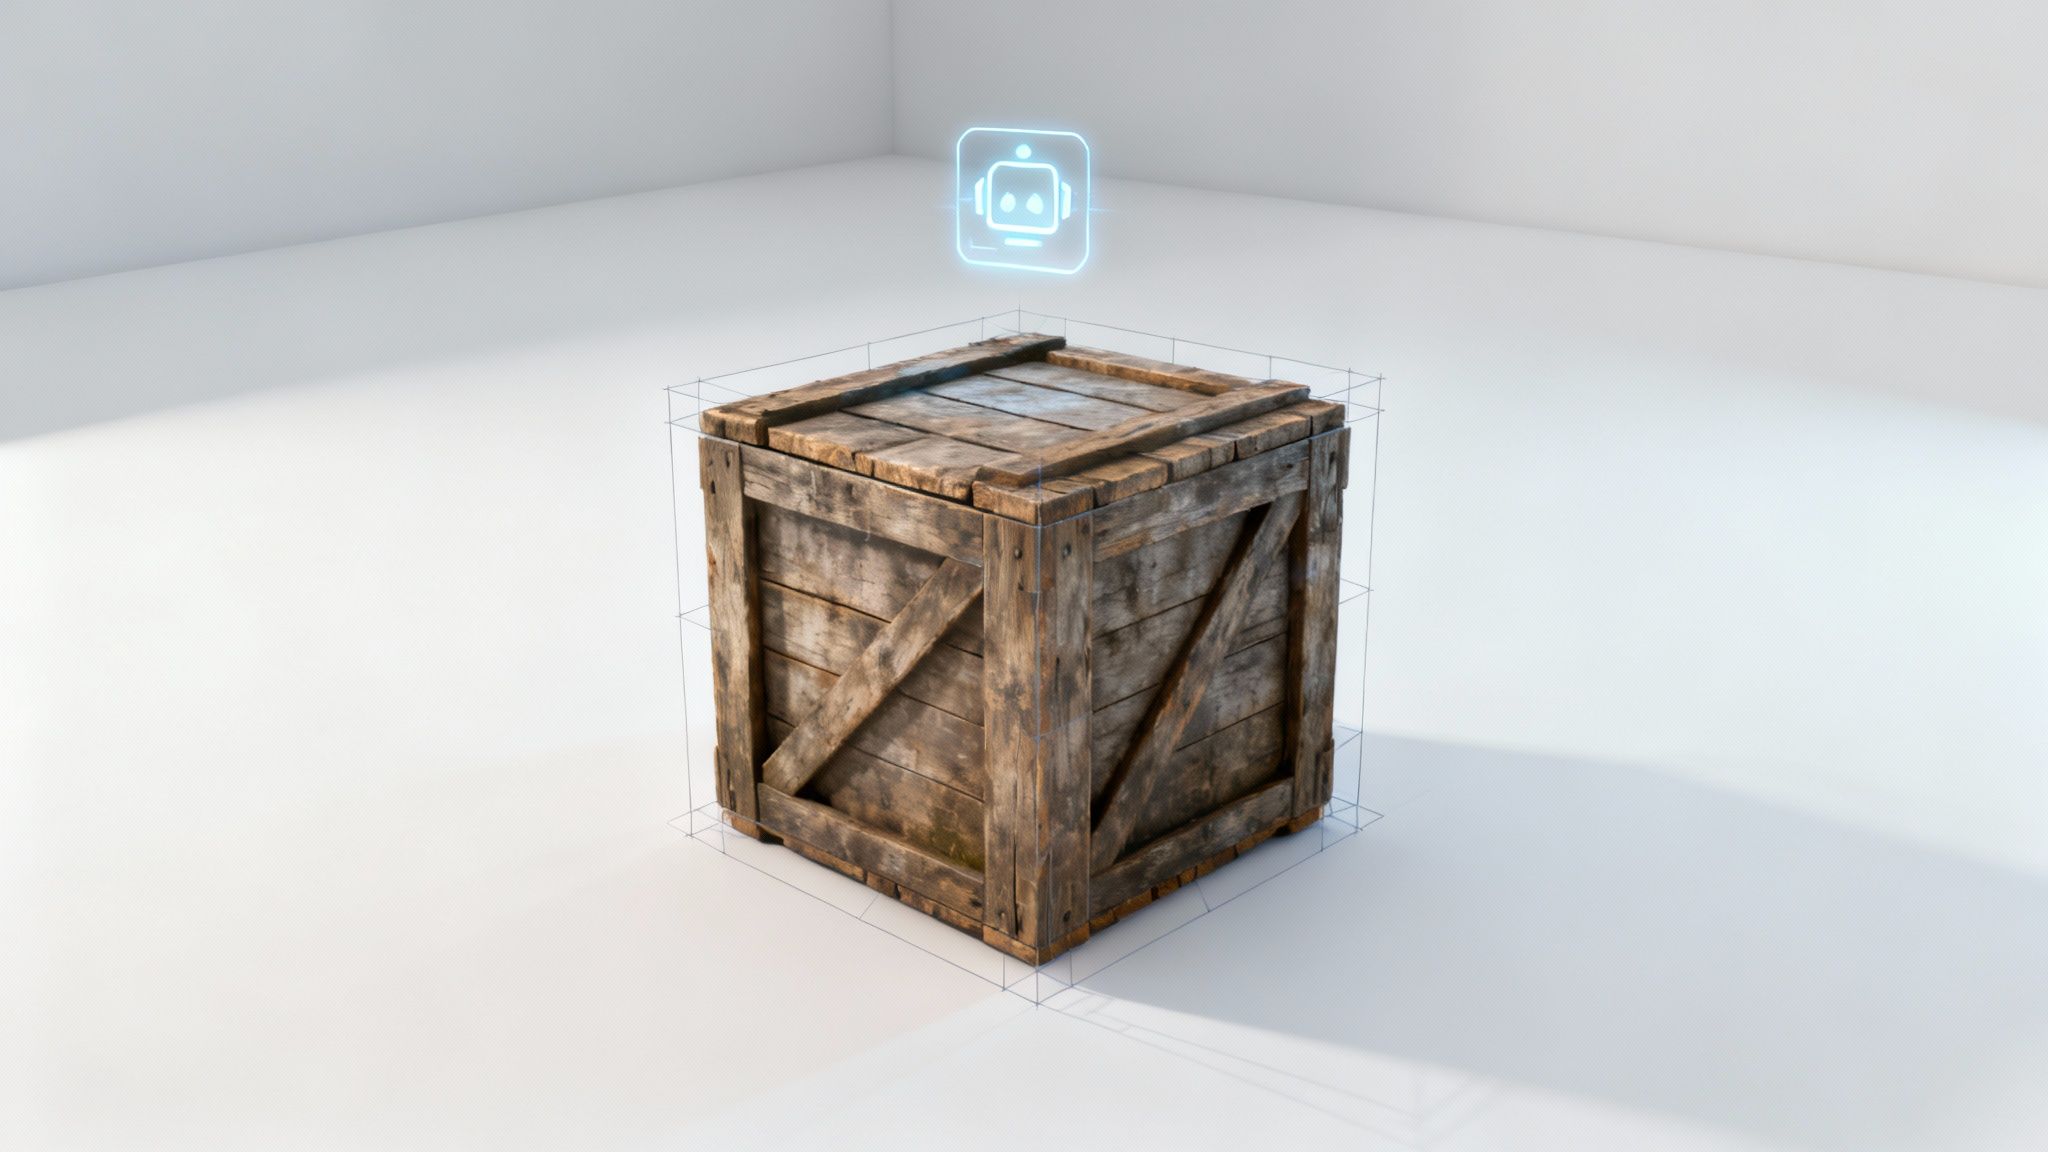
Imagine being a solo dev or a small team building a visually rich game world—a task once reserved for massive studios with huge art departments. Artificial intelligence is making that a reality. By automating the repetitive grunt work of asset creation, AI lets artists focus on what actually matters: their vision and creativity.
This guide is meant to be a practical companion, not just something you read. As you follow along, we encourage you to generate your first asset. If you haven't already, you can try the Creative AI OS for free and experience this firsthand. Getting your hands dirty is the best way to see the immediate impact on your development pipeline.
The New Creative Workflow
Traditionally, creating a single 3D asset was a long, winding road: concept art, blocking, sculpting, retopology, UV unwrapping, and texturing. It’s a marathon.
AI collapses several of those stages into a single, prompt-driven action. This doesn't make artists obsolete. It gives them an incredibly powerful assistant.
This technology acts as a creative multiplier. An artist who once spent a week modelling a set of props can now generate dozens of variations in an afternoon. Their time shifts from manual labour to curation, refinement, and integration.
This newfound speed opens up entirely new possibilities for creating more dynamic and expansive game worlds.
Think about the impact on different parts of development:
- Rapid Prototyping: Instantly create placeholder or even final-quality assets to test gameplay ideas. No more waiting for manual modelling to see if a level layout works.
- Environmental Diversity: Populate your environments with unique, non-repeating objects. From foliage to furniture, your world feels more authentic and lived-in.
- Customisation Options: Generate massive libraries of character gear—armour, weapons, accessories—giving players far more choice without the huge time investment.
The wider implications are massive. As we cover in our guide to AI in game development, this accessibility is levelling the playing field. Independent developers can now produce games with a visual fidelity that rivals major productions, sparking a new wave of ambitious projects.
The focus is shifting from manual labour to creative direction.
From Text Prompt to Your First 3D Model
This is where the magic happens—turning your abstract ideas into tangible assets. Generating your first model isn’t about being a technical whiz; it's about learning to communicate your vision to the AI.
Forget complex 3D theory for a moment. The real skill is crafting descriptive text prompts that guide the AI toward the exact object you have in your head.
Let's walk through a real-world scenario. Say you're building a fantasy RPG and need a specific prop for a wizard's lab. A vague prompt like "magic potion bottle" is just going to give you something generic. You need to be the art director.
A much better starting point? "A corked, spherical glass potion bottle, filled with a swirling purple liquid that glows faintly, with a weathered leather strap and a small silver moon charm tied around the neck." That level of detail directly impacts the geometry, the materials, and even the mood of the final asset.
Crafting Prompts That Actually Work
The words you choose are your primary tool. Think of it like briefing a concept artist—the more precise you are, the closer the result will be to what you imagined.
Here are a few key ingredients I always include in my prompts for better control:
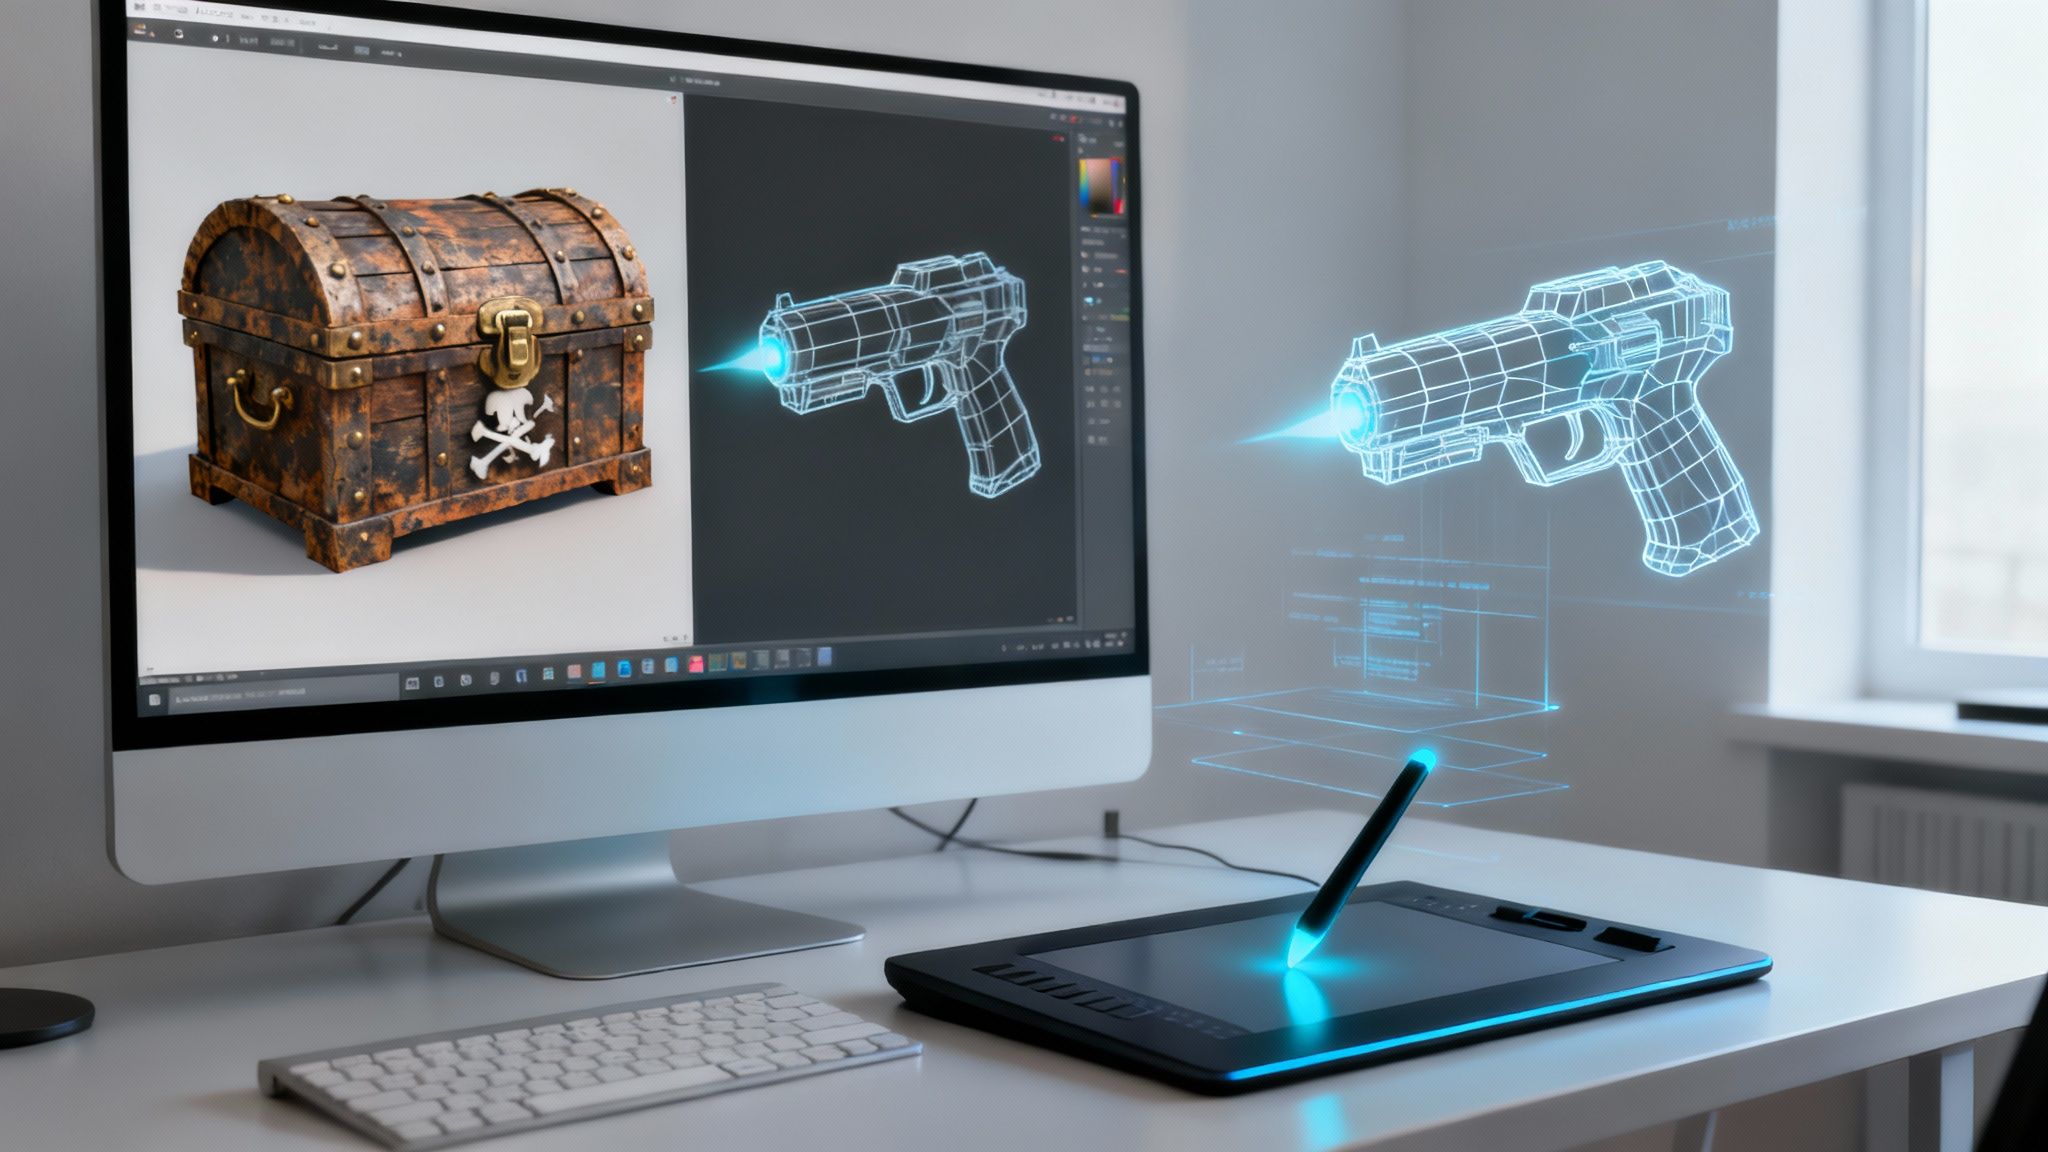
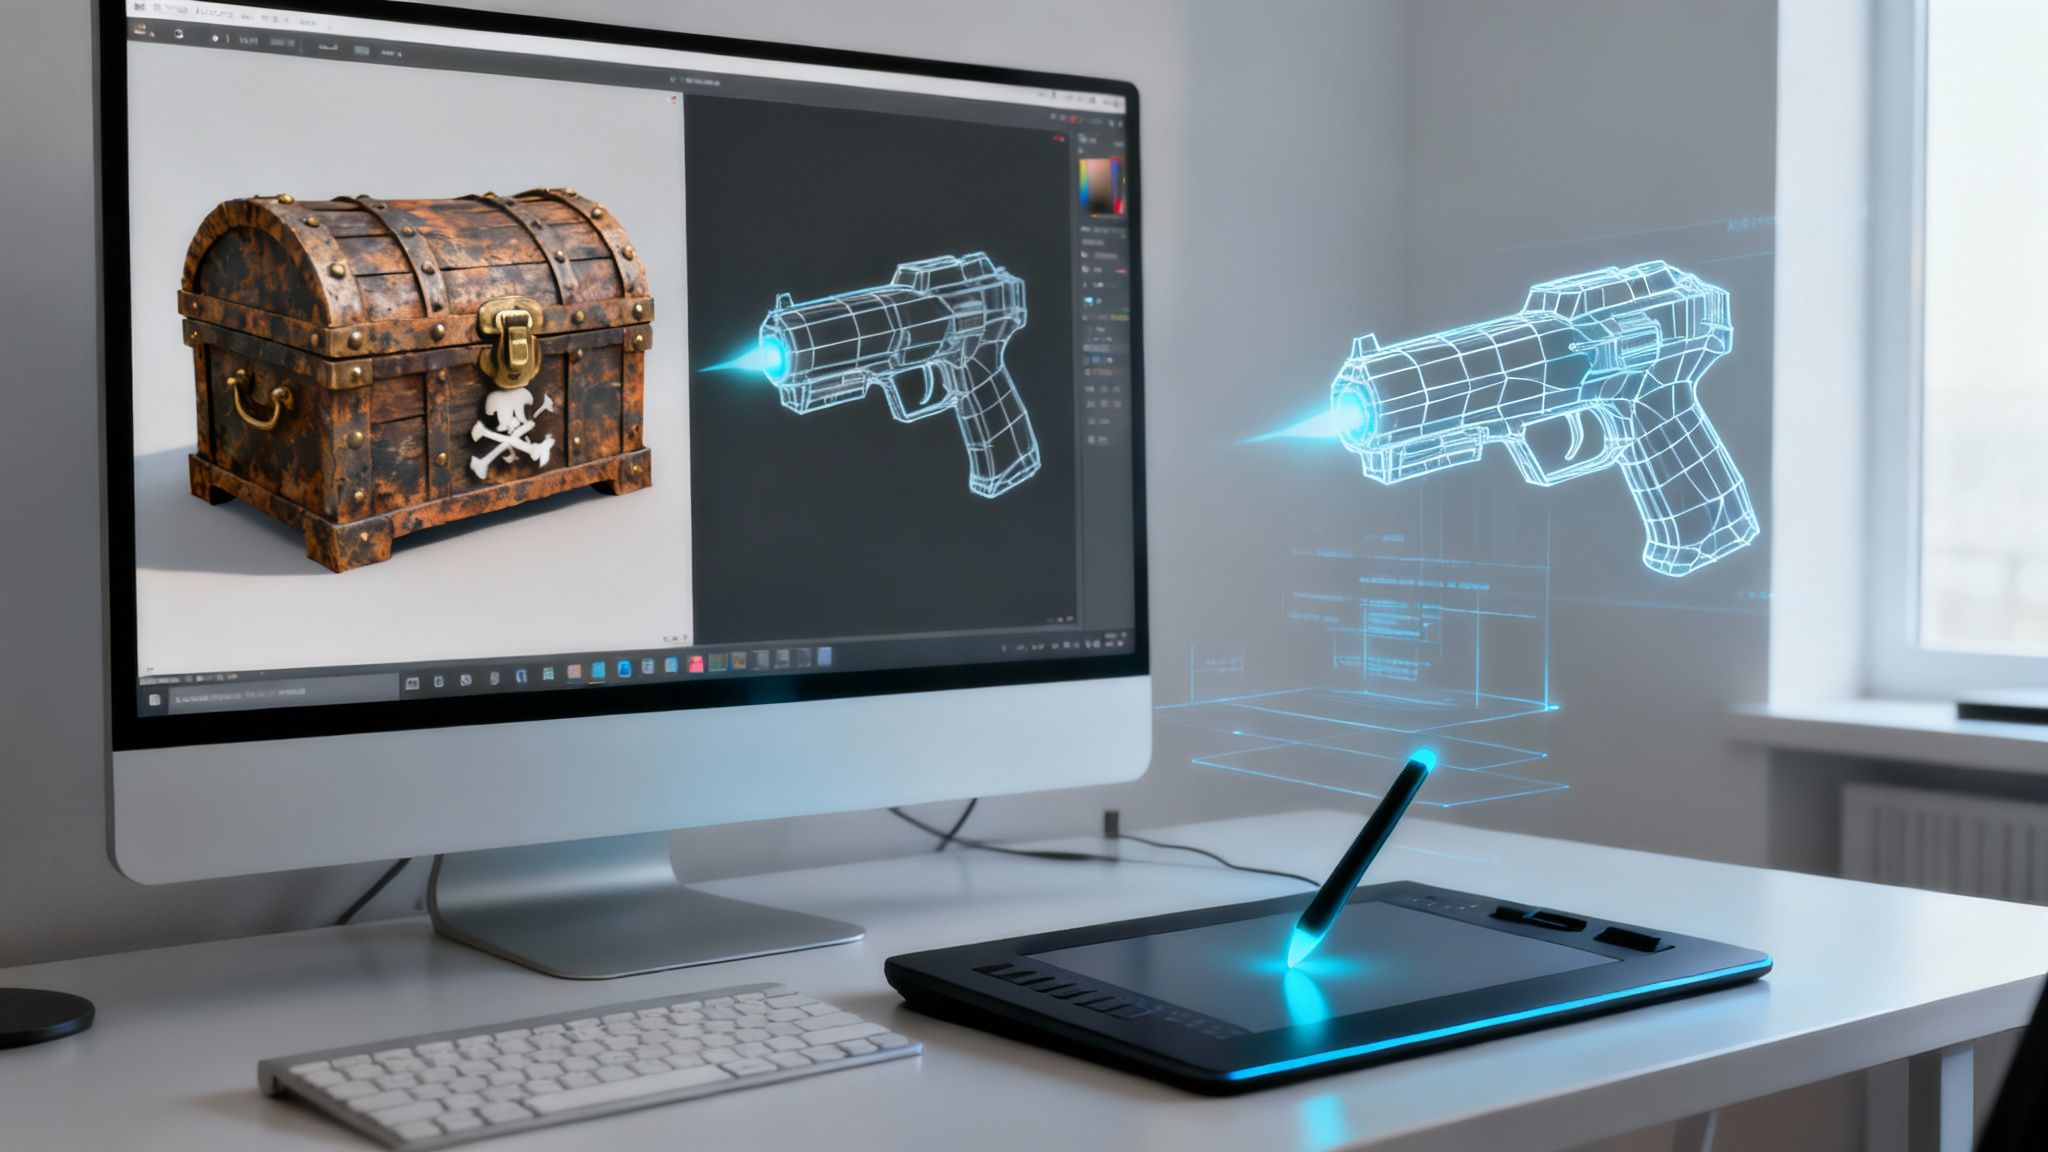
- The Core Object: Start simple. "Treasure chest," "plasma pistol," you get the idea.
- Key Descriptors: Now add flavour with adjectives that define its material and condition. Think "weathered," "ornate," "rusted," or "sleek."
- Art Style: This one's crucial. Specify the look you're after. "Low-poly," "cel-shaded," "photorealistic," or "stylised fantasy" will drastically change the outcome.
- Defining Features: What makes it unique? For a pirate chest, it might be "barnacles crusted on the sides" or "a heavy iron lock with a skull motif."
When you combine these elements, you can generate incredibly specific 3d assets for games. For instance, "a low-poly sci-fi plasma pistol, matte black finish, with glowing blue energy coils and a minimalist design" will produce something worlds apart from a basic "gun" prompt. This back-and-forth is central to mastering the workflow.
If you really want to get into the nitty-gritty, check out our full guide on the nuances of turning a text to 3D model prompt into a finished product.
Refining and Iterating Your Model
Don't expect perfection on the first try. Your first generation is almost never the final one, and that's completely normal. Iteration is a huge part of the creative process.
If the AI-generated treasure chest looks too clean and new, just tweak your prompt by adding "splintered wood" or "dented gold trim" and run it again.
The real power here is the rapid feedback loop. You can test a dozen different visual ideas in the time it would have taken to manually create a single model. This opens the door for so much more creative exploration.
Let's try another one. You need a hero's sword.
- V1 Prompt: "A longsword" – This will be bland and uninspired.
- V2 Prompt: "A fantasy longsword with a glowing blue rune on the crossguard" – We're getting warmer, but it's still pretty vague.
- V3 Prompt: "A finely crafted elven longsword, slender silver blade, with a crossguard shaped like tree branches, and a single glowing blue sapphire embedded in the pommel" – Now we're talking. This gives the AI enough rich detail to create something truly unique that fits a specific artistic vision.
Optimising Your AI Models for Game Engines
Getting a model from a text prompt is an incredible first step. But let's be real—a raw, AI-generated mesh is almost always too heavy and complex for real-time rendering in a game engine. To turn that cool concept into a high-performance asset, you need to roll up your sleeves and get into the essential work of optimisation.
This is where the magic really happens. You’re bridging the gap between that initial creative spark and the technical demands of a professional game pipeline. It’s how you make sure your 3d assets for games won’t absolutely tank the frame rate in Unity or Unreal. Without this crucial work, even the most stunning models are practically useless.
The whole journey, from idea to game-ready asset, can be broken down into a pretty straightforward flow.
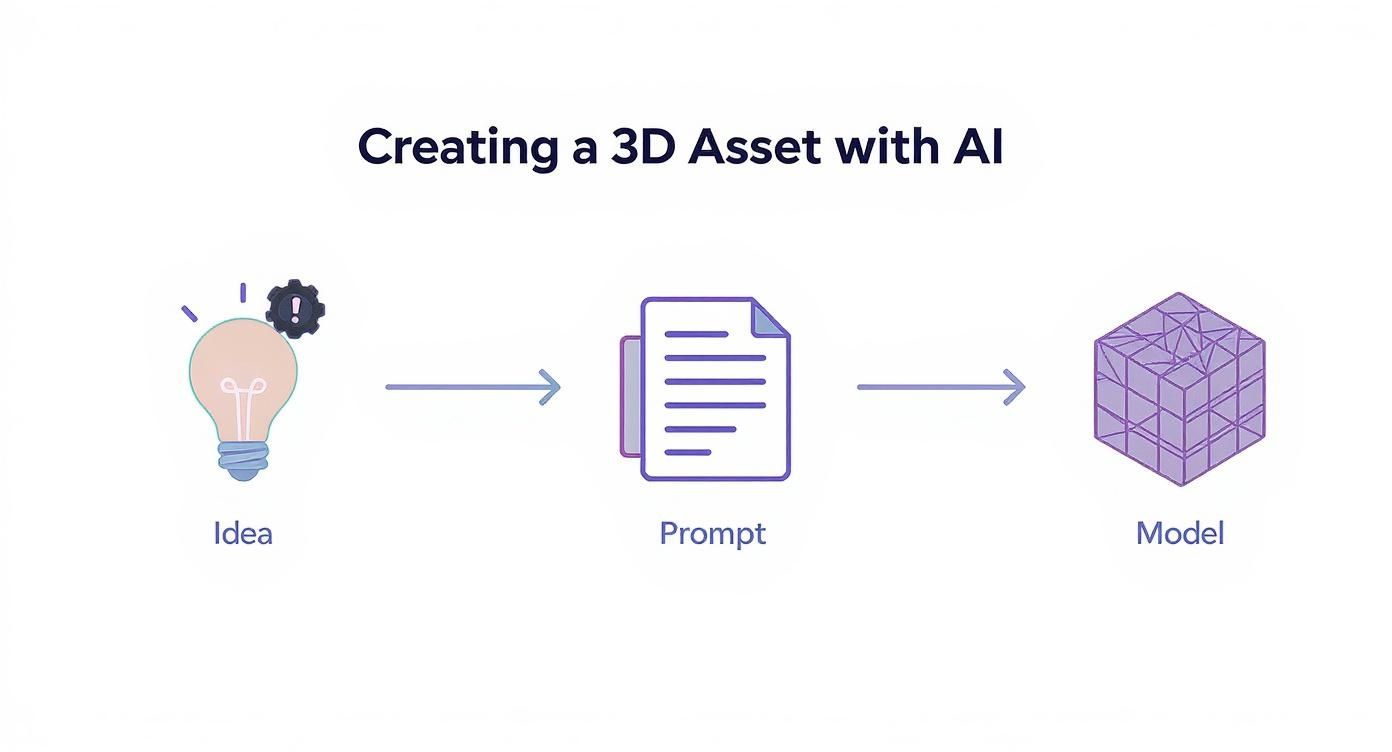
This flow shows the three core stages of AI generation, from the initial concept all the way to a clean wireframe model that’s ready for you to refine.
Managing Your Polygon Budget
The single biggest performance killer in any game is an out-of-control polygon count. AI models, especially those generated for high detail, can spit out millions of polygons. That's way too much for any game engine to handle smoothly. Your first job is to bring that number down. Drastically.
This is where retopology comes in. It’s the process of building a new, clean, and much simpler mesh right on top of your high-detail AI model. The goal is to capture the original shape and silhouette with the fewest polygons possible.
- Manual Retopology: Using tools like Blender or Maya, you get precise control to draw new polygons directly onto the high-poly surface. This is perfect for your "hero" assets—main characters, key props—where every single vertex counts.
- Automatic Retopology: Many programs have automated solutions that can generate a low-poly version in a flash. It’s less precise, sure, but it's a lifesaver for background objects or when you’re trying to process dozens of assets on a tight deadline.
Think of it like creating a lightweight skeleton that perfectly mimics the shape of a much more complex body. The game engine only has to render the simple skeleton, but with clever texturing tricks, it looks just as detailed as the original.
UV Unwrapping and Texturing Prep
Once you’ve got a clean, low-poly mesh, it’s time for UV unwrapping. This is like carefully skinning your 3D model and laying it flat to create a 2D map. This map tells the game engine exactly how to wrap your textures—like stone, metal, or wood—around the asset's surface without weird stretching or visible seams.
A well-organised UV map is non-negotiable for efficient texturing and high-quality results. To get the most out of your AI models, a deep familiarity with how these tools fit together is key, which really comes down to understanding your tech stack and what it can do.
The importance of this pipeline is felt across the industry, even in smaller, highly innovative markets. For instance, Denmark's gaming market was valued at roughly DKK 2.1 billion in 2023, and a huge chunk of that is driven by advanced 3D asset creation. In fact, reports show over 70% of Danish developers now use 3D assets as a core part of their pipeline.
Finally, you need to prep your model for export. This means choosing the right file type—like .FBX or .OBJ—that plays nicely with your game engine. If you want to dive deeper into which format is best for your project, check out our detailed guide on 3D model file formats.
Applying Textures and Materials to AI Assets
A clean, optimised model is a solid technical foundation, but it’s the textures and materials that really sell the story. This is where your AI-generated 3d assets for games stop being geometric shapes and become believable objects in your world. Think of the worn leather on a sword’s hilt or the damp moss creeping up a stone wall—that’s what breathes life and history into your game.
And the best part? AI can fast-track this process, too. Instead of building every texture from scratch, you can now generate seamless PBR (Physically Based Rendering) materials from simple text prompts. A phrase like "cracked, dry desert ground with small pebbles" can give you a complete set of texture maps—albedo, roughness, normal—all ready to go.
From Prompt to PBR Material
Generating textures works a lot like generating models: the more detail you give the AI, the better the output. You need to think about the object’s backstory. Is that shield fresh from the forge or has it deflected a dozen blows?
Here are a few examples to get you thinking:
- For Worn Leather: "Old, cracked brown leather, scuffed at the edges, with visible stitching and a faint greasy sheen."
- For Rough Stone: "Grey granite rock face, covered in patches of green moss, with deep crevices and a coarse, uneven surface."
- For Brushed Metal: "Brushed aluminium plate, with fine horizontal scratches and subtle anisotropic reflections."
Each prompt gives the AI enough context to produce a material that doesn’t just look right, but feels right for its place in your game.
This method is a game-changer for maintaining a consistent art style efficiently. Once you nail down a few core material descriptions, you can texture dozens of assets in a fraction of the time, all while ensuring they belong to the same visual universe.
Applying Your New Textures
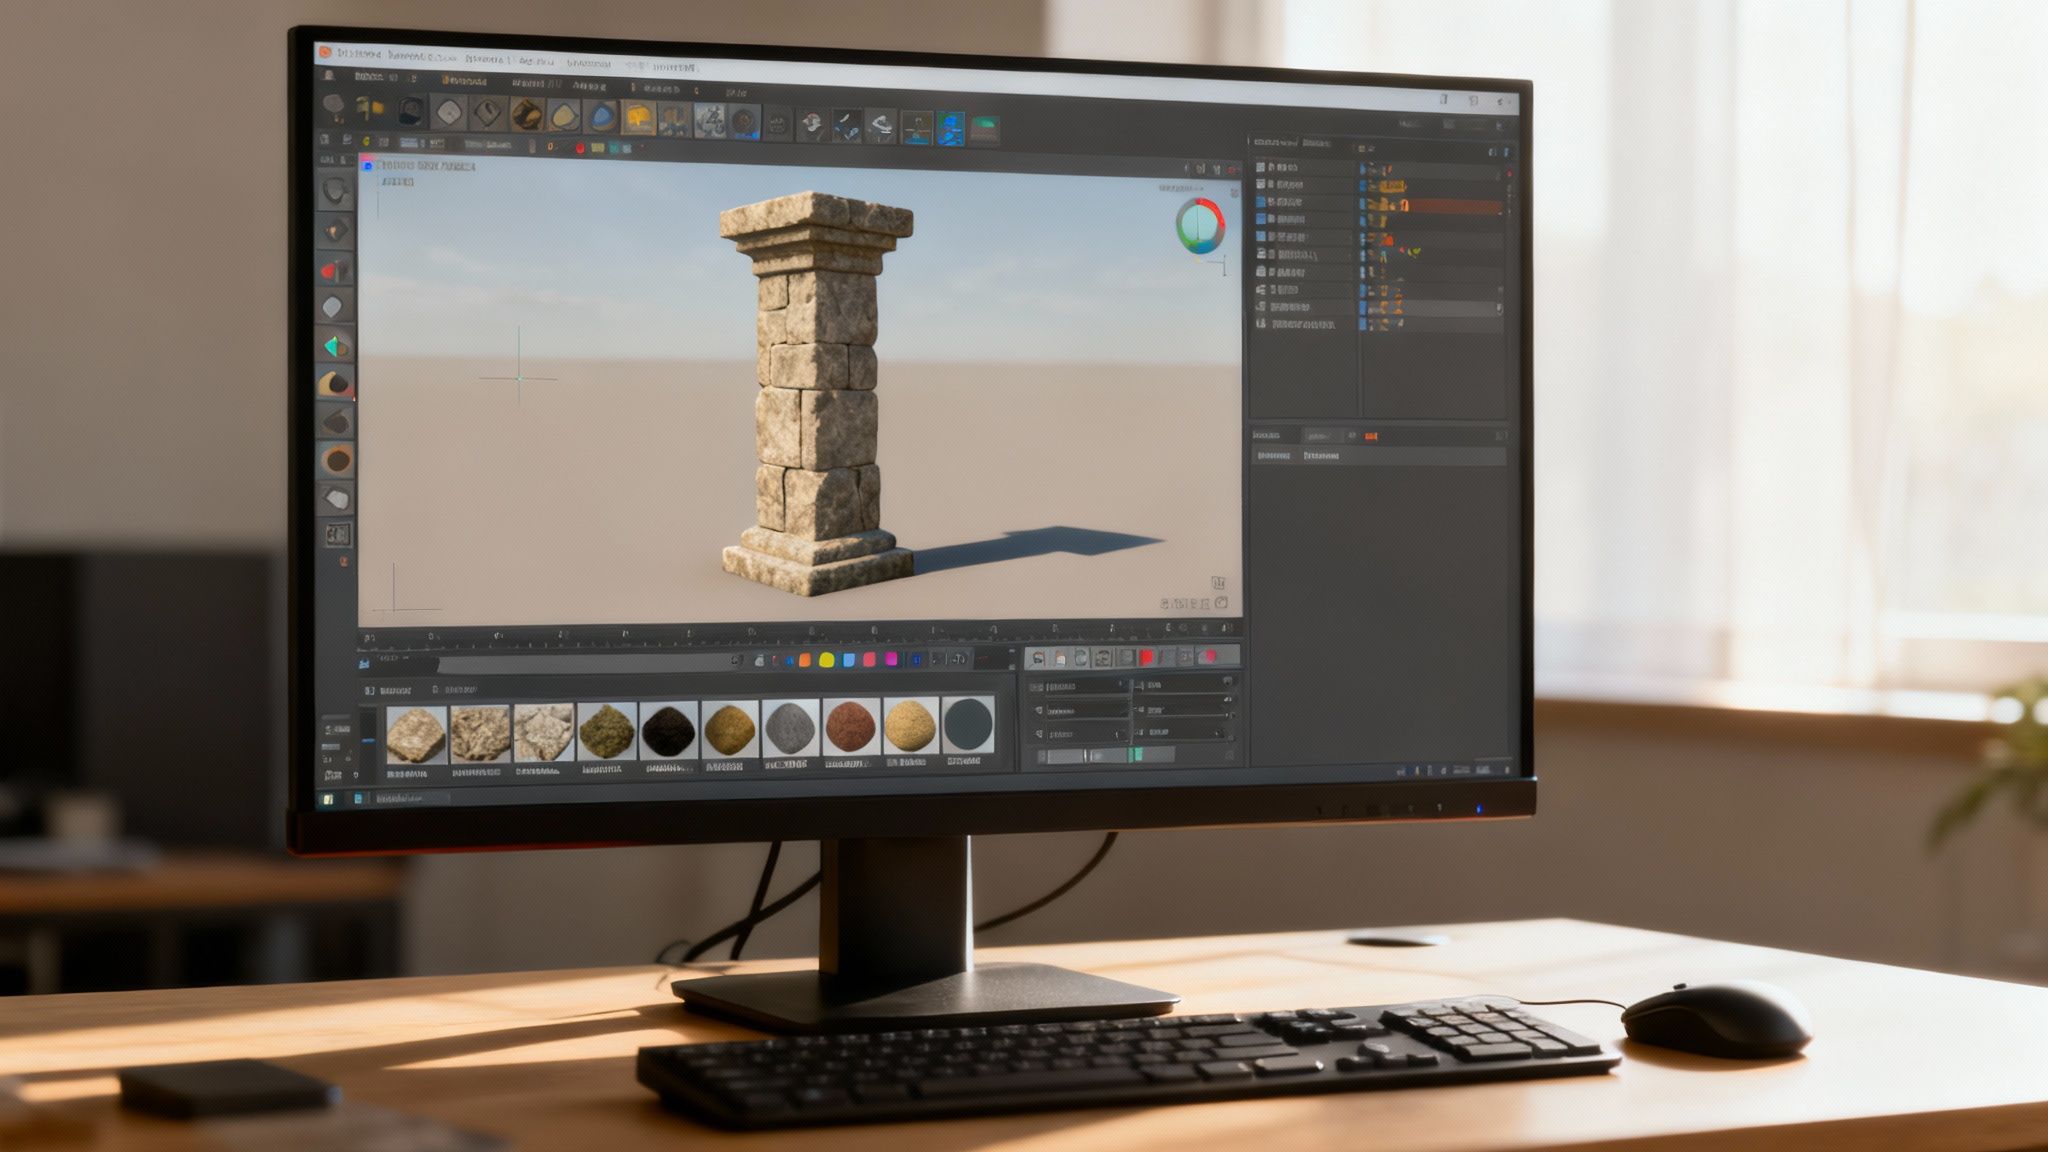
With your PBR materials generated, it's time to apply them. This is where industry-standard tools come into play. A program like Adobe Substance Painter is perfect for this, letting you layer materials, add procedural wear, and paint custom details right onto your model’s UVs for ultimate artistic control.
Alternatively, you can work directly inside modern game engines like Unity or Unreal Engine, which have fantastic built-in material editors. Just import your texture maps and build shaders that define how the surface reacts to light. This is a great way to iterate quickly, seeing exactly how your asset looks under your game's real lighting conditions.
The impact of getting this right isn’t just artistic—it’s commercial. In Denmark, the games industry is booming, partly thanks to the rising quality of 3d assets for games. Local studios generated over DKK 1.8 billion in revenue last year alone.
Impact of 3D Asset Quality on Game Performance Metrics
Data from Danish-developed titles clearly shows a direct correlation between the visual fidelity of 3D assets and key performance indicators. High-quality assets don't just look better; they drive tangible business results.
As the table shows, investing in high-quality texturing pays off significantly in how players engage with and value a game.
This connection between visual appeal and commercial success is why spending time on proper texturing is so crucial. It’s not just about making things look pretty; it's a core business decision that directly shapes player experience and your bottom line. You can find more analysis on this trend from market reports like those on Polaris Market Research.
Integrating Assets into Your Game Project
This is where your creation finally comes to life. Dropping a model into a game engine is one thing, but making it look and feel right is another beast entirely. It’s the final, crucial step that transforms your 3d assets for games from a file on your hard drive into a living part of your world.
Let's get this out of the way: proper integration isn't just about file formats. It’s about performance, interaction, and polish. A stunningly detailed sword is pointless if the player can walk right through it. A gorgeous environment piece that tanks your frame rate is worse than useless—it's a liability.
Nailing this process is a non-negotiable skill in the industry. It's the kind of practical knowledge that makes or breaks candidates for remote Unity jobs and other dev roles.
Engine-Specific Import Settings
Both Unity and Unreal Engine have powerful import pipelines, but each has its own quirks. When you export your model as an .FBX file, the goal is to carry over all the optimisation and texturing work you’ve already done.
Here are a few tips I've learned the hard way:
- For Unity: When you export from your 3D software, check "Embed Media" if you want textures bundled with the model. Unity will create a material for you on import, but you'll almost always need to jump in and tweak the shader settings to correctly hook up your PBR maps (especially roughness and metallic).
- For Unreal Engine: Unreal’s material editor is a powerhouse. I find it’s usually better to import your model and textures as separate files. This gives you far more control to build a flexible master material that you can then instance across dozens of assets, keeping your game's look consistent and saving a ton of time.
One piece of advice: always apply scale and rotation transforms before you export. It’s a classic mistake that leads to assets importing at bizarre sizes or angles, and it’s a massive headache to fix later. Getting this right from the start saves hours.
Setting Up Physics and Performance
Okay, your asset is in the engine and looks great. Now, you need to make it a physical part of the world. This means setting up colliders—the invisible shapes that define an object's physical boundaries.
Resist the temptation to use your visual mesh for physics. It’s a performance killer. Instead, use simple shapes like boxes or capsules. They're far, far cheaper for the engine to calculate.
This is also the perfect time to set up Level of Detail (LOD) groups. An LOD system automatically swaps your high-poly model for simpler, lower-poly versions as it gets further from the camera. For large, open-world games, this isn't just a nice-to-have; it's absolutely essential for maintaining a smooth frame rate.
This intense focus on creating high-quality, game-ready assets isn't just a local trend; it’s a global priority. In Denmark, for example, the game dev scene is booming, with studios and schools heavily invested in training top-tier 3D artists.
A 2024 survey revealed that a staggering 82% of Danish game developers consider access to high-quality 3d assets for games a critical factor for competing on the world stage. It just goes to show how vital these final integration steps are for creating a polished, professional product that can stand out.
Got Questions About AI Game Assets?
As developers start looking into 3D assets for games made with AI, a lot of good questions pop up. Switching from a familiar, traditional workflow to something new means getting clear on everything from legal rights to keeping your art style consistent. Let's tackle some of the most common concerns I hear from teams, so you can start using these powerful tools with confidence.
Can I Actually Use AI-Generated 3D Assets in a Commercial Game?
This is usually the first question people ask, and for good reason. The short answer is yes, absolutely—but there's a big "if." It all comes down to the terms of service of the AI platform you're using.
Some tools out there have pretty restrictive licenses that get complicated fast. That's why platforms like the Creative AI OS are built specifically for professional work. We grant you the rights you need to use the assets you create in commercial projects. But as a rule of thumb, always, always read the licensing agreement for any tool you bring into your pipeline. We made a point of offering transparent terms because we believe developers need that security.
How Do I Keep My Art Style Consistent with AI?
A cohesive aesthetic is what makes a game world feel real and immersive, and AI doesn't have to break that. In fact, you can achieve amazing consistency through a mix of smart prompt engineering and a little post-processing.
The trick is to develop a core set of prompts that act as your style guide. Get really specific with the keywords you use to steer the AI. For example:
- Style: "Ghibli-inspired," "cel-shaded," or "gritty realism."
- Palette: "Muted earth tones" or "vibrant neon colours."
- Complexity: Think "low-poly" for background props or "hero-quality detail" for key items.
Here’s a pro tip: create a 'style guide' for your prompts. Generate a handful of key assets that perfectly nail your vision. Then, use those successful prompts as a starting point for everything else. It sets a strong visual foundation right from the get-go.
You can also unify the look later on, during texturing and shading. By applying the same master materials or texture libraries across your assets, you ensure every single object feels like it belongs in the same universe.
What Skills Do I Need to Start Using AI for Assets?
While AI dramatically lowers the barrier to entry, it doesn't completely remove the need for some foundational 3D knowledge. You don't need to be a master modeller to get started, but understanding the basics will help you make the most of what the AI gives you.
The most important new skill is easily prompt engineering—learning how to clearly and creatively communicate what's in your head to the AI. Beyond that, a basic grasp of these concepts will take you a long way:
- Topology: Just knowing why clean geometry is important for animation and performance.
- UV Maps: Understanding how a 2D texture wraps around a 3D model.
- Materials: Being familiar with PBR principles like roughness and metallic properties.
If you have a bit of experience in a 3D package like Blender for quick cleanups and know your way around a game engine, you're in a great spot. The AI handles the heavy lifting of the initial creation, freeing you up to focus on the fun parts: refinement, integration, and bringing your world to life.
Ready to see how an AI-powered workflow can speed up your development cycle? Explore the Virtuall Creative AI OS and start generating your first game-ready assets for free. Discover a faster, more efficient way to bring your creative vision to life at https://virtuall.pro.

