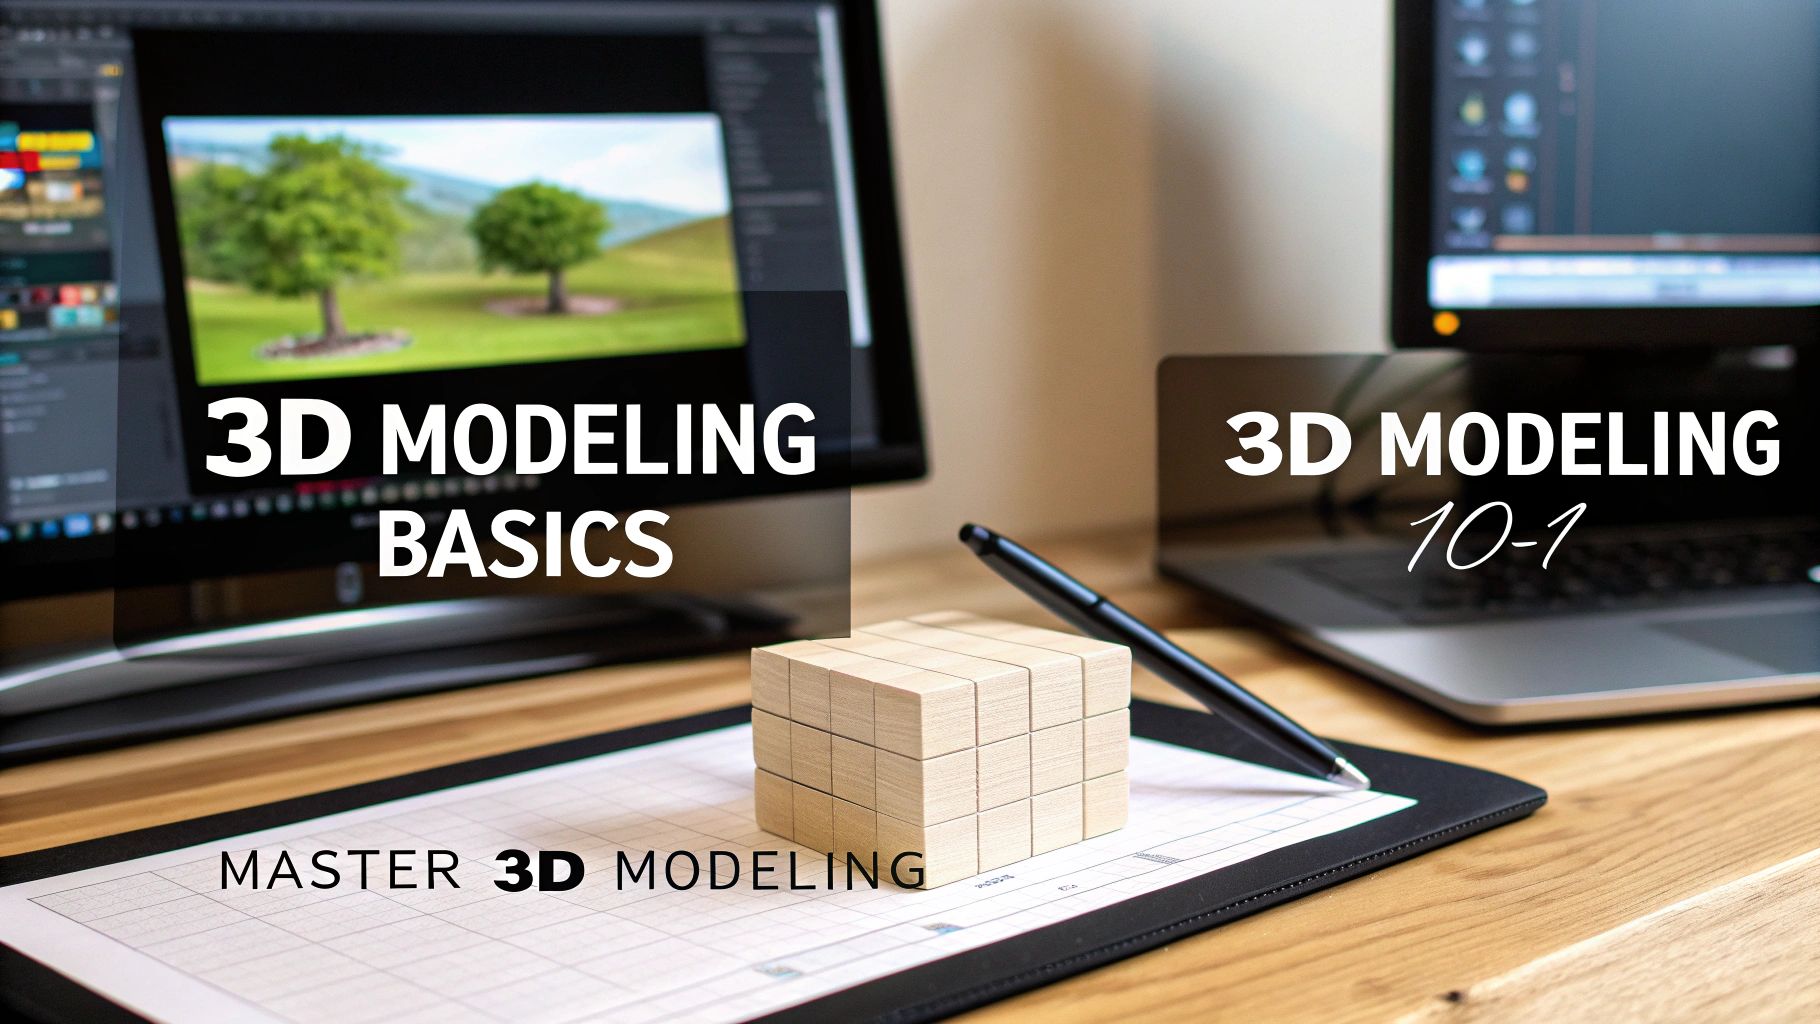

Embarking on a journey into 3D modeling can be a rewarding professional endeavor. This process is best understood not as interacting with complex software, but as a form of digital sculpting. Instead of using physical materials, you will utilize a mouse and keyboard to shape concepts into fully-formed, three-dimensional objects. This guide serves as a foundational starting point—a clear, structured path into a field that is more accessible than it may initially appear.
Your Journey into 3D Modeling Starts Here
At its core, 3D modeling is the process of developing a digital object with depth, volume, and form. It is the technology behind the immersive worlds in video games, the detailed creatures in films, and the architectural visualizations that allow us to experience buildings before they are constructed.
This is more than an artistic pursuit; it is a foundational skill in modern design and engineering. Product designers use it to prototype new gadgets. Engineers leverage it to simulate machinery. 3D artists are shaping the digital world we interact with daily, opening up career paths across numerous industries.
The Growing Demand for 3D Skills
The world is increasingly visual, which has fueled significant growth in the 3D industry. The global 3D CAD software market was valued at approximately $12.72 billion in 2025 and is projected to reach nearly $19.64 billion by 2032. This is a clear indicator of the rising demand for professionals who can bring ideas to life in three dimensions.
3D modeling serves as the bridge between imagination and reality. It provides the capability to create anything—from a character for a game to a sleek new product or a virtual replica of a physical space.
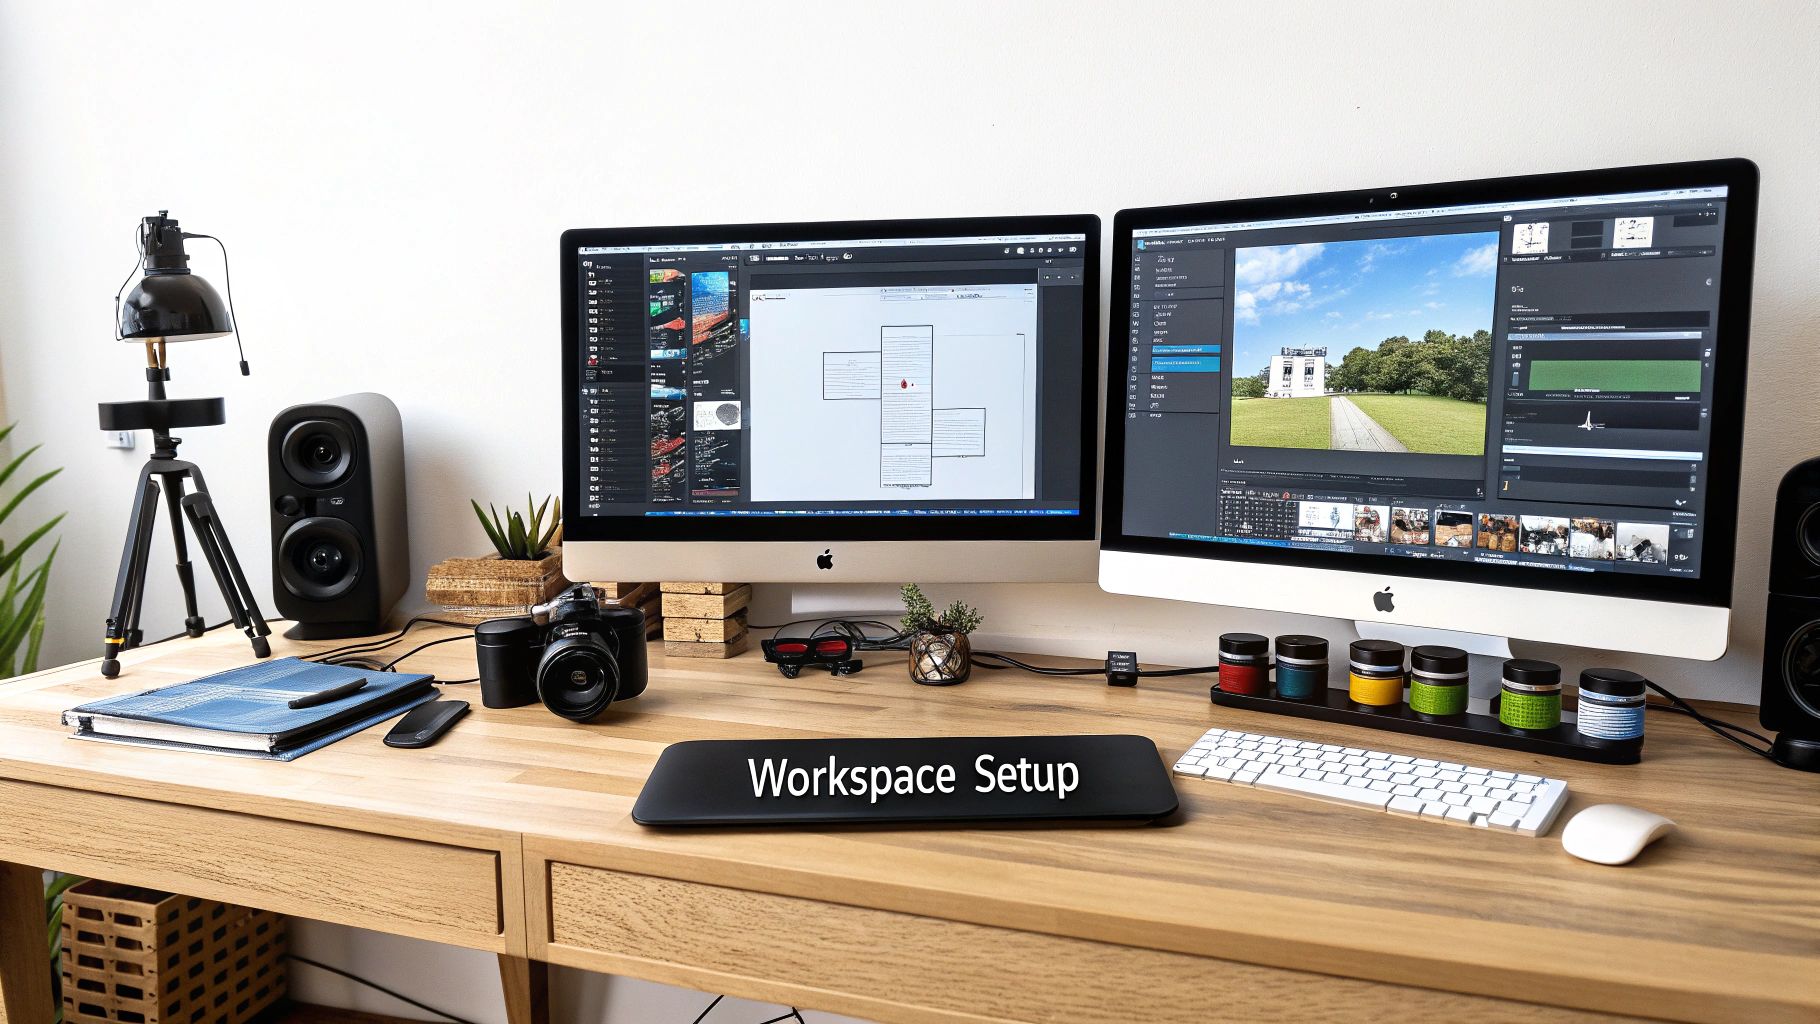
Setting Yourself Up for Success
Before engaging with sophisticated software, it is crucial to establish a solid foundation. This involves more than understanding the theory; it means creating an environment where you can focus and learn effectively. A well-organized workspace can make a significant difference when working with new tools and complex projects.
A dedicated and ergonomic setup is key to maintaining creative focus. For inspiration, you can review these home office design ideas for a productive environment. A properly configured space minimizes distractions and allows for full immersion in the work.
With the right mindset and a clear methodology, you are ready to begin. This guide will function as your roadmap, breaking down complex topics into simple, actionable steps. It provides a solid and supportive starting point from which to build your skills and, eventually, your first creations.
The Building Blocks of 3D Space
Before you can create anything, you must understand the environment in which you are working. Every 3D program can be thought of as a virtual room, defined by three primary directions: left-right, up-down, and forward-backward. In the 3D world, these are referred to as the X, Y, and Z axes.
While this may sound technical, it is a straightforward concept. Imagine the corner of a room. The line where the floor meets one wall is your X-axis (left-right). Where the floor meets the other wall is your Z-axis (forward-backward). The vertical line where the two walls meet is your Y-axis (up-down).
This simple principle is the foundation of everything you will do. Every point in your digital world has a specific location based on these three coordinates.
Navigating Your Digital Workspace
Gaining familiarity with this coordinate system is the first significant step in 3d modeling for beginners. Once this concept is understood, the seemingly intimidating blank screen transforms into a logical, grid-based workshop.
When you move an object "up," you are moving it along the Y-axis. When you move it "left," you are moving it on the X-axis. Every action is a precise instruction within this 3D grid.
The image above illustrates these three axes—X (red), Y (green), and Z (blue)—all meeting at a central point called the origin. It serves as your visual anchor, helping you orient yourself and place models with precision.
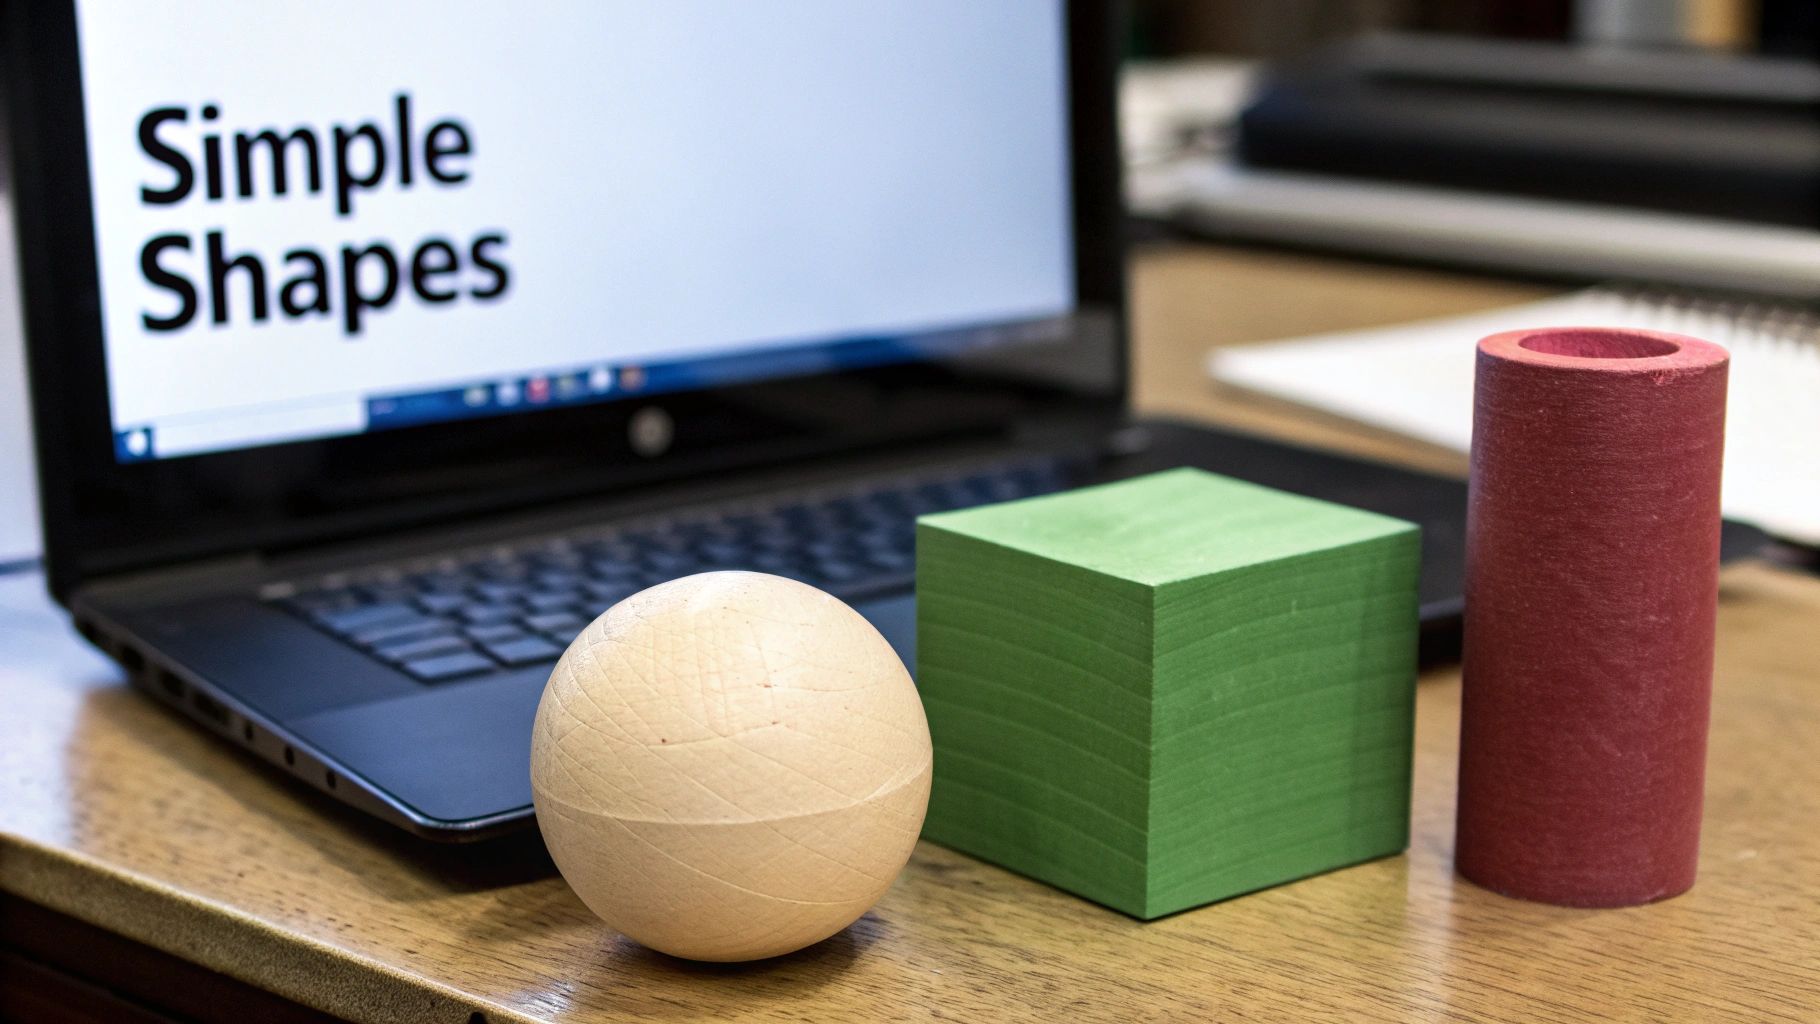
The Anatomy of a 3D Model
Now that we have defined the space, let's discuss the components that fill it.
Every 3D object, from a simple cube to a complex character, is constructed from the same three fundamental parts. Together, they form a digital framework called a mesh. For anyone serious about learning 3D, this is the core vocabulary you need to master.
- Vertices: These are single points in 3D space. A vertex has no size, only a position.
- Edges: An edge is the line that connects two vertices. Edges form the outline and structure of a model.
- Faces: When three or more edges connect to form a closed loop, you create a face (or a polygon). This is the flat surface that fills the gaps, giving your object a solid appearance.
The entire process of polygonal modeling is based on the manipulation of these three components: vertices, edges, and faces. Every complex shape is simply an intricate collection of these simple parts, arranged with precision.
Consider a basic cube. It is composed of 8 vertices (the corners), 12 edges (the lines connecting them), and 6 faces (the flat sides). When you begin modeling, you are not just manipulating a block; you are selecting and moving these individual components to sculpt your object.
This is where the detailed work—and the artistry—begins. By adding, moving, or deleting vertices, edges, and faces, you can transform a primitive shape like a sphere into a detailed character head, or a simple cylinder into a futuristic spaceship. Mastering control over the mesh is what unlocks your creative potential. It is a structured approach that makes even the most complex creations achievable.
Choosing Your First 3D Modeling Software
Selecting your first 3D software is an important decision. It is analogous to a sculptor choosing between clay, stone, or wood—each material has unique properties and is better suited for specific types of work. The software you begin with will influence your learning process and your early creative capabilities.
Fortunately, there are many powerful, secure, and free options available. This means you can begin your education in 3d modeling for beginners without a financial investment. The key is to find a tool that aligns with your objectives, whether that is creating characters for games, designing parts for 3D printing, or developing architectural mockups.
Free and Open-Source Powerhouses
For those just starting, free and open-source software provides a perfect, no-risk entry point. These tools are often supported by large, helpful online communities and offer professional-grade capabilities.
Without question, Blender is the leading recommendation for beginners. It is a complete 3D creation suite that covers modeling, sculpting, animation, rendering, and more. With support from major industry players, you can be confident it is a stable and forward-looking tool.

This screenshot shows a glimpse of Blender’s professional-grade interface. Its versatility means it is an all-in-one package that can grow with your skills.
Industry-Standard Professional Tools
As you gain experience, you will become familiar with software considered "industry standard" in specific fields. These programs typically require a subscription but offer highly specialized toolsets designed for high-end production pipelines.
- Autodesk Maya: A leading choice for the film and animation industries, renowned for its character rigging and animation tools.
- ZBrush: A digital sculpting powerhouse. Character artists favor it for its ability to work with models composed of millions of polygons, much like molding digital clay.
- Autodesk 3ds Max: A long-standing favorite in architecture and game development, known for its robust modeling and rendering features.
Despite the availability of these powerful professional tools, starting with a free option like Blender is a prudent and safe approach. You will build foundational skills that are completely transferable to other programs, all without the pressure of a recurring payment.
Here is a brief comparison of some of the most popular choices to aid your decision.
Comparison of Top 3D Software for Beginners
This table should provide a useful starting point. Remember, the objective is to begin learning the fundamentals, not to select the "perfect" software for your entire career on day one.
Making an Informed and Safe Choice
Do not place undue stress on your initial software choice—it is not a permanent commitment. The core concepts of manipulating vertices, edges, and faces are universal. Skills learned in one program will make adopting another much easier in the future.
The 3D industry is growing rapidly, as are the tools. The global 3D model design software market is projected to reach USD 3.4 billion in 2025, a clear sign of healthy growth. This indicates that we will continue to see more powerful and accessible tools for creators at all levels.
Ultimately, the "best" software is the one that is intuitive for you and allows you to realize your ideas. Starting with a versatile, free tool like Blender is an excellent way to build confidence. As you develop and potentially begin working with teams, platforms that help you create, manage, and deliver 3D assets become essential for maintaining project organization.
For now, focus on learning the core principles. They will serve you well regardless of which software you ultimately master.
Essential 3D Modeling Techniques for Beginners
You have selected your software and are becoming familiar with the 3D space. Now it is time to begin shaping objects. This is where you transition from knowing the terminology of your tools to understanding how a sculptor works.
There is no single method for creating a 3D model. Different techniques are suited for different outcomes, much like a woodcarver uses various tools for rough shaping and fine details.
Understanding these core approaches is a significant step. Each one provides a different way to manipulate your digital medium. We will review the three most common techniques, starting with the one that forms the backbone of nearly all 3D work.
Polygonal Modeling: A Methodical Approach
This is the most common and versatile technique you will use. It involves building with a wireframe and then applying a surface over it. You directly manipulate the vertices, edges, and faces—the building blocks we previously discussed—to construct your object piece by piece.
This method provides complete control, making it ideal for hard-surface objects like vehicles and buildings, or even stylized characters.
Two of the most important tools in your polygonal toolkit will be extruding and subdividing.
- Extruding: This action pulls a new shape from an existing face, edge, or vertex. It extends the geometry to create more of it. This is how you would turn a flat square into a box or extend arms from a character's torso.
- Subdividing: This is how you add detail. The tool splits existing polygons into smaller ones, giving you more points to work with to create finer details.
Digital Sculpting: Shaping with Digital Clay
If polygonal modeling is like careful construction, digital sculpting is more akin to traditional art. This technique allows you to treat your 3D model like a real piece of clay. Instead of moving individual points, you use digital brushes to push, pull, smooth, and carve the surface in an intuitive manner.
This is the preferred method for creating highly detailed, organic models—such as characters, creatures, or natural assets like rock formations. Software like ZBrush or Blender's sculpt mode enables artists to work with millions of polygons, achieving a level of detail that would be exceedingly difficult with traditional polygon tools.
The core concept behind digital sculpting is creative freedom. It removes the technical overhead of manipulating individual points and allows you to focus completely on the form and aesthetic of your creation.
NURBS Modeling for Perfect Curves
While polygonal modeling and sculpting are dominant in art and entertainment, another key technique exists, particularly in engineering and product design: NURBS (Non-Uniform Rational B-Splines) modeling. The name may sound complex, but the concept is straightforward.
Instead of using flat polygons, NURBS modeling uses mathematical formulas to create perfectly smooth curves and surfaces. Consider the sleek body of a car or the smooth grip on a gaming mouse. Those shapes require a mathematical precision that is challenging to achieve with polygons alone.
- Precision and Smoothness: NURBS is ideal when creating objects that need to be physically manufactured, where every curve must be exact.
- Less Common for Beginners: While powerful, NURBS modeling is a more specialized skill. It is not typically required if your focus is on game art or animation.
For most individuals starting out, focusing on polygonal modeling is the recommended path. It provides the foundational skills applicable to almost every type of 3D project. Once you are comfortable building with polygons, exploring digital sculpting is a natural next step for adding organic, artistic detail to your work.
Creating Your First 3D Model Step by Step
Theory is valuable, but practical application is where real learning occurs. We will now walk through the entire process, taking you from a blank screen to your very first 3D model.
We will be building a simple coffee mug. It is an ideal starter project because it teaches essential skills without being overly complex.
The steps outlined here are universal, so they are applicable regardless of the 3d modeling for beginners software you are using. Following a clear workflow like this removes guesswork and demonstrates that you can achieve a quality result, even as a novice.
Step 1: Prepare Your Workspace
Before adding a single polygon, organize your digital workspace. This preparation ensures a smoother process.
First, clear any default objects from your scene, such as a startup cube or light. You should begin with a completely clean slate.
Next, import a reference image of a coffee mug. This is standard professional practice. A visual guide is invaluable for achieving accurate shape and proportions.
Step 2: Block Out the Basic Shape
With your scene prepared, it is time to establish the basic form of the mug. Do not focus on details at this stage. The primary goal is to capture the main silhouette using primitive shapes.
Start by adding a cylinder. This will serve as the body of the mug. Scale and position it to roughly match the height and width of your reference image. This "blocking" phase is critical—it ensures your proportions are correct before you invest time in details.
Now, add another, slightly smaller cylinder and place it inside the first one. This will be used later to hollow out the mug. For the handle, a torus (a donut shape) is a suitable primitive. Position it on the side of the main cylinder for now.
At this stage, approximation is sufficient. You are simply creating a rough sketch with 3D shapes. The fine-tuning will come later.
Step 3: Refine the Model and Add Detail
You have now established the basic structure. It is time to connect the components and begin sculpting the form. In this phase, you will use the polygonal modeling tools we discussed to manipulate your mesh into a more precise shape.
Start by combining the cylinder and the torus into a single object. From there, you can begin moving vertices and edges to smooth out the blocky shapes. A "subdivision" tool is useful here—it adds more polygons, giving you more detail to work with for a cleaner surface.
- Create the Interior: Use a Boolean operation to subtract the inner cylinder from the outer one. This will make your mug hollow.
- Shape the Handle: Carefully adjust the vertices where the handle meets the mug's body to create a seamless connection.
- Add a Lip: Select the top ring of edges on the mug and use the "extrude" tool to pull them up and outward slightly. This small detail adds significant realism.
This is the stage where your model begins to transition from a collection of shapes into a recognizable object.
Step 4: Apply Simple Materials and Lighting
The model is now built. The final step is to apply color and set up the virtual lighting. Start by applying a basic material—a simple glossy white often works well, but feel free to choose any color. This tells the software how light should interact with the surface.
Next, add a light source. An area light or a point light will suffice. Position it to create appealing highlights and shadows that accentuate the mug's form. Without effective lighting, even the best model can appear flat.
Finally, place a virtual camera in your scene and find a compelling angle. Once you are satisfied with the composition, it is time to render. The computer will then calculate all the light, shadows, and materials to create a final 2D image.
Congratulations! You now have a finished piece to share. This represents a major milestone in your 3D journey.
Navigating Your Next Steps in 3D Modeling
You have completed your first 3D model. This is a significant accomplishment, but it is also just the beginning. The next phase involves layering in the details that make an object look and feel realistic, moving beyond simple form into surface and light.
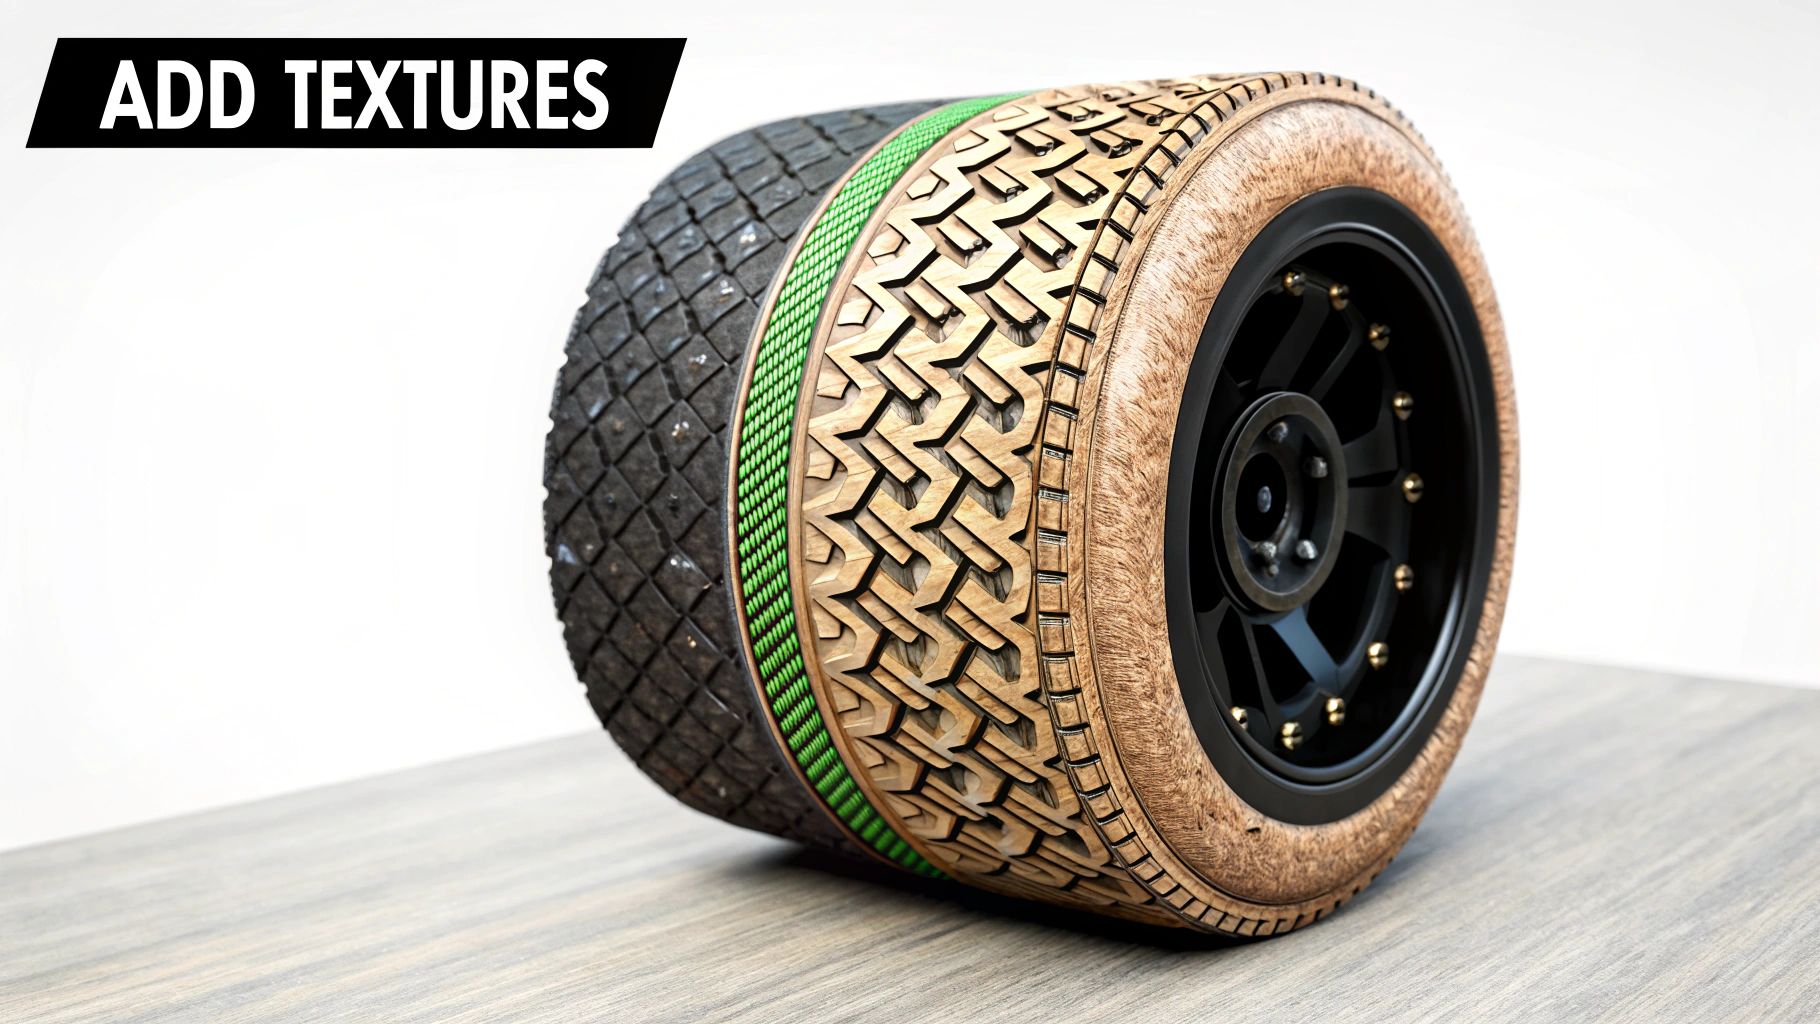
First is texturing and UV mapping. Imagine your 3D model is a gift that needs to be wrapped. The UV map is the wrapping paper, laid out flat. Texturing is the process of painting that flat paper with the desired colors, patterns, and details before it is wrapped back around your model. This is how you achieve convincing wood grain, scratched metal, or worn leather.
Broadening Your Skill Set
Once you have a grasp of surfaces, it is time to consider how light interacts with them. This is where lighting fundamentals are essential. Learning the classic three-point lighting setup—key, fill, and rim lights—will empower you to create mood, depth, and drama in your scenes. A beautifully detailed model will appear lackluster with poor lighting, whereas even a simple shape can look stunning when lit effectively.
The best way to solidify these new skills is to seek out more advanced tutorials. Look for projects that require you to use all your skills at once: modeling, UV mapping, texturing, and lighting.
The key to improvement is consistent practice on projects that are slightly beyond your current skill level. Every completed piece, no matter how small, reinforces your knowledge and builds momentum for the next challenge.
Finding Trusted Learning Resources
As you advance, finding reliable information and a supportive community is vital. Fortunately, there are abundant resources for 3d modeling for beginners. In fact, North America holds about 34.69% of the global market revenue for 3D design software, which means there is a massive ecosystem of tutorials, forums, and professionals available to assist new artists.
Here are a few places to begin your search:
- Reputable YouTube Channels: Identify channels dedicated to your software. They are an excellent source of free, high-quality tutorials on specific techniques.
- Professional Communities: Participate in online forums and Discord servers. These are great platforms for asking questions, sharing your work, and receiving constructive feedback from experienced individuals.
- Online Courses: For a more structured learning path, a paid course can guide you step-by-step through complex topics like character creation or environment design.
As you consider your future in 3D, it is beneficial to build good professional habits early. Tools like a CRM for 3D Artists can help you manage clients and projects effectively. Remember, this journey is a marathon, not a sprint. Focus on steady progress and continuous learning.
Got Questions About 3D Modeling?
Embarking on any new skill will naturally lead to questions. Let's address some of the most common ones to provide clarity as you begin your journey.
Do I Need a High-Performance Computer?
This is a frequently asked question. The short answer is no, not initially.
While large-scale professional projects require significant hardware, most modern mid-range computers can handle beginner-friendly software like Blender without issue. A good starting point is a machine with a dedicated graphics card (GPU) and at least 16GB of RAM. This will be more than sufficient for your initial learning and projects.
How Long Does It Take to Become Proficient?
This is another common inquiry. With consistent practice, you can expect to create simple, recognizable models within a few weeks. However, reaching a professional level typically takes several months to a year of dedicated effort.
The key is consistency, not intensity. Focus on completing small projects regularly. This will build your skills incrementally and help you avoid burnout. Celebrate small accomplishments and gradually increase the complexity of your projects.
Is 3D Modeling a Viable Career Path?
Absolutely. It is an incredibly valuable skill in high demand across robust industries such as video games, film, architecture, and product design. As technology continues to advance, the need for skilled 3D artists is growing, particularly with the emergence of new fields.
Speaking of new fields, AI is already having a significant impact on 3D model creation. To understand what the future holds, you can learn more about generating 3D models from a prompt in our guide. Finding a niche you are passionate about, such as character art or hard-surface modeling, will significantly enhance your career prospects.
At Virtuall, we build AI-powered tools that help creative teams generate, manage, and deliver high-quality 3D models faster than ever. Discover how our platform can accelerate your workflow.
Article created using Outrank


.gif)

