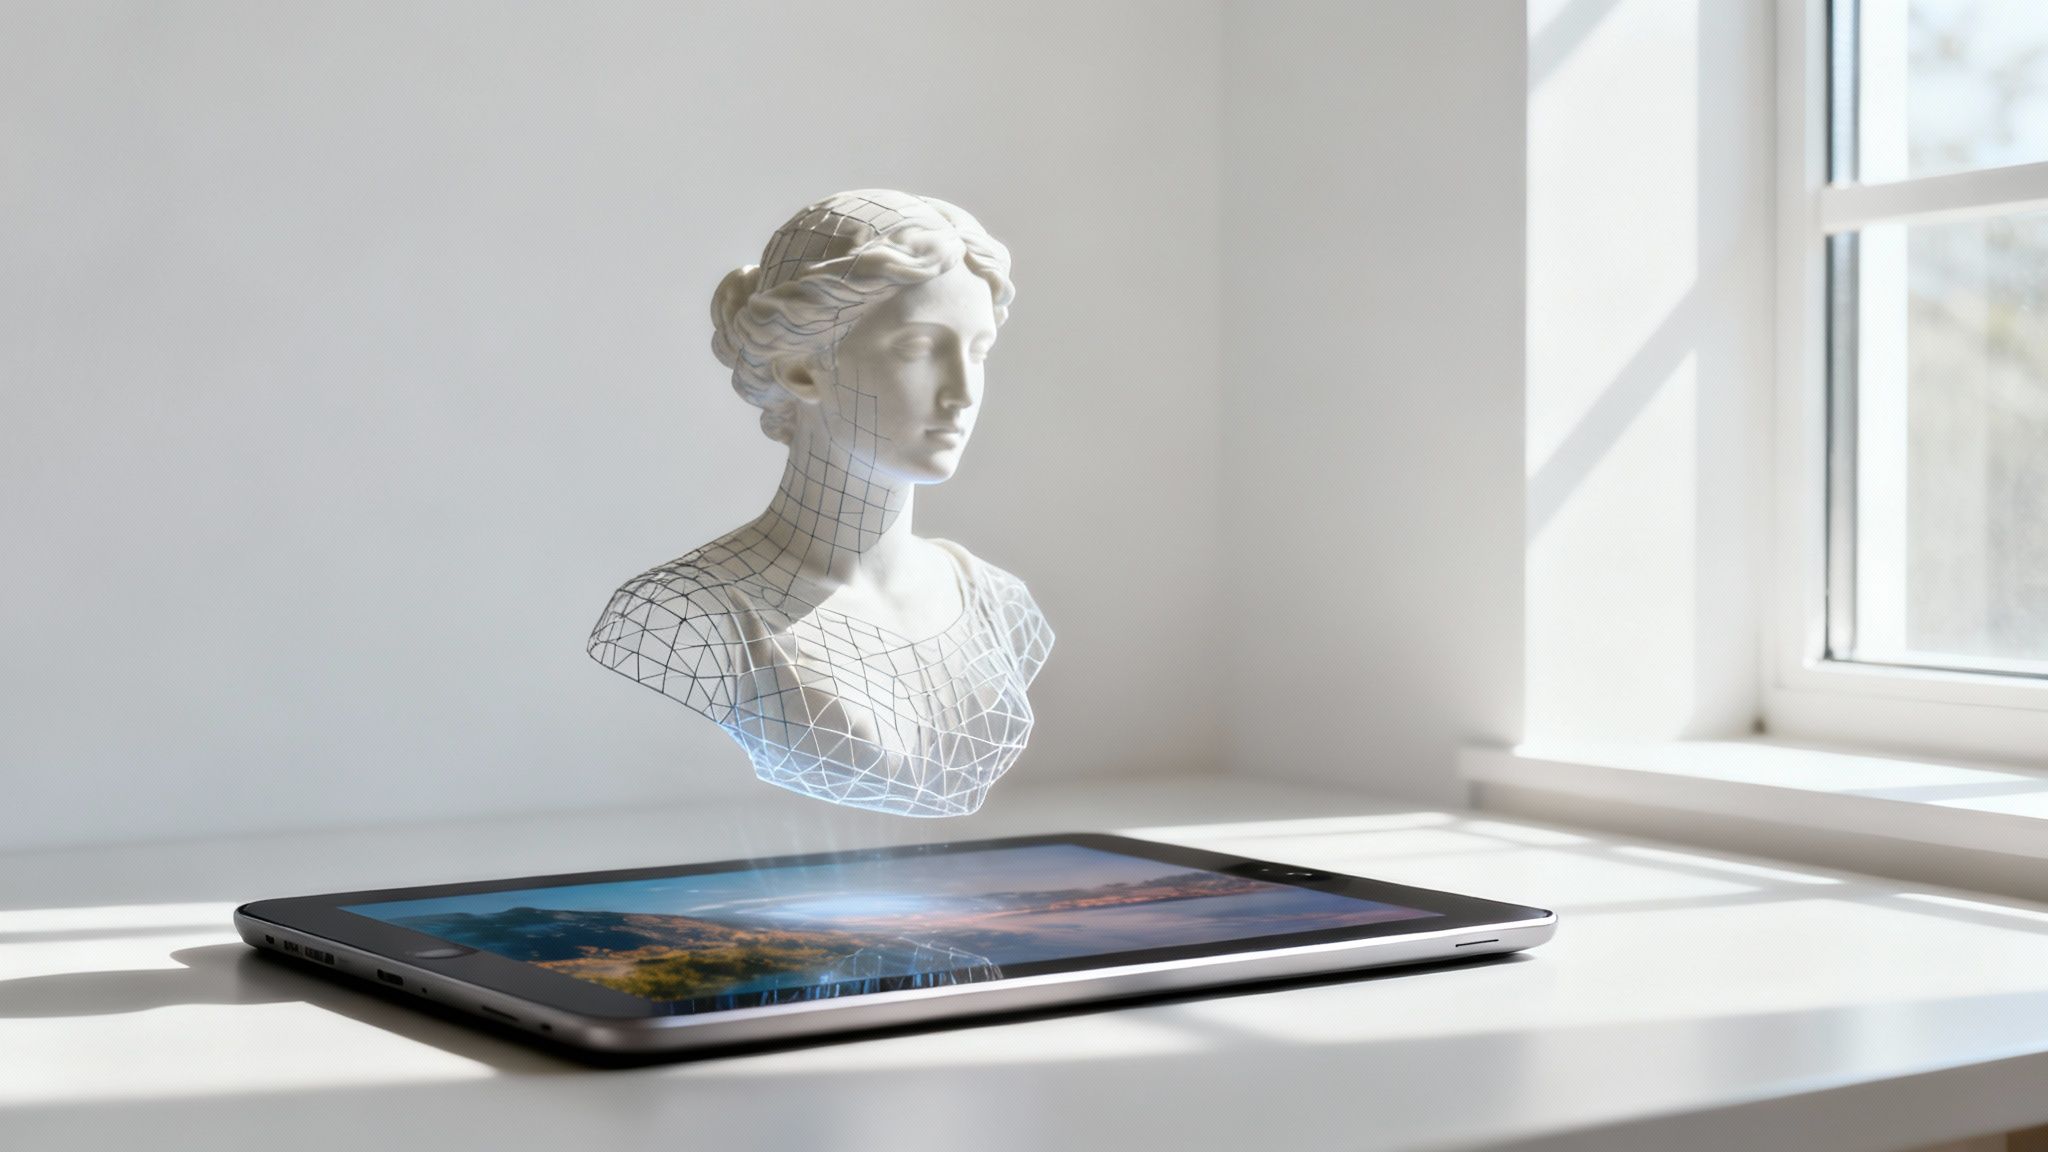
Turning a flat picture into a fully-fledged 3D asset was once a complex process reserved for specialists. Today, thanks to AI, the ability to convert picture to 3d is changing how creative enterprises operate. This technology takes a simple photograph and allows an algorithm to interpret its depth, texture, and shape to build a digital model.
This process, formerly exclusive to technical artists, is now accessible to a broader range of professionals.
Bringing Your 2D Images Into the Third Dimension
The concept of transforming a 2D image into a 3D object is now a practical reality. Modern AI tools have made this a viable solution, turning a once time-consuming and technical task into a streamlined part of the creative and production workflow.
For digital artists, game developers, and e-commerce brands, this offers a significant efficiency gain. The applications are immediate and impactful:
- Game Development: Move from concept art to a usable in-game asset in a fraction of the time.
- E-commerce: Convert standard product photos into interactive 3D viewers that allow customers to see every angle.
- Digital Art: Introduce a new layer of depth and realism into visual projects.
The New AI-Powered Workflow
With a tool like Virtuall, you can implement a workflow that generates detailed models from static images. It manages the technical complexities, allowing your team to remain focused on creative and strategic objectives.
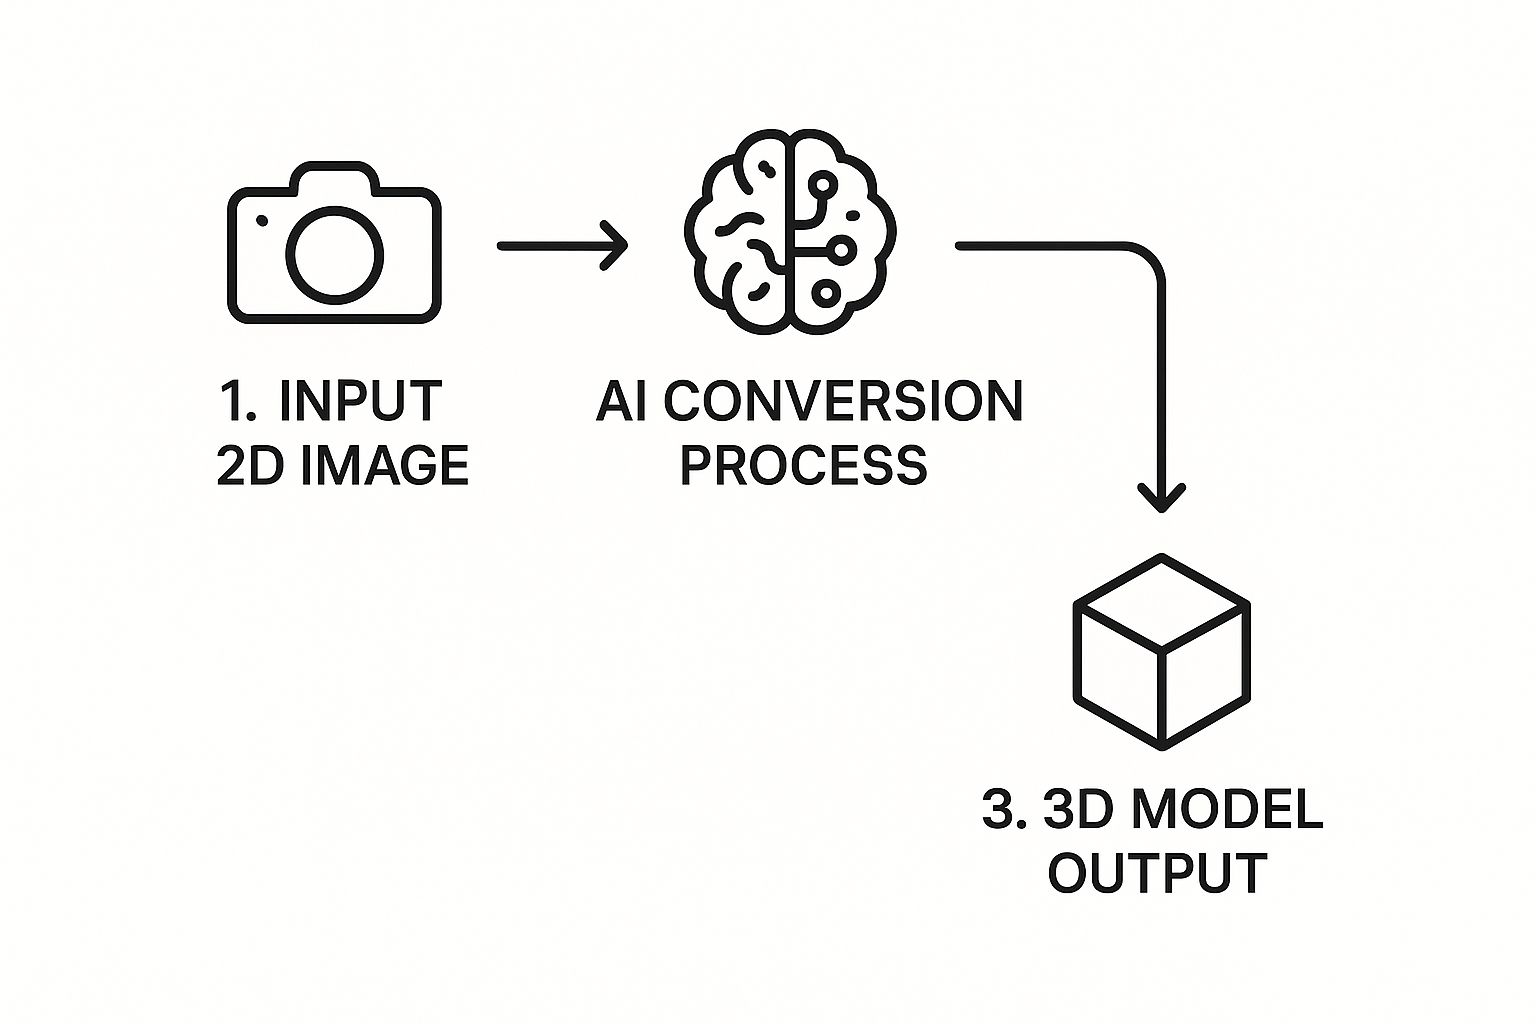
The infographic above illustrates the core concept: AI acts as the bridge between a simple 2D input and a complex 3D output, automating the most challenging parts of the modeling process.
Interestingly, the underlying principle is not new. It began in 1838 with Charles Wheatstone's discovery of stereoscopic vision—using two slightly different images to create the illusion of depth. The technology has evolved considerably since then.
By simplifying 3D asset creation, AI enables teams to move from concept to final product more rapidly. It removes technical barriers, opening the door for more experimentation and creative freedom without requiring advanced expertise in modeling software.
This new accessibility means teams can integrate 3D content into their pipelines without causing significant delays. If you're exploring this space, it's worthwhile to become familiar with the different AI tools for 3D modeling available. The goal here is to show that creating high-quality 3D models from existing images is not just possible—it's a considerable operational advantage.
Preparing Your Images for a Flawless AI Conversion
The quality of a 3D model often depends not on the AI itself, but on the 2D image provided. Before initiating the generation process, some preparation can significantly improve the outcome. This is the best way to prevent artifacts, errors, and extensive cleanup work later.
The AI is a sophisticated tool, but it cannot infer information that is not present. It interprets the pixels it sees—light, shadow, color—to construct a three-dimensional form. If the source image contains harsh shadows, blurry details, or a cluttered background, the AI receives a confusing set of data that can lead to inaccurate results.

Lighting and Shadows Make All the Difference
The primary objective is to provide the AI with clear, unambiguous information about the object's shape. Soft, even lighting is ideal for this purpose. It illuminates the subject without creating deep, dark shadows that the AI could misinterpret as holes or unusual geometry.
A product photograph taken in a lightbox, for example, will almost always convert more effectively than one taken in direct, harsh sunlight. Hard-edged shadows can mislead the AI, causing it to create indentations or warp the model's surface where none should exist.
Nail Your Image Specs
High-resolution images are essential. More pixels mean more data for the AI to analyze, which translates directly to a more detailed and accurate 3D model. Aim for a resolution of at least 1024x1024 pixels, though larger images are generally preferable.
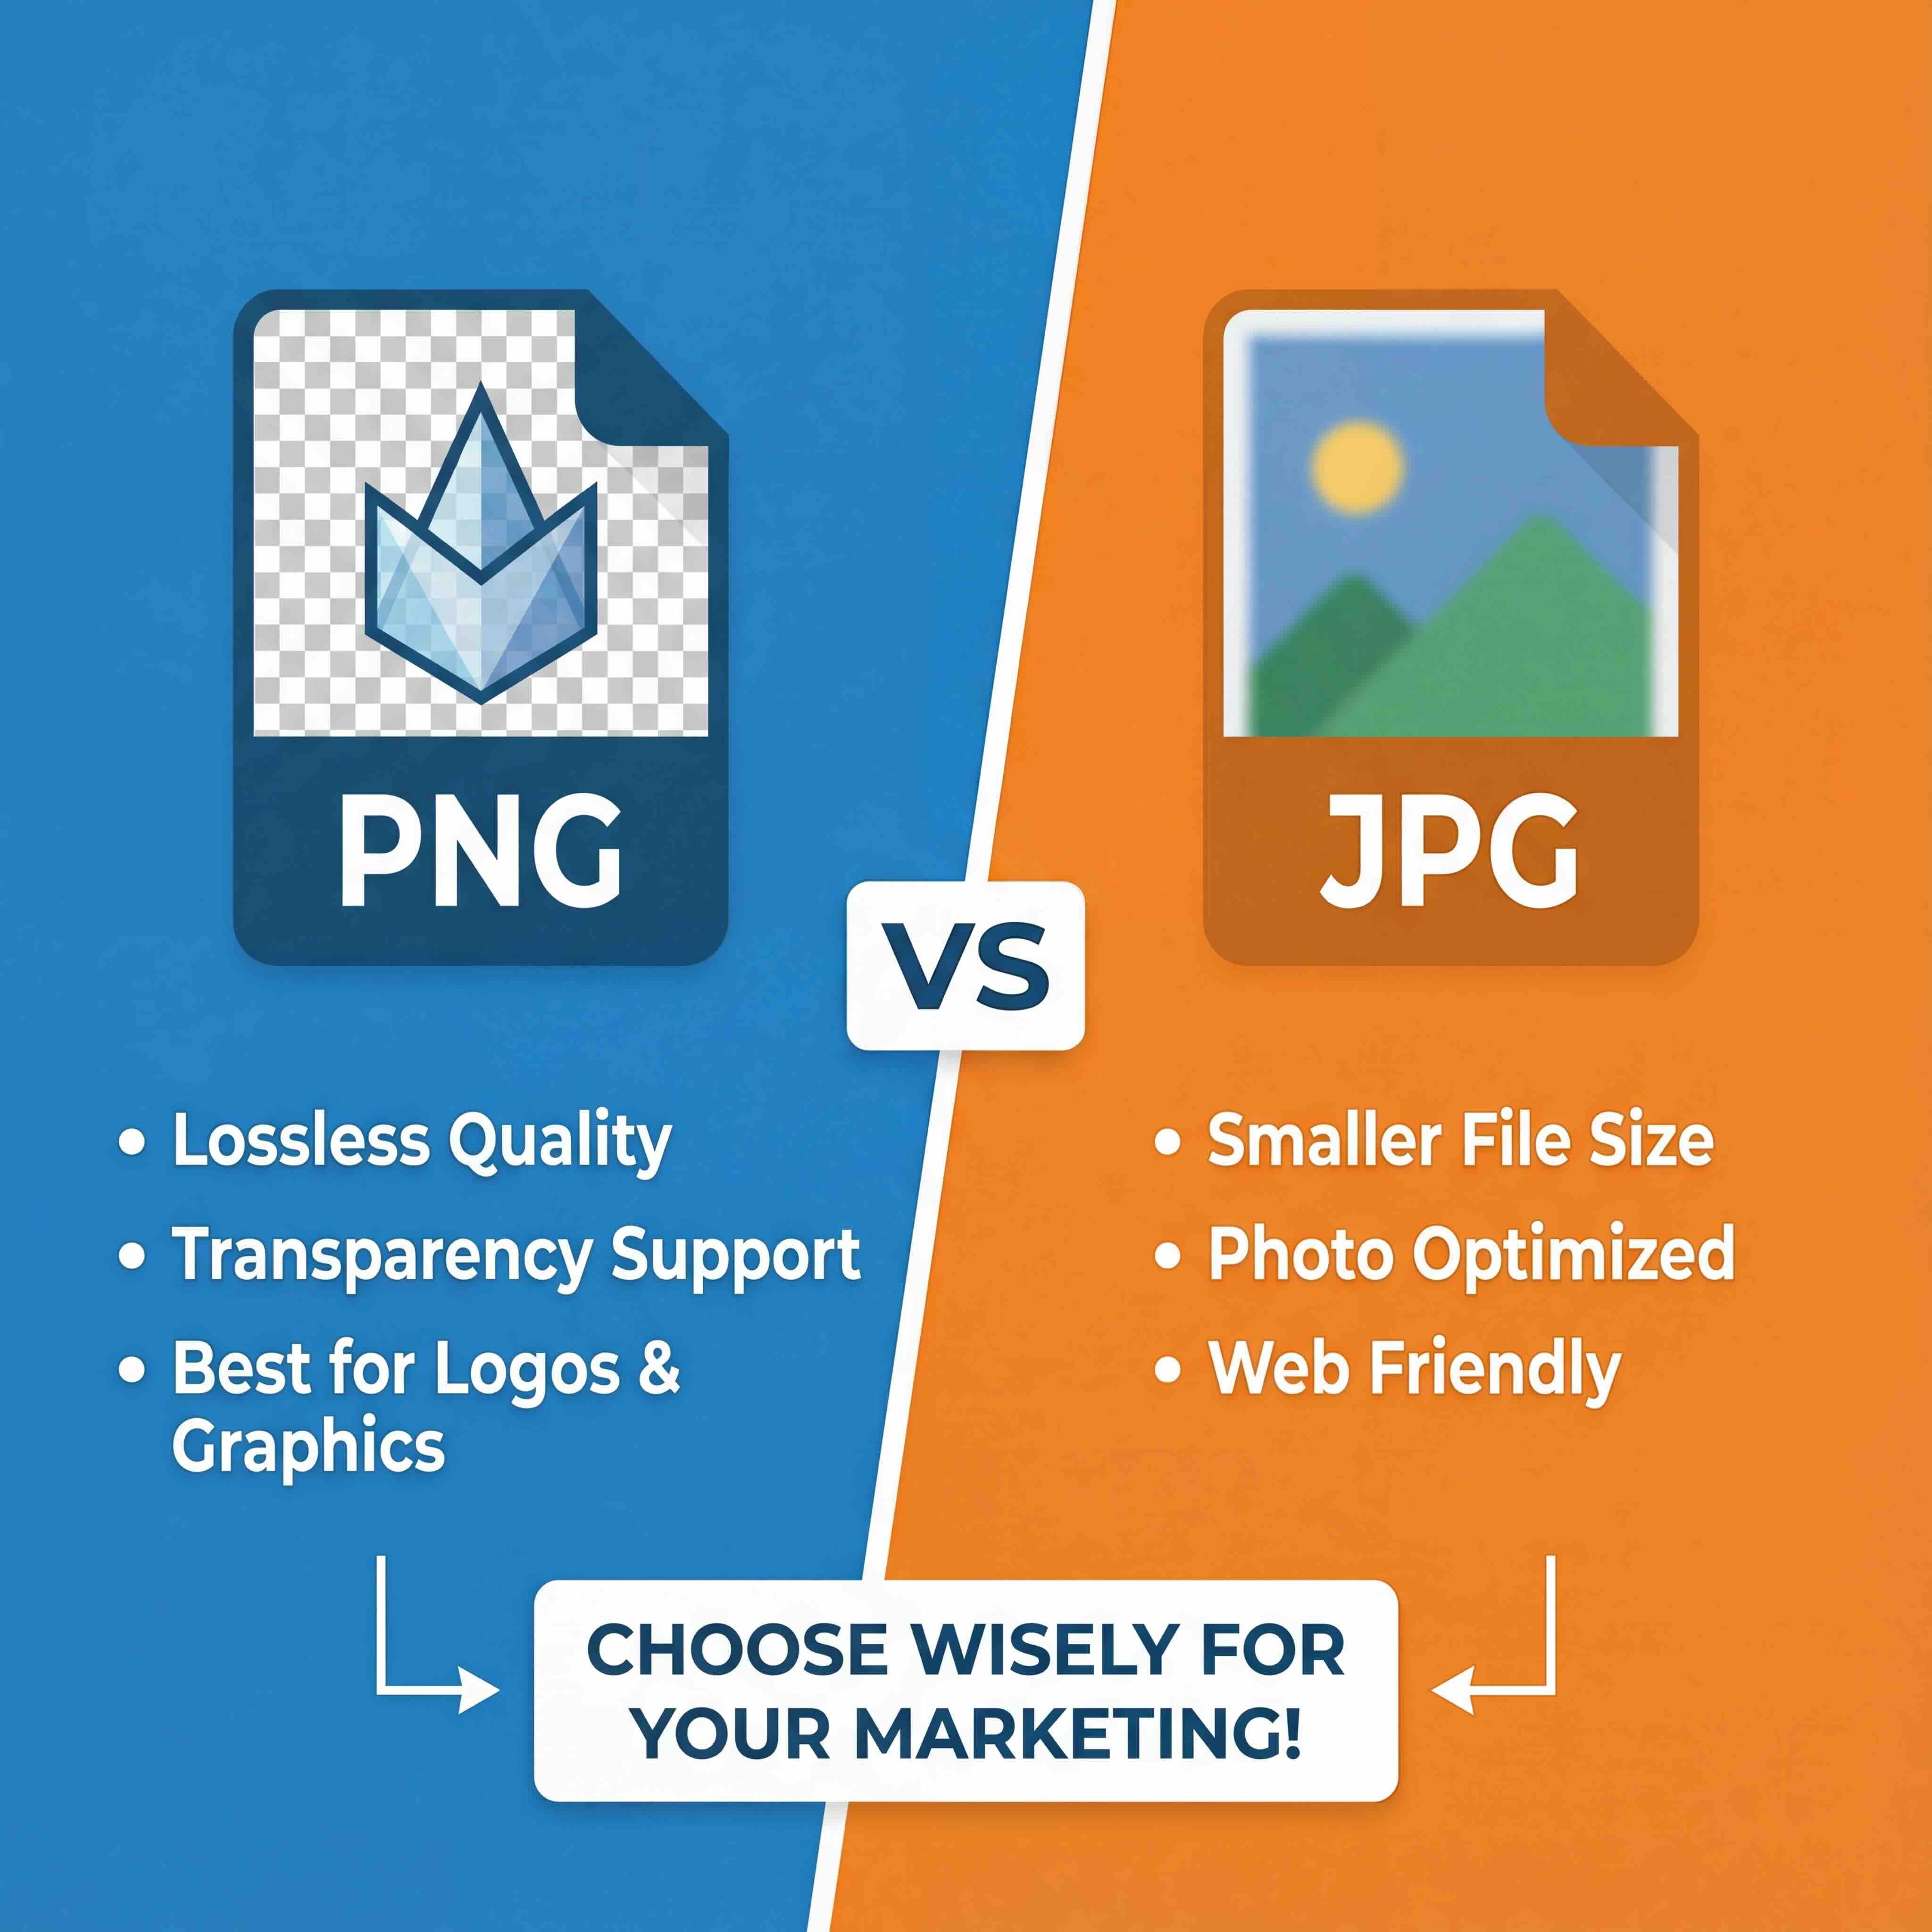
The file format is also important. A format like PNG is typically the best choice because it uses lossless compression, preserving every detail without creating artifacts. JPEGs are acceptable if they are high-quality, but heavy compression can introduce blocky noise that will negatively affect the conversion process.
The principle of "garbage in, garbage out" is particularly relevant here. The cleaner and more detailed your source image, the more refined your final 3D model will be. A few extra minutes of preparation can save hours of corrective work later.
While the AI handles the conversion, an understanding of effective visual instruction methods can help you see the image from the AI's perspective. To simplify this, the following checklist can be used before you begin.
Image Preparation Checklist for Optimal 3D Conversion
This table is a quick reference to ensure your source image is properly optimized before you click "generate."
Ultimately, the goal is simple: present your object to the AI as clearly as possible.
Following these guidelines will help set your project up for success from the very beginning.
Generating Your 3D Model with Virtuall AI
Once your image is prepared, you can begin the generation process. Turning a picture into a 3D model within Virtuall is an interactive process, a collaboration between the user and the AI.
Let's review the settings that provide creative control, helping you guide the AI toward the desired result. After uploading your image, you will see several parameters that shape the initial 3D generation. It is advisable to adjust these settings with consideration rather than setting everything to maximum.
This entire process is a significant advancement from the origins of 3D reconstruction. Early techniques required complex setups, like the structured light technologies used in the Digital Michelangelo Project in 1998. Researchers projected light patterns onto priceless statues to map their geometry with incredible precision. You can get a great overview of the evolution of 3D vision on Photoneo's blog. Fortunately, today we only need a single photograph.
Navigating Key AI Generation Settings
The two parameters you'll want to become familiar with are Detail Level and Mesh Density. These are your primary controls for the complexity and fidelity of the geometry the AI generates.
A common misconception is that higher settings are always better. This is not the case. The optimal settings depend entirely on the object you are trying to create.
For organic subjects—like a face or a piece of fruit—it is often best to start with a lower detail level. This encourages the AI to generate a smoother, more natural surface that is easier to work with later. For hard-surface objects with sharp edges, such as a camera or a keyboard, you will want to use higher initial values to capture those crisp details from the start.
Here is a look at the Virtuall interface where you will make these adjustments.
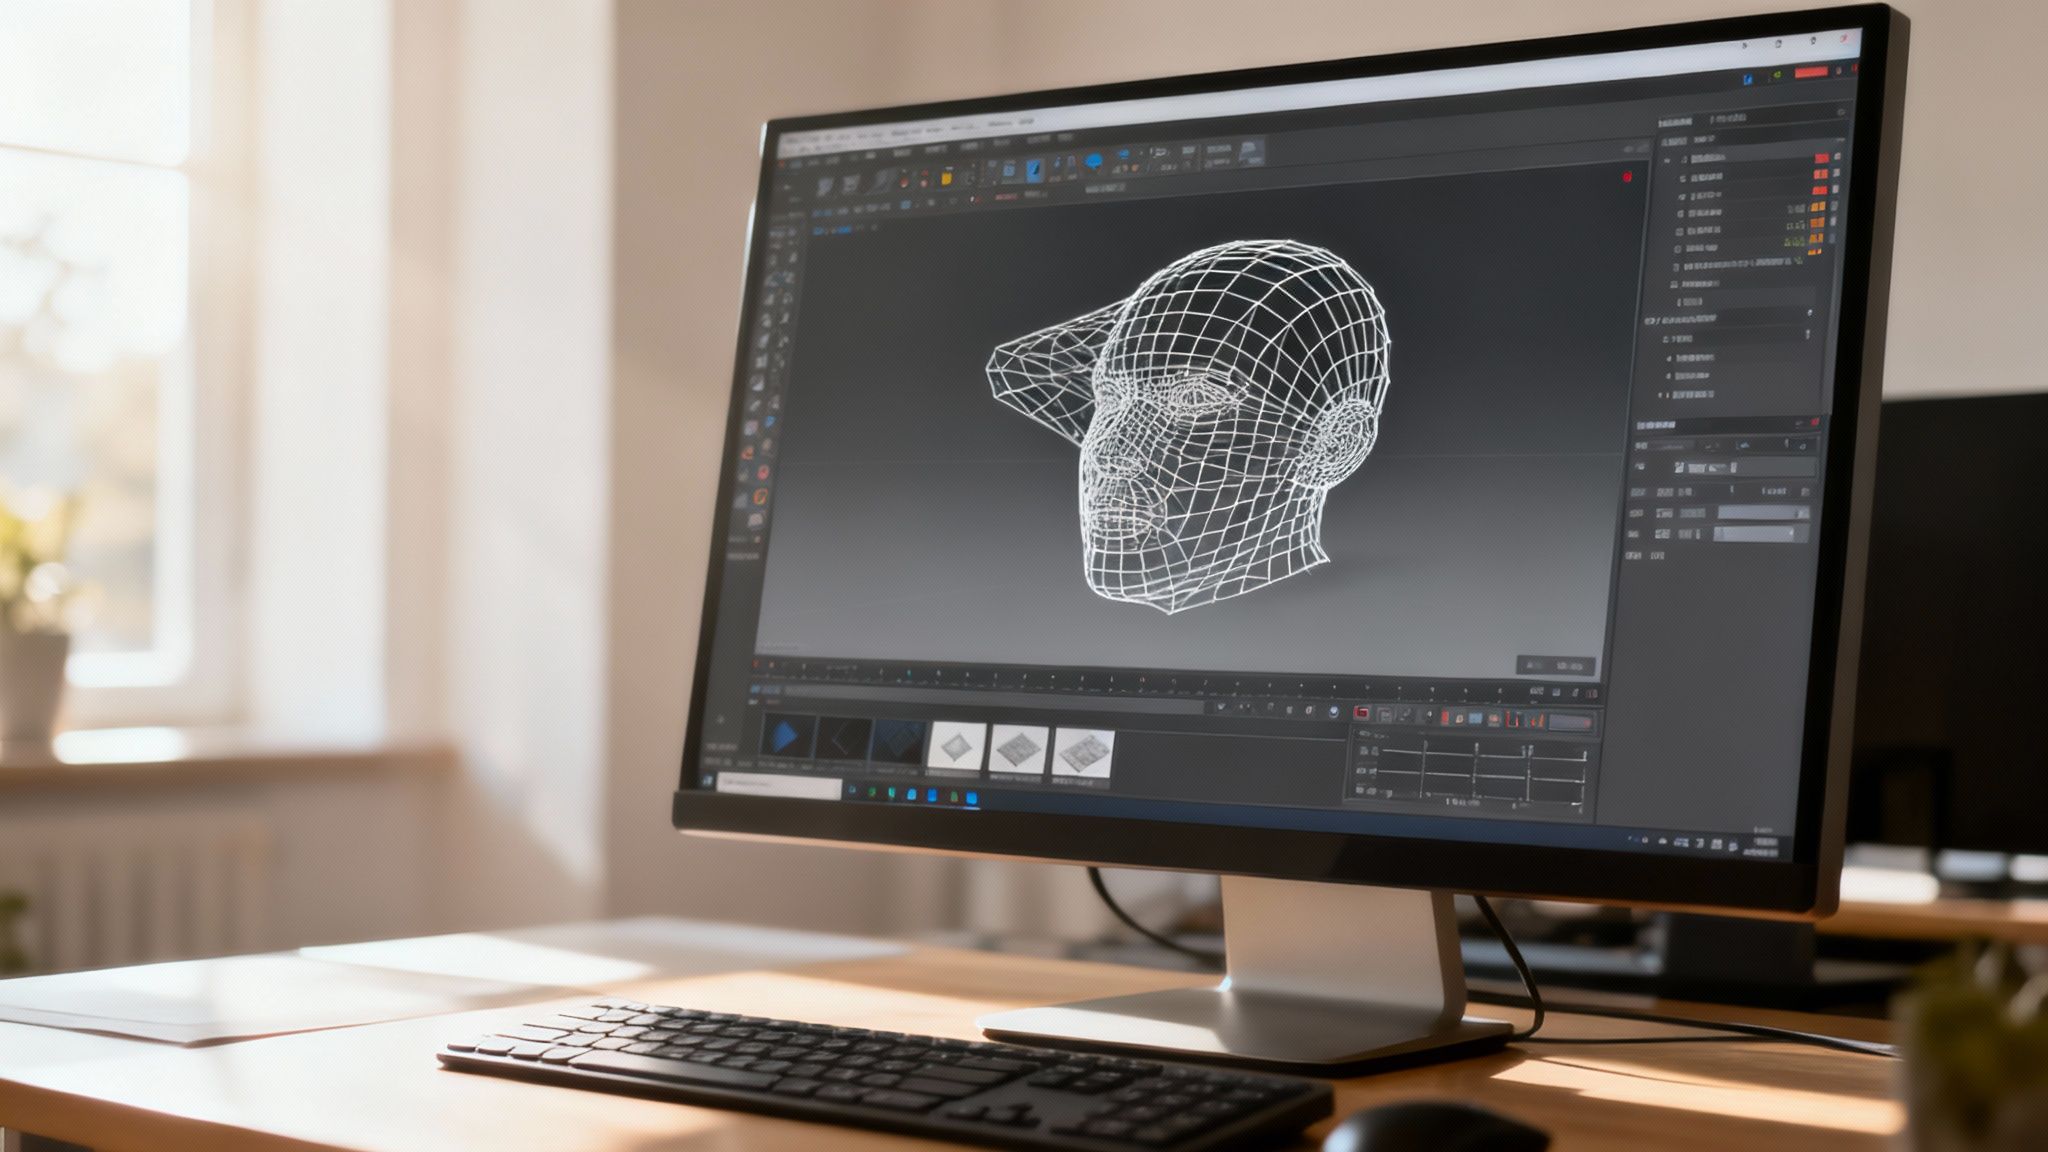
As you can see, it's a clean workspace. The sliders for detail and density give you immediate, direct control over how the AI interprets your image.
Your first generation is a starting point, not the final product. The goal is to get a solid base that captures the primary forms of your subject. Fine-tuning and artistic refinement will come later in the process.
Interpreting and Iterating on the First Pass
Once the AI has processed the image, you will see the raw 3D model. This is the first opportunity to see how the AI interpreted your photo. It is normal for the initial result to require adjustments.
Now it's time for you to act as the art director. Analyze the model and determine what needs to be changed.
- Check the Silhouette: Does the overall shape hold up from different angles compared to your source image?
- Look for Artifacts: Do you see any unusual bumps, holes, or distorted areas? This can be a sign of uneven lighting in the original photo or a setting pushed too high.
- Assess the Detail: Did the AI capture the important features without adding unnecessary geometry to flat surfaces?
Based on your assessment, it's time to iterate. If the model appears too amorphous and lacks definition, try increasing the Detail Level. If the geometry is overly complex or messy, reduce the Mesh Density and run the generation again.
This iterative loop—generate, assess, adjust—is the core of the workflow. It's how you combine the power of AI with your professional oversight to achieve a high-quality result.
Refining and Polishing Your AI-Generated Model
An AI-generated model is an excellent starting point, but the final polish is what distinguishes a good asset from a great one. Once you've generated your initial 3D mesh in Virtuall, the real artistry begins. This is where you move beyond the AI's interpretation and start applying your own creative touches and professional judgment.
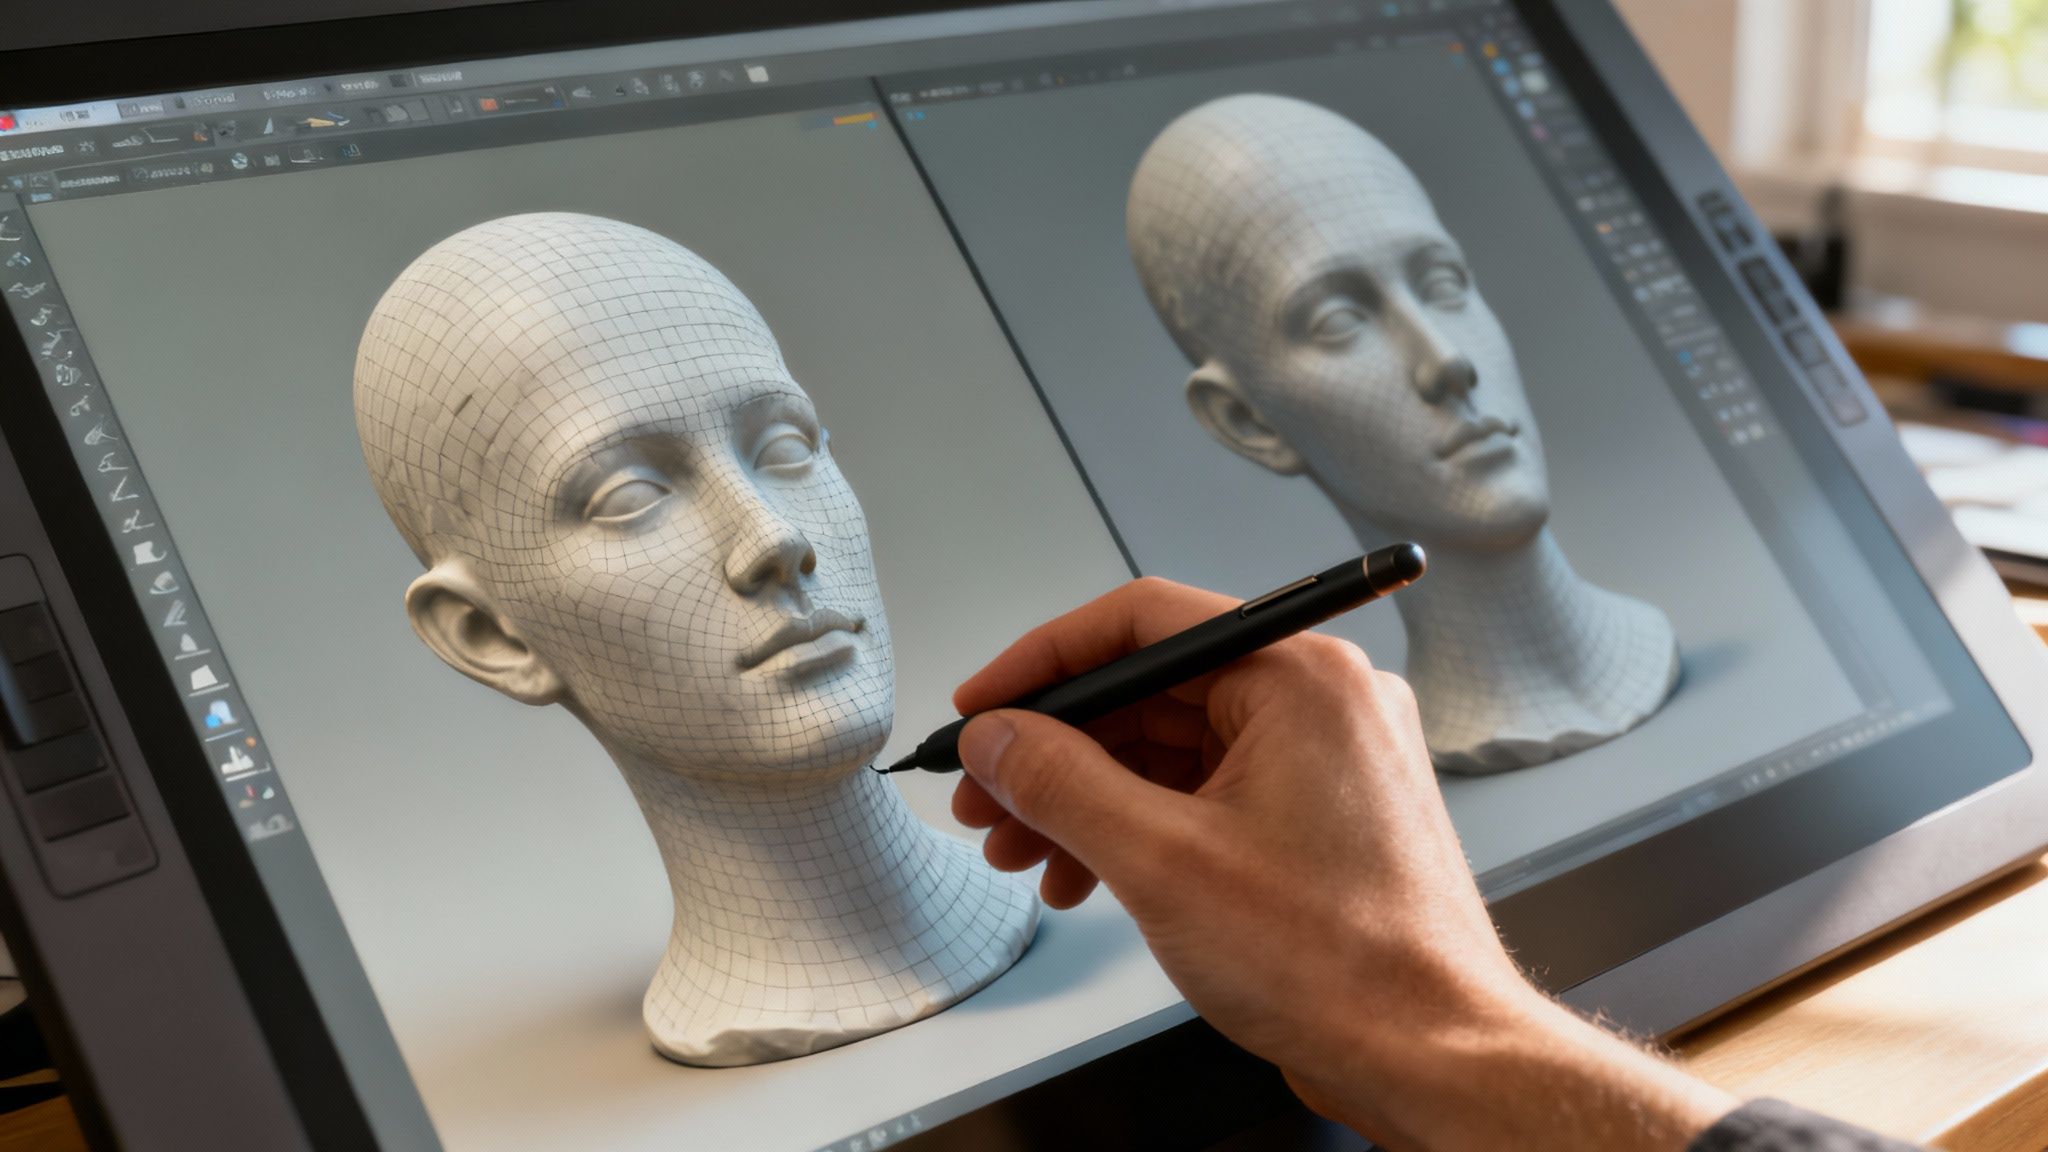
The initial output when you convert picture to 3d will likely have small imperfections, which are sometimes referred to as "AI artifacts." These are subtle flaws in the geometry or texture that require a human eye to correct.
Think of the AI as a highly capable assistant. It gets the model approximately 90% complete; your role is to manage that final 10% of critical detail.
Identifying and Correcting Common AI Artifacts
Before you can fix anything, you need to know what to look for. The first step is always to rotate the model and inspect it from every angle under different lighting conditions. This is the only way to identify issues that might not be immediately obvious.
Most AI artifacts fall into a few common categories:
- Subtle Mesh Imperfections: These appear as small lumps, dents, or noisy areas on otherwise smooth surfaces. They often occur where the AI had difficulty interpreting shadows or complex textures from the original photo.
- Texture Distortions: You might see textures that appear slightly stretched, blurred, or misaligned. This is especially common on curved surfaces or in areas where the 2D image did not provide enough information for a clean projection.
- "Melted" Details: Small, intricate features like buttons, text, or fine patterns can sometimes be generated with a soft or melted appearance, lacking the sharp definition they had in the source image.
Virtuall’s built-in sculpting tools are designed to address these issues directly. The Smooth brush is excellent for evening out lumpy surfaces, while the Pinch brush can help redefine soft edges to make them crisp. For larger geometry problems, the Grab tool can be used to gently pull and push parts of the mesh into their correct positions.
The goal of this initial cleanup phase is to establish a clean, accurate foundation. Do not proceed to creative enhancements until you've resolved the underlying structural and textural problems. A solid base makes all subsequent work much easier.
Enhancing Your Model with Artistic Touches
With the cleanup complete, you can begin creative enhancements. This is where you transform a technically correct model into a visually compelling asset. A good place to start is with the material properties, as they have a significant impact on the object's appearance.
For example, a model of a metal tin can might look somewhat flat right after conversion. By adjusting its material properties in Virtuall, you can increase its metallic value and lower its roughness. This simple adjustment instantly makes the surface look like reflective, polished metal rather than dull plastic.
Consider these creative adjustments to make your model stand out:
- Adjusting Surface Roughness: Make a surface appear more weathered and matte by increasing its roughness value, or create a glossy, wet look by decreasing it.
- Painting Additional Details: Use the texture painting tools to add details that were not in the original photo, such as dirt, scratches, or wear and tear to add a layer of realism.
- Refining Surface Normals: Sometimes, you may want to enhance the perception of depth without adding more geometry. Editing the normal map can create the illusion of bumps and grooves, perfect for adding subtle texture.
This is your opportunity to add a unique artistic signature, ensuring the final asset is a polished, professional piece ready for any creative project.
Exporting Your Model for Professional Workflows
You’ve completed the refinement process—your 3D model is polished and ready for use. Now for the final, critical step: exporting it from Virtuall into a format that is compatible with your project's technical requirements. This is a crucial stage that determines the model's usability.
Choosing the right file type is essential. It dictates whether your creation will integrate seamlessly into a game engine, an AR application, or a 3D printer. An incorrect choice can lead to compatibility issues and performance problems.
The idea of turning a picture into a tangible 3D asset has a history. The journey to convert picture to 3d has deep roots in early 3D scanning and printing. As far back as 1996, stereolithography was creating physical "3D hardcopies" of scanned objects. A famous example was the 'Happy Buddha' statuette, demonstrating that a digital model could become a real-world object.
Today, we are working with the same core principle, but the applications for our models have expanded significantly.
Choosing the Right 3D Export Format
Your choice of export format determines how your model's data—its geometry, textures, and even animations—is packaged. It is analogous to choosing between a PNG, a JPG, or a GIF; each format has a specific purpose. The three you will encounter most often are OBJ, FBX, and GLTF.
The correct choice depends entirely on your end goal. An architect preparing a model for 3D printing has different needs than a game developer importing an asset into a real-time engine.
For a more detailed analysis, we have put together a comprehensive guide on choosing the best 3D model file formats that explains the options.
A perfectly crafted 3D model is only as good as its compatibility with your workflow. Selecting the correct export format is the bridge between your creative work in Virtuall and its final application, ensuring all your hard work translates perfectly.
To make this decision easier, here's a brief overview of the most common formats and their primary uses.
Choosing the Right 3D Export Format
Choosing the appropriate format from the beginning saves a significant amount of time and prevents the need to re-export your work.
Optimizing Your Model for Peak Performance
Before you export, take a moment to consider your model's complexity. A high-polygon model may look stunning in a render, but it can severely impact the performance of a real-time application like a game or AR experience.
This is where optimization is key. The goal is to lower the polygon count (decimation) without compromising visual quality. Virtuall includes tools that allow you to intelligently simplify the mesh, collapsing dense polygons on flat surfaces while preserving the sharp details that define your model’s silhouette.
Once your model is optimized, it can be integrated into all sorts of professional workflows, such as product demo video creation, where performance is critical. A well-optimized model not only looks good—it performs reliably wherever it is deployed.
Common Questions About Converting Pictures to 3D
As you begin to convert picture to 3d, a few questions often arise, especially for those new to AI-driven workflows. Addressing these early on can accelerate your learning curve and improve the quality of your final models.
One of the first questions people ask is what types of images work best. Beyond lighting and resolution, the object itself is a significant factor. Objects with clean silhouettes and distinct shapes almost always convert more reliably than complex or ambiguous forms.
For example, a ceramic vase, a toy car, or a piece of fruit are excellent starting points. Their geometry is simple enough for an AI to interpret from a single photo. Conversely, trying to convert a chain-link fence or a wispy houseplant can be challenging due to the intricate, transparent parts.
What Level of Detail Can I Expect?
It's important to set realistic expectations for detail. An AI can only work with the information it sees in the photograph. It is excellent at capturing the main shape of an object—its overall form, major curves, and large surface features.
Where it may sometimes have limitations is with minute details, such as micro-textures or information that is not present in the 2D image.
The AI is incredible at generating a high-fidelity base mesh, but it is not a mind reader. The final 10% of the work—sharpening tiny engravings or adding realistic fabric wear—is where your artistic eye really makes the difference.
Consider it a collaborative process. The AI provides an excellent, nearly-finished model, getting you 90% of the way there, but that last portion of refinement still requires a human touch.
Troubleshooting Common Conversion Errors
What should you do when a conversion does not go as planned? In most cases, the problem can be traced back to the source image. Here are a few common issues and their likely causes:
- Warped or "Melted" Geometry: This is a classic sign of harsh shadows or overexposed highlights in your photo. The AI interprets these lighting effects as part of the object's actual shape.
- Holes or Missing Pieces: If parts of your object are blurry, occluded, or blend into the background, the AI will not have enough data to construct that section of the model.
- Incorrect Proportions: A photo taken with a wide-angle lens can distort the perspective, and the AI will replicate that distortion in the 3D model. Shooting from a greater distance with a longer lens is the best way to maintain accurate proportions.
Once you know what to look for, you can identify these problems quickly, adjust your photos, and achieve a much better 3D asset on your next attempt.
Ready to transform your creative workflow? With Virtuall, you can generate, manage, and collaborate on 3D, image, and video assets all in one unified workspace. Start bringing your ideas to life today by visiting https://virtuall.pro and see what's possible.

