At its core, making a sprite sheet is about packing a bunch of individual animation frames into a single image. This technique is fundamental for optimising game performance, as it allows the game engine to render complex animations using just one texture instead of loading dozens of separate files.
Your Quick Guide to Creating Sprite Sheets

Before we jump into the details, it’s helpful to get a high-level view of the entire workflow. A sprite sheet isn't just about dragging images onto a canvas; it's a methodical process that ensures your animations are efficient and easy for a developer to implement.
Good preparation is essential. That’s why you'll want to have a solid system in place for your files before you even start. If you don't, take a moment to learn how to organise digital assets – it will save you considerable effort later.
From planning the layout to exporting the final files, every stage plays a role in the final quality. If you take shortcuts on any of them, you risk running into performance bottlenecks or visual glitches in your game.
A well-organised sprite sheet is a cornerstone of 2D game development. It directly impacts loading times and rendering efficiency, contributing to a smoother player experience.
To give you a clear picture of the process, here's a quick breakdown of the essential actions involved. Think of this as your roadmap.
Sprite Sheet Creation at a Glance
This table summarises the key steps you'll take to create a professional-grade sprite sheet, from initial concept to the final, game-ready files.
With this overview in mind, you're ready to tackle each step with a clear understanding of its purpose and impact on the final product.
Why Sprite Sheets Are Key for Performance
So, what exactly is a sprite sheet? Think of it as a single image file packed with all the individual frames of an animation. It’s a core technique for creating 2D games that run smoothly on any device.
Instead of forcing a game engine to load dozens of separate image files for a character's walk cycle, it just loads one. This single texture lookup drastically cuts down on memory usage and, more importantly, reduces the number of draw calls — a major factor in graphics rendering performance. The result? Smoother frame rates and faster load times for players.
It all comes down to a few key advantages:
- Fewer Draw Calls: The GPU only has to handle one texture instead of many, which frees up processing power.
- Lower Memory Footprint: One consolidated image uses less RAM than a folder full of individual files.
- Faster Loading: One file loads more quickly than fifty. This keeps the gameplay feeling responsive.
Here in Denmark, you’ll find that studios lean heavily on sprite sheets for everything from character animations to UI elements, especially when meeting strict performance budgets on mobile or console. At Virtuall, we've integrated this thinking directly into our workflow to keep assets organised, versioned, and game-ready.
The Essentials for a Great Sprite Sheet
When you start laying out your sheet, you need to think about frame dimensions, padding, and how you group your animations into texture atlases. Getting this right from the start saves a world of headaches later.
Proper padding, for instance, prevents "texture bleeding," where pixels from an adjacent frame sneak into the one you’re displaying. Keeping your frame sizes consistent makes a developer's life significantly easier when they are coding the animation loops.
A texture atlas is a term for grouping related animations together on the same sheet. You might put a character's walk, run, and jump cycles all in one grid. This logical grouping is a massive help for engines like Unity or Godot and keeps your asset pipeline clean, especially when multiple people are working on the project.
A few quick tips from our experience:
- Establish a clear naming convention for your frames.
- Make sure your pivot points are perfectly aligned to prevent visual jitters.
- Always leave a few pixels of padding between frames to prevent bleed.
This focus on efficiency is part of a bigger picture in the Danish games industry. Between 2017 and 2022, the industry's revenue increased, reaching 3.6 billion DKK, with exports hitting 2.6 billion DKK. You can dig into more of the numbers over at the Danish games industry growth report on gamesdenmark.dk.
“In our experience, well-optimised sprite sheets can reduce frame times by up to 50% in complex 2D scenes. They are absolutely non-negotiable for high-performance titles.”
Nailing these basics sets you up for success. Now that we've covered the 'why', let's jump into the 'how' and start preparing your assets.
Choosing Your Tools and Preparing Your Assets
Picking the right software is the first real decision you'll make, and it can seriously shape your entire workflow. It’s easy to default to what you know, like Adobe Photoshop, but while it's a powerhouse for image editing, it can become cumbersome when you're trying to perfectly arrange dozens of animation frames.
This is where specialised tools come in. Something like TexturePacker is built from the ground up for this exact job. It automates tedious tasks—alignment, trimming away empty space, and exporting the data files your game engine needs to read the sheet. If you're looking for a wider overview, this article on various editing tools is a great resource for asset creation in general. And for those who prefer the command line, open-source options like ImageMagick offer powerful, script-based solutions.
Before you even think about opening your software, though, you need to get your files in order. This isn't just about being tidy; it's about setting up a predictable structure that your tools can understand.
Organising Your Source Images
A little discipline here goes a long way. Getting this part right makes the rest of the process much smoother.
- One Folder Per Animation: Keep all the frames for a single sequence (like 'player_run' or 'enemy_explode') in their own dedicated folder.
- Logical Naming is Key: Name your files sequentially.
run_001.png,run_002.png,run_003.png, and so on. This is how the software knows the correct order to import them. - Consistent Canvas Size: Every single frame should be exported with the exact same dimensions, even if the character inside it is smaller. This is non-negotiable for preventing alignment issues later.
This kind of structured preparation is becoming more and more vital, especially as game development pipelines get more demanding. In Denmark, for example, the growth in mobile and multiplayer games has pushed studios to find every efficiency they can. It's no surprise that immersive, sandbox-style games have been topping the revenue charts there, and that kind of content scale requires an optimised asset pipeline. You can see more data on the Danish gaming market on sensortower.com.
Pro Tip: Always export your individual frames with a transparent background. Using a lossless format like PNG is the recommended approach, as it gives you total flexibility when you assemble the final sprite sheet.
Comparing Popular Sprite Sheet Creation Tools
To help you decide, here’s a quick rundown of some of the most common tools people use to build sprite sheets. Each has its own strengths, so the "best" one really depends on your project's needs and your personal workflow.
Ultimately, whether you choose a dedicated tool like TexturePacker for its automation or stick with Photoshop for manual control, what matters most is consistency.
Here’s a look at the TexturePacker interface, which gives you a good idea of how these specialised tools work.
You can see how the software automatically packs the sprites together to minimise wasted transparent space. That's a core feature for keeping your game's memory usage down. It’s a similar principle to creating tileable textures—if you're working with those, our guide on how to create seamless textures might come in handy.
Assembling Your Sprite Sheet with Precision
You’ve got all your character frames exported and looking sharp. Now it’s time for the core task: compiling them into a single, game-ready sprite sheet that performs perfectly in-engine.
Setting Up Your Canvas
First, you need to create a new document in your image editor. A good practice is to calculate the final canvas size upfront.
For a classic 5×4 walk cycle, for instance, your canvas dimensions will be (frame width × 5) by (frame height × 4).
Here's a pro tip that saves a lot of headaches later: add at least 4px of padding around each frame. Think of this as a safety margin that prevents “texture bleeding,” where adjacent frames accidentally show up in your animation.
Once the canvas is ready, use your software’s rulers and guides to map out a grid for each frame slot. This simple step makes alignment much easier and helps you spot any rogue pixels or misaligned layers before they become a problem.
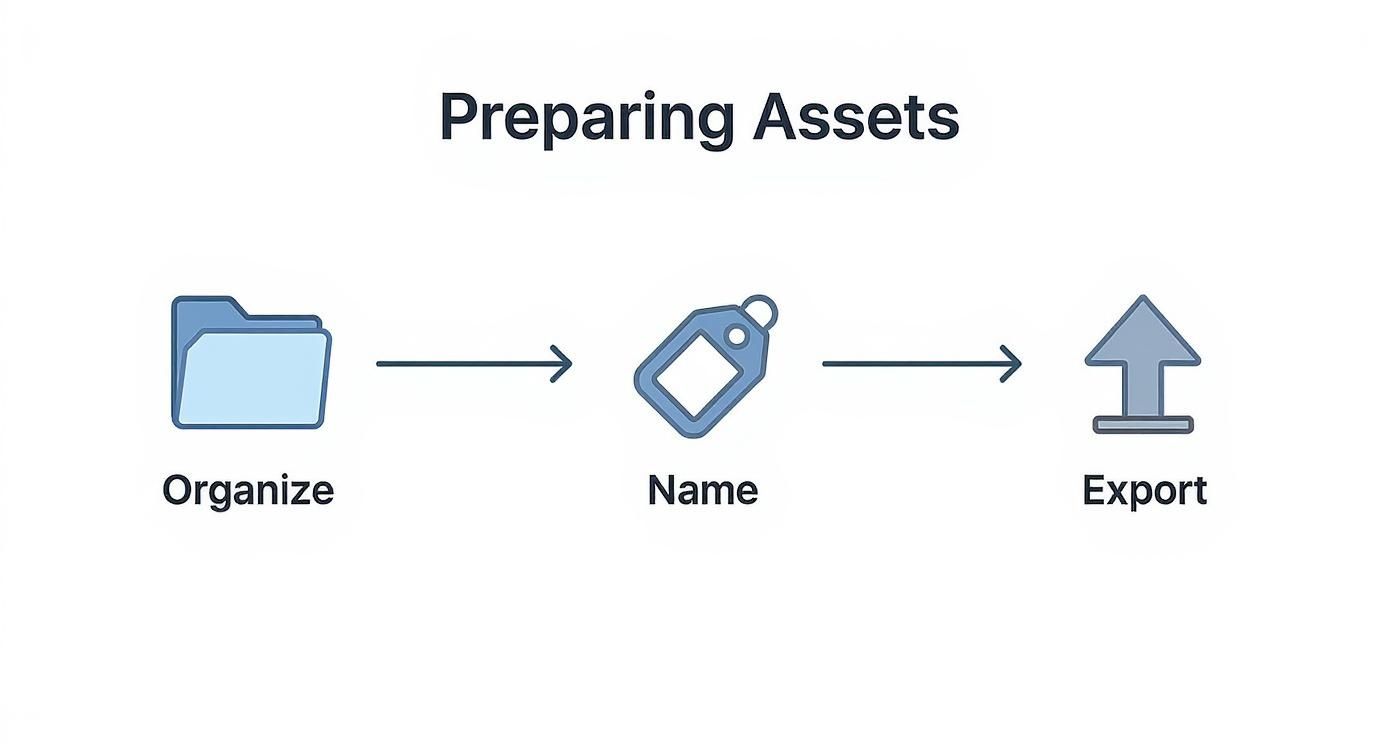
The infographic below gives a great visual overview of the prep work.

As you can see, a little organisation—like consistent naming and clean exports—goes a long way to streamlining the whole process.
Arranging Frames Into a Grid
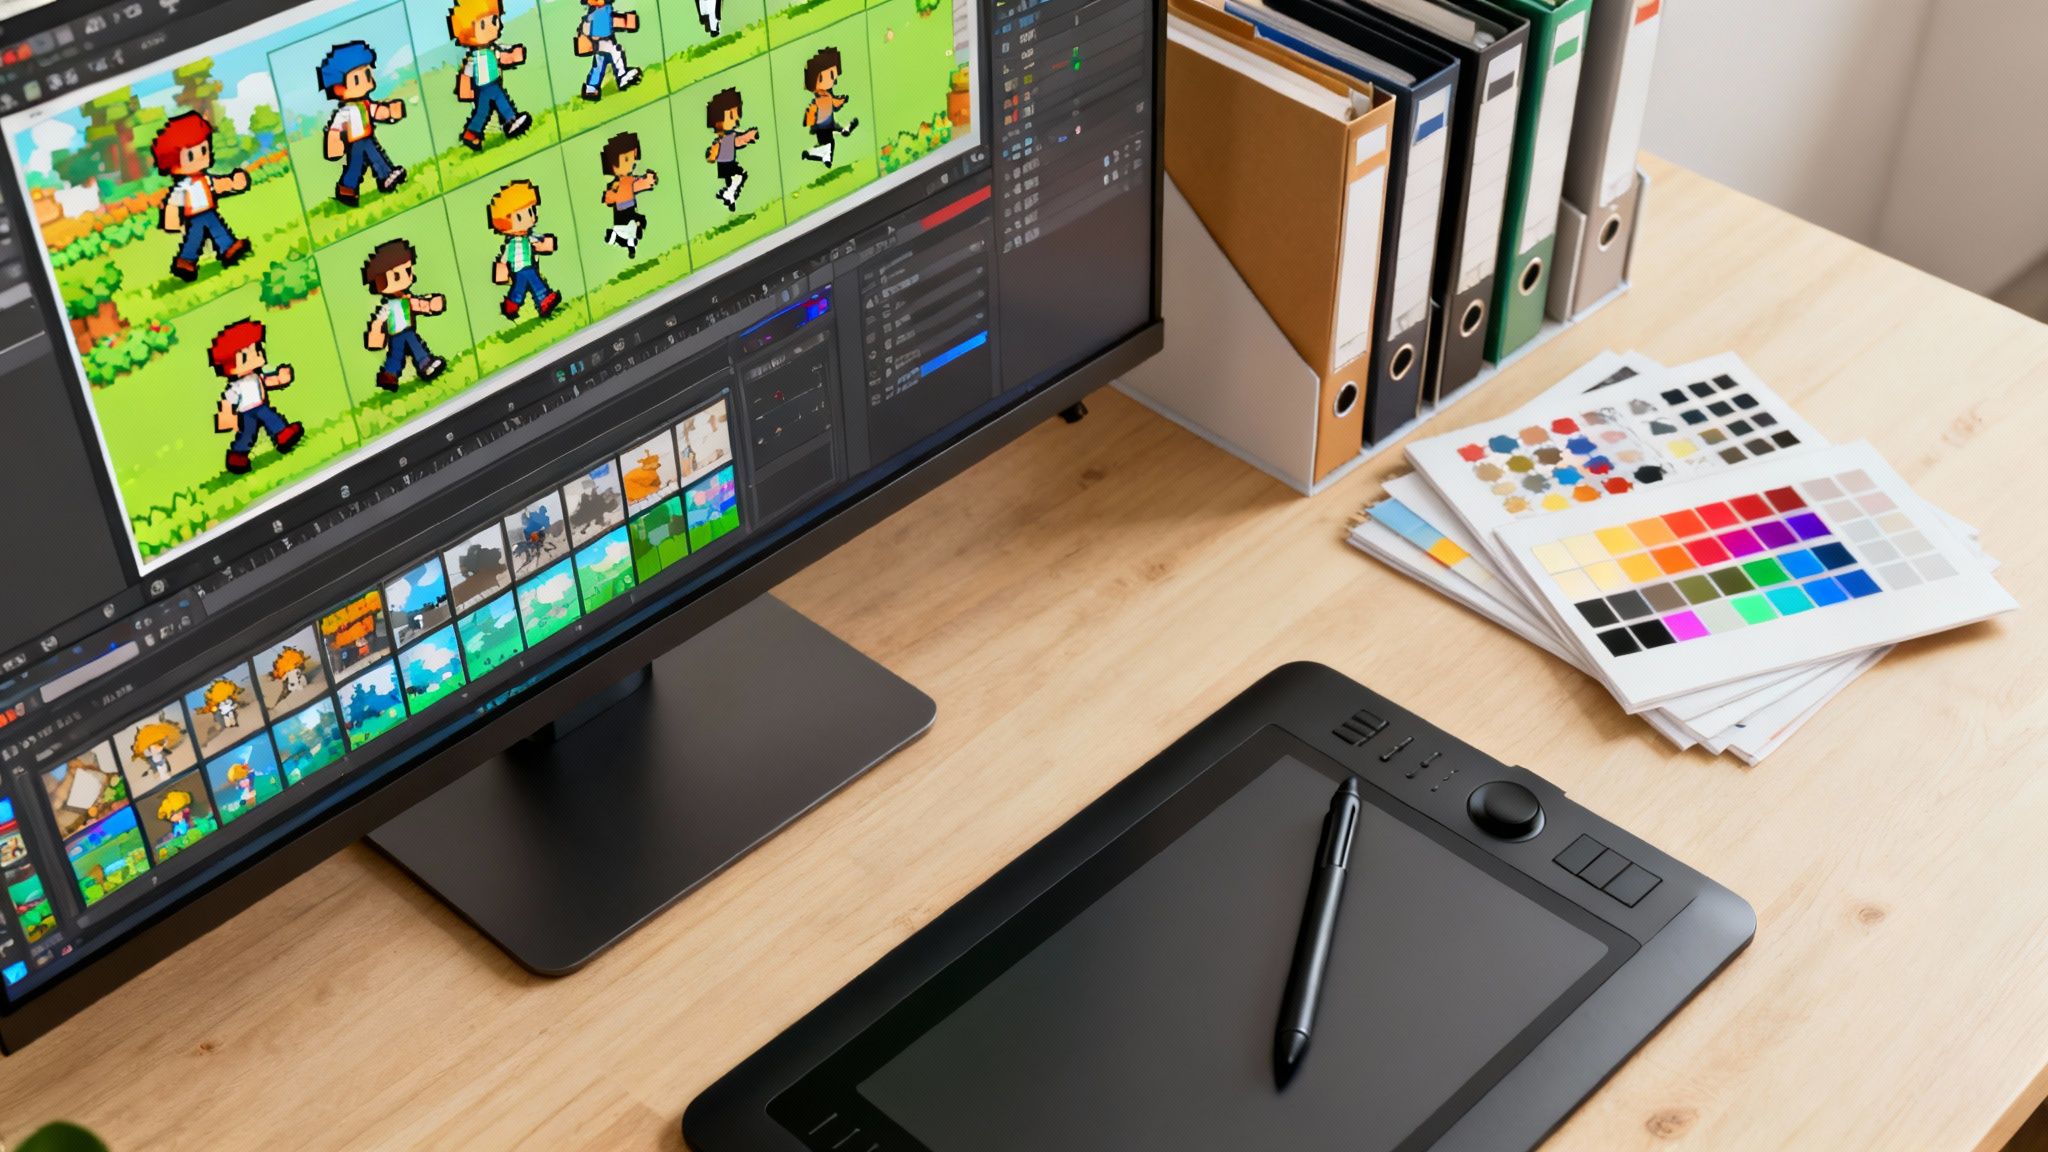
Now, let’s get those frames in place. Import all your prepared PNGs onto the canvas you just set up.
With your guides and snapping enabled, drag each asset into its designated slot.
For something like a character's walk cycle, it helps to group related frames together. For example, keep the thigh, shin, and foot animations in a logical sequence so the flow is easy to follow visually.
“Aligning pivot points precisely reduced our animation jitter by over 30%,” says a lead animator at Virtuall.
This is a critical step. As you position each sprite, double-check that the character's anchor point stays in exactly the same spot across all frames. Get this right, and you’ll eliminate that "bouncing" that can happen during playback.
My workflow is straightforward:
- Drag the first frame into the top-left cell.
- Snap the next frames in horizontally, filling the row.
- Once a row is full, move down to the next one and repeat.
Following this simple order ensures your animation sequence is correct and seriously reduces manual mistakes.
Managing Pivot Points and Spacing
With every frame in the grid, the final check is the pivot point. This is non-negotiable.
In game engines like Unity, the pivot is the central point for all rotation and position calculations. If it’s off, your character might look like they're sliding or jittering during an animation.
To fix this, just select all your frames and use the transform panel in your software to adjust the pivot uniformly.
Once you're satisfied, export the entire sheet as a lossless PNG. Then, jump into your game engine’s import settings and tell it the grid dimensions (e.g., 5 columns, 4 rows) so it knows how to slice up the sheet.
And that's it! Your sprite sheet is ready for the game, free of artifacts and spacing issues.
Optimizing and Exporting for Your Game Engine

You've built your sprite sheet. Great. Now comes the part that separates the professionals from the amateurs: optimisation. A bloated, poorly packed sheet can negatively impact your game's performance, dragging down frame rates and increasing load times. This is your last chance to make sure every byte counts.
The first, and easiest, win is to remove any dead space. I’m talking about the unnecessary transparent pixels clinging to the edges of your frames. Most dedicated tools like TexturePacker have a feature for this, usually called "trimming" or "cropping," and it often works automatically. This one simple step can shave a surprising amount off your final file size without affecting the sprite's quality at all.
Choosing the Right Format and Compression
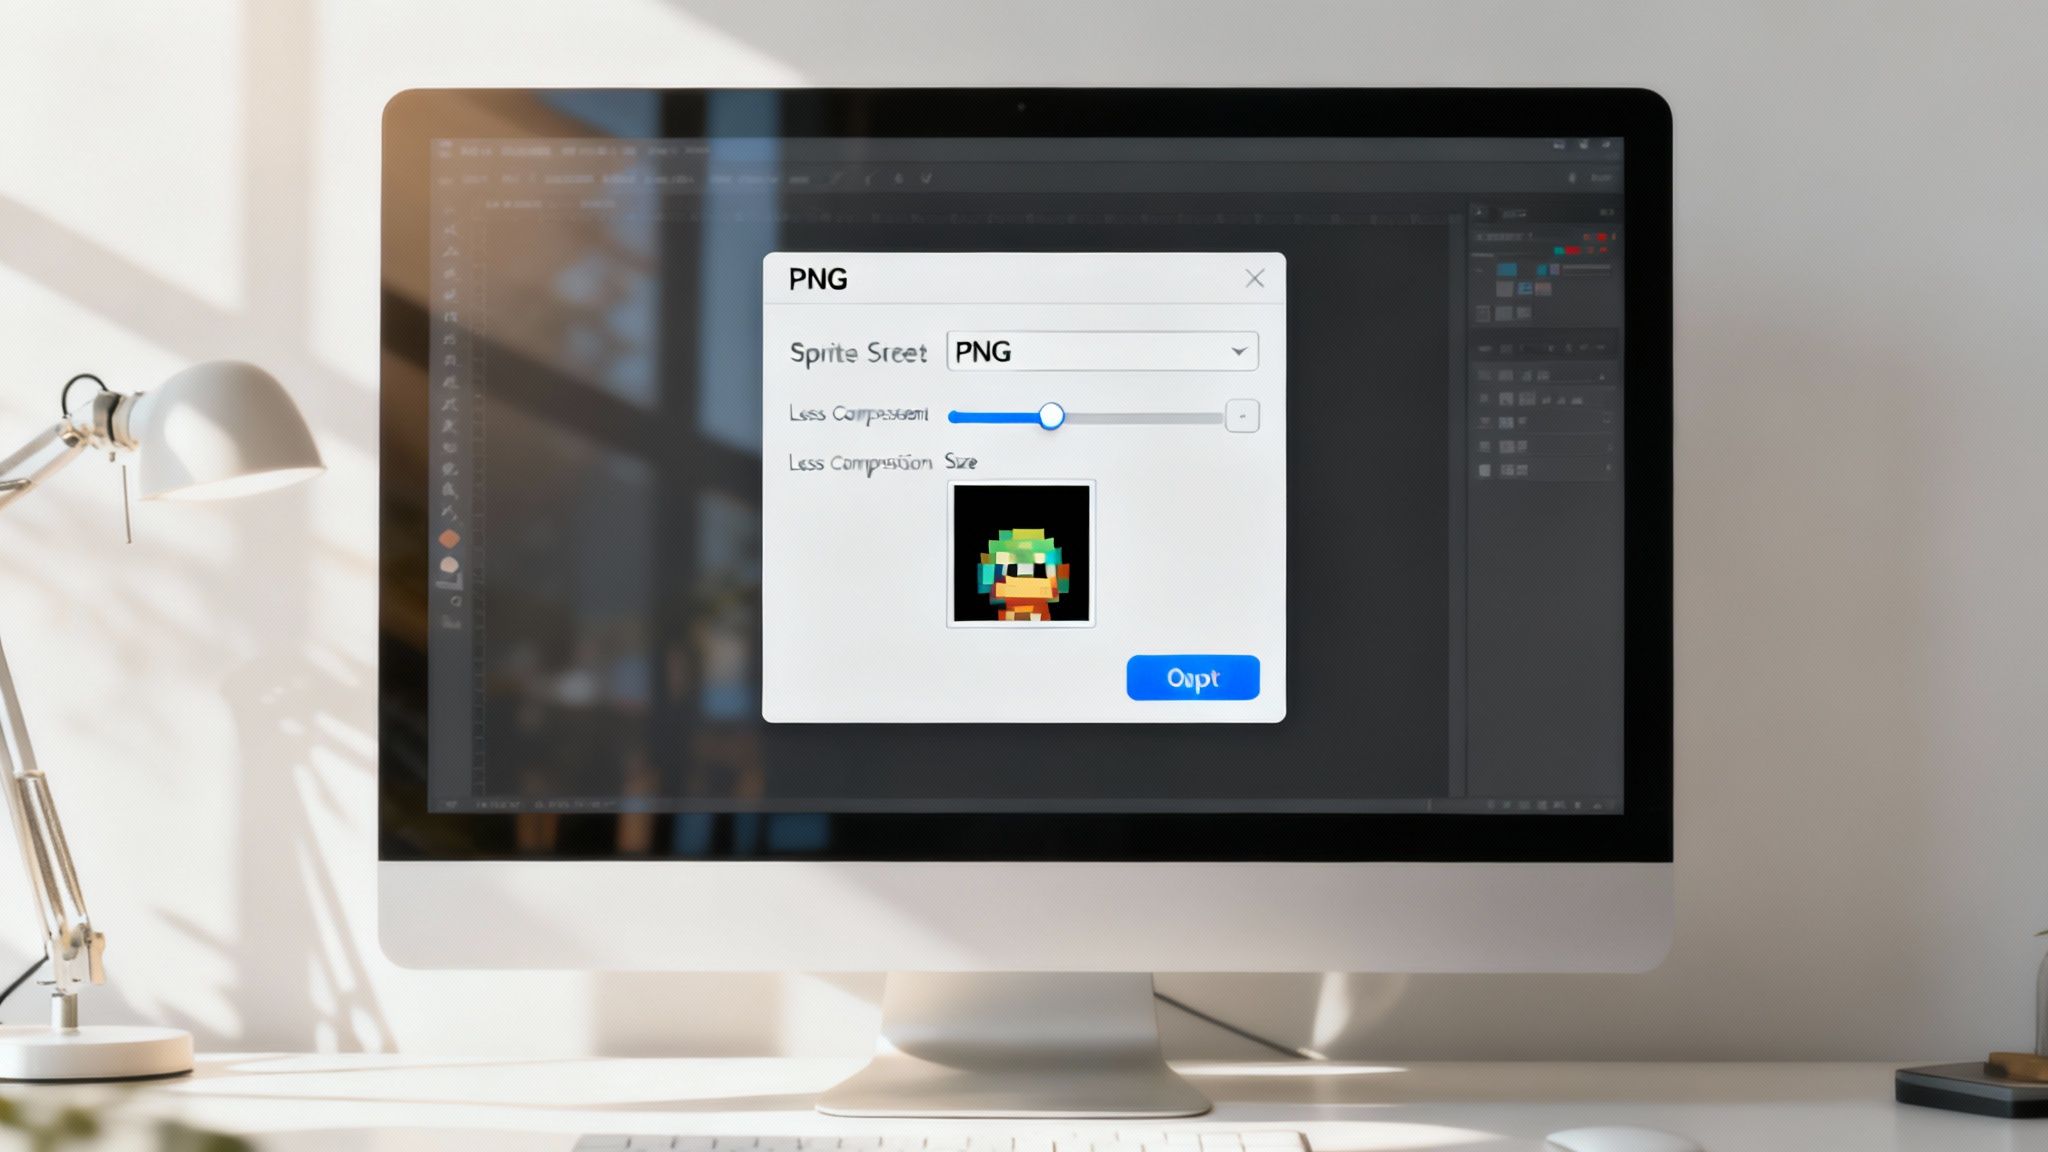
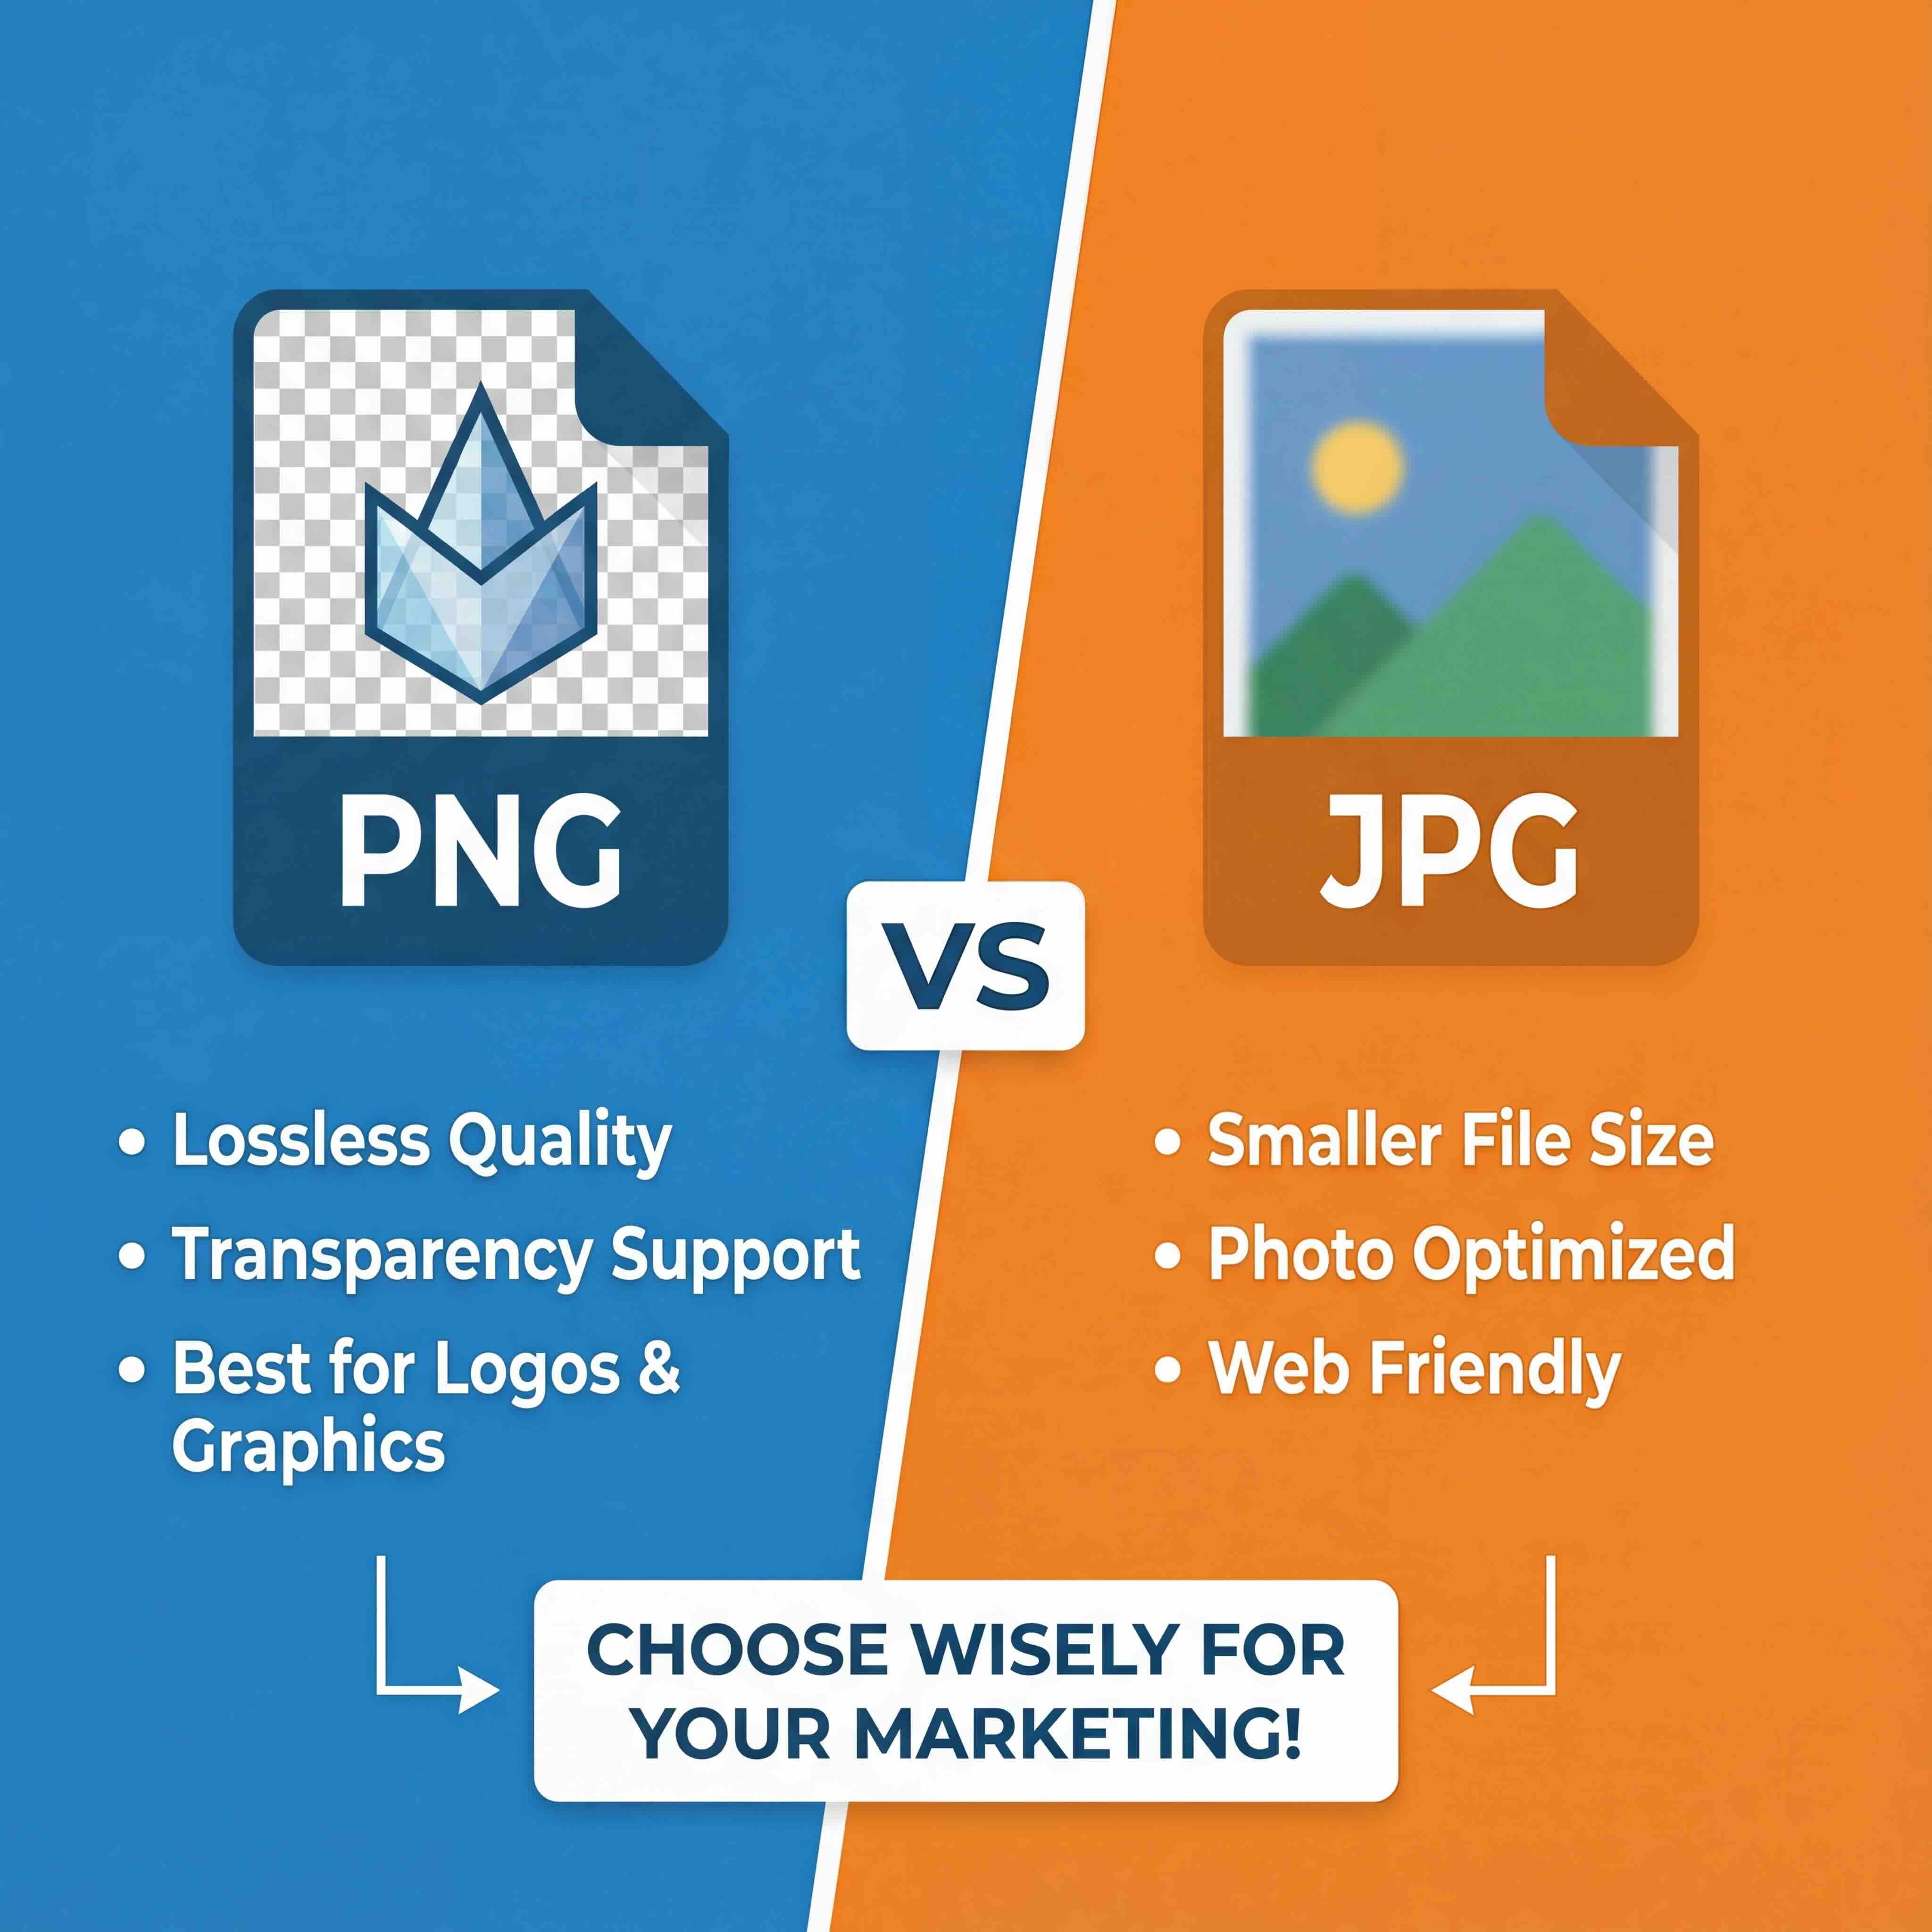
When it comes to sprite sheets, PNG (Portable Network Graphics) is the standard choice. Why? It gives you lossless compression and, most importantly, a proper alpha channel for transparency. This means your sprites have crisp, clean edges—none of the fuzzy artefacts you’d get from a lossy format like JPEG.
With PNG selected, your next move is to apply lossless compression. This process reduces the file size without discarding any visual data, which is critical for keeping your graphics sharp. Think of it like this: web developers are obsessed with optimizing images for faster loading, and for game developers, the stakes are just as high. Every kilobyte saved means a smoother experience for the player, especially on mobile.
Your goal is a perfect balancing act: the smallest possible file size with zero noticeable drop in visual quality.
Testing and Implementation in Your Engine
A sprite sheet isn't finished until you see it running in the game. Before you call it a day, you absolutely must import it into your engine of choice, whether that's Unity, Godot, or something else.
This is the moment of truth. You’re looking for a few key things:
- Smooth Playback: Are the animations fluid? Or is there any jittering or shaking?
- No Glitches: Look closely for texture bleeding, where pixels from one frame leak into another.
- Visual Clarity: Does the sprite hold up at different screen resolutions? Is it still crisp and clear?
Catching a mistake here saves you a world of pain later. It ensures the assets you pass along to the rest of the team are polished, performant, and ready to go. And as new tools emerge, this process is constantly evolving—something we touch on in our article about AI in game development.
Common Sprite Sheet Mistakes to Avoid
When you're first learning how to make a sprite sheet, it's the small things that can cause problems. Even a single extra pixel in a frame's height can throw an entire animation loop out of whack.
This is where you see characters suddenly jump or wobble during playback. It almost always comes down to inconsistent frame sizes. Another common mistake is skimping on padding, which leads to texture bleeding—that ugly glitch where the edge of one frame peeks into the next.
A few things to watch out for:
- Inconsistent frame size: This will disrupt your timing and alignment.
- Missing padding: This is the number one cause of visual rendering glitches.
- Random file names: A recipe for confusion when you try to import your assets.
Getting disciplined with your file naming is a non-negotiable. I always prefix sequences with a clear category, like “hero_run_001.png”. It may seem like a small detail, but it prevents a lot of confusion on larger projects.
Another pro tip is to keep a version history somewhere in your asset pipeline. This way, if a recent edit introduces some weird visual artefacts, you can just roll back to a version that worked.
Tips for Clean Sprite Sheets
So, how do you keep things clean from the start? It boils down to a few simple habits.
- Standardise all your frame dimensions before you even think about assembling the sheet.
- Be generous with padding. I’d recommend at least 4px around every single frame.
- Use sequential, descriptive names for everything.
A lead developer I spoke with put it perfectly: “Ensuring uniform frame sizes and padding cut our sprite-related bugs by over 40%.”
Putting in a few minutes to double-check these things during assembly will save you hours of debugging later on. Nail these simple practices, and you’ll have a much smoother workflow and animations that run flawlessly.
Common Questions Answered
Still have a few things on your mind about making a sprite sheet? Let’s clear them up.
Which image format is best?
PNG is almost always the right answer. It provides lossless compression and, most importantly, clean transparency thanks to its alpha channel.
What about the others?
- GIF can handle basic animations, but it’s an old format and most modern game engines don’t work well with it.
- JPEG is not suitable. It doesn’t support transparency and its compression creates unwanted artefacts around your sprites.
- WebP is a strong contender for reducing file size, but you’ll need to double-check that your chosen game engine actually supports it first.
“PNG’s lossless alpha channel is essential for sharp sprite edges.” — Senior Animator
What’s the ideal frame size?
Consistency is key here. Every single frame in your sheet must have the same width and height to work correctly.
As for the size itself, it really depends on your project’s style:
- 32×32 or 64×64 pixels are classic choices for pixel art games.
- 128×128 is often a good fit for UI elements like buttons or icons.
- Custom sizes are perfect for high-resolution characters or assets, just make sure they’re based on your target screen resolution.
How can I preview my animations?
Don't wait until it's in the game to see if your animation works. You can get a quick look using dedicated tools or even right inside your engine.
A few solid options are:
- The built-in preview panel in TexturePacker.
- Unity’s own Sprite Editor mode for a direct in-engine check.
- The animation timeline inside Aseprite, which is fantastic if you're already creating your pixel art there.
How do I handle really big sprite sheets?
Huge sprite sheets can consume a lot of memory. If you find your game slowing down, it’s time to be strategic with how you manage them.
The two most common strategies are either slicing up one massive sheet into several smaller, more manageable atlases, or using your engine’s “lazy loading” features to only load the assets you need, right when you need them.
Ready to streamline asset production? Try Virtuall for centralised AI-powered creative workflows at https://virtuall.pro today


