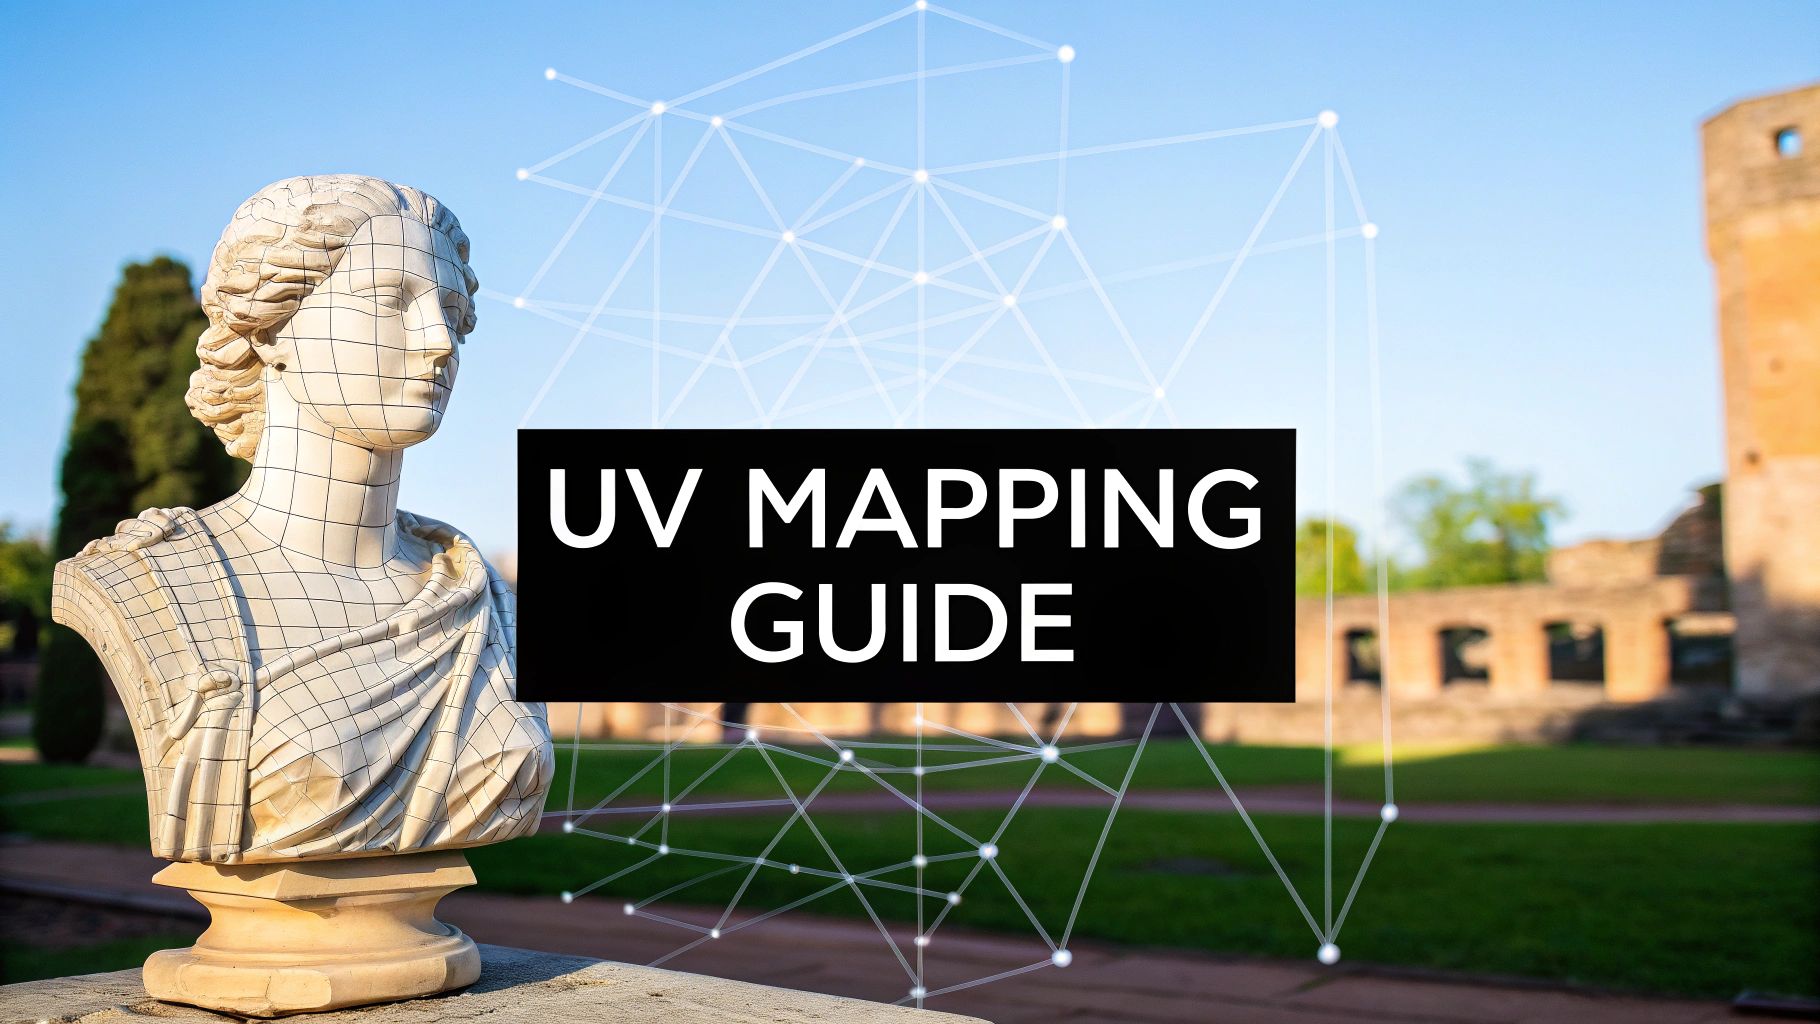
What exactly is UV mapping? It can be understood as creating a precise digital pattern for a 3D model. This process involves taking a complex, three-dimensional surface and methodically unwrapping it into a flat, 2D image to allow for the application of textures.
To draw an analogy, consider gift-wrapping a complex object. Without a precise, pre-cut pattern, the result would likely involve stretched and distorted paper. UV mapping provides that precise pattern, ensuring every detail of the texture aligns perfectly with the model's surface.
The Foundation of 3D Texturing
At its core, UV mapping serves as the critical bridge connecting a plain 3D model to a detailed, textured asset. A 3D model exists in a space defined by X, Y, and Z axes. However, a texture—such as a wood grain image or a character's facial features—is a flat, 2D image. To ensure these two elements work together, a separate 2D coordinate system is required. This is where the 'U' and 'V' axes are introduced, giving the process its name.
The technique involves strategically placing "seams" to deconstruct the 3D model, allowing its surfaces to be laid out flat without overlapping. This resulting 2D layout, called a UV map, becomes the definitive guide for a texture artist. When they paint or apply textures onto this map, the 3D software understands exactly how to wrap that texture back onto the original model.
Why This Process Is Essential
Attempting to apply textures without a well-constructed UV map is inefficient and leads to poor outcomes. The software lacks the necessary information to project the 2D image onto the 3D surface, which results in significant visual errors.
Proper UV mapping is the bedrock of quality 3D work for several key reasons:
- It Enables Realistic Detail: It provides artists with precise control to apply intricate details like scratches, fabric weaves, or skin pores exactly where they are needed.
- It Prevents Distortion: A clean UV map is the most effective way to prevent texture stretching and warping, ensuring visuals appear natural and professional.
- It Facilitates Advanced Techniques: It is a mandatory step for baking high-resolution details onto low-polygon models—a core workflow in game development and real-time rendering.
A clean UV map is the blueprint for a high-quality 3D asset. It ensures that every pixel on a 2D texture finds its correct home on the 3D model's surface, transforming a simple shape into a believable object.
This meticulous preparation is what distinguishes amateur models from the production-ready assets utilized in film, gaming, and architectural visualization. The quality of the UV unwrap directly and significantly impacts the final appearance of any textured 3D object.
As technology evolves, so do texturing methods. To explore future developments, see our guide to AI texture generation.
How UV Mapping Became an Industry Standard
To fully appreciate why UV mapping is so fundamental, it is helpful to look back at the early days of computer graphics. Creators faced a significant obstacle—they could build complex 3D shapes, but applying detailed 2D images to them was a challenge. Without an effective system, most models were limited to flat, uniform colors.
This method represented a massive leap forward. Suddenly, artists could wrap a photorealistic wood grain around a table, paint a detailed face onto a character, or apply intricate paneling to a starship. It unlocked a new level of realism and creativity that is now standard in the industry.
The Shift to a 2D Workspace
The true breakthrough occurred when the industry established a dedicated 2D workspace for texturing. The concept of UV mapping grew out of early texture mapping experiments in the 1970s as a way to "unfold" a model's surface onto a flat plane. The coordinates were named ‘U’ and ‘V’ to avoid confusion with the model's existing X, Y, and Z axes. It was a practical solution to a complex problem. You can explore the evolution of texture mapping on nohedge.com for more historical context.
By providing artists with a separate, flat canvas to work on, UV mapping standardized the texturing process. This separation of concerns—3D modeling versus 2D texturing—allowed for more specialized and efficient creative pipelines.
This was more than just a technical fix. It created a repeatable, scalable process that could be used across different software and teams, which was essential for the growth of professional 3D industries.
Driving Modern Visuals
As technology improved, so did UV mapping. The invention of related techniques like mipmapping—which intelligently adjusts texture resolution based on an object's distance from the camera—made it even more critical. Mipmapping requires a clean, well-organized UV map to function correctly, delivering both improved rendering performance and sharper visuals.
Today, this foundational process enables the incredibly detailed characters and immersive worlds seen in modern films, video games, and professional simulations. Its history demonstrates a clear progression from a fundamental problem to a universal solution that powers nearly all digital content creation.
Why Your 3D Workflow Needs UV mapping
In any professional 3D production pipeline, UV mapping is not optional—it is foundational. Attempting to texture a model without it is an inefficient process that yields unpredictable results. The outcome is often stretched details, visible seams, and a final product that appears unprofessional.
A clean UV map is what translates an artistic vision onto a model with high fidelity. It gives artists precise control over where every detail is placed, whether it’s a small logo on a product or a scar across a character’s face. Any alternative approach lacks this level of accuracy.
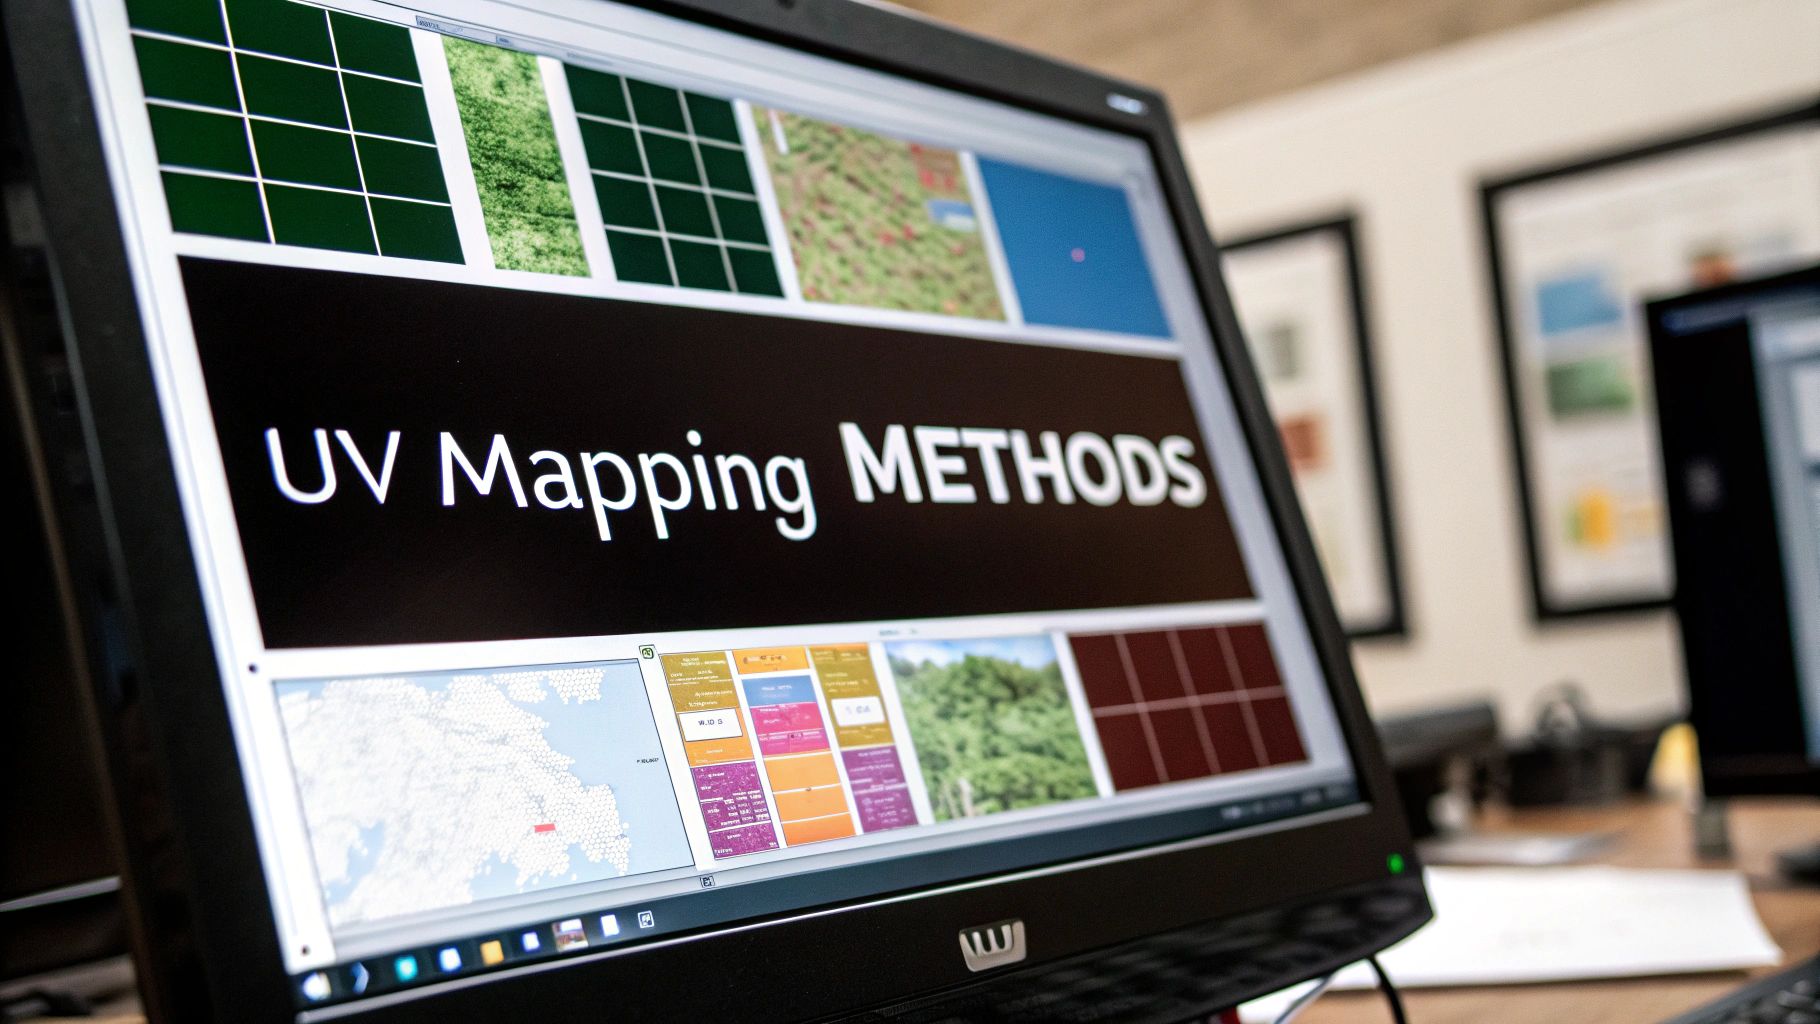
Achieving Uniform Detail and Quality
One of the most significant benefits of proper UV mapping is consistent texel density. Texel density can be thought of as the resolution of your texture as it is distributed across the model’s surface. Proper UVs ensure this resolution is even, preventing situations where some parts appear sharp while others are blurry.
This consistency is crucial for achieving realism. It ensures that whether viewed up close on a character's hand or from a distance on their torso, the level of detail remains constant and professional.
In a professional setting, a well-constructed UV map is a mark of quality. It signals to the next artist in the pipeline that the asset is technically sound and ready for high-end texturing.
Unlocking Advanced Texturing Workflows
Modern texturing workflows are entirely dependent on clean UVs. All industry-standard tools, such as Adobe Substance 3D Painter, rely on a properly unwrapped model to function effectively. This enables artists to paint seamlessly across different parts of a model and apply complex materials without issue.
Furthermore, UV mapping is absolutely essential for baking. This is a core technique where high-resolution details from a sculpted model are transferred onto a much simpler, performance-optimized one. This process is how detailed normal maps and ambient occlusion are created for low-poly meshes, but it is impossible without a perfect UV map to receive the baked information.
Mastering the UV Unwrapping Process
Creating a UV map is a process known as unwrapping. It is analogous to taking a cardboard box and carefully cutting along its edges to lay it perfectly flat. The objective is to translate a complex 3D shape into a simple 2D layout, preparing it for texturing with minimal distortion.
The process begins by defining seams on the 3D model. These are strategic cuts placed along the model’s edges, which instruct the software where to split the geometry—much like a tailor cutting a pattern for a shirt. Proper seam placement is critical, as it allows the model to unfold cleanly without undesirable stretching.
From Projections to UV Islands
Once the seams are marked, the next step is to use a projection method to flatten the geometry. This is not a one-size-fits-all step. For example, a flat wall is best handled with a simple planar projection. A cylindrical object like a can is a perfect candidate for a cylindrical projection.
The result of this unwrapping is a collection of flat pieces of geometry known as UV islands. These islands must then be arranged within a specific 2D square called the 0-1 texture space. This step, known as packing, is a blend of technical precision and artistic judgment.
The goal of packing is to arrange your UV islands as efficiently as possible. A tight, well-packed UV map utilizes every available pixel on the texture, which translates to higher visual quality and better performance in the final application.
The infographic below outlines the typical steps in a UV unwrapping workflow.
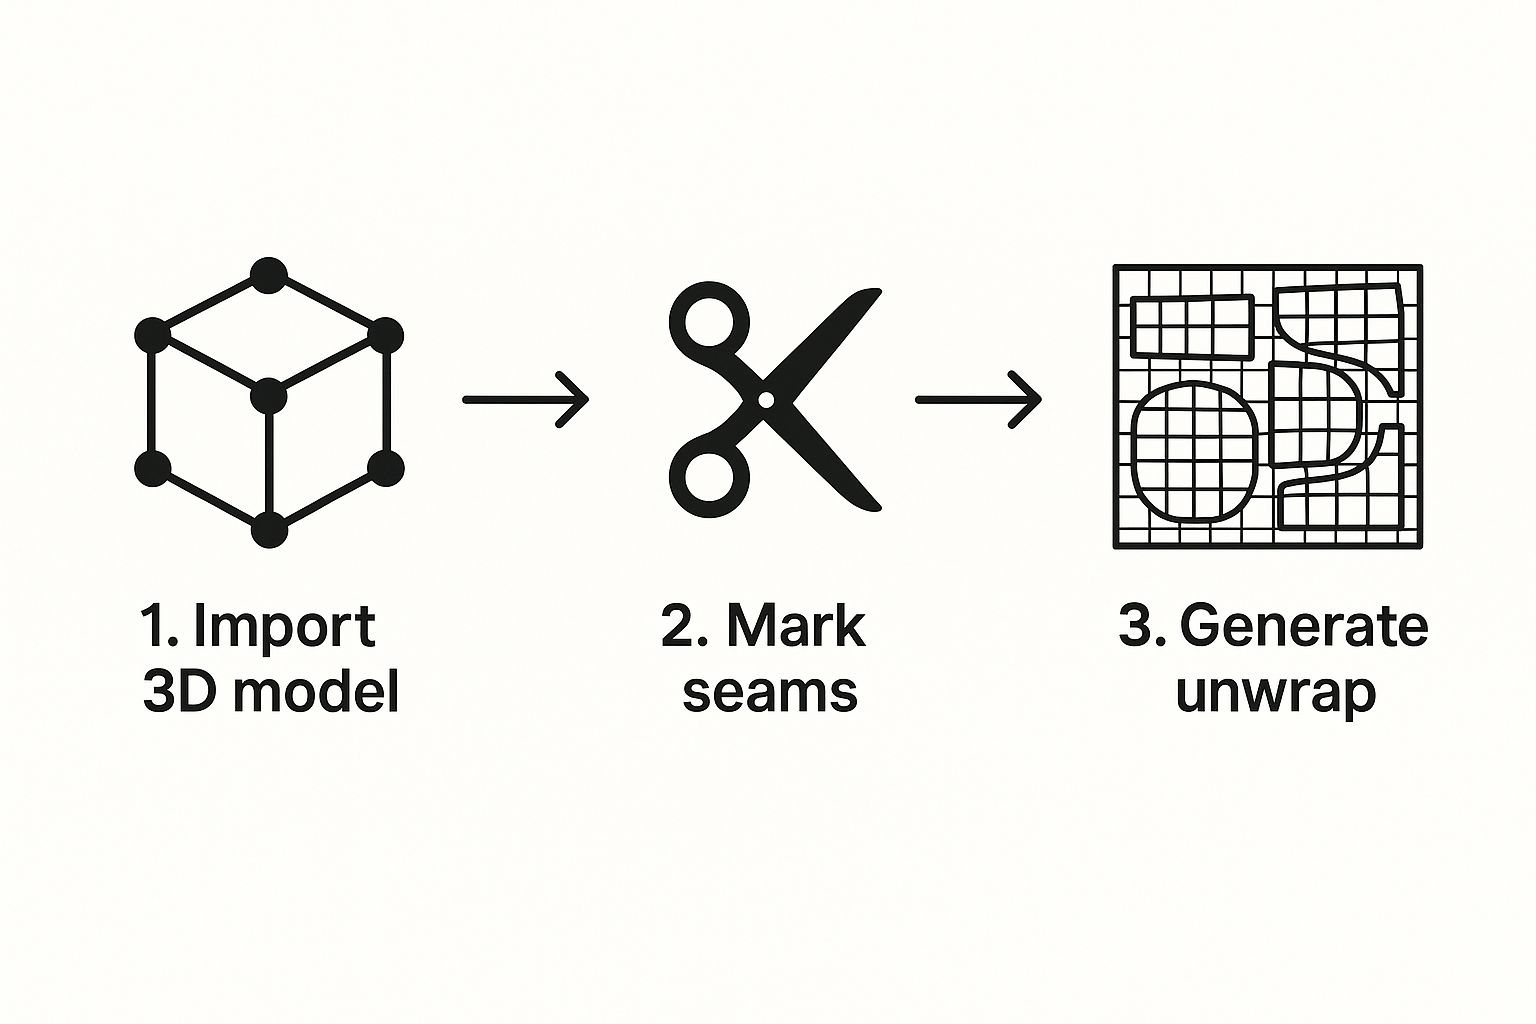
As illustrated, it is a sequential process. Each step builds on the last to produce a clean, organized UV layout that is ready for texturing.
Different shapes require different flattening strategies. Here are some of the most common projection methods and their applications:
Common UV Projection Methods and Their Best Uses
Choosing the right projection is a crucial first step. After that, the focus shifts to refinement.
Optimizing Your Final UV Layout
The final arrangement of your UV islands has a significant impact on the quality of the final asset. A professional UV layout adheres to a few key principles:
- Minimize Distortion: Islands should appear as close as possible to their 3D counterparts. This prevents textures from looking stretched or squashed.
- Maximize Space: Pack islands tightly to leave as little empty space as possible. This ensures you get the most detail out of your texture map.
- Orient Logically: Islands should be straightened and aligned either horizontally or vertically. This makes it much easier to apply textures with clear patterns, like wood grain or fabric weaves.
Mastering these steps is non-negotiable for any artist aiming to produce professional-grade work. A great unwrap also begins with well-structured geometry.
Choosing the Right UV Mapping Software
Selecting the right tool for UV mapping is not just a technical choice—it is a workflow decision. The software used directly impacts team efficiency, the final quality of assets, and the smoothness of collaboration.
Fortunately, many artists can achieve excellent results without leaving their primary 3D software.
Most professional 3D packages come with powerful, built-in UV editing toolsets. Applications like Blender, Autodesk Maya, and 3ds Max include everything needed for a wide range of projects, from game assets to architectural renders. For most day-to-day unwrapping tasks, these integrated tools are sufficient. If you are weighing options, our guide on 3D modeling software comparison provides a detailed breakdown.
When to Use Specialized UV Tools
For high-stakes, enterprise-level projects, specialized applications offer a distinct advantage.
Tools like RizomUV are designed for one purpose: creating perfect UVs quickly and efficiently. They use advanced algorithms to automate unwrapping and pack UV islands with an efficiency that is difficult to achieve manually. This saves artists a significant amount of tedious labor.
These dedicated tools become essential when addressing complex challenges, such as:
- Maintaining Texel Density: Keeping texture resolution perfectly uniform across a complex model is critical for high-fidelity visuals. Specialized tools make this process nearly automatic.
- Handling UDIM Workflows: When working on cinematic-quality assets requiring immense detail, managing dozens of texture tiles (UDIMs) is necessary. Dedicated software is built for this purpose.
Investing in a specialized tool becomes a strategic move when projects demand absolute precision and peak efficiency. It is how teams uphold strict quality standards on large-scale productions where every detail is important.
Ultimately, whether you use built-in editors or a dedicated application, the goal remains the same: to produce clean, optimized UV maps. Achieving this builds a rock-solid foundation for texturing artists to perform their work.
Common Questions About UV Mapping
Even after becoming familiar with UV mapping, certain questions often arise during a project. Addressing these correctly is what separates a good workflow from a great one. Let's cover some of the most common challenges.
The entire process is built upon decades of innovation. A significant leap forward was the framebuffer, created at Bell Labs in 1969, which first enabled a computer to store color information for each pixel. This was the key to shifting graphics from simple lines to the detailed, pixel-based images that make UV mapping possible today. You can explore the history of computer graphics innovations on uni-saarland.de for additional information.
What Is Texel Density and Why Is It Important
Texel density can be thought of as the "pixels per inch" for a 3D model. It measures the amount of texture resolution applied across the surface of an object.
Maintaining a consistent texel density is absolutely critical for a professional finish. If one part of a model is very sharp and another is blurry, the visual coherence is lost. Uniform density ensures the entire asset maintains the same level of detail, regardless of the viewing angle.
Can You Overlap UVs
Yes, but it must be done strategically. Overlapping UV islands is a common optimization technique to save valuable texture space, but it comes with specific guidelines.
- When to overlap: It is ideal for symmetrical objects (like the left and right sides of a character) or surfaces that use a simple, repeating texture.
- When to avoid it: Never overlap UVs for unique details or for any baked maps, such as ambient occlusion or normals. These elements require their own dedicated space to render correctly.
Overlapping UVs is a powerful tool for efficiency, but it requires careful planning. Using it incorrectly can lead to baked lighting errors and texture glitches that are difficult to fix later in the production pipeline.
What Is a UDIM Workflow
UDIM stands for U-Dimension. It is a workflow that allows a model's UVs to be spread across multiple texture maps instead of being confined to a single square.
This technique is invaluable for ultra-high-resolution assets, especially in film and VFX. When a character needs to be convincing in an extreme close-up, a single 4K texture may not be sufficient. UDIMs provide a clean, scalable method for managing massive amounts of texture data without sacrificing quality.
Elevate your creative pipeline with Virtuall. Our AI-powered platform helps teams generate, manage, and deliver high-quality 3D models with greater efficiency. Transform your concepts into production-ready assets in seconds by visiting https://virtuall.pro.

