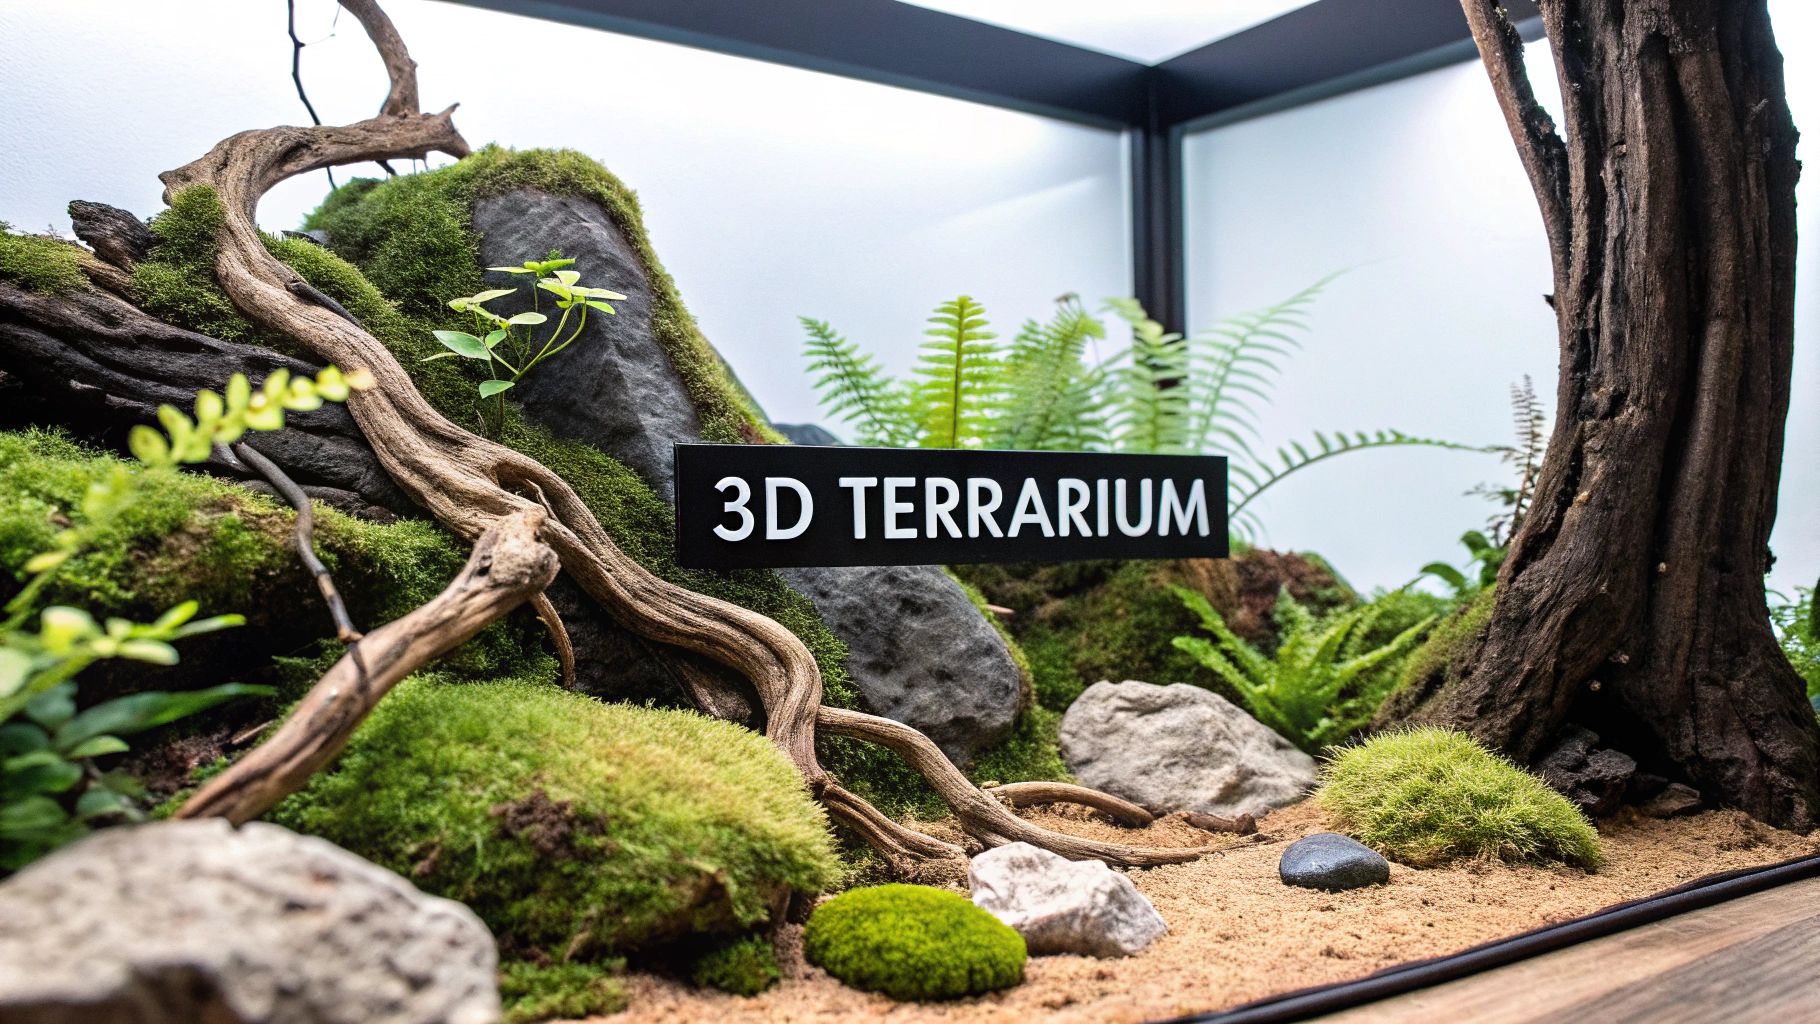
A high-quality 3D terrarium background transforms a simple glass enclosure into a dynamic, naturalistic habitat. It bridges the gap between a basic pet container and a genuine piece of living art, providing essential enrichment for your animal while serving as a beautiful display in your space.
Your Vision for a Naturalistic Habitat
The first step is moving beyond the generic, off-the-shelf products. This guide focuses on using Virtuall to design a background that is uniquely yours. We’ll cover how to blend your creative ideas with AI to build something that’s both functional and visually stunning, from the initial concept to the final export.
The objective is not just to create an attractive backdrop but to build an interactive environment. A thoughtfully designed background offers climbing surfaces, secure hiding spots, and a sense of safety that mimics an animal’s natural habitat. This focus on both animal welfare and custom design is driving significant interest in the hobby.
The Growing Demand for Custom Enclosures
The market for reptile enclosures is experiencing substantial growth. It’s projected to increase from USD 1.29 billion in 2023 to USD 2.16 billion by 2030. This trend reflects a growing community of reptile enthusiasts who understand that creating a beautiful, enriching habitat is a key part of responsible pet ownership.
Before designing the background, it is helpful to understand the fundamentals of the complete setup. For a solid overview, this guide to creating a terrarium covers the essentials.
A custom 3D background does more than just fill space—it tells a story about a specific corner of the natural world. It’s your chance to recreate a piece of the jungle floor, a desert cliffside, or a forest cave, all tailored perfectly for the animal that lives there.
Why a Custom AI Design Matters
Using a tool like Virtuall gives you full design control. Instead of being limited by commercially available options, you can specify every detail of the environment.
- Animal-Specific Features: You can design ledges for a basking lizard or tight crevices for a shy snake, building features directly into the design based on your pet’s natural behaviors.
- Aesthetic Control: You can match the background to your home’s decor or replicate a specific biome with high precision. Every detail is yours to define.
- Creative Freedom: This is an opportunity to experiment with concepts you wouldn’t find in a store and explore the full potential of terrarium design.
This process is about crafting a habitat that is as safe and functional as it is visually appealing.
Translating Nature into a Design Concept
Before you open Virtuall or type a single prompt, the most important work happens offline. A strong concept is the foundation of any great 3d terrarium background. It translates your abstract ideas into a clear visual roadmap, making the process of guiding the AI far more intuitive.
This pre-design phase involves gathering inspiration and defining your vision. The best place to start is your animal’s native environment. Researching its natural habitat provides authentic details to draw from—the exact texture of tree bark, the color palette of a rocky cliffside, or the way roots intertwine with the soil.
Building Your Visual Blueprint
Think of this stage as an artist preparing a canvas. A solid visual plan is necessary before generating 3D models.
Create a Mood Board: It is highly recommended to collect images that capture the desired atmosphere. Find photos of landscapes, close-ups of textures like moss and stone, and even other terrarium designs you admire. This visual library becomes your primary reference point.
Sketch a Rough Layout: You don't need to be an artist. Use a pen and paper to draw a simple outline of your terrarium's back wall. Block out where you want the key features: a large basking ledge on the right, a deep crevice for a hide on the left, or pockets for planting.
This simple act of sketching forces you to consider scale, composition, and flow before committing to a digital design. It transforms a vague mental image into a concrete plan.
Your mood board and sketches aren't just for inspiration. They are the vocabulary you will use to communicate with the AI. A clear visual direction now translates directly into more precise and effective prompts later.
Merging Aesthetics with Functionality
A background that looks amazing but doesn’t meet your pet’s needs is not a successful design. Functionality must be integrated into your concept from the very beginning. As you sketch, ask yourself how your animal will actually use the space.
Consider these practical elements:
- Climbing Surfaces: Is the texture you have in mind suitable for an arboreal species to grip? Or is it too abrasive?
- Secure Hides: Are the caves and crevices you've planned large enough for your pet to feel safe and turn around comfortably?
- Planter Pockets: If you are creating a bioactive setup, have you designed integrated pockets with enough depth for roots and proper drainage?
By planning for these functional needs at the outset, you ensure your final AI-generated 3d terrarium background is a masterpiece of both form and function. It creates an enriching environment that's as useful as it is stunning. This preparation makes the next step—crafting prompts for Virtuall—far more efficient and successful.
Crafting Prompts to Guide the AI
This is where your vision starts to become a reality. Writing a prompt for a 3d terrarium background in Virtuall is like directing a talented, literal artist. Your words form the creative brief.
The goal is to weave together keywords for the environment, its textures, and the overall lighting into one cohesive instruction. Go beyond a simple request like "rock wall."
Instead, try something like, "a sheer cliffside of cracked sandstone, with deep shadows and dappled sunlight filtering through an unseen canopy." Each word adds another layer of detail, guiding the AI closer to the image on your mood board.
The Anatomy of an Effective Prompt
A strong prompt is built from specific, descriptive components. Vague language will produce generic results. The key is to be precise and evocative, combining different elements to paint a clear picture.
- Environment: Start with the big picture. Is it a
misty jungle floor, anarid desert canyon, or amoss-covered cave wall? This sets the scene. - Texture: Now, focus on the surfaces. Use words that describe the look and feel, like
gnarled mangrove roots,porous volcanic rock, orsmooth, water-worn river stones. This is crucial for creating a surface that’s both realistic and functional for your animal. - Lighting: Finally, establish the mood. Lighting can completely transform the atmosphere of the background. Think in terms of
soft morning glow,deep cavern darkness, orbright, direct basking light.
This method gives the AI a rich set of instructions, which dramatically improves your chances of getting a compelling, unique design. These skills are similar to those used in world-building for digital entertainment. You can explore this further in our guide on designing 3D gaming backgrounds for more ideas.
How Small Changes Create Big Impact
The specific language you choose is very important. Swapping a single word can completely alter the final design. For example, changing "rocky wall" to "layered shale cliff" will produce a vastly different geological formation.
Do not hesitate to experiment. The best way to learn is to generate a design, evaluate what you like and what you don't, and then tweak your prompt. Every iteration brings you a step closer to the perfect background.
This iterative process—design, generate, refine—is at the heart of any modern digital creation workflow. The simple infographic below illustrates a similar concept for physical construction, where a solid base is layered with details.
Just as in this diagram, you will layer keywords in your prompts to build up the final, detailed result.
To help you get started, here's a table of modifiers that can drastically change the output of your prompts. Think of these as your artist’s toolkit for controlling the final look.
Effective AI Prompt Modifiers for Terrarium Backgrounds
Using these keywords will give you much finer control over the final design, helping you create a 3d terrarium background that’s not only beautiful but perfectly suited to its future inhabitant.
The ability to digitally craft these lifelike textures and environments is fueled by powerful technology. The global visualization and 3D rendering software market was valued at USD 2.20 billion in 2022 and is expected to reach USD 17.38 billion by 2030. This growth empowers creators to design and perfect these pieces before any physical material is used. You can learn more about these market trends and their impact.
Refining Your AI Generated Designs
Your first AI-generated image is rarely the final product. It is best to think of it as a first draft—a raw block of material waiting to be sculpted. The refinement process is where you analyze, iterate, and guide the AI toward a polished, professional-quality 3d terrarium background.
This is where your critical eye meets the AI's creative engine.
This iterative loop of generating, evaluating, and refining is a core practice for most digital artists. The goal isn't to achieve perfection on the first try. Instead, you pinpoint what works in an initial design and use those successful elements as a foundation for your next prompt, getting closer to your vision with each cycle.
Analyzing and Building on Initial Outputs
Once Virtuall provides the first batch of images, take a step back and assess them. Don't just look for a perfect design; look for promising components of a design.
Perhaps one image has the perfect rock texture, while another captures the exact lighting you wanted. Your next step is to combine these successful elements by crafting a more specific, more intentional prompt.
- Isolate Strong Elements: Identify the specific features you want to retain. Was it the "deep, jagged crevices" in the rock face or the "soft, lichen-covered bark" on a root?
- Refine Your Language: Rewrite your prompt to focus on those features. For instance, try something like, "A detailed cliffside with deep, jagged crevices and lichen-covered bark, illuminated by soft morning light."
This targeted approach helps the AI understand exactly what to replicate and build upon.
This cycle is less about getting it right the first time and more about having a creative conversation with the AI. Each new prompt is a response to the last, steering the design closer to the concept you've imagined.
Using Advanced Refining Techniques
Beyond just tweaking text prompts, Virtuall offers more direct ways to refine your designs. These tools provide more granular control, helping you eliminate unwanted features and explore variations of your strongest concepts.
Image-to-Image Generation
This is a powerful technique for maintaining consistency while exploring new possibilities. Let's say you have an initial design that is approximately 80% complete. You can use it as a direct visual reference for the next generation.
The AI will use your image as a guide, creating new versions that adhere to its core composition, color palette, and style. This is ideal for generating slight variations of a successful 3d terrarium background without having to start over from scratch.
The Power of Negative Prompts
Sometimes, telling the AI what you don't want is just as important as telling it what you do. Negative prompts are your tool for exclusion. If your designs consistently include unwanted characteristics—like strange colors or a cartoonish feel—add negative keywords to steer the AI away from them.
Common negative prompts for terrarium backgrounds include:
blurry,low-resolutioncartoonish,stylized,unrealisticunnatural colors,neon,glowing
By adding these to your prompt, you filter out common issues and push the AI toward a more photorealistic and naturalistic result.
For even more control over the final look, a deep understanding of surface detail is key. If you're interested in perfecting realistic surfaces, our guide on AI texture generation provides valuable insights that can be applied here.
Bringing Your Digital Design into Reality
You’ve finalized the design in Virtuall. Now it’s time to turn that digital file into a physical object that becomes a real, functional part of your pet's world. Exporting your 3D terrarium background correctly is the first critical step.
How you bring it to life—whether you’re 3D printing it, hand-carving it from foam, or sending the design to a commercial printer—determines which file format you’ll need. Each method has its own benefits and requirements.
From Digital File to Physical Form
The journey from your screen to the enclosure depends on your tools and how hands-on you want to get. You have several excellent options for turning that digital concept into a tangible object.
- 3D Printing: This is the most direct route. Export your model as an STL or OBJ file, and it’s ready for your slicing software. This approach offers incredible precision, capturing every detail you designed.
- DIY Foam Carving: For a more hands-on project, your 3D model is the perfect visual guide. Export a high-resolution image and use it as a blueprint while carving a block of expanded polystyrene (EPS) foam.
- Commercial Printing: If you prefer a 2D backdrop that appears 3D, export a high-resolution PNG or JPG. You can send that file to a professional printing service to create a durable, waterproof vinyl background.
Choosing the right format is key. Understanding the subtle differences can make a significant impact on your final quality. For a deeper dive, check out our guide on common 3D printing file formats.
Scaling and Safety Considerations
Once you have your physical background, a couple of final steps ensure it fits perfectly and is completely safe for your animal.
Meticulous scaling is non-negotiable. Measure your terrarium's interior dimensions precisely and scale your model to match before you print or carve. A background that doesn’t fit correctly can leave gaps where a small animal could get trapped.
After creation, the single most critical step is sealing. You must coat your background with a non-toxic, waterproof sealant. This protects it from moisture and—more importantly—prevents any chemicals from leaching into the habitat. Always let it cure fully in a well-ventilated area for the manufacturer's recommended time before installation.
This growing focus on custom, beautiful habitats is driving serious interest. In 2024, the reptile 3D background market was valued at approximately USD 453.2 million, which demonstrates the strong demand for these types of personalized, naturalistic designs. You can discover more insights on the terrarium background market here.
The end result is a beautiful, custom-built 3D terrarium background that isn’t just visually stunning but is also a safe, enriching, and functional upgrade to your pet’s home.
Your Top Questions About AI Terrarium Design
You’ve used AI to design an incredible 3d terrarium background. Moving from a digital concept to a real-world, physical build often brings up practical questions. Let's address some of the most common inquiries.
The most important consideration is always safety. What materials can you actually use?
If you’re carving your background from the AI blueprint, expanded polystyrene (EPS) or extruded polystyrene (XPS) foam are excellent choices. They're lightweight, easy to shape, and hold detail very well.
However, the non-negotiable part is sealing it. Once carved, the foam must be coated with a non-toxic and waterproof product. Materials like Drylok, certain pond sealants, or several coats of water-based polyurethane are standard choices in the hobby. Always read the label to confirm it is "animal-safe" or "aquarium-safe" after it fully cures.
How Can I Make My Design Functional?
A purely decorative background is a missed opportunity. It should be a functional, enriching space for your animal. This consideration needs to start when you are writing your first prompts.
Your prompts should be filled with keywords that create usable features, tailored specifically to your animal's natural behaviors.
- For climbers (Arboreal Species): Consider the needs of a gecko or a chameleon. Use prompts that include terms like
sturdy rock ledges,integrated climbing branches, andgrippy vertical surfaces. - For ground-dwellers (Terrestrial Species): For these animals, security and shelter are paramount. Try prompts such as
deep, secure crevices,naturalistic cave entrances, andburrowing hides at the base.
Remember to also think about scale and weight. A delicate ledge suitable for a mourning gecko won’t support a full-grown bearded dragon. You may need to adjust your prompts several times to create ledges that are wide enough and textures that provide real grip without being abrasive.
Can AI Be Used for Aquarium Backgrounds?
Yes, absolutely. However, you need to be even more meticulous. When you’re prompting for an aquatic setup, adjust your language accordingly. Think sunken mangrove root system, eroded riverbed rock formation, or intricate coral reef structure.
The primary difference lies in the materials and the sealing process. For aquariums, everything must be 100% aquarium-safe. This usually means using specific aquarium-grade silicones or epoxies designed for constant submersion. The curing time is also far more critical—any chemicals leaching into the water could be fatal to your fish.
Remember, designing the background is just one piece of the puzzle. AI can also assist with other aspects of your ecosystem management. For instance, you can use plant identification apps to help manage the live plants in a bioactive setup. This shows how technology and nature can work together to create a truly thriving habitat.
Ready to design a habitat as unique as your pet? With Virtuall, you can transform your creative vision into a stunning, functional 3D background in minutes. Start creating today and see what you can build. https://virtuall.pro

