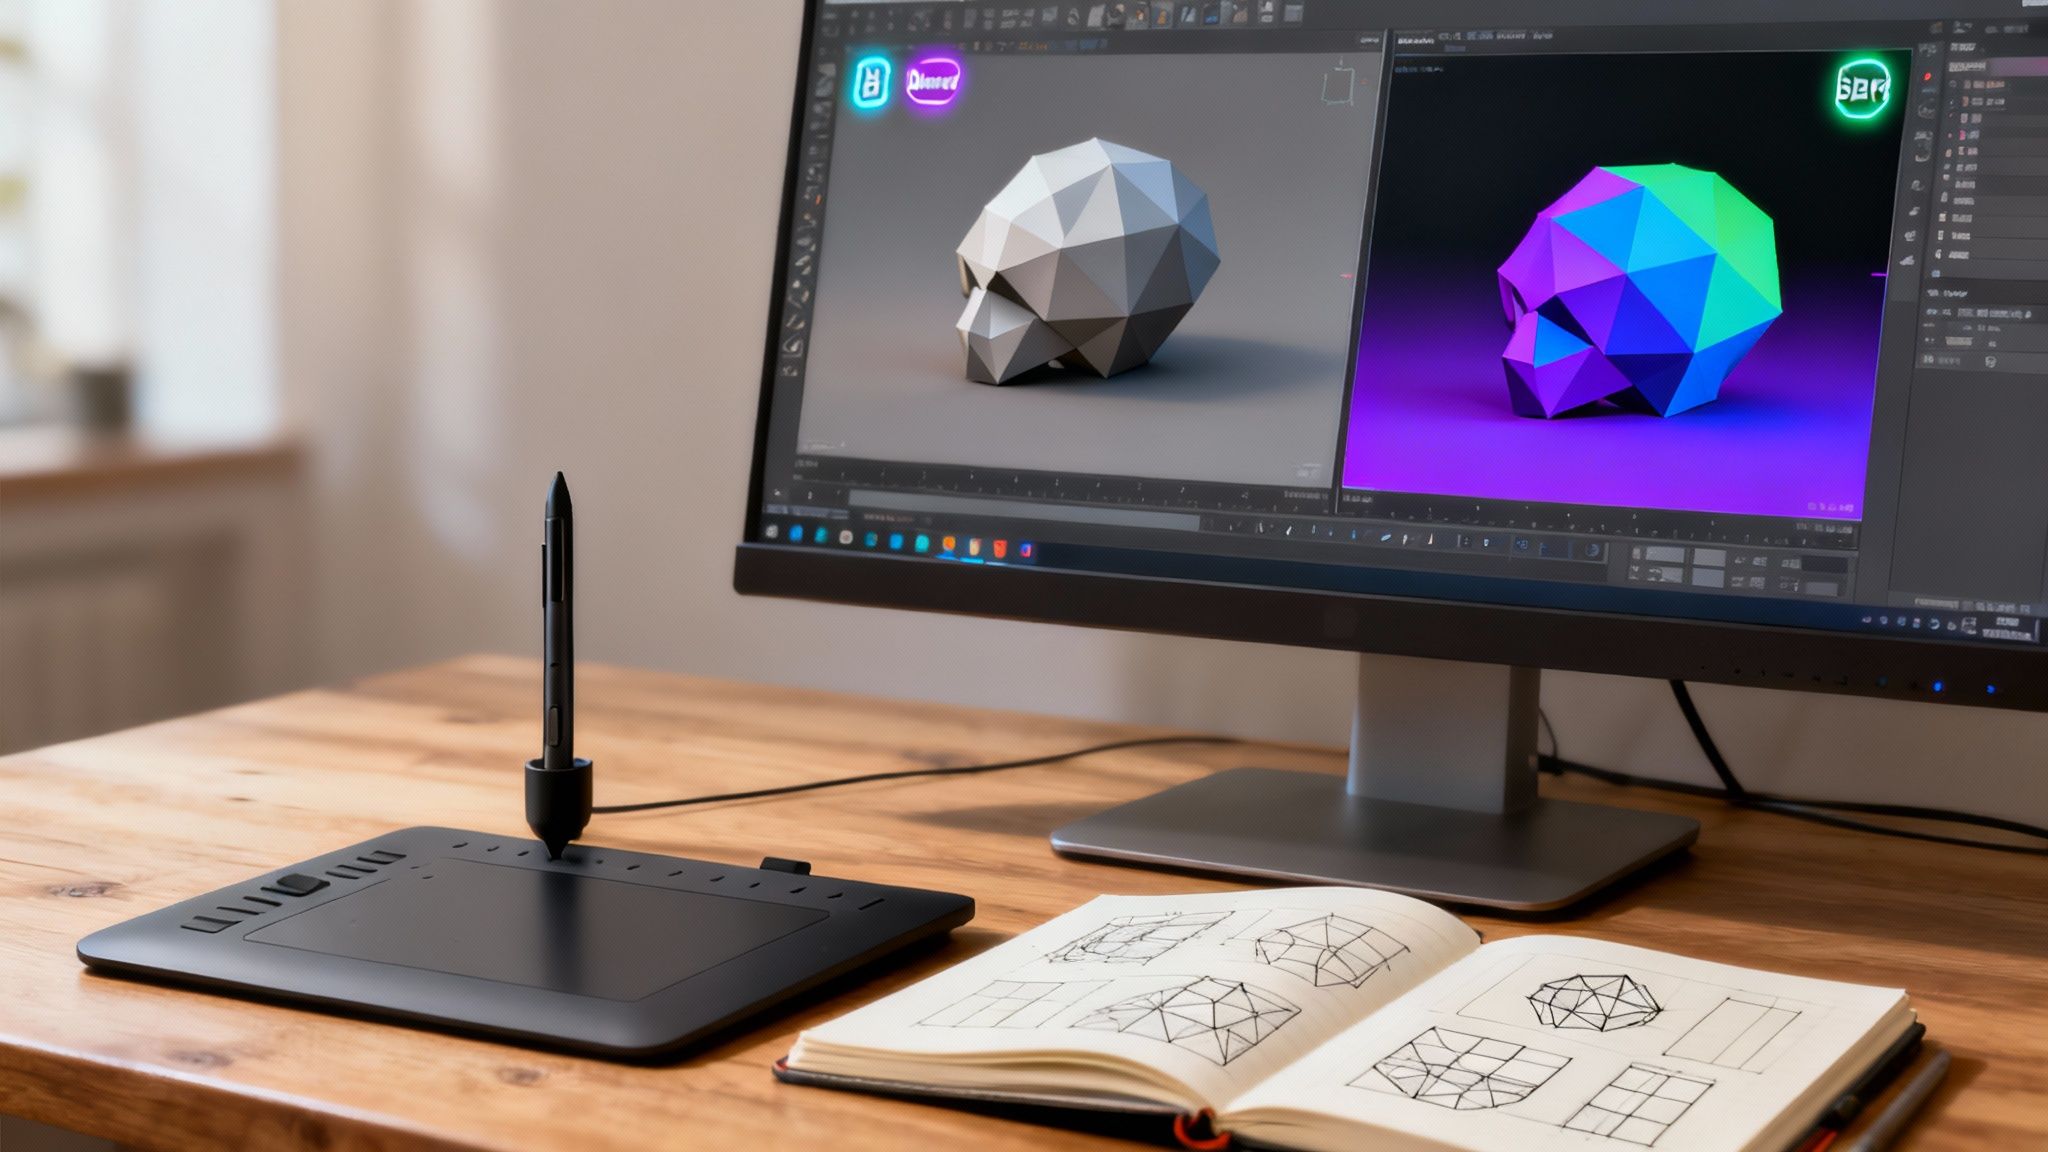
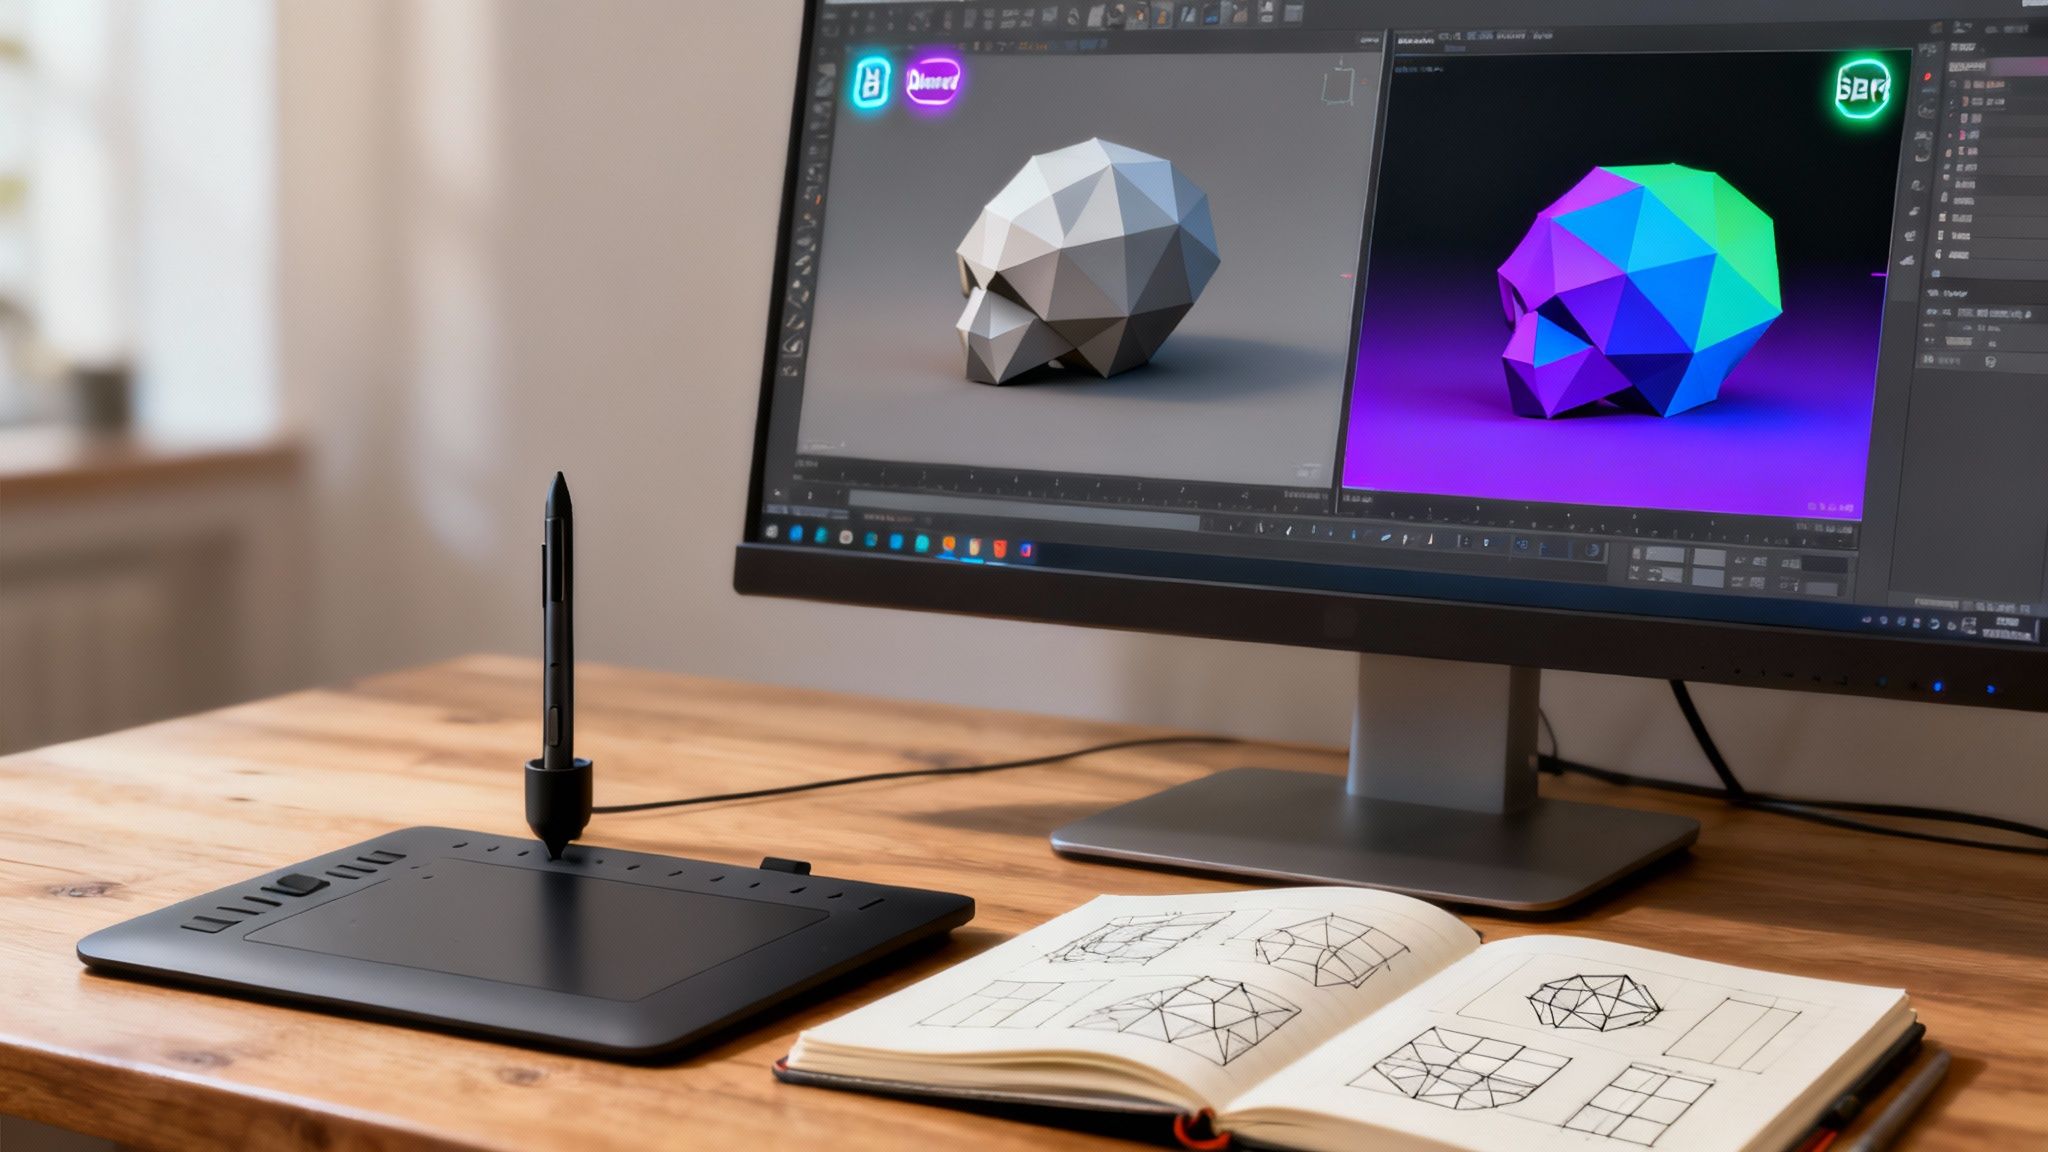
At its core, making a normal map is a process of intelligently transferring high-resolution surface details from a complex sculpt onto a simpler, low-polygon model. This illusion of complexity is achieved through a technique called baking.
During baking, your software of choice projects the intricate details from a high-poly model onto the UV layout of a low-poly one. This technique is fundamental for creating efficient, yet realistic, assets for games and real-time rendering.
Why Normal Maps Are Essential for Modern 3D Art
Think of a normal map as a powerful optimization tool—an essential skill for any professional 3D artist. It's a special kind of texture that doesn't hold color, but instead tells a rendering engine exactly how light should interact with a surface.
It simulates fine details like wrinkles, pores, screw heads, and wood grain—all on what might just be a simple, flat polygon. It’s a set of instructions for light, allowing a model with only a few thousand polygons to look as detailed as one with millions.
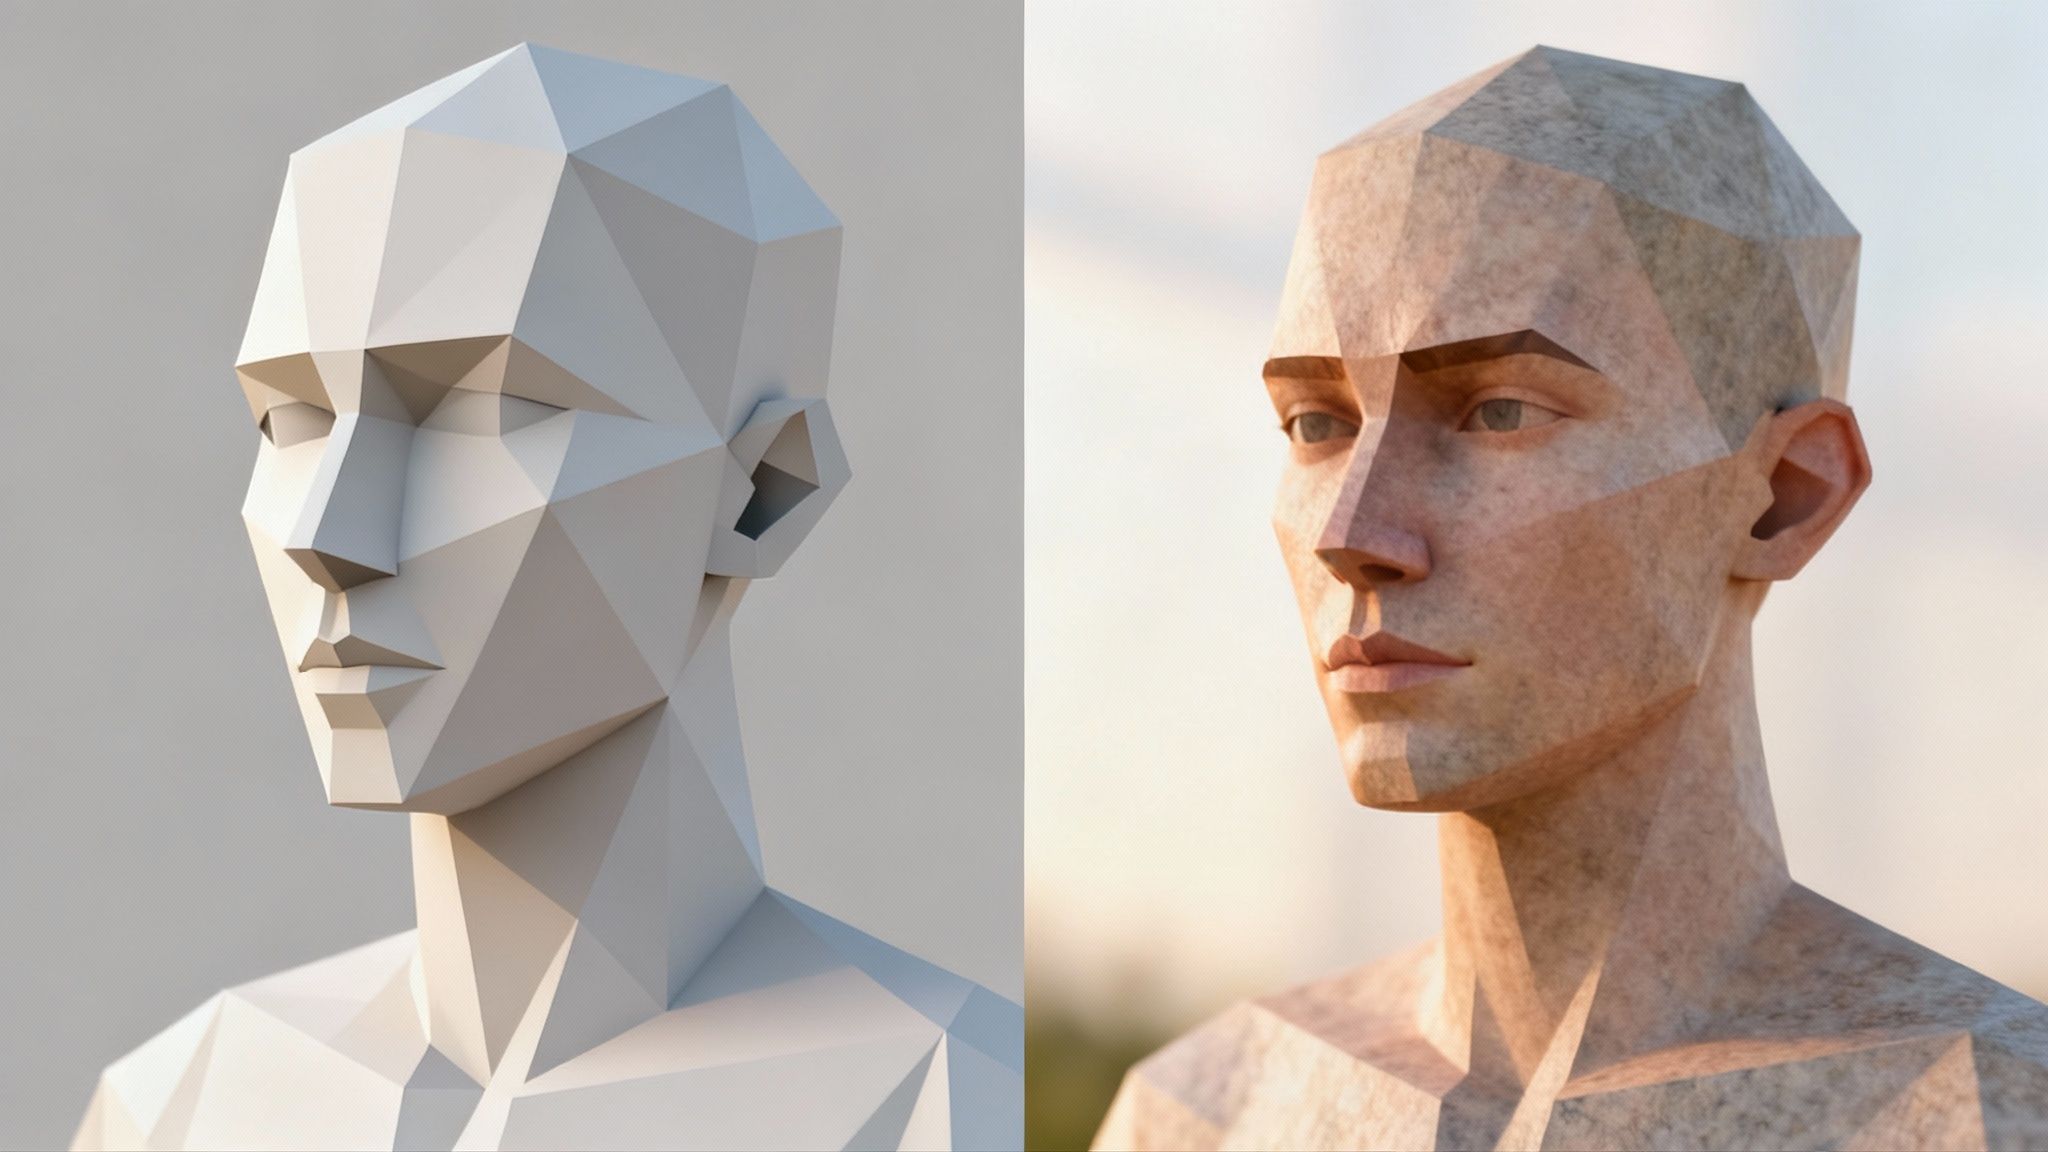
This level of efficiency is critical for real-time applications where every millisecond counts. In a modern video game, a character model might look incredibly detailed, but the underlying geometry is often surprisingly simple. All that stunning realism comes from the clever application of normal maps.
The Performance Advantage
The primary reason we use normal maps is the significant performance gain. High-polygon models are computationally expensive to render, consuming considerable memory and processing power. By baking those details down, artists can achieve a virtually identical result on a low-poly model that’s much faster to render.
This translates directly to:
- Higher Frame Rates: For smoother gameplay and more responsive real-time experiences.
- More Complex Scenes: Artists can fill environments with more assets without compromising performance.
- Wider Hardware Compatibility: Applications can run well on a broader range of devices, not just high-end systems.
A normal map doesn't add a single polygon to your model; it only modifies the direction of the surface normals. That’s the key principle—creating the illusion of depth on a low-poly mesh without altering the actual geometry.
A Cornerstone of Realism
This technique has been a cornerstone of 3D graphics for decades. While the concept was first introduced by computer graphics pioneer Jim Blinn in 1978, it wasn’t until the early 2000s that hardware became powerful enough to make it practical for real-time use.
That shift completely changed the look of video games, paving the way for the kind of photorealism we see today. You can find some fascinating reads on the history of normal mapping and its early development.
From the subtle weave of fabric on a character’s shirt to the intricate stonework in an architectural fly-through, normal maps add a layer of authenticity that would be impractical to model by hand. Mastering this isn't just about learning a technical process; it’s about understanding how to build visually rich, high-performing assets that meet professional standards.
How to Prepare Your Models for Flawless Map Baking
A high-quality normal map is the result of careful preparation before you begin the baking process.
It’s a common scenario: artists with incredible high-poly sculpts end up with glitchy, artifact-ridden normal maps. The reason is often rushed preparation. Taking the time to properly prepare your high-poly and low-poly models is one of the most important things you can do to guarantee a clean bake.
This preparation provides your software—whether it’s Blender, Substance Painter, or another tool—a clean set of instructions for projecting details. Without that foundation, you may face a long and frustrating troubleshooting session.
The Importance of Naming Conventions
Let's start with a simple practice that makes a significant difference: your naming conventions. Most modern baking tools can match parts of a high-poly model to its low-poly counterpart automatically, but only if you name them correctly. This is a critical time-saver on complex assets like a character with armor or a detailed vehicle.
The industry standard is to use _high and _low suffixes. A helmet piece, for example, would be helmet_high on your detailed sculpt and helmet_low on your game-ready mesh. This simple habit prevents different parts of your model from "leaking" details onto each other during the bake—a classic source of messy results.
Configuring Your Bake Cage and UVs
Beyond naming, the two other essentials are your bake cage and your UVs. The bake cage (sometimes called a projection cage or envelope) is an inflated version of your low-poly model. It tells the baker how far out to look for high-poly details to capture. An improperly configured cage will either miss details entirely or cause warped projections.
Setting the cage correctly is a nuanced skill. It needs to completely encompass the high-poly mesh without intersecting it, but not be so large that it accidentally captures details from a neighboring part. Small adjustments here can have a massive impact on your final map.
Your UV layout is just as critical. A solid unwrap is fundamental for any texturing, but it’s especially vital for baking. You want to hide your UV seams in places they won't be seen, like along hard edges or tucked away in crevices. If you need a refresher, our guide on what is UV mapping breaks down how to create clean and efficient layouts.
This infographic shows how these preparation steps flow together.
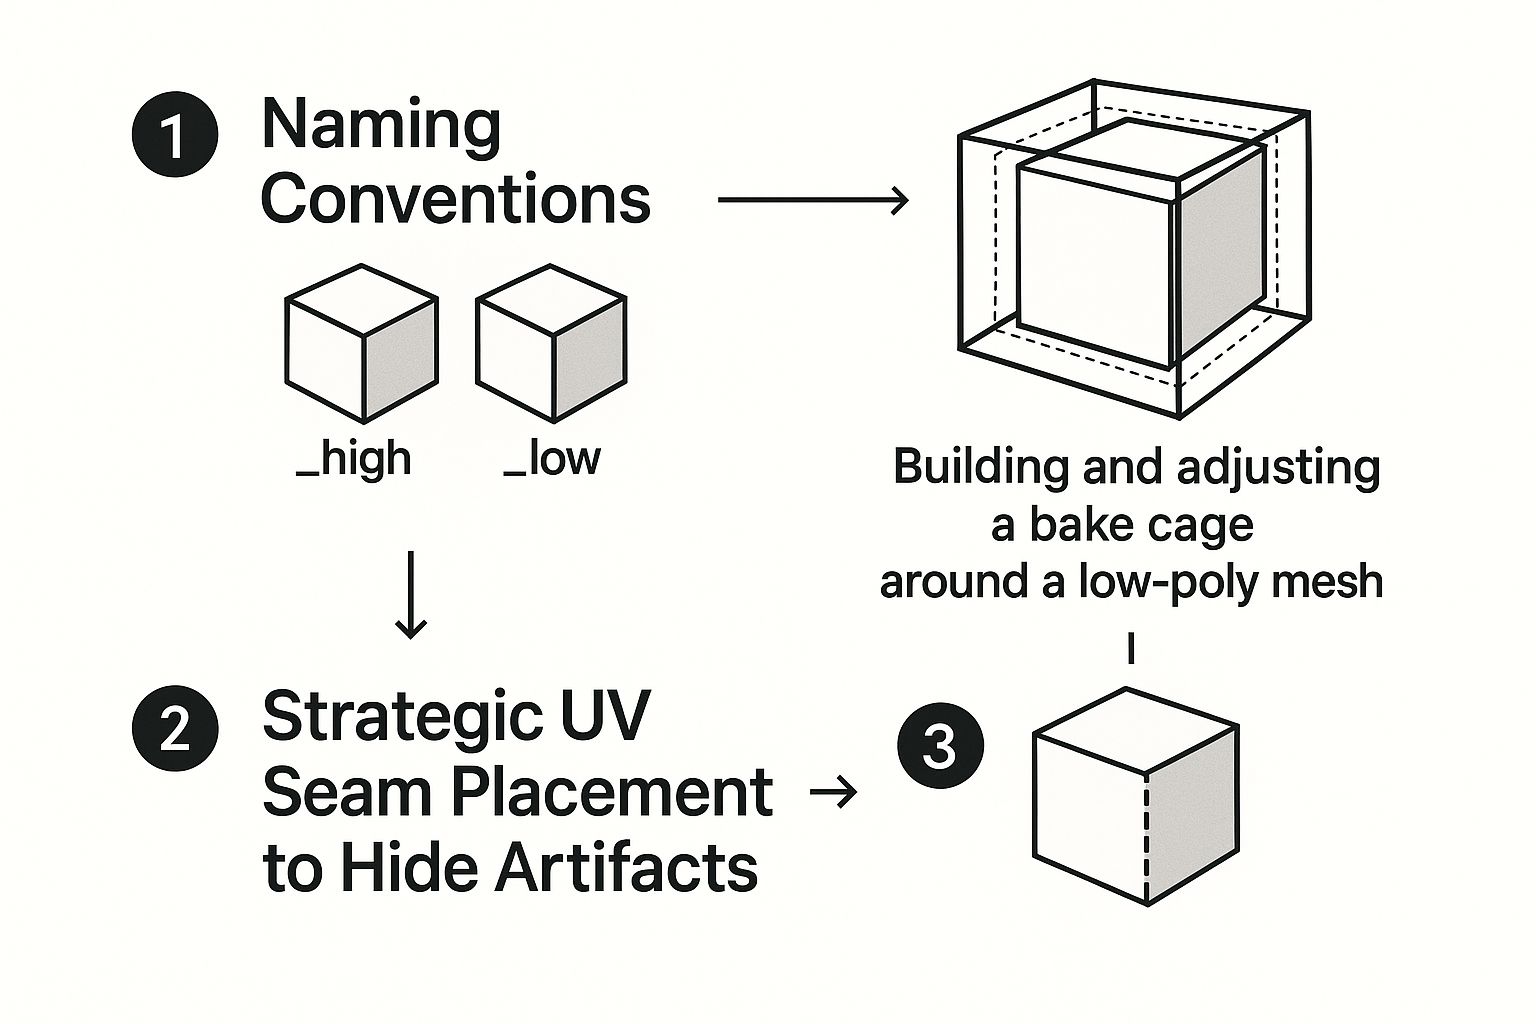
As you can see, each step—naming, cage adjustments, and smart seam placement—builds on the last. Master these three elements, and you'll be on your way to generating clean, artifact-free normal maps every time.
Baking Normal Maps in Blender With Cycles
Blender has a powerful, built-in solution for generating normal maps. For many artists, it’s the first and only tool they need. The process involves taking intricate detail from a high-poly sculpt and "baking" it onto a low-poly, game-ready mesh using the Cycles render engine.
This is an excellent way to learn how to make a normal map without investing in specialized software.
First, you need both your high-poly and low-poly models in the same scene, occupying the exact same space. Your low-poly model must be the active selection (the last one you clicked on). This tells Blender that it is the target. The high-poly mesh, which has all the surface detail you want to capture, also needs to be selected, but not as the active object.
Getting Into the Cycles Bake Panel
With your models selected, your first move is to switch the render engine from Eevee to Cycles. This is a necessary step, as the baking tools we need are part of the Cycles engine. You'll find the baking panel in the "Render Properties" tab (the camera icon).
This is where you'll tell Blender exactly what kind of map you're making and how it should project the details from one model to the other.
The official Blender documentation provides a useful visual of the bake panel setup, which shows the key options you’ll be adjusting.
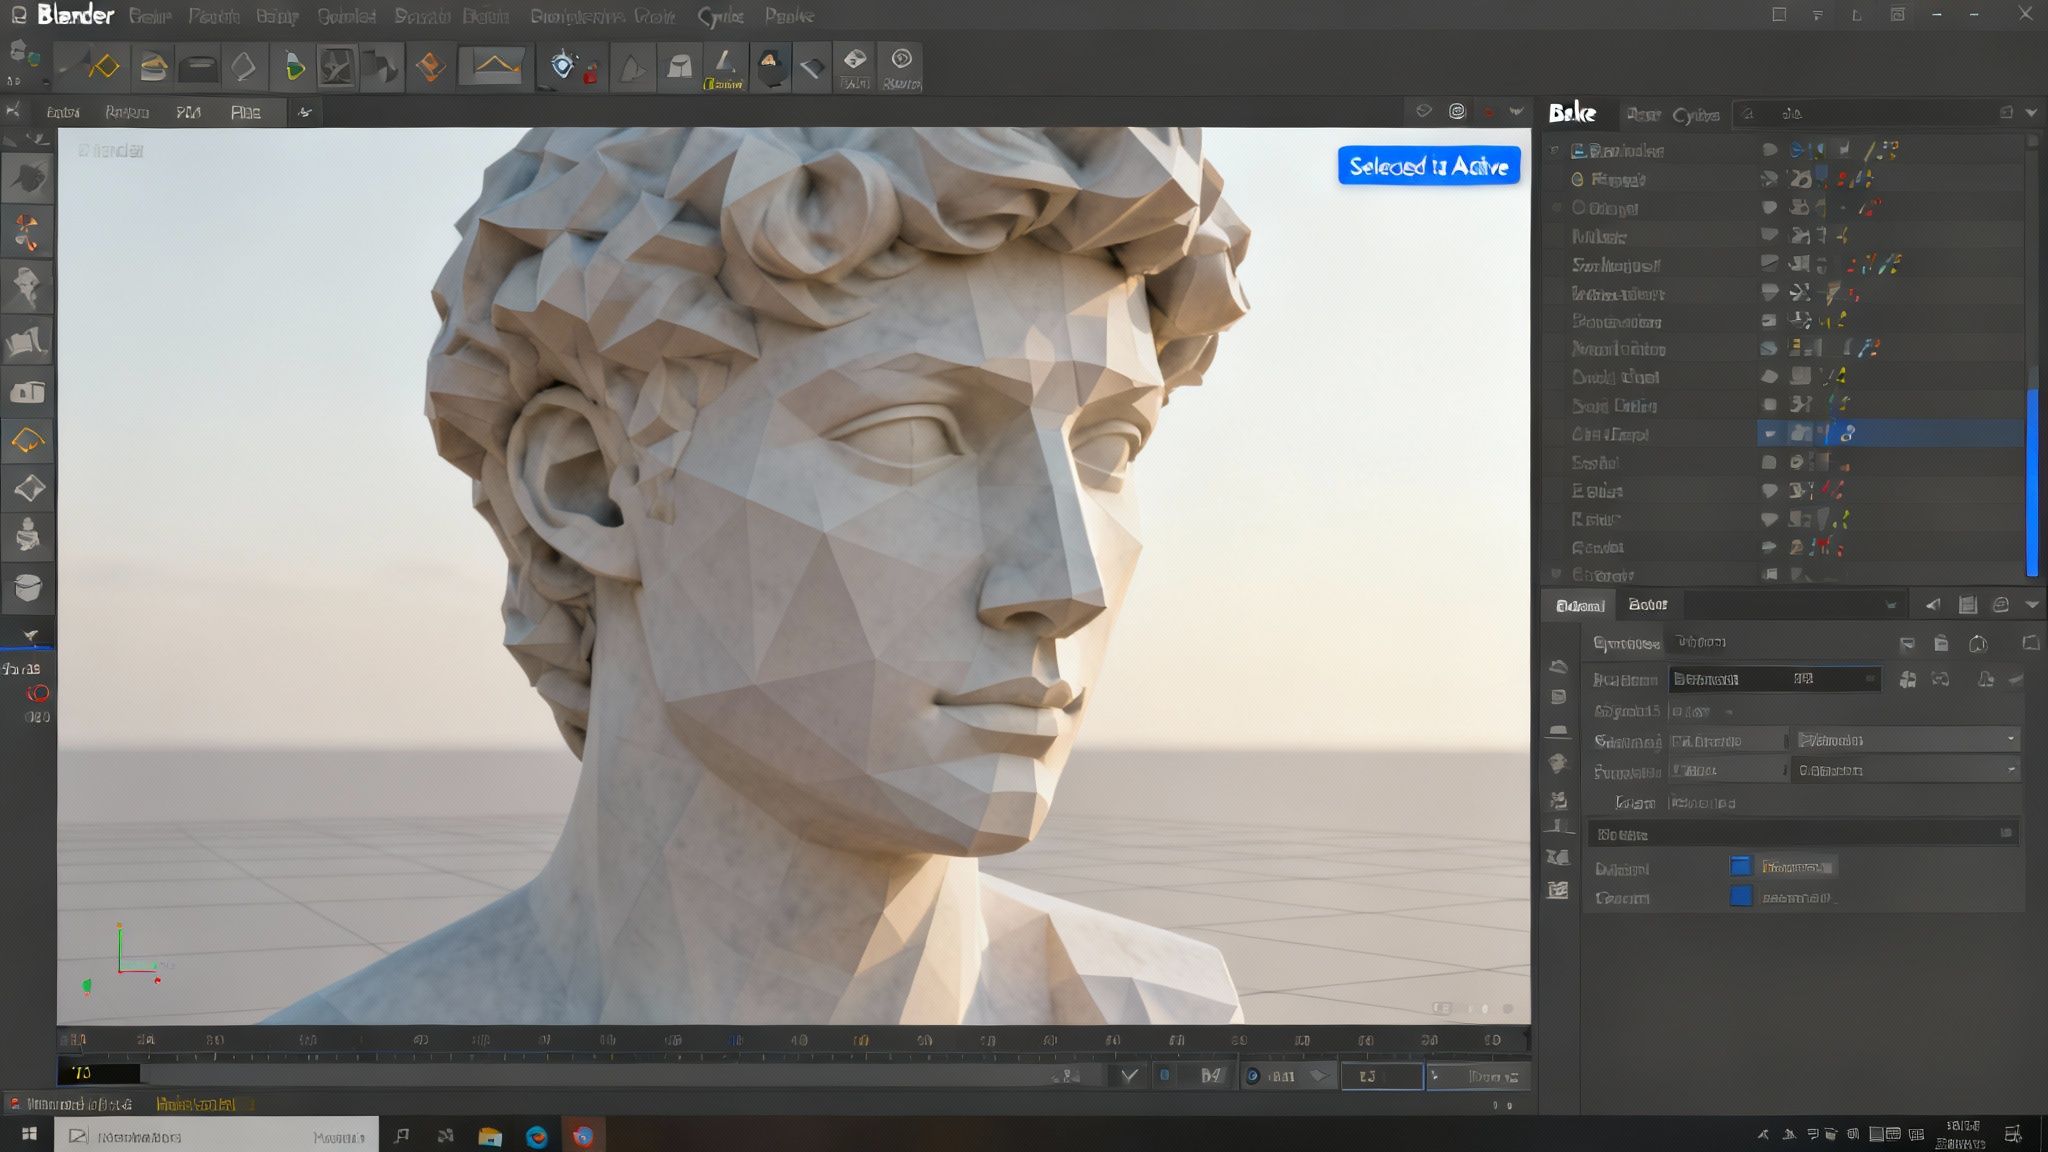
The two most important settings here are setting the Bake Type to "Normal" and enabling the "Selected to Active" box. This combination tells Blender to project details from your selected high-poly model onto your active low-poly one.
Dialing in Your Bake for a Perfect Result
Now for the part that often challenges beginners: the Extrusion and Max Ray Distance settings. These two values control how far Blender's rays will search from the low-poly surface to find the high-poly details. Correctly configuring these settings is the key to avoiding artifacts in your final map.
Extrusion: Think of this as a temporary, invisible "cage" that inflates your low-poly mesh outward. It gives the rays a starting point just off the surface, preventing them from immediately intersecting with the low-poly mesh itself.
Max Ray Distance: This tells the rays how far to travel after that initial extrusion. You want this value to be just large enough to capture all the high-poly details, but not so large that it starts picking up details from the wrong parts of your model (like a character's arm baking onto their torso).
A reliable workflow is to start with a small Extrusion value, such as 0.01m, and then slowly increase the Max Ray Distance until the render preview cage covers the entire high-poly model. This is an effective way to prevent stray geometry from affecting your bake.
Before you click the "Bake" button, there's one last crucial step. Go to the Shader Editor, select the material on your low-poly model, and create a new, blank image texture. Ensure this new image node is selected (it will have a white border). This blank canvas is where Blender will generate your normal map.
Once that’s set, click "Bake" and watch as Blender works, turning your dense sculpt into a lightweight, beautifully detailed, game-ready asset.
Baking and Creating Normal Maps in Other Essential Tools
While Blender offers a robust, free solution for baking, many professional pipelines rely on specialized tools built for speed and precision. Becoming comfortable with these alternatives is a significant step in building a flexible skill set. Two of the most common workflows are baking high-to-low poly models in Substance Painter and generating maps from 2D images in Photoshop.
Substance Painter is an industry-leading tool for good reason. Its baking system is incredibly fast and intuitive, capable of generating a complete set of mesh maps—including normal, ambient occlusion, and curvature—with just a few clicks. The entire process is designed to minimize guesswork and deliver clean, professional results.
Mastering the Bake in Substance Painter
To begin in Substance Painter, you import your low-poly model and open the "Bake Mesh Maps" window. From there, you'll load your high-poly file and adjust a few critical settings. This is where you can see the power of its system.
The "Match by Mesh Name" feature is highly effective. By using the _low and _high suffixes we discussed, it intelligently isolates parts of your model during the bake. This is how you prevent details from one component, like a button on a shirt, from incorrectly projecting onto the fabric underneath. It is an extremely useful feature.
Also, a professional tip: set your Anti-aliasing to at least 2x2. This smooths out any jagged edges in the final map, giving you crisp, clean lines that hold up well under close inspection.
Substance Painter's baker is all about efficiency. It automatically creates a projection cage for you, but you still have full control over the 'Max Frontal Distance' and 'Max Rear Distance' settings. This lets you fine-tune how far the rays search for high-poly detail, giving you the perfect blend of automated and manual control.
Creating Normal Maps from 2D Images in Photoshop
Not every normal map originates from a 3D model. Often, you'll need to create one from a flat 2D texture, like a photo of bricks, wood grain, or fabric. This technique is vital for creating tiling materials. Adobe Photoshop, a staple in any creative's toolkit, provides a direct path to accomplish this.
The goal is to convert a color or grayscale image into the distinct purple-blue data that a normal map uses. While Photoshop has a built-in filter (Filter > 3D > Generate Normal Map), many artists prefer specialized plugins like NVIDIA's Texture Tools Exporter for more granular control.
Regardless of the tool, the principle is the same. The software interprets the light and dark values of your image as height information:
- Lighter areas are treated as high points.
- Darker areas are treated as low points.
This method gives you the power to generate detailed surface information without ever using a 3D sculpting application. It's an essential skill for material artists and a great example of just how versatile normal mapping can be. For those exploring different software, our overview of free software for rendering might be a helpful resource for expanding your digital toolbox.
Fixing Common Normal Map Issues
Generating a normal map is one thing; ensuring it looks correct is another. This is where the real work often begins—diagnosing and fixing the artifacts that can appear.
Learning to spot the signs of a problematic bake is what separates a frustrating process from a clean, professional-looking asset. Even when you follow all the steps correctly, issues can still arise. Fortunately, most of these problems have relatively simple fixes.
When you notice an issue—like a harsh seam, a strange black spot, or stretched details—your first action should be to check the fundamentals. Are your UVs overlapping? Did you apply your smoothing groups or hard edges correctly before baking? You might be surprised how often a quick review solves the problem.
What to Look For and How to Fix It
Let’s review some of the most common issues you’ll encounter. If you’re seeing sharp, dark lines that perfectly follow your UV seams, you are likely dealing with a tangent space mismatch or a cage that’s too tight. The "cage" (or projection distance) might be too small, so it's not "seeing" the high-poly details right at the edge of a UV island.
Another classic issue is inverted lighting, where dents look like bumps and vice-versa. This is almost always a flipped green channel. Different engines and software read normal maps differently—DirectX vs. OpenGL—and this is how they handle the Y-axis (up/down) information. All you have to do is invert the green channel in Photoshop or use the correct export setting. Problem solved.
Here’s a professional tip that is often overlooked: bit depth. An 8-bit normal map might seem adequate, but it can cause visible banding on smooth, curved surfaces. Always export your final normal map as a 16-bit file (like PNG or TIFF). It provides a much smoother gradient and helps avoid issues under certain lighting conditions.
Common Normal Map Baking Issues and Solutions
When you’re trying to determine what went wrong, a quick reference can be a lifesaver. This table can help you quickly diagnose the problem and find the right solution.
Once you become familiar with these common issues, troubleshooting becomes second nature. It shifts baking from a game of chance to a predictable, methodical process, letting you focus on making your assets look perfect.
Practical Applications of Normal Mapping Beyond Gaming
When you learn how to make a normal map, you’re acquiring a skill that extends far beyond video games. While the gaming industry certainly popularized normal mapping, its core benefit—creating stunning detail on low-poly models—is valuable wherever real-time 3D is used.
Consider architectural visualization. An architecture firm can show clients a photorealistic walkthrough of a new building, complete with rich wood grain, rough-hewn stone, and detailed fabrics. It all runs smoothly because normal maps are simulating the complexity, not millions of polygons.

The same logic applies to product design and e-commerce. A company can create a lightweight 3D model of a leather handbag, then use a normal map to add every last stitch, wrinkle, and grain of the material. This makes interactive 3D viewers on websites possible, running smoothly even on a smartphone.
Preserving History with Digital Detail
Normal mapping is also playing a surprisingly important role in digital preservation and education. Cultural heritage projects rely on this technology to create accessible, interactive 3D models of priceless artifacts that would otherwise be stored in a museum archive.
A high-resolution scan of a historical statue can contain millions of polygons, making it impossible to load in a web browser. But by baking all that intricate detail into a normal map and applying it to a low-poly version, conservators can create a digital twin that looks almost identical.
Normal mapping allows us to share history with the world. It democratizes access to cultural artifacts, enabling anyone with an internet connection to study a Roman coin or a fossilized skeleton in stunning detail without performance lag.
This was famously done with 3D laser scans of the Parthenon in Athens. Researchers encoded the surface details into normal maps, which allowed them to reduce the polygon count of the model. This not only boosted frame rates for real-time rendering but also freed up processing power for better lighting and shadows. The end result was a far more immersive and accessible digital reconstruction. You can read more about it in this brief history of normal maps.
This technique is fundamental for both unique assets and tiling materials. If you're building out your material library, our guide on creating seamless textures is a great next step. Whether you're working in entertainment, e-commerce, or education, the ability to add efficient detail is transformative.
Still Have Questions About Normal Maps?
It's common to have questions when first working with normal maps. Let's address some of the most frequent ones.
What’s the Real Difference Between a Normal Map and a Bump Map?
This is a classic question. Both are designed to simulate surface detail on a low-poly model, but they do so in completely different ways.
A bump map is a simpler, older technology. It’s a grayscale image that tells the renderer to push pixels either up or down based on brightness. It’s effective for subtle, non-directional details but can appear less convincing under sharp lighting angles.
A normal map, on the other hand, is far more sophisticated. It’s an RGB image where each color channel—red, green, and blue—maps to an X, Y, and Z direction. This allows it to define the angle of a surface, not just its height. The result is a much more convincing illusion of depth that reacts correctly to light from any direction.
Do I Absolutely Need a High-Poly Model to Make One?
Not necessarily. While the high-to-low poly baking workflow is the standard for creating unique game assets or character models, it is not the only method available.
In many cases, you may just need a tiling material. You can generate excellent normal maps directly from a 2D image. Tools like Adobe Photoshop, with its 3D filters, or the more specialized Substance 3D Sampler are built for this. Simply provide them with a photo of bricks, fabric, or wood grain, and they can intelligently convert that flat texture into a fully functional normal map.
Help! My Normal Map Looks Inverted in My Game Engine.
This is the well-known “flipped green channel” problem. If you’ve worked in 3D for any length of time, you have likely encountered this.
The issue stems from the fact that different rendering engines interpret the Y-axis (the "up" direction) differently. DirectX (used in many Windows applications) and OpenGL (common in web and mobile) have opposite conventions. If your normal map was baked for one and you're using it in the other, the lighting will appear to come from the wrong direction.
Fortunately, the fix is simple. You just need to invert the green channel of your texture. Nearly every 3D software or game engine has a checkbox for this during the import or export process. Simply enable it, and you should be ready to proceed.
Ready to streamline your entire creative pipeline? Virtuall is the AI-powered Creative OS that brings asset generation, management, and team collaboration into a single, unified workspace. Go from a simple idea to a final, polished asset faster than you ever thought possible.
Discover how Virtuall can transform your team's production process.

