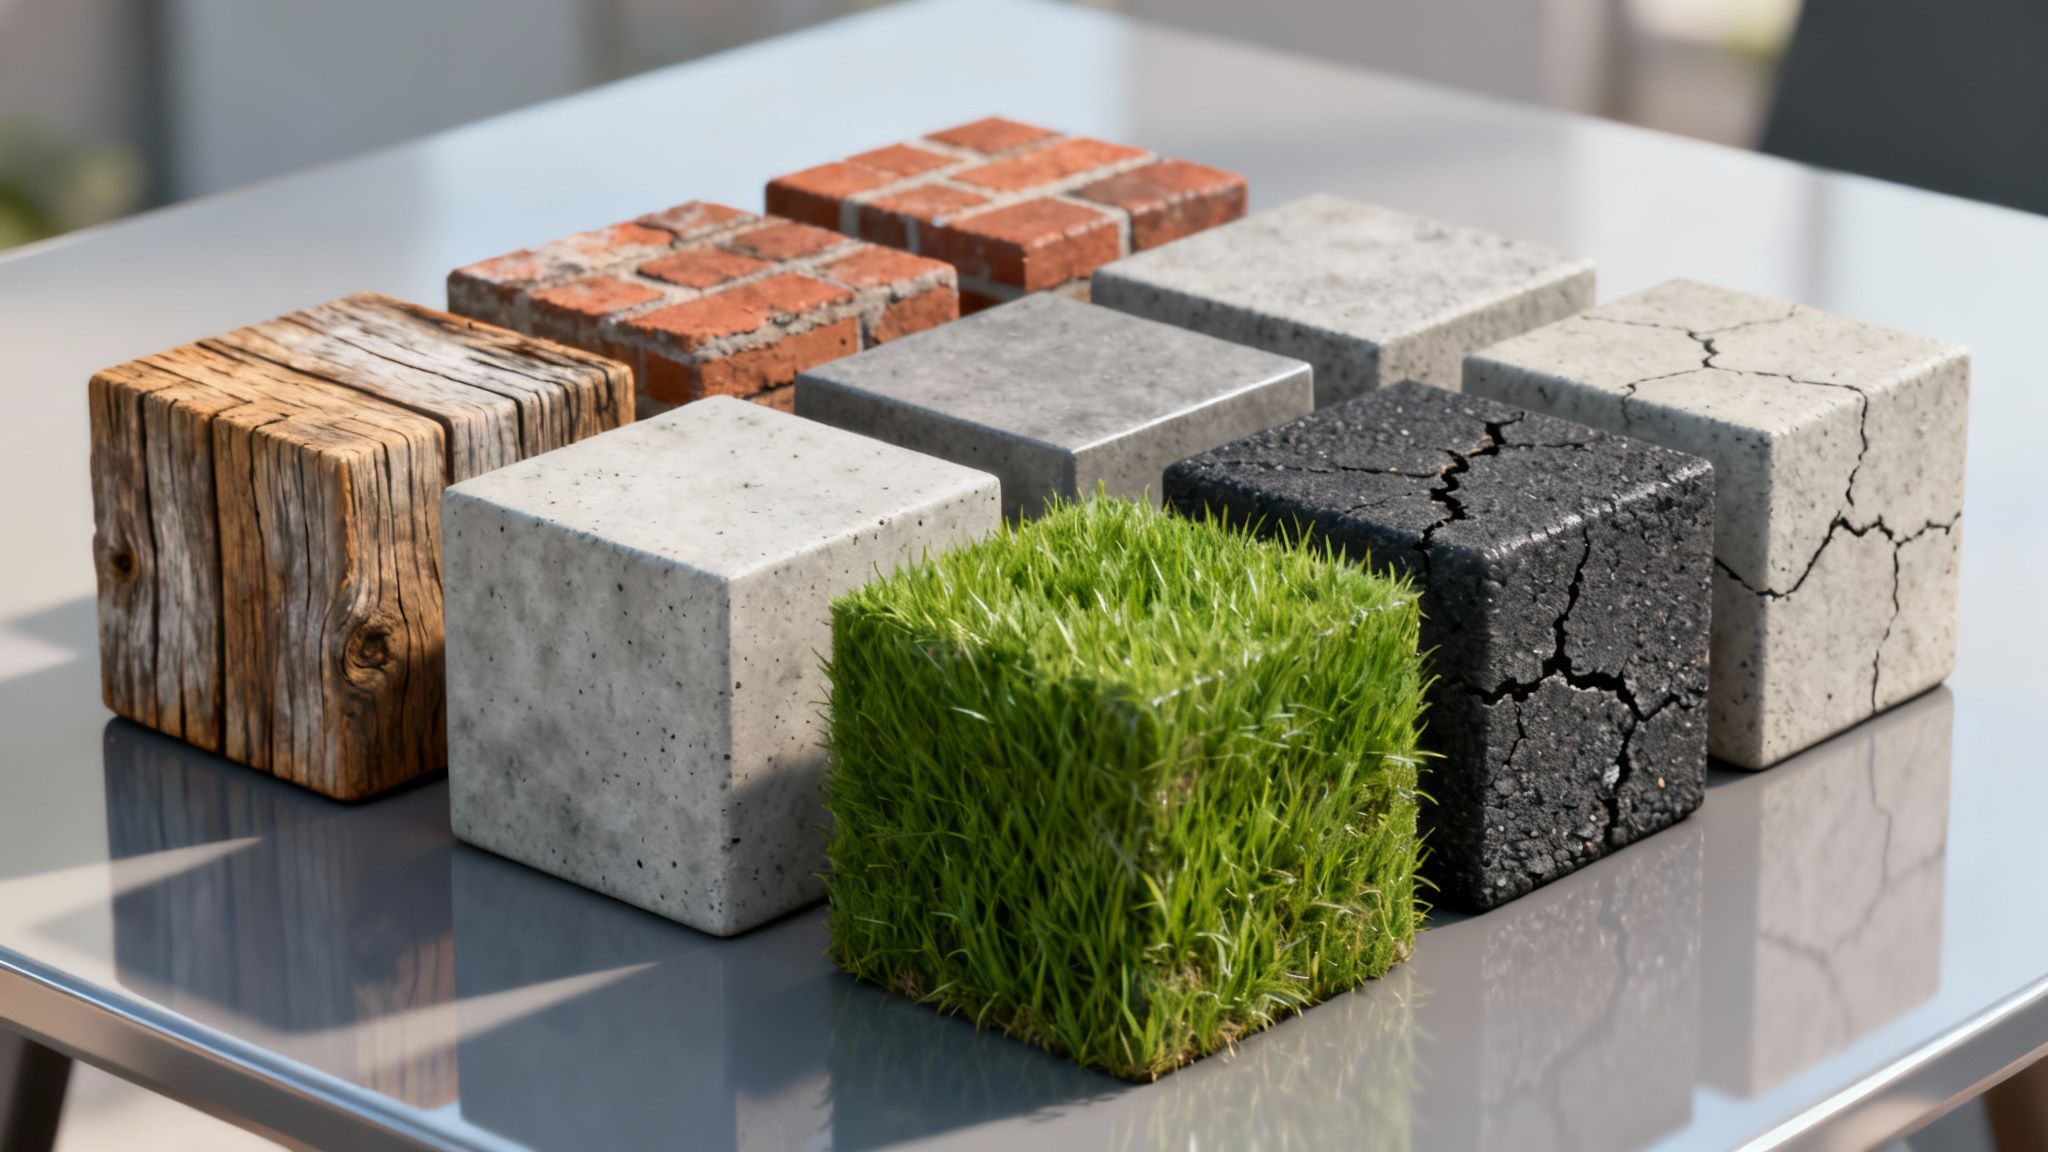
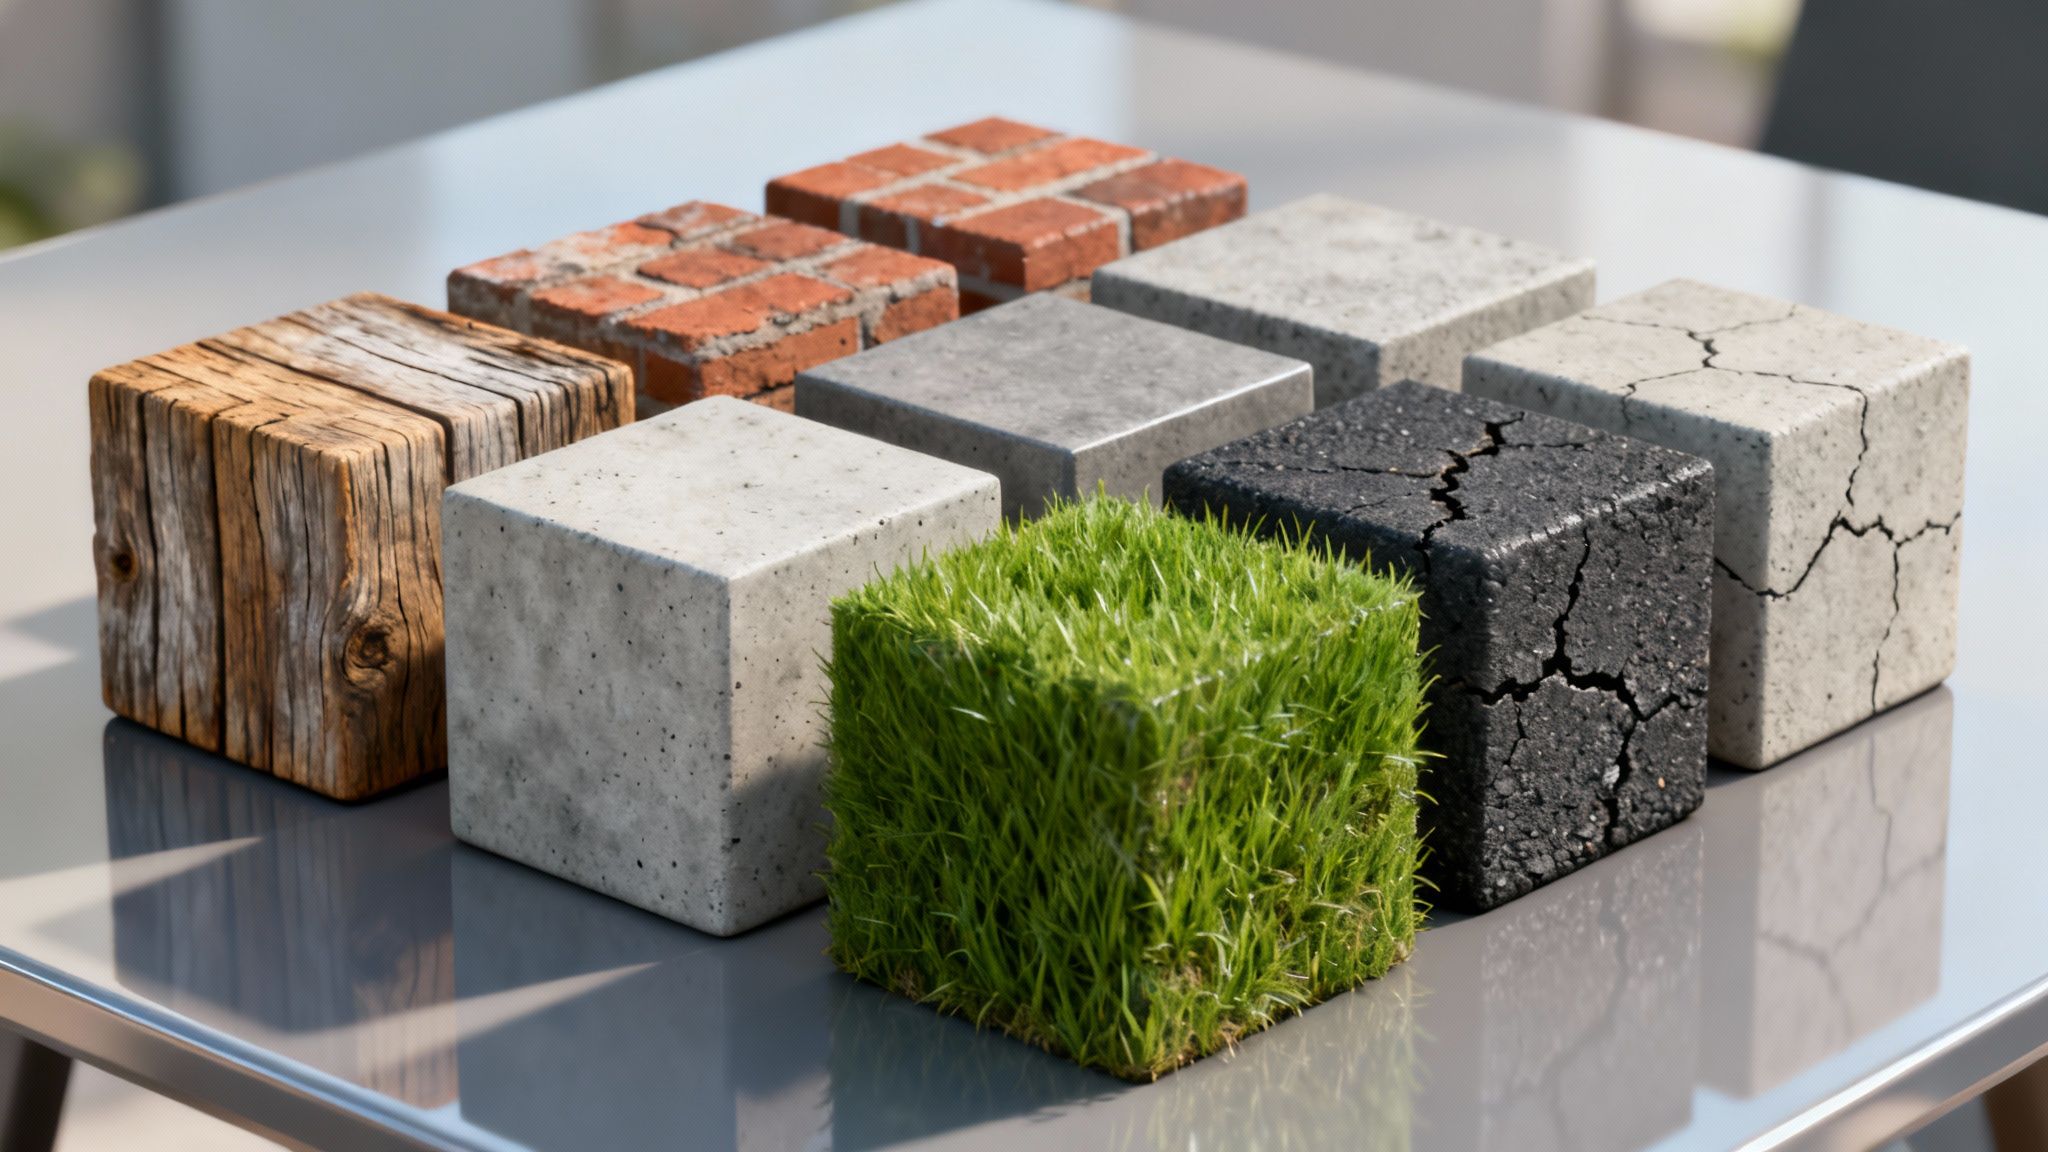
What separates a good 3D render from a great one? In many cases, it’s the textures. A jarring, obviously repeated pattern can instantly break the illusion of realism, making a brick wall look like wallpaper or a grassy field feel completely artificial.
This is where seamless textures come in. They are the invisible foundation for building believable digital worlds. Try VirtuallPRO AIs, it's free -> https://app.virtuall.pro
Why Seamless Textures Are an Essential Skill
The purpose of a seamless texture is to cover a large surface without revealing its tiled nature. It’s a fundamental skill that solves a significant challenge in 3D design and other visual media.
This efficiency is critical for performance. Instead of requiring a gigantic, unique texture map for an entire landscape, a much smaller, tileable image can accomplish the task. This saves considerable memory and improves performance—a non-negotiable requirement in real-time applications like video games.
From creating immersive game environments to stunning background patterns for websites, seamless textures are a key tool for elevating visual appeal everywhere.
The Power of Immersion and Efficiency
This isn’t just about aesthetics; the demand for seamless design has real-world impact. Consider the seamless garments market, for example. It was valued at around USD 2.5 billion in 2024 and is projected to reach nearly USD 4.8 billion by 2033.
This substantial growth reflects a broad appreciation for smooth, uninterrupted surfaces in physical products, mirroring the same need we have in digital creation. You can explore the full report on the seamless garment market growth to see the drivers behind this trend.
Mastering this skill is more than a technical exercise. It’s about training your eye to spot patterns, identify inconsistencies, and blend elements so they appear completely natural.
When you achieve this, you unlock several key benefits:
- Enhanced Realism: You can eliminate distracting lines and obvious repetition. Materials like wood, stone, and fabric begin to look authentic and continuous.
- Performance Optimization: Smaller, tileable textures mean smaller file sizes and less memory usage. This is critical for keeping games and interactive applications running smoothly.
- Scalability and Versatility: A single seamless texture can cover surfaces of any size, from a small prop to a vast landscape, all while maintaining consistent quality.
To further clarify, here are the core principles you need to understand.
Key Principles of Seamless Texture Design
PrincipleObjectiveImpact on Final DesignEdge MatchingEnsure the right edge perfectly blends with the left, and the top with the bottom.Eliminates visible seams, creating an infinite, uninterrupted surface.Pattern DistributionAvoid obvious repeating elements or "hotspots" within the texture.Makes the tiling less noticeable, enhancing naturalism and believability.Frequency BalanceMix high-frequency (fine) details with low-frequency (large) shapes.Adds visual depth and prevents the texture from looking flat or monotonous.Color & Tone HarmonyMaintain consistent lighting, color, and contrast across the entire image.Prevents patchiness or color banding when the texture is tiled over a large area.
Ultimately, a great seamless texture is one that functions so well it goes unnoticed. It simply works.
By focusing on creating seamless textures, you're not just making more appealing images; you're building more believable and efficient digital experiences from the ground up. It's a core competency that benefits every project.
How to Prepare Your Source Images
The process of creating a great seamless texture doesn't begin in a tiling tool. It starts with the source image itself. If you begin with a photo that has harsh, uneven lighting or numerous unique features, you are setting yourself up for a challenging editing process. The final texture will likely look repetitive and unnatural.
Think of it like cooking: the quality of the ingredients determines the quality of the final dish. Your first step is to select a photo with consistent lighting and a fairly uniform pattern. This involves training your artistic eye to spot potential problems early, which can save hours of cleanup work later.
Identifying and Eliminating Distractions
Once you have a promising image, the goal is to remove anything that will be too recognizable when the texture is tiled. This means identifying and addressing distinct cracks, stains, or any feature so memorable that your brain can easily track its repetition across a surface.
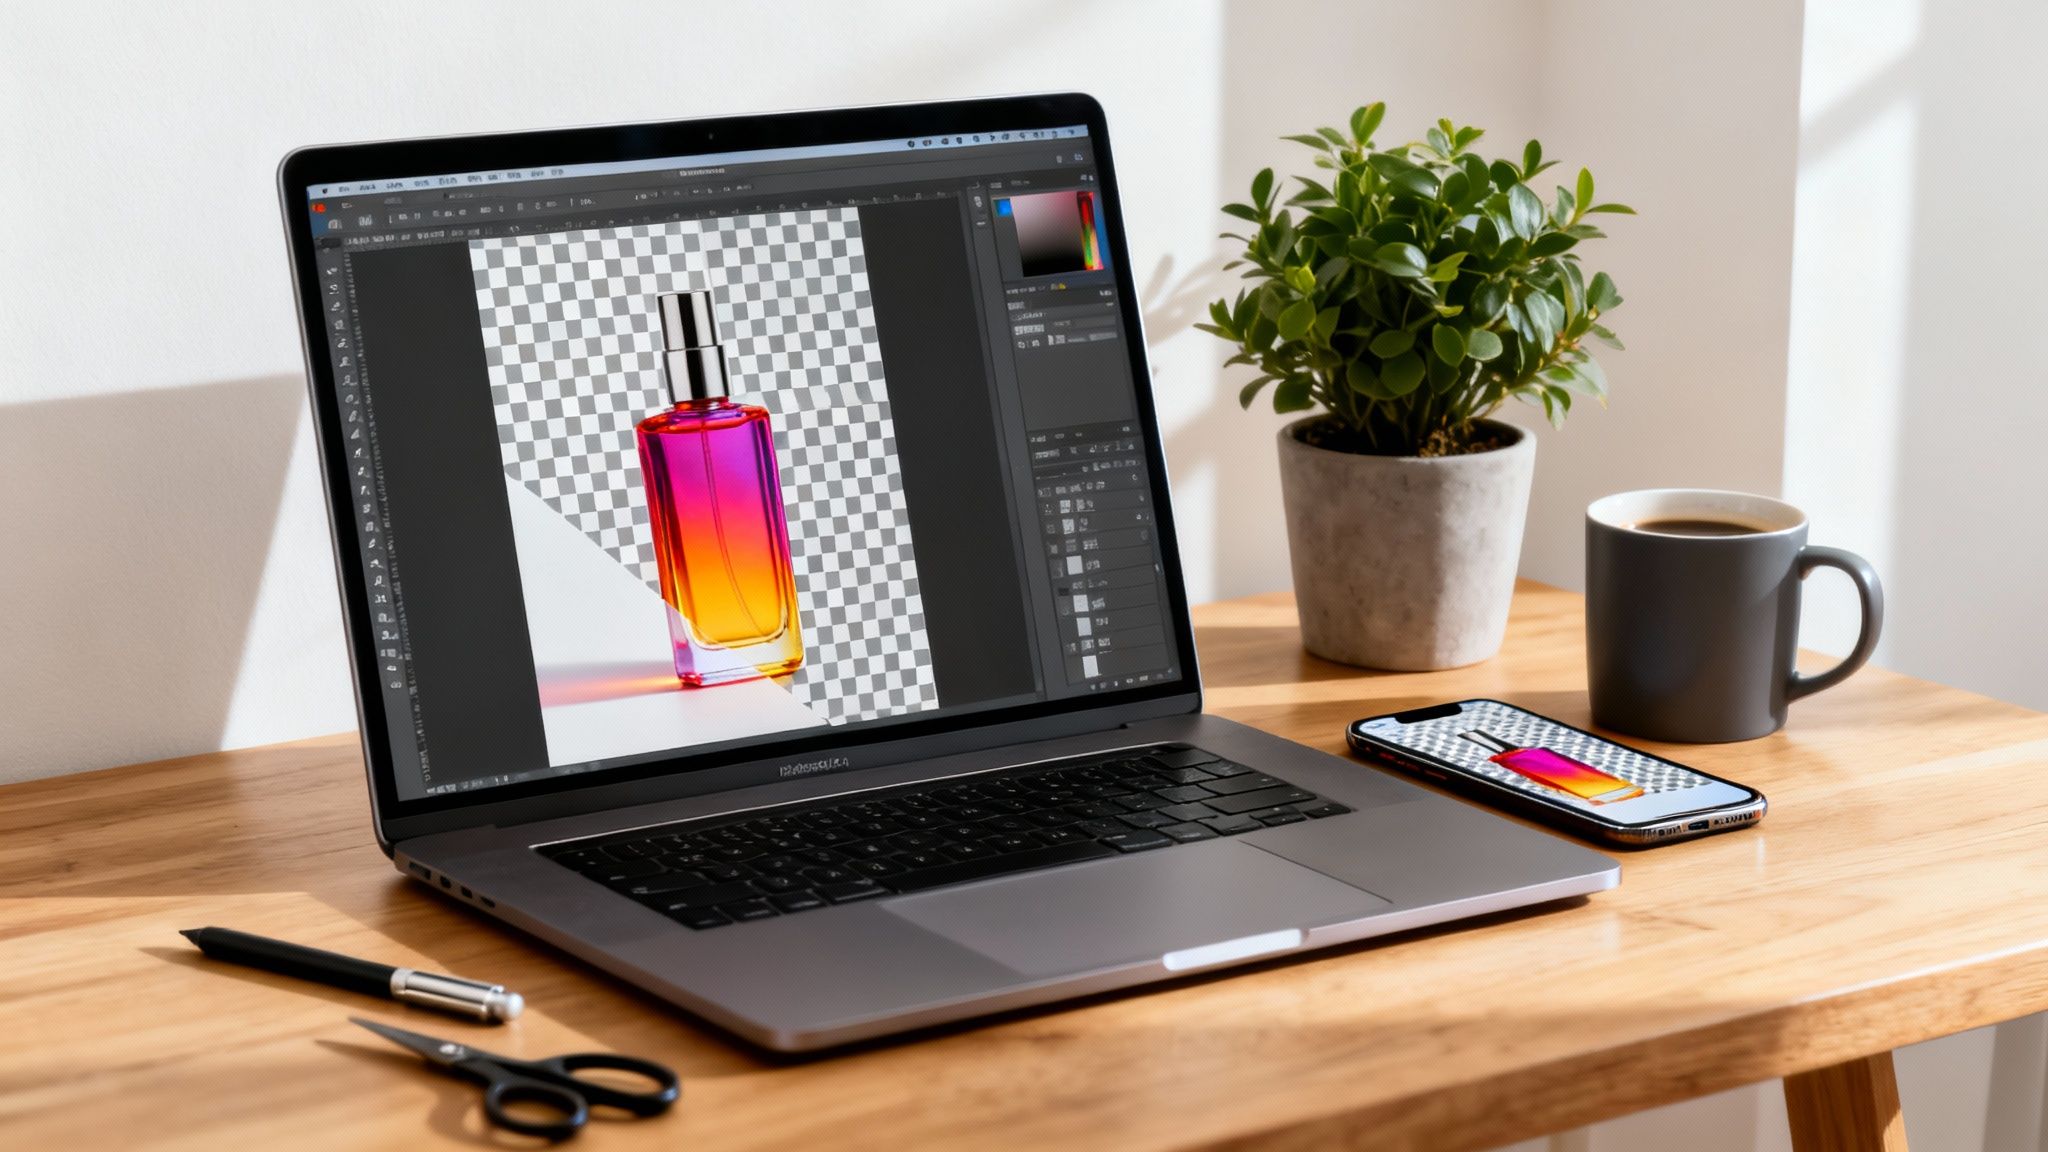
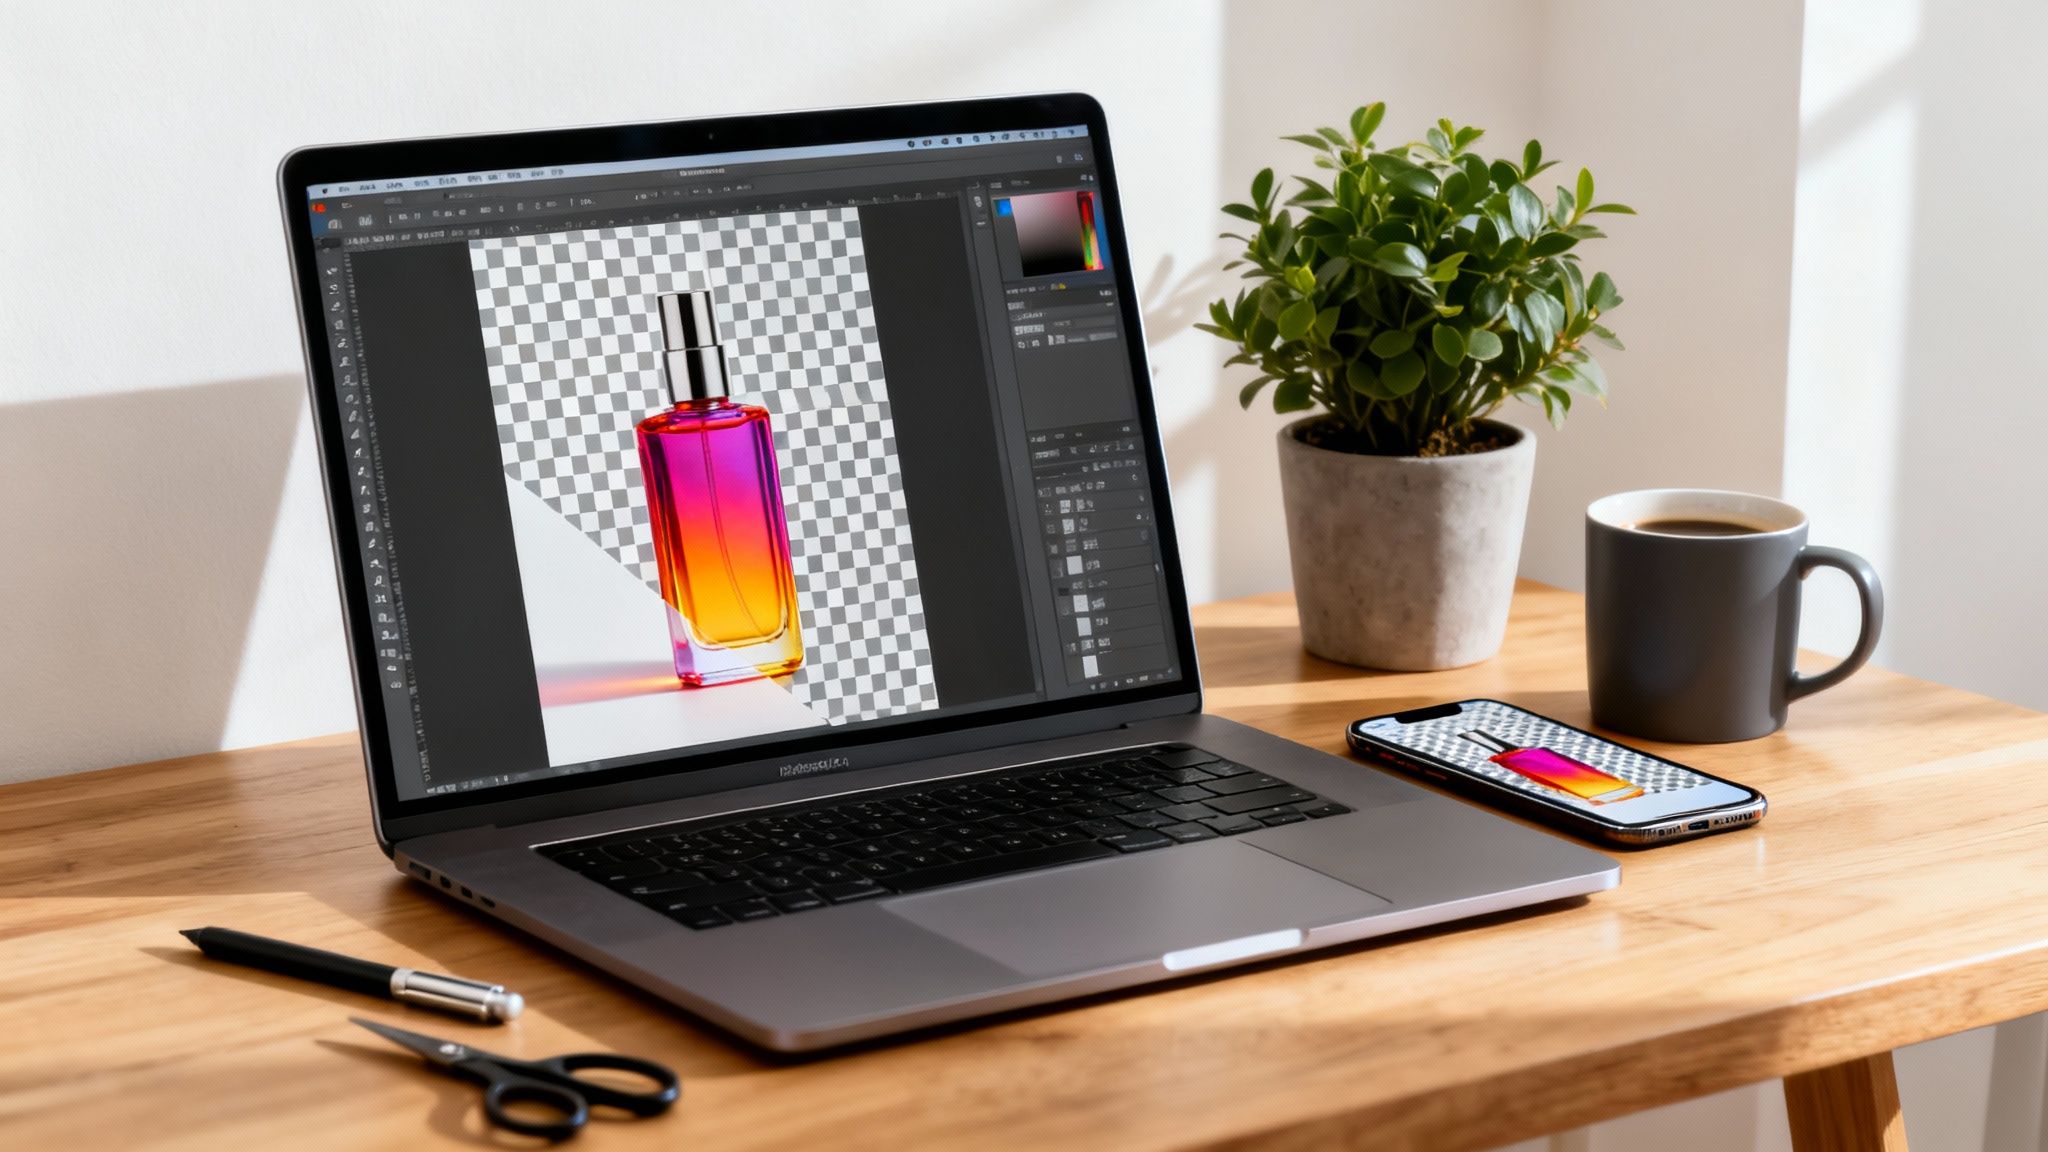
This is where you will perform some digital cleaning. For this kind of preparation, a tool like Adobe Photoshop is an industry-standard choice.
The infographic below provides a solid visual of this cleanup workflow. It shows how you can use tools like the Healing Brush to systematically paint out inconsistencies, leaving you with a clean base to work from.

This isn’t just about deleting flaws. It’s about creating a uniform canvas that you can tile without any jarring interruptions, ensuring the final result feels organic and natural.
Practical Tools for Image Cleanup
For this task, a few specific tools are particularly effective. They operate by intelligently sampling pixels from surrounding areas to blend away imperfections—perfect for preparing an image for tiling.
- Healing Brush: This is excellent for targeted fixes. You can select a clean source area and "paint" over a flaw. The tool handles much of the work, blending the texture and lighting for you.
- Clone Stamp Tool: This gives you more direct, manual control. It copies pixels exactly from one area to another, which is ideal when you need to rebuild sections of a pattern with precision.
- Content-Aware Fill: A powerful tool for removing larger, unwanted objects. Simply select the area you want to remove, and the software will intelligently fill it in based on the surrounding context.
The goal of image prep isn't to make the image perfect, but to make it neutral. By removing the most prominent and unique features, you create a base that is much easier to blend into a truly seamless pattern.
This foundational work ties directly into how the texture will eventually be applied to a 3D model. To better understand how these 2D images wrap around 3D surfaces, it helps to know what is UV mapping and how it all works. Proper source image preparation ensures the UV map has a clean, consistent texture to display, and the effort you put in here directly impacts the final quality on your 3D asset.
Mastering the Manual Tiling Workflow
Before AI tools became widely available, making a seamless texture was a meticulous craft. It was a hands-on, detailed process and an art form in itself. Learning this manual workflow is not just a history lesson—it’s a core skill that provides total creative control and a deep understanding of what makes a texture effective.
The classic technique, using Photoshop's Offset filter, remains an industry standard for a good reason. It provides the moment of truth for your texture.
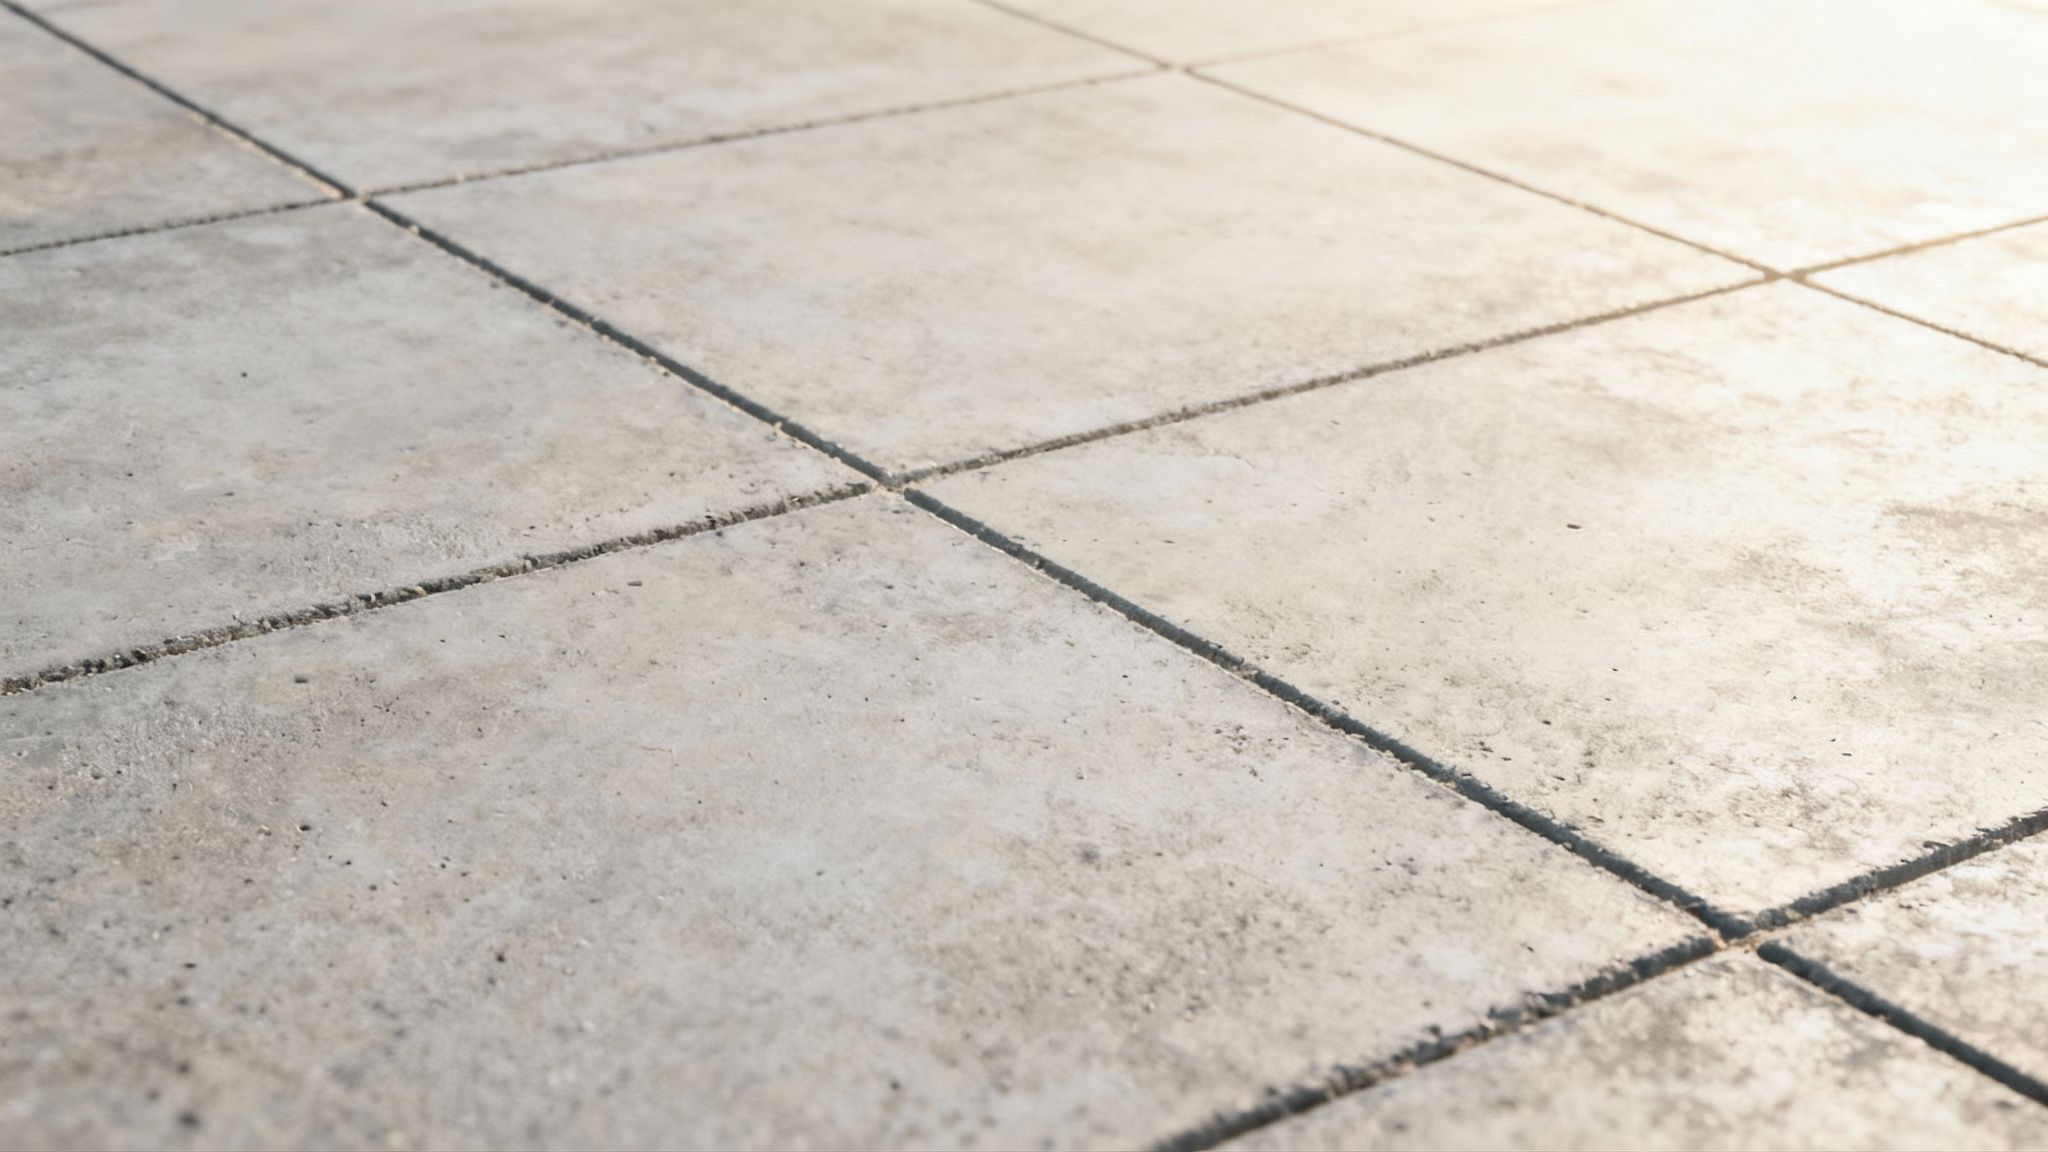
The filter shifts your image horizontally and vertically, moving the outer edges to the center of your canvas. Suddenly, any harsh lines or mismatched patterns that were previously on the seams are now in plain sight.
Blending the Seams with Precision
With the seams exposed, the real work begins. This is where you use tools like the Clone Stamp and Healing Brush to carefully paint over those newly revealed edges. The mission is to make the transition so flawless that the original seam disappears, turning your flat image into a genuinely tileable asset.
For example, if you are working with a photo of a grassy field, offsetting it will likely reveal a sharp vertical line where the blades of grass don't align. You would use a soft-edged Clone Stamp to sample nearby grass textures and gently paint over that seam, ensuring you follow the natural flow and direction of the blades. It’s a delicate process of borrowing from one area to fix another.
Think of it less like a technical chore and more like digital painting. You are an artist restoring a canvas, making sure every single brushstroke contributes to a believable, cohesive whole.
Hiding Repetition for a Natural Look
Matching the edges is only half the battle. Now you must ensure the texture doesn’t look like a repeating stamp. Even a perfectly seamless texture can appear artificial if the eye catches an obvious, repeating pattern. This is where you identify and address any "hotspots"—those unique features that instantly stand out.
- For a concrete slab: You might use the Healing Brush to tone down a very obvious crack or remove a unique stain that would be too recognizable when tiled.
- For a brick wall: You could use the Clone Stamp to swap out a few oddly colored bricks with more common ones from elsewhere in the image.
The key is to add enough subtle variation to break up the monotony. This hands-on process gives you complete control over the final look, ensuring your texture feels organic, not robotic.
This demand for a seamless look is growing well beyond 3D art. Consider the seamless wall cloth market, for instance. It's expanding as people seek the same uninterrupted visual appeal in their homes and offices. One report projects this market could reach $5 billion by 2025, driven by the desire for a continuous, pattern-free appearance. You can read more about the rise of seamless wall coverings to see how this digital aesthetic is influencing the physical world.
By working with this manual workflow, you build an intuition for what makes a texture feel right. These foundational skills are invaluable, even as you begin to incorporate faster, AI-assisted methods into your creative process.
Using AI for Faster Texture Creation
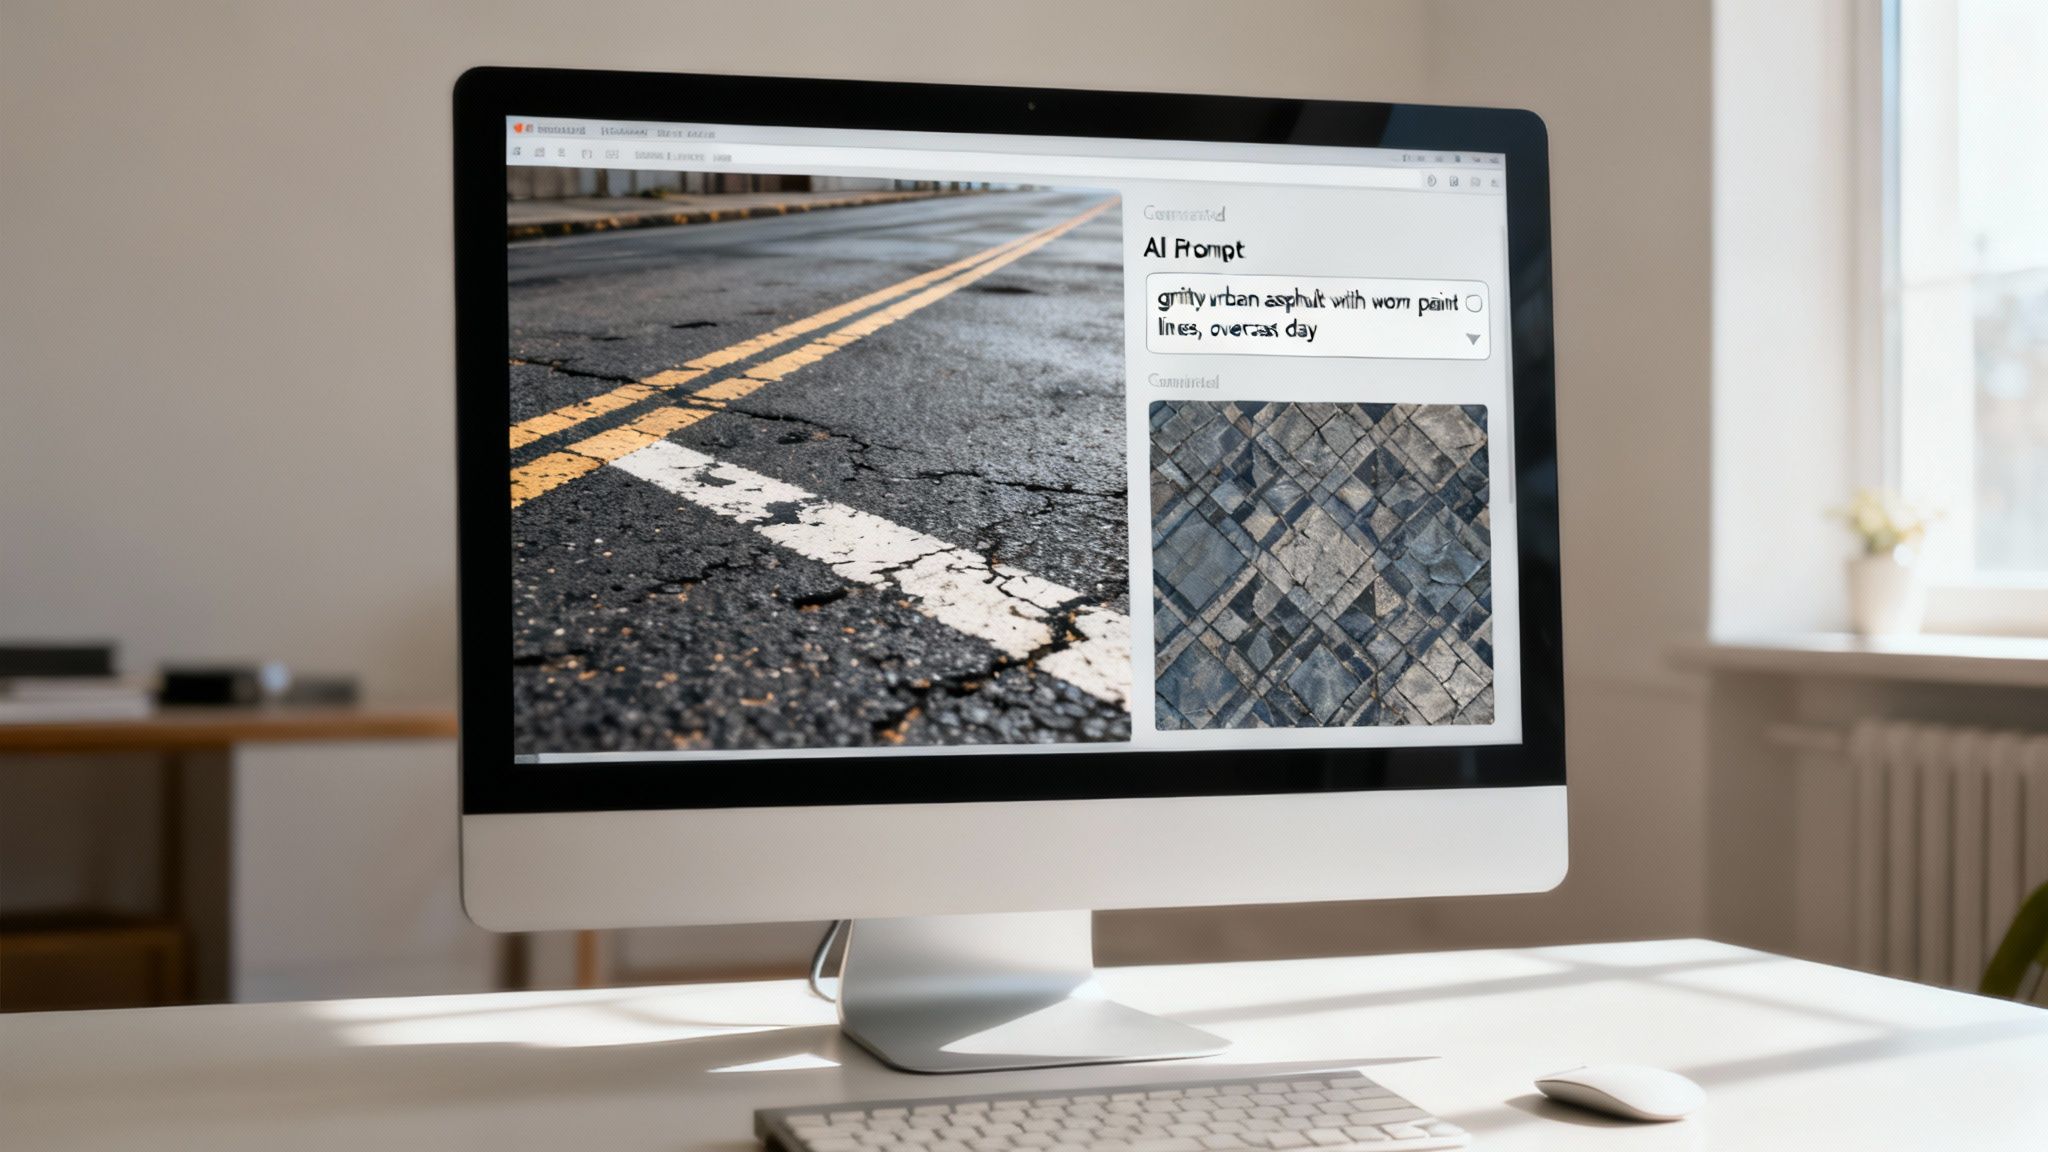
Manual tiling workflows give you incredible control, but they are not always fast. AI offers a different approach to creating seamless textures, shifting your role from a pixel editor to a creative director.
Instead of spending hours cleaning up photos, you are crafting text prompts to describe the exact material you have in mind. This is where AI excels, especially for complex organic patterns or procedural materials that are challenging to tile by hand.
Think of it as having an incredibly fast and talented assistant. It can generate numerous high-quality, tileable base textures in the time it takes you to manually clean up a single photo. That speed allows you to iterate on ideas in a way that was not previously possible.
Writing Effective Prompts
The quality of your AI-generated texture depends on the quality of your prompt. A vague request like "brick wall" will likely produce a generic, uninspired result.
Specificity is key.
A much better prompt would be something like: "Gritty urban asphalt with worn yellow paint lines, overcast day, photorealistic, 4K." This gives the AI crucial details about the material, its condition, key features, lighting, and the desired style. To improve at this, it is helpful to focus on mastering AI text-to-image prompts.
Your text prompt is your creative brief. Treat it with the same attention to detail you would give to directing a photoshoot. Describe the mood, the history of the surface, and the lighting conditions you want to capture.
This shift allows artists to focus more on the bigger picture. You can explore more creative concepts when you know the AI can handle the initial heavy lifting. Our guide on AI texture generation explores how platforms like Virtuall build this right into a practical workflow for creative teams.
When AI is the Best Choice
AI is not here to replace artistic skill; it's a powerful accelerator. To determine which approach is right for your project, it helps to understand where each one is most effective.
Manual vs AI-Assisted Texture Creation
Deciding between a traditional manual approach and a newer AI workflow often comes down to your project's specific needs for speed, control, and the type of material you're creating. This table breaks down the key differences to help you choose the right tool for the job.
AspectManual Tiling (e.g., Photoshop Offset)AI Generation (e.g., AI Texture Tools)SpeedSlow and methodical; can take hours per texture.Extremely fast; generates multiple options in minutes.ControlAbsolute pixel-level control over the final result.High-level creative direction via text prompts.Best ForPhoto-based textures requiring precise cleanup.Complex organic, procedural, or stylized materials.IterationDifficult to make major changes once started.Effortless; just tweak the prompt and regenerate.
Ultimately, both methods have their place. Manual tiling is still the preferred method for projects that demand absolute, pixel-perfect control, while AI excels at rapid ideation and handling complex patterns that are tedious to create by hand.
The most effective workflow often ends up being a hybrid. You can use an AI tool to get a texture that's 90% of the way there, then use a program like Photoshop to add those final, human touches that make it perfect.
How to Test and Refine Your Final Texture
A texture might look perfect as a flat image, but that’s only half the story. The real test is what happens when you apply it to a 3D surface. This quality control step separates a good texture from a truly great one.
This is a critical validation step. Any awkward repetition, subtle seams, or scale issues you missed in 2D will become apparent once you see the texture under realistic lighting and from different angles.
Live Preview in a 3D Environment
To really know if your texture works, you have to see it in its intended context. Tools like Marmoset Toolbag or the open-source platform Blender are essential for this stage. The quickest way to get feedback is to apply your texture to a simple primitive shape, like a sphere or a cube.
A sphere is perfect for checking how the texture distorts and flows across curved surfaces. Meanwhile, a large plane is your best option for spotting tiling patterns over a wide area.
This preview stage lets you rotate the model and see how the material reacts to different lighting. It’s the only way to expose problems that are completely invisible in a flat 2D viewer.
Generating Essential PBR Maps
Your base color (or albedo) map is just the starting point. To create a believable material, you need a full suite of Physically Based Rendering (PBR) maps. These tell the rendering engine how your surface should interact with light, which is a critical part of creating seamless textures that look realistic.
- Normal Map: This is where you simulate fine surface details like bumps, pores, and cracks without adding extra polygons. It’s about creating the illusion of depth.
- Roughness Map: This map dictates how glossy or matte your surface appears. Low roughness values create shiny, reflective materials, while high values create a dull, diffuse look.
- Ambient Occlusion (AO): This adds soft, contact shadows in the crevices and recessed areas of your texture, which gives it a significant boost in depth and realism.
These maps function as a team—they have to work together to create the final effect. If you want to dive deeper into how normal maps, in particular, function, check out our guide on how to make a normal map for your projects.
Final Polish and Export
Even a perfectly tiled texture can look repetitive when it’s applied across a very large surface. A professional technique is to use a variation map. This is usually a larger, low-frequency noise or grunge map that you subtly overlay in your 3D software’s material editor. This simple trick breaks up the uniformity by adding non-repeating variations in color or roughness.
A great texture isn’t just about the base image; it’s about the full material. Testing in 3D and building out your PBR maps are the non-negotiable final steps to achieving professional-quality results.
Once you’re satisfied with the result, export your maps in a lossless format like .PNG or .TGA. And always adhere to power-of-two resolutions—like 1024x1024 or 2048x2048—to ensure optimal performance in any game engine or renderer.
Your Top Seamless Texture Questions, Answered
Even with the best workflow, a few questions always seem to come up during the texturing process. Addressing these can save you hours of frustration and help you avoid common roadblocks.
Consider this your quick reference guide for some of the trickier parts.
How Do I Avoid an Obvious Tiling Look?
This is a very common challenge. The difference between a professional texture and an amateur one often comes down to how well you hide the repetition. The key is to be proactive about breaking up uniformity at every stage.
It starts with your source photo. Always look for images that don't have highly distinct or memorable features—no uniquely shaped rocks or one-of-a-kind stains that will be obvious when tiled.
When you're blending the seams, a soft-edged Clone Stamp or Healing Brush is an invaluable tool. The goal is to create organic, natural transitions that are not easily detected by the eye. Don't just paint directly over the edges; feather your adjustments to avoid creating new, blurry patterns that are just as distracting.
A professional technique is to use variation maps. In your 3D software's material editor, overlay a larger, low-frequency grunge or noise map. This introduces subtle, non-repeating differences across the entire surface and is the secret to making a small tiled texture feel massive and unique.
This technique is especially useful for large surfaces like concrete floors or brick walls. Even when the base texture repeats dozens of times, the larger variations prevent the brain from easily spotting the underlying grid.
What's the Right Resolution for My Textures?
There's no single magic number here. The right resolution depends on how close the camera will get to the object. But while there's no one-size-fits-all answer, there are some solid industry standards you can rely on.
- Distant game assets or background props? 1024x1024 (1K) is usually more than enough and helps maintain performance.
- Hero props or a main character's equipment seen up close? You'll want to use 2048x2048 (2K) or even 4096x4096 (4K).
The guiding principle is to always use resolutions that are a power of two (512, 1024, 2048, etc.). Game engines are optimized for these dimensions, and adhering to this standard is critical for memory management and performance.
A smart workflow is to author your textures at a high resolution like 4K, then downsample them for different needs. This gives you maximum flexibility down the line without ever having to start over.
Ready to unify your entire creative workflow? Virtuall is the AI-powered Creative OS that brings 3D model, image, and video generation into a single, collaborative workspace. Move from concept to final asset faster than ever by visiting https://virtuall.pro.

