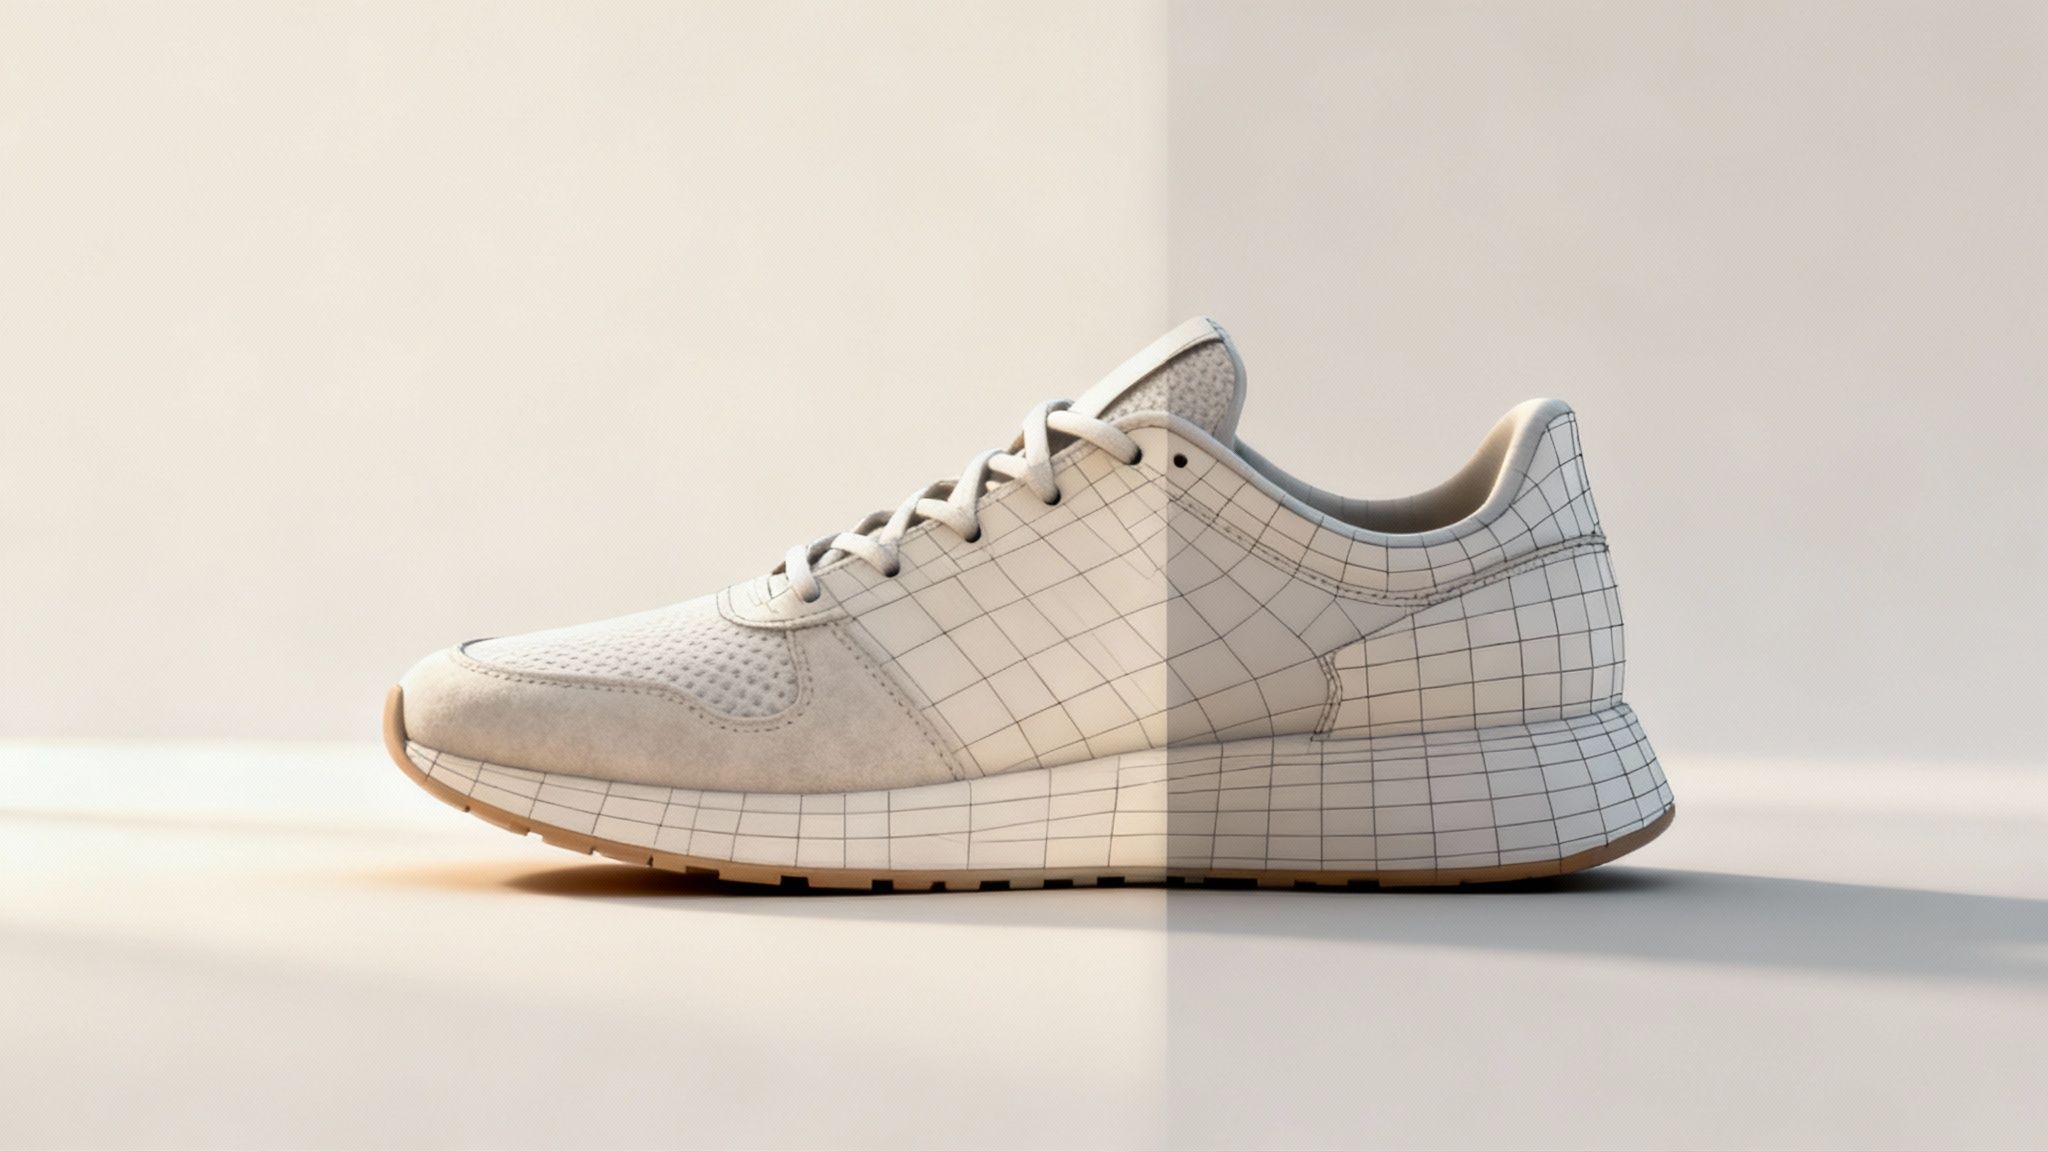
The conversion of 2D images to 3D is a technical process where artificial intelligence analyzes a two-dimensional image, such as a photograph or technical drawing, and generates a corresponding three-dimensional model. This involves teaching a machine to interpret depth, shape, and texture from a flat image and construct a 3D asset from that data without requiring manual modeling from scratch.
The New Reality of 3D Content Creation
The ability to turn a simple photo into a fully interactive 3D object represents a significant shift in digital asset creation. For years, this was the exclusive domain of highly skilled 3D artists using specialized software, a task that could take days or weeks to complete.
Today, AI has fundamentally changed this landscape. It is a critical development for creative teams and any industry that relies on visual content. Instead of building an object from the ground up, an AI model can produce a detailed draft in minutes, which transforms project workflows. This is not about replacing artists; it’s about providing them with powerful tools for rapid prototyping and iteration, while maintaining compliance and security standards.
How AI Interprets a Flat Image
At its core, this process relies on advanced algorithms trained on extensive datasets of images and their corresponding 3D shapes. The AI learns to identify patterns, lighting, and shadows to infer an object's geometry.
It's a multi-step process, but it can be summarized as follows:
- Shape Inference: First, the AI identifies the primary subject in the image and estimates its overall form and silhouette.
- Depth Mapping: Next, it analyzes shading and perspective cues to create a "depth map," assigning a distance value to each pixel.
- Texture Generation: Finally, it projects the colors and details from the original image onto the newly created 3D mesh, effectively applying a texture.
This intelligent analysis allows a machine to "see" a 2D image with an understanding similar to human perception. It recognizes that subtle shadows imply curves and bright spots suggest surfaces are facing a light source. It's a foundational leap for the future of creative production.
A Growing Field of Innovation
This technology is advancing rapidly. In Denmark, research at the Technical University of Denmark (DTU) has already developed faster algorithms for calculating object properties directly from image data. Their approach substantially reduces the computational power needed, making the entire process more efficient.
Platforms like Virtuall are designed to integrate these powerful AI engines into a single, unified workspace. This gives creative teams a secure environment to not only generate assets but also manage, review, and collaborate on them seamlessly. Exploring real-time AI demonstrates how much these instant generation capabilities are improving project timelines.
Ultimately, this makes 3D content more accessible, empowering creators across every field to bring their ideas to life with unprecedented speed and efficiency.
Preparing Your Images for High-Quality AI Conversion
The final quality of your 3D model is directly dependent on the 2D image you use as a source. An AI can only interpret the data it is given, so providing it with a clean, high-quality input is the single most important step for achieving a superior result.
The AI functions like an artist sculpting an object based on a single photograph. If that photograph is blurry, dark, or cluttered, the artist must guess, and the sculpture will reflect that uncertainty. Providing a sharp, well-lit studio photograph will yield a far more accurate final piece.
Key Factors for a Successful Conversion
Certain image characteristics are essential for a clean AI conversion. A high-contrast photo with a simple background will almost always produce better results than a busy, poorly lit shot. This is not about requiring professional photography skills; it's about making deliberate choices that prevent hours of post-processing and clean-up.
Focus on these core elements:
- Resolution: Higher pixel counts provide more data for the AI to analyze, which translates directly into finer details and more accurate textures. A low-resolution image will result in a blocky, undefined 3D model.
- Lighting: Harsh shadows are a significant pitfall. The AI can misinterpret them as part of the object's actual geometry, creating unwanted indentations. Soft, diffused lighting is ideal because it reveals the subject's true shape.
- Focus and Clarity: The subject must be in sharp focus with clearly defined edges. This enables the AI to create a precise and clean mesh boundary, avoiding a distorted or "melted" appearance.
- Background Simplicity: A busy background can confuse the AI, causing it to merge background elements into your 3D model. Always attempt to isolate your subject for the best results.
Many of the same principles for preparing images for AI drawing apply here. For a deeper understanding, you can review our guide on how to properly train images for drawing.
Image Preparation Checklist for AI Conversion
Before uploading an image, it is beneficial to run through this quick checklist. Even minor edits in a basic photo editor can make a substantial difference. For more advanced workflows, dedicated tools like the Domino AI app can help automate and refine these preparation steps, saving significant time.
Taking a few minutes to prepare the source image sets the AI up for success. This initial effort drastically reduces the amount of manual clean-up needed on the final 3D model, which is a significant time-saver in any production pipeline.
Your First 2D to 3D Conversion Workflow
Once your image is prepared, you can begin the conversion process. This section will walk through the typical workflow for turning a flat picture into a workable 3D asset within an enterprise-grade AI tool like Virtuall.
The initial step is straightforward: upload your source image. Once it’s in the system, the AI begins its analysis, which usually takes only a minute or two. The first output is a draft model—a raw, untextured mesh representing the AI's initial interpretation of your object's shape. This serves as your starting point.
Navigating Key Generation Settings
With the initial mesh displayed, you will see several settings that allow you to guide the final outcome. These sliders and options are your primary controls for the conversion of 2d images to 3d. They control a few core aspects of the model and are designed to be user-friendly.
Let's imagine we're converting a photo of a sneaker for an e-commerce platform. Here's what we would be adjusting:
- Detail or Polycount: This setting controls the complexity of the 3D mesh. A higher setting adds more polygons, which is beneficial for capturing fine details like the stitching on the sneaker. A lower setting produces a simpler, more optimized model. For a close-up product shot, a higher value is preferable. For a background asset, a lower value is more efficient.
- Remeshing Options: This function cleans up the AI's raw geometry, organizing the polygons into a more logical grid. You'll often see choices like "Quad" or "Triangle" meshes. Triangles are typically used for game engines and real-time performance. Quads, however, are much easier for 3D artists to edit manually later on.
- Texture Quality: This sets the resolution for the image that gets applied to your 3D model. For our sneaker example, a high-resolution texture is essential to ensure the fabric weave and logos appear crisp and clear.
To better understand how we reached this point, here’s a brief overview of the preparation that enables a high-quality final model.
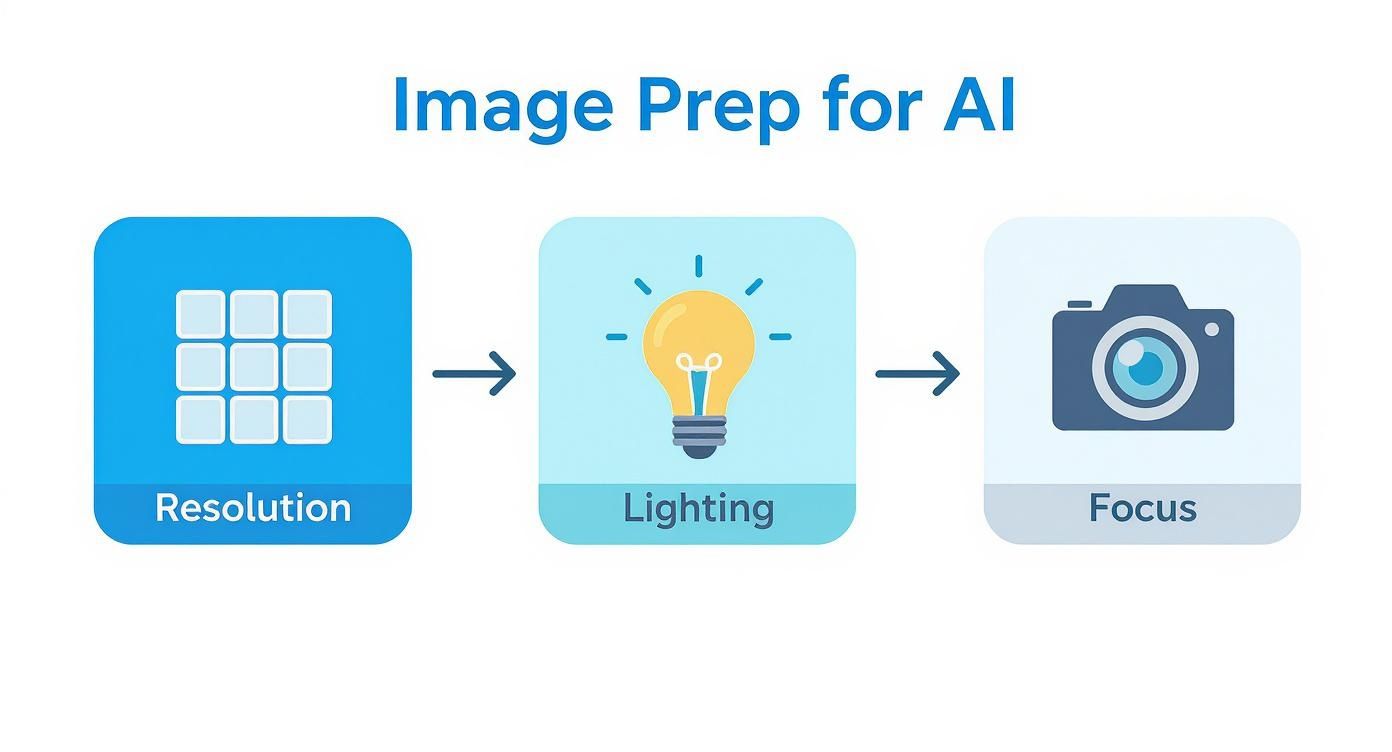
As you can see, optimizing resolution, lighting, and focus from the start has a significant impact on the quality of the AI's initial draft.
Generating the Final Textured Model
Once you have configured your settings, you initiate the generation. The AI now takes your instructions, refines the mesh, and projects the texture from your 2D photo onto the 3D surface. This is the most computationally intensive part of the process, but it is where the model truly comes to life.
The goal here isn't perfection on the first attempt. It's about generating a solid base model that is 80-90% complete. The AI performs the heavy lifting, allowing you to focus your creative energy on the final polish.
This technology has applications beyond creative industries. For instance, in Denmark's life sciences sector, researchers use deep learning to reconstruct 3D cellular structures from 2D microscope images. It's the same core concept, applied to advance biological research, showcasing the versatility of this technology.
The final output is a fully textured 3D model, ready for review or export. If you're looking to integrate this into a more automated pipeline, it is helpful to see how others structure similar processes. Reading through examples of an end-to-end workflow for an AI application can offer valuable parallels.
With your first model generated, you now have a tangible asset ready for the next stages: refinement and optimization.
How to Refine and Polish Your 3D Model
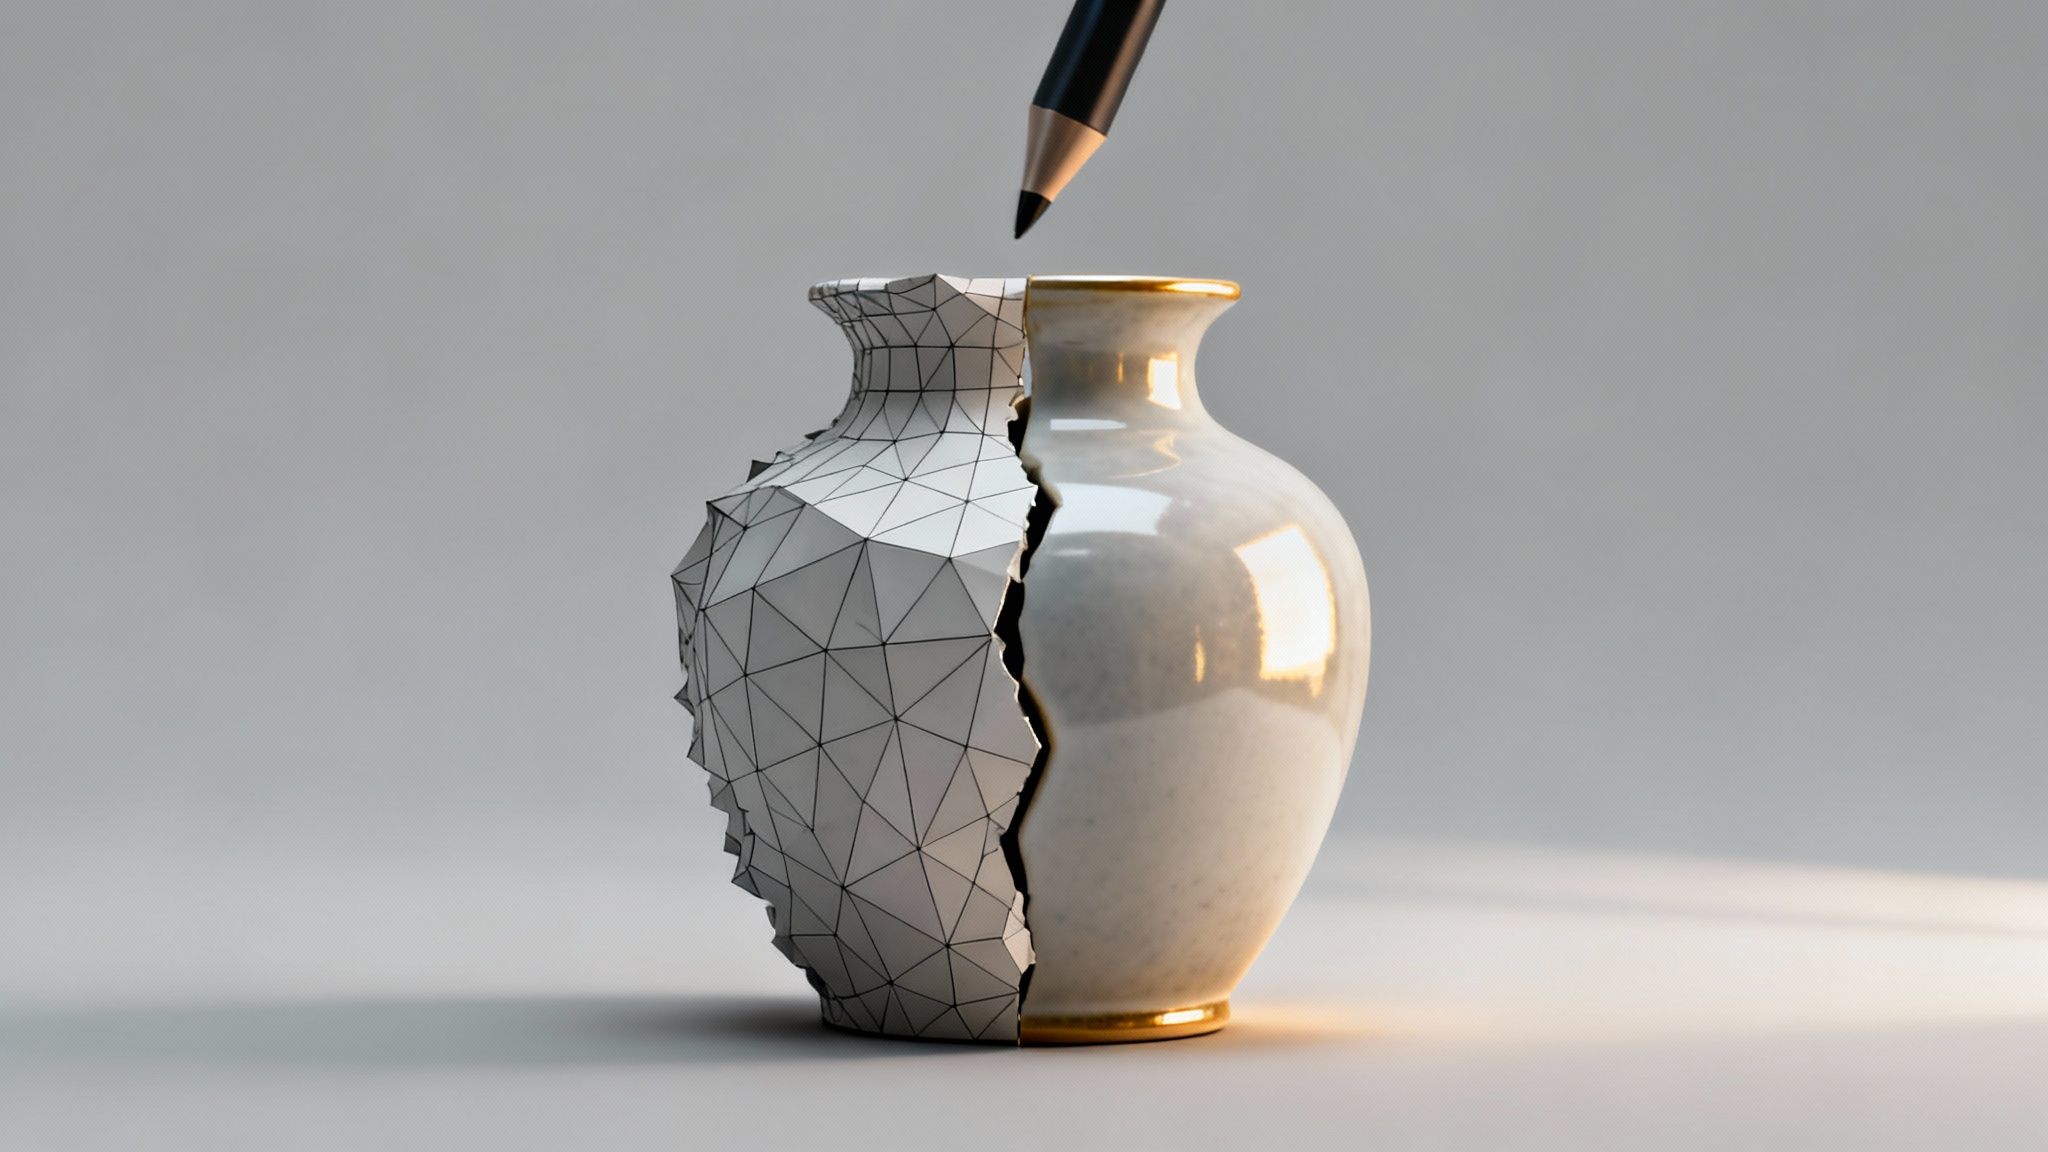
The initial AI generation provides an excellent head start, but true artistry lies in the final polish. This is where a good AI-generated asset becomes a great, production-ready piece. It involves smoothing out rough edges, correcting texture anomalies, and preparing the model for its final application.
This refinement phase ensures your model not only looks professional but also performs efficiently, whether it’s for a game engine, a web browser, or an AR application. Let's walk through the key steps to take your model from a raw output to a finished asset.
Smoothing Geometry and Fixing Imperfections
AI-generated meshes can sometimes have minor flaws, such as jagged edges, unwanted bumps, or uneven surfaces. The first step is to import your model into 3D editing software to clean up this geometry. Most tools have sculpting brushes designed for this purpose.
The "smooth" brush is an essential tool. Gently brushing over rough areas will average out the vertices, creating a cleaner, more organic-looking surface. It's important to be judicious; aggressive smoothing can erase the very details the AI worked to capture.
Be vigilant for common issues like:
- Floating Vertices: Stray points in space that are not connected to the main mesh.
- Non-Manifold Geometry: Edges shared by more than two faces, which can cause rendering errors.
- Jagged Silhouettes: Uneven outlines that require softening for a more natural appearance.
Optimising Your Model with Retopology
AI-generated models are often dense, with very high polygon counts. While this captures extensive detail, it also makes the model heavy and slow to render. Retopology is the process of building a new, cleaner, and more efficient mesh over the top of the high-detail model.
This step is critical for performance in any real-time application. A lower polygon count means the model requires less processing power, which is essential for smooth frame rates in games or quick load times on websites. While manual retopology offers complete control, many modern tools provide automated solutions that deliver excellent results with minimal effort.
A well-optimized model is the hallmark of a professional 3D artist. It demonstrates an understanding not just of aesthetics, but also of the technical requirements of different platforms—making your assets more valuable and versatile.
Enhancing Textures and Materials
Once the geometry is clean, the focus shifts to the textures. Sometimes, the texture projected from the 2D image can appear stretched or blurry in certain spots, especially on curved surfaces. This usually requires manual adjustments in the UV map or some texture painting.
You can also add a significant degree of realism by creating additional texture maps. A normal map, for example, can simulate fine surface details—like wood grain or fabric weave—without adding a single extra polygon. To understand this technique better, you can review our guide on how to make a normal map.
This level of detail is increasingly important across various industries. The Danish government, for example, supports extensive 3D data generation for urban planning, where LiDAR data helps in extracting 3D models from real-world data. These models rely on precise geometry and texturing for realistic visualizations. By mastering these refinement techniques, you ensure your work is ready for any professional creative project.
Addressing Common AI Conversion Challenges
Even the most advanced AI tools can produce unexpected results. When you are turning a 2D image into a 3D model, you will encounter some anomalies. This is a normal part of the process. The key skill is learning to anticipate these issues and address them effectively.
Most of these problems arise from ambiguity. A flat image lacks the complete data required for a 3D model, so the AI must infer the missing information. This is where human oversight and expertise are essential.
Tackling Warped Textures and Bumpy Surfaces
A lumpy, uneven surface is one of the most common artifacts. It often occurs when the source image has strong shadows or bright highlights, which the AI interprets as physical bumps and dips in the geometry.
Before attempting a fix, consider whether the imperfection adds character. Sometimes, a slightly "lumpy" rock or a "dented" piece of metal can appear more realistic than a perfectly smooth surface. Unintended results can sometimes be beneficial in creative AI workflows.
However, if a clean finish is required, the best solution is often to return to the source image and use more neutral, even lighting. If that is not possible, a light pass with a smoothing brush in a 3D editor can be very effective. Use it sparingly to avoid losing important details.
Warped or stretched textures are another common issue, especially on curved surfaces where the AI struggles to map the 2D image neatly onto the 3D shape.
Treat the AI’s output as a first draft, not the final product. Your role is to collaborate with the tool, not expect a perfect one-click solution. The AI provides an 80% solution; your expertise handles the remaining 20%.
Handling Tricky Materials Like Glass and Fabric
Certain materials pose significant challenges for AI. Glass is a prime example. Because the AI can see through it, it becomes confused and often generates a mangled or incomplete mesh. Fine, repetitive details like fabric weaves or fur can also be lost, resulting in a model that looks flat and artificial.
There are effective workarounds for these issues.
- For Glass: Allow the AI to generate the overall shape of the object. Then, in your 3D software, delete the problematic "glass" sections and replace them with a clean, transparent material. This is a simple and reliable method.
- For Fabric: The AI-generated texture serves as an excellent starting point. To add the missing realism, layer a separate normal map or bump map on top. This creates the illusion of detailed texture without increasing the model's polygon count—an efficient technique used by professionals.
By treating these challenges as technical puzzles, you can work around the AI's limitations and still produce a professional-grade asset.
Common Questions About 2D to 3D AI Conversion
Adopting any new creative tool raises questions. When it comes to using AI for turning 2D images into 3D models, a few queries are frequently asked. Let’s address them to help you start creating with confidence.
How Accurate Are the Results?
The accuracy of an AI-generated 3D model depends on two main factors: the quality of the original image and the sophistication of the AI model.
If you provide an image of an object with a clean silhouette and simple textures—such as a product shot on a white background—the results can be remarkably precise.
However, for more complex items, like objects with transparent or highly reflective surfaces, the AI is making educated guesses. In these cases, the initial output is a valuable starting point, but you should expect to perform some manual clean-up to achieve a professional standard.
What Types of Images Work Best?
For the most reliable conversions, always start with images that show a single, well-lit object against a simple background. This allows the AI to focus on the subject you intend to model, without being distracted by background clutter.
Images that yield excellent results include:
- Product photos from a studio setting.
- Character concept art with sharp, defined outlines.
- Architectural photos with strong lines and minimal surrounding distractions.
Conversely, it is best to avoid pictures with busy patterns, harsh shadows, or multiple overlapping objects, as these can easily confuse the AI.
Remember, the AI is attempting to determine depth and shape from a flat image. Providing a clean, unambiguous picture is the most effective way to obtain a quality model on the first attempt, saving considerable time in the long run.
Can I Use My Drawings and Sketches?
Yes, absolutely. In fact, many modern AI tools are specifically trained to interpret line art and hand-drawn sketches.
To achieve the best results, use a clean drawing with bold, well-defined outlines. The AI often interprets shading as depth information, so a well-shaded drawing can produce a 3D form with surprisingly good volume.
Are the Models Ready for Games or Animation?
Not typically, at least not directly from the generator. Models created by AI often require optimization before they can be used in real-time applications like games.
The raw output can have a very high polygon count and what is known as "messy topology"—an inefficient arrangement of polygons across the surface.
For a model to perform well in a game engine or deform correctly during animation, it will almost always need retopology (creating a cleaner, lower-polygon version) and proper UV unwrapping for its textures. This is a crucial step to ensure your asset is not only visually appealing but also technically sound.
Ready to move from theory to practice? Virtuall is the AI-powered workspace your team needs to generate, manage, and collaborate on 3D assets, all within a secure, unified platform. Start your project today.

