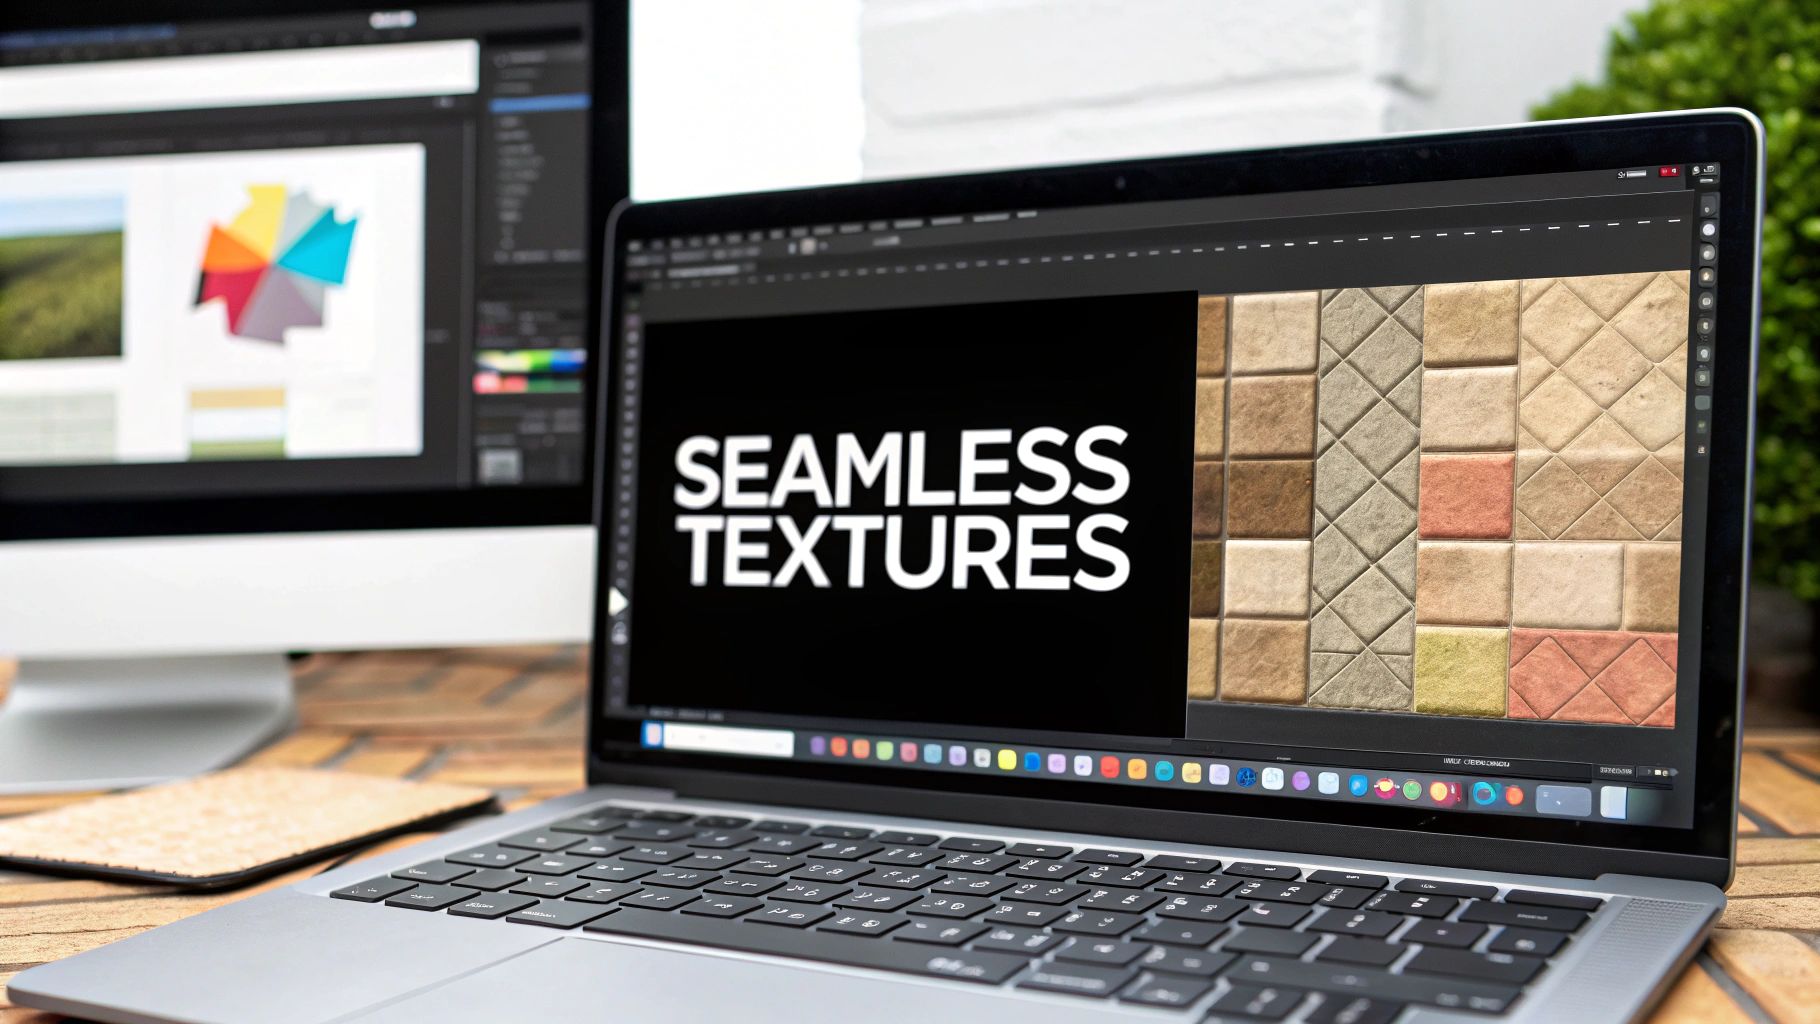
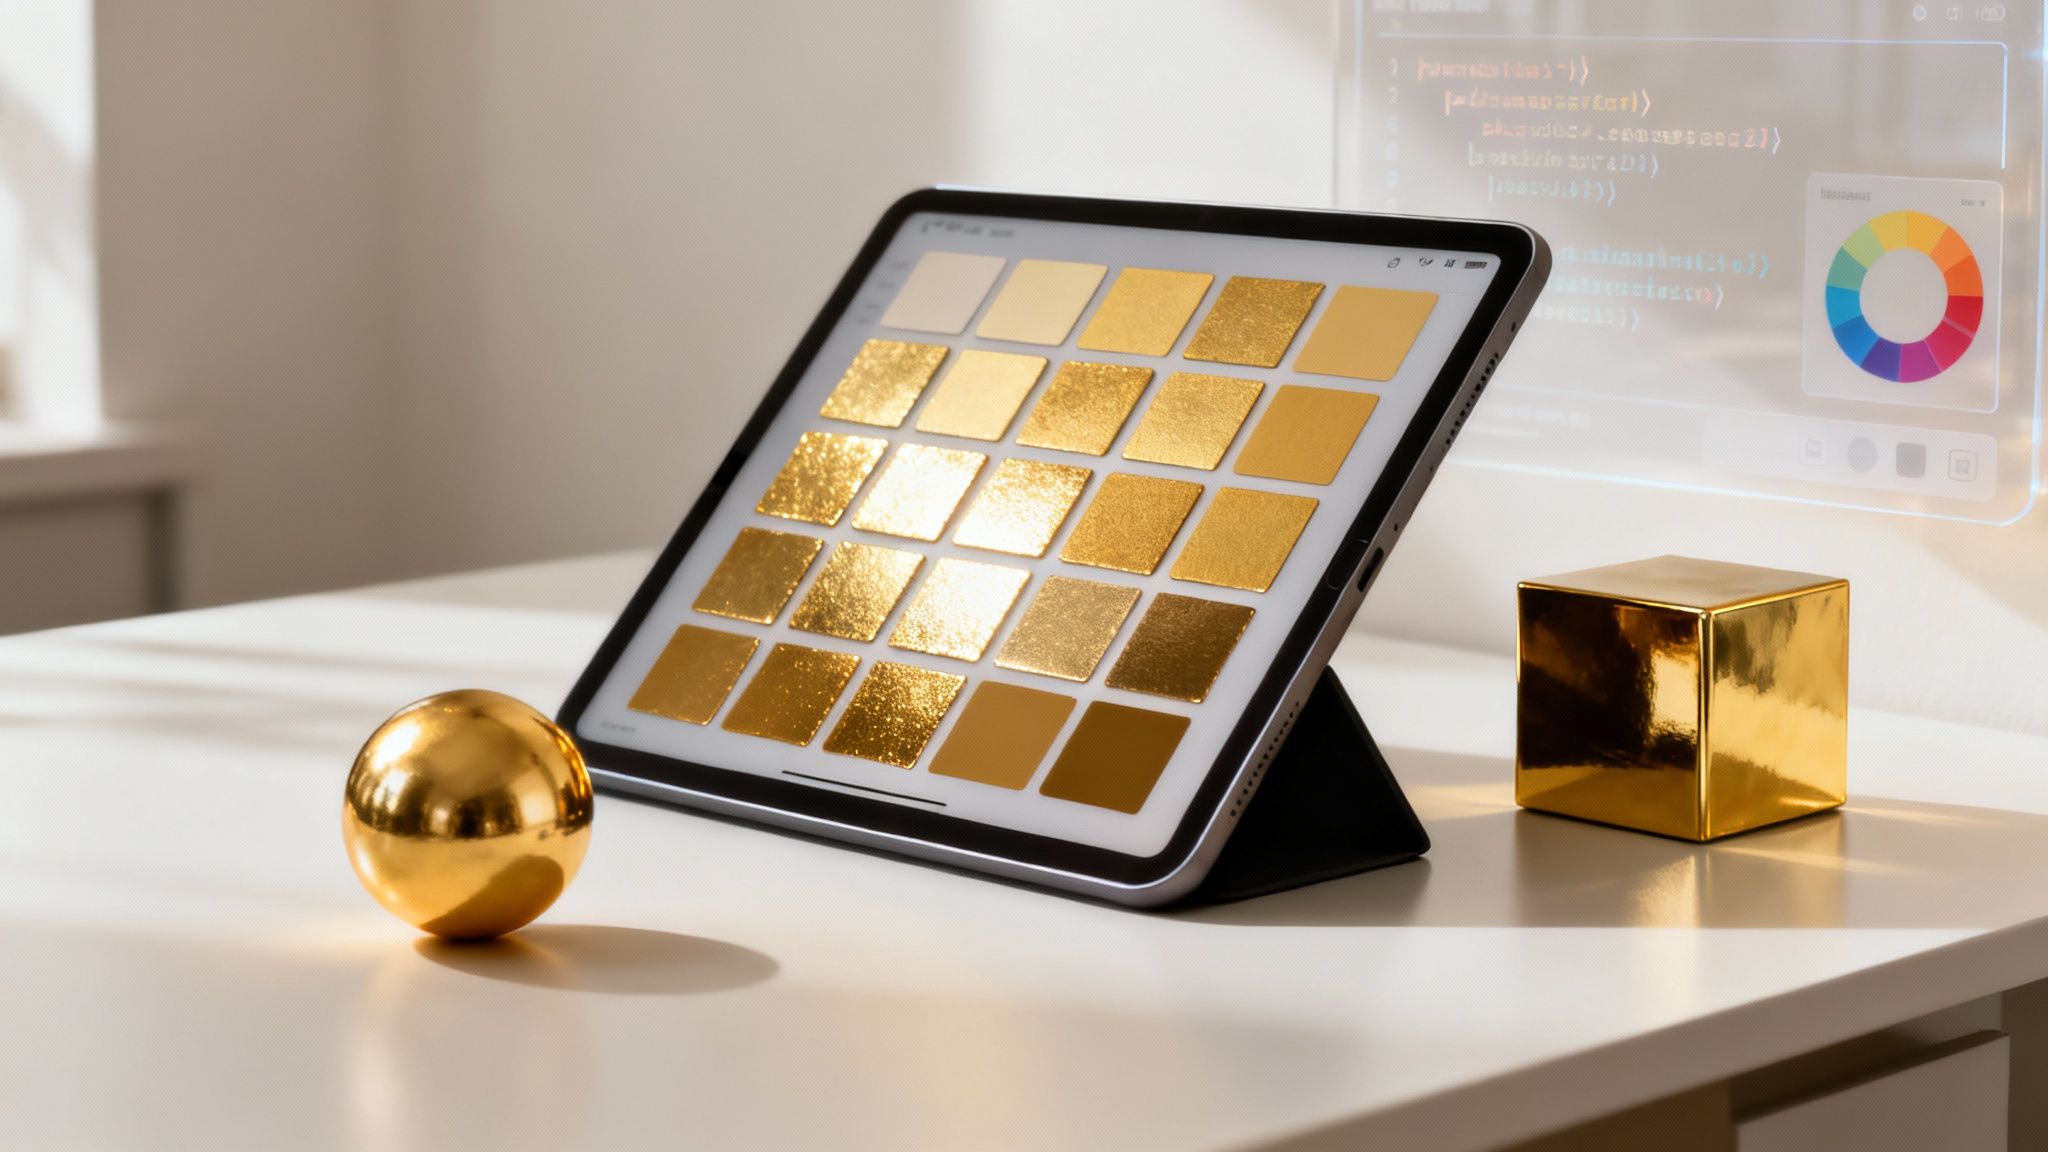
At its core, making a seamless texture involves editing an image so its edges blend perfectly. This allows you to tile it repeatedly without any visible seams. It's a foundational skill in digital art, particularly for creating large, realistic surfaces from a single, efficient file.
Why Seamless Textures Are Essential in 3D Design
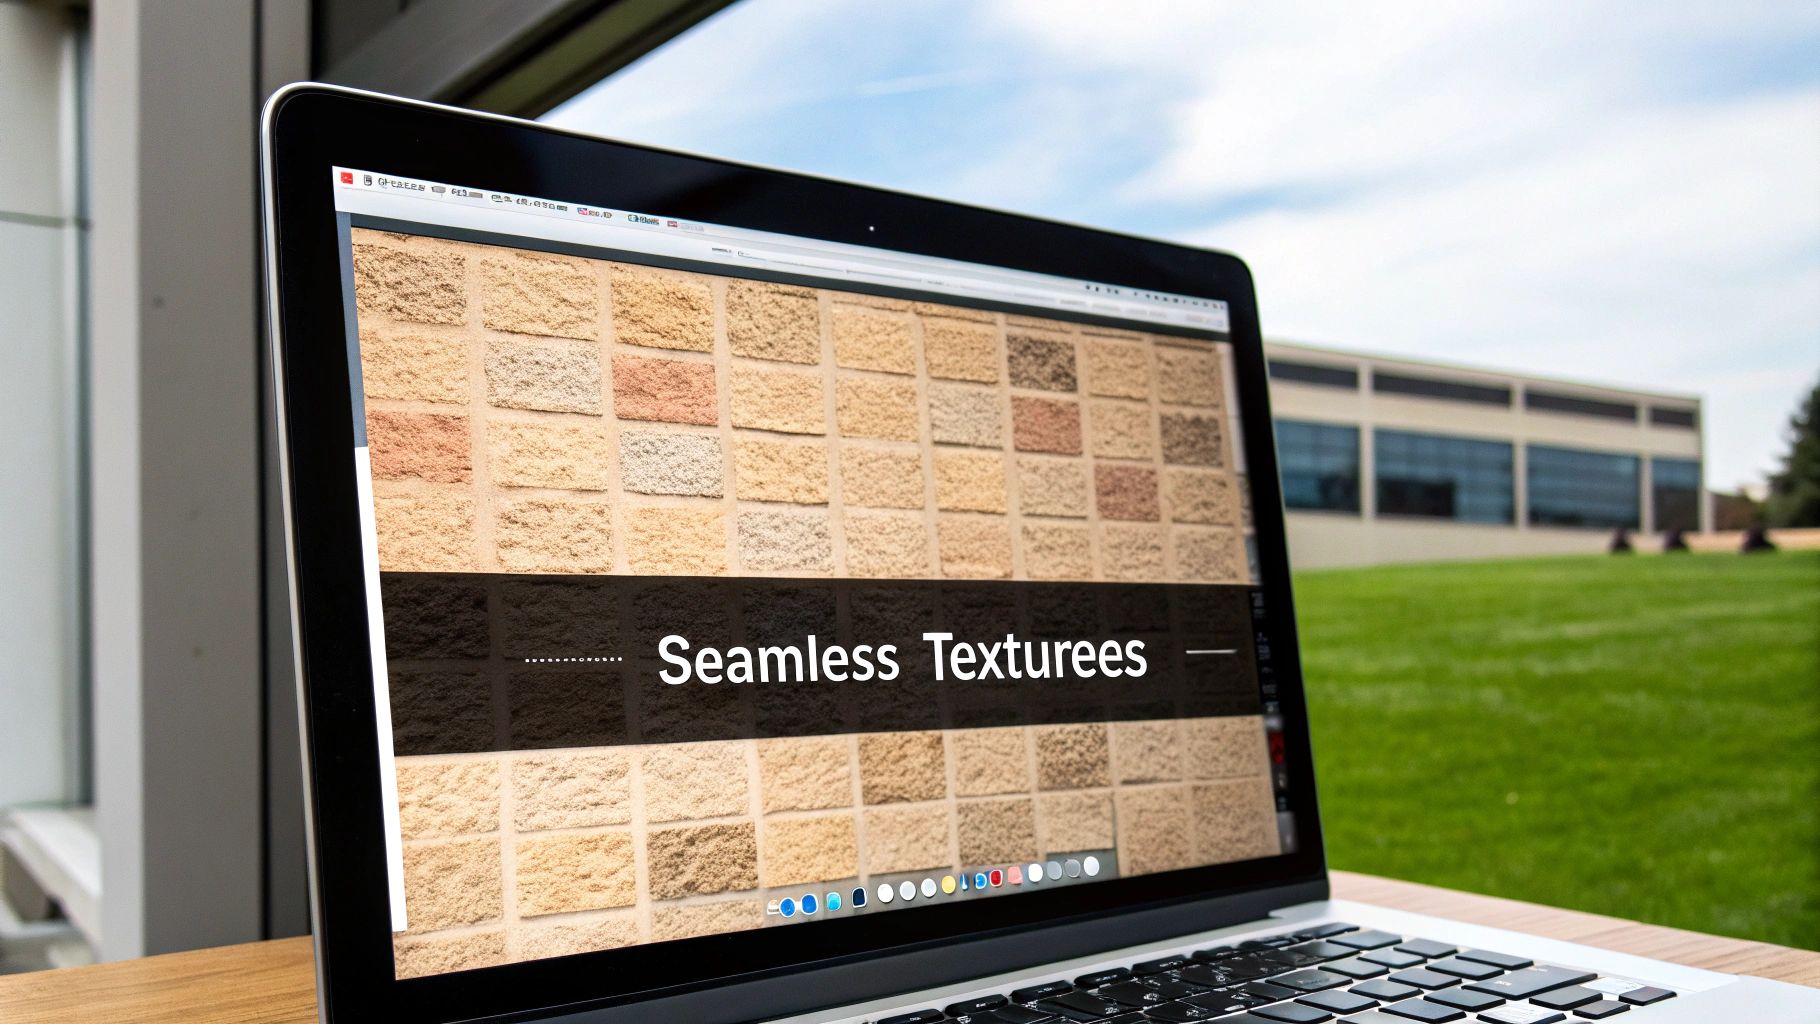
Before exploring the how, let’s cover the why. Seamless textures are the unsung heroes of immersive 3D worlds. They are unique images designed to repeat endlessly, creating the illusion of a massive, continuous surface from a single, lightweight file.
Consider a sprawling brick wall in a video game or the wood flooring in an architectural render. In most cases, these are made by repeating a single seamless texture.
The principle is simple but powerful. By ensuring the right edge of an image perfectly matches the left, and the top edge aligns with the bottom, you can cover enormous areas without jarring lines. This technique is a key differentiator between amateur work and polished, production-ready assets.
The Practical Benefits in Production
The advantages of making seamless textures extend beyond aesthetics. They are the backbone of any efficient 3D workflow for several key reasons:
- Performance and Memory Savings: Instead of loading a gigantic, unique texture for an entire wall, a game engine loads one small, tileable image. This significantly reduces memory usage and improves rendering performance—critical for real-time applications like games and VR.
- Scalability and Flexibility: A single 1024x1024 pixel texture can cover a surface of any size. Whether it’s a small patch of grass or an entire field, the same asset can be used. This provides artists and designers with incredible flexibility.
- Workflow Efficiency: Artists can focus their energy on creating one high-quality, detailed texture swatch. That single asset can then be reused across countless models and scenes, saving valuable production time.
The real value of a good seamless texture is its invisibility. The goal is for the viewer to see a natural, continuous material without ever noticing the underlying repetition. It’s a subtle art that underpins the believability of a digital world.
More Than Just a Digital Technique
Interestingly, the concept of "seamlessness" is not limited to digital art. The seamless clothing market, for instance, is projected to reach USD 8.75 billion by 2033. It is driven by technology that creates garments without stitched seams for enhanced comfort. This demonstrates the value of continuous, uninterrupted surfaces in both physical and digital products.
In 3D design, achieving that continuity comes down to careful planning and execution. It’s not just about hiding edges; it’s about creating a texture that feels natural when repeated. This involves understanding how the texture will be applied to a 3D model, a process detailed in our guide on what is UV mapping. Mastering this skill is a fundamental step toward creating truly convincing and professional 3D art.
Mastering the Manual Workflow in Photoshop
While AI tools are becoming increasingly fast, the control offered by a manual workflow in a program like Adobe Photoshop is unmatched. This is where you build the foundational skills to turn any photo or digital painting into a perfectly tiling asset. It is the classic, artist-driven method, essential for creating polished, production-ready textures.
Before opening a file, the process begins with planning. What does the project require? Do you have the right source image? Is your workspace set up for efficiency?
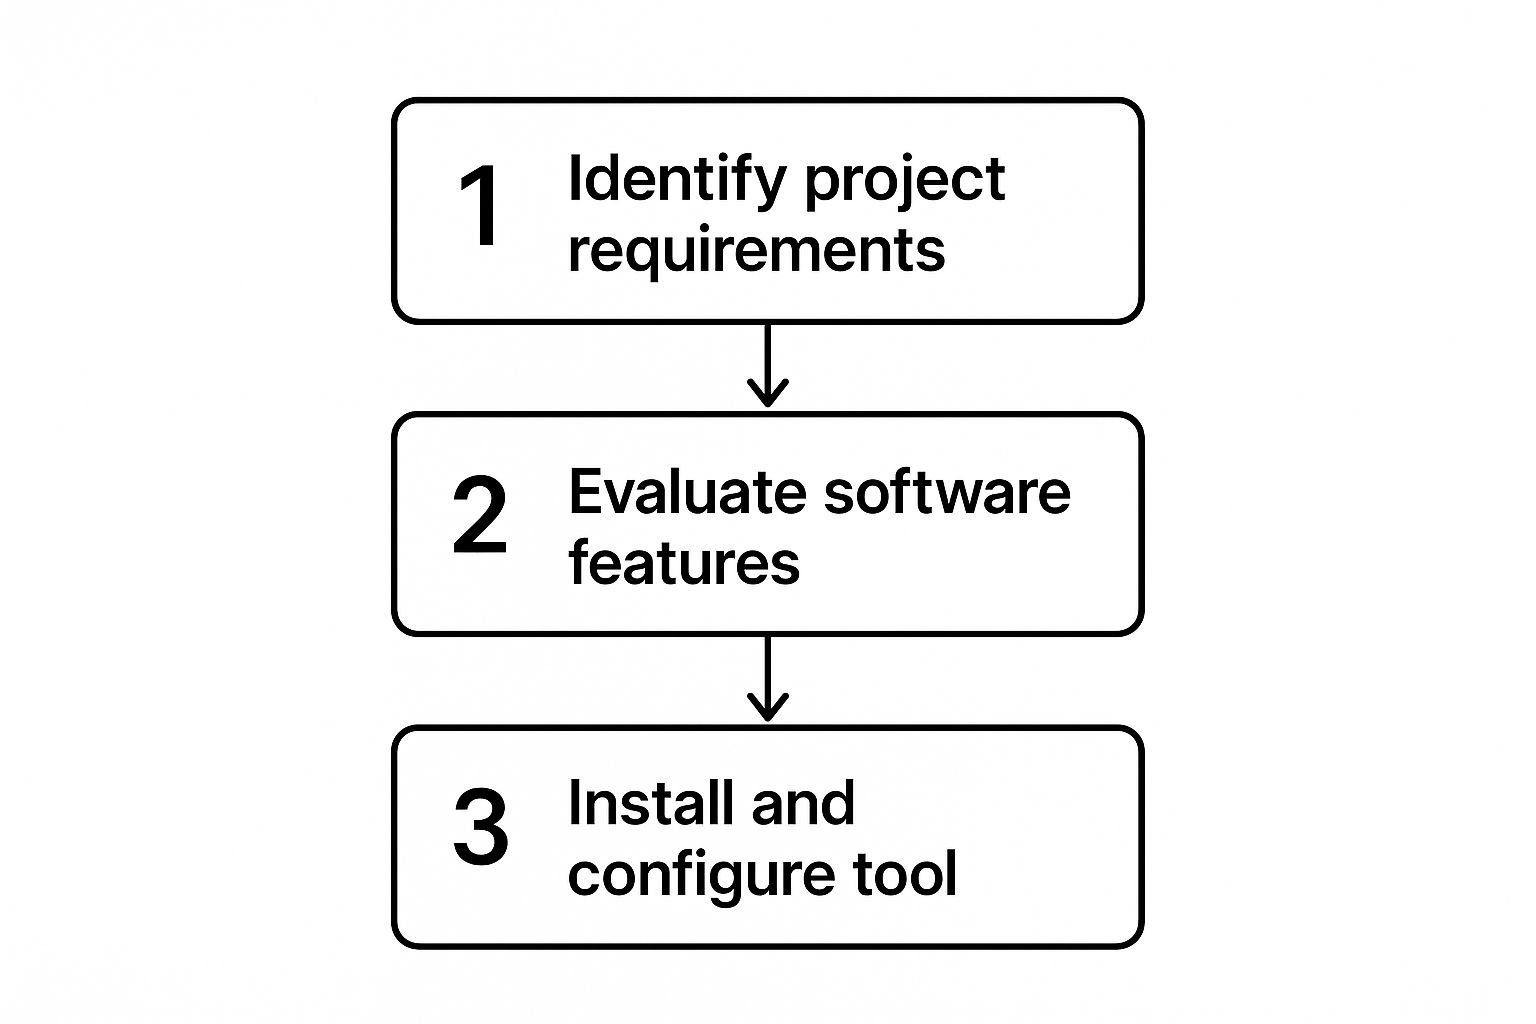
As shown, proper execution begins before you adjust a single pixel. Aligning your setup with your project's goals is a critical first step.
The core of this manual technique is the Offset Filter. It’s a simple tool that performs one function perfectly: it wraps your image, shifting the outer edges to the center. This instantly exposes the harsh seams that would otherwise disrupt your tiling effect.
Revealing and Healing Seams with the Offset Filter
First, open your texture in Photoshop and navigate to Filter > Other > Offset. A dialog box will appear asking for horizontal and vertical pixel values. The key is to offset the image by exactly half of its dimensions.
For a 2048x2048 texture, you would enter 1024 for both the horizontal and vertical values.
This action places the original edges of your image in a cross-shape at the center of your canvas. With the seams exposed, the real artistry begins—blending them seamlessly.
The objective is not just to hide the seam. You need to make the transition so natural that the eye cannot spot any hint of repetition. This means carefully matching not just the pattern, but also the color, brightness, and fine details across that new intersection.
Once you have perfectly blended the central cross, your texture is technically seamless. However, it is always recommended to test it. Run the Offset filter again with different values to identify any subtle repetitions or artifacts you might have accidentally created while blending.
Your Essential Seam-Blending Toolkit
When you are making seamless textures manually, you will find yourself relying on a few core Photoshop tools. Each has its own strengths, and knowing which one to use for the job can save a significant amount of time and effort.
Choosing the right tool is critical for achieving a clean result efficiently. The Clone Stamp is your go-to for structured patterns, while the Healing Brush excels at organic surfaces. Content-Aware Fill is a powerful shortcut for clearing out large, unwanted areas.
Choosing Your Photoshop Seam Correction Tool
Mastering this trio gives you everything you need to tackle any seam, no matter how challenging.
This skill is not just for digital artists. The demand for seamless patterns is growing in the physical world as well. The seamless wall cloth market was valued at USD 1.5 billion in 2023 and is projected to reach USD 2.8 billion by 2032. This reflects how the need for large, continuous surfaces in home decor mirrors our needs in 3D design. You can explore this trend in DataIntelo's market report.
A Modern Approach with Pattern Preview
For years, the Offset Filter was the standard tool. The workflow was a constant cycle of offsetting, fixing, and re-testing. It worked, but it was tedious. Fortunately, Photoshop now includes a transformative feature: Pattern Preview Mode.
You can enable it by going to View > Pattern Preview.
This mode provides a live, real-time, infinitely tiled view of your canvas. As you paint over a seam with the Clone Stamp or Healing Brush, you see the results update across the entire pattern instantly. This eliminates guesswork and makes the entire process faster, more intuitive, and more precise.
Using AI for Rapid Texture Generation

Manual work in Photoshop provides ultimate control, but the process has been transformed by the arrival of AI.
Tools like Midjourney and Stable Diffusion, along with a growing list of specialized platforms, allow you to generate complex, unique textures from a simple text prompt in seconds, not hours. This technology is not about replacing artists; it's about providing them with a powerful assistant to accelerate ideation and concepting.
The concept is straightforward: you describe what you want, and the AI builds it. Instead of spending an afternoon searching for the right photos and blending them, you can generate a dozen variations of "grimy industrial metal floor" or "stylized magical stone bricks" quickly. For any artist on a deadline, this is a significant advantage.
Prompt Engineering for Perfect Tiles
Obtaining desired results from an AI image generator is a skill in itself. It's called prompt engineering, and the words you choose have a direct and powerful impact on the final image. When your goal is a seamless texture, a few key phrases are essential.
--tileorseamless: This is your most important command. Most AI platforms, like Midjourney with its--tileparameter, recognize this instruction and generate an image with perfectly matching edges.photorealistic,stylized,hand-painted: You need to define the art style. If you don't, the AI will make its own assumption, which may not fit your project's aesthetic.PBR material,4K texture: Adding these terms signals to the AI that you're creating a game or film asset. This often results in more evenly lit images with the kind of detail needed for a base color map.
A strong prompt combines these elements. For instance, photorealistic cracked concrete PBR material, seamless, 4K, detailed, even lighting --tile will yield a much better result than just concrete texture.
Generating Full PBR Maps with AI
A modern 3D workflow requires more than just a color (albedo) map. You also need the corresponding normal, roughness, metalness, and ambient occlusion maps to make a material look realistic in a 3D engine.
While generating a full set of perfectly synced PBR maps from a single prompt is still an emerging technology, the workflow is becoming much simpler. Many artists are taking a hybrid approach:
- Generate a high-quality, seamless color map using a tool like Midjourney.
- Import that image into a separate AI tool or a classic program like Adobe Substance Sampler to generate the other maps based on the color texture.
Even with this extra step, you can save an incredible amount of time. The AI can analyze the color map—identifying cracks, bumps, and changes in material—to produce a surprisingly accurate set of PBR maps to get you started.
The real power of AI here is as a creative catalyst. It can generate ideas you might not have considered, helping to overcome creative blocks and providing a solid foundation to build upon with your own artistic skills.
The Pros and Cons: A Balanced View
It's important to recognize that AI is not a perfect solution. It has certain limitations. The primary advantage is, without a doubt, speed. Work that used to take hours of meticulous painting can now be drafted in minutes.
The biggest drawback? Artifacts. You will often see strange glitches, warped patterns, and nonsensical details that the AI "hallucinates" into existence.
This trade-off makes AI an excellent assistant. It can handle a significant portion of the initial work, but the final polishing stage almost always requires a human artist to use a tool like Photoshop to clean up artifacts and correct inconsistencies. Exploring different AI tools for leverage can help you find the right software to minimize that cleanup work for your specific needs.
How to Avoid Obvious Repetitive Patterns
Achieving a technically perfect seam is a significant milestone, but it's only half the battle. The real art is preventing the human eye from detecting the repetition. Even a flawless texture can create a "checkerboard effect," where distinct features stand out and form an unnatural grid across a large surface.
This happens when our brains identify repeating elements—a specific crack in a stone, a unique knot in a wood plank, or a darker splotch on concrete. These details become visual anchors, making the tiling grid obvious. To elevate your work from simply tiling to truly organic, you need to introduce controlled variation.
Blending Texture Variations with Masks
One of the most effective professional techniques is to layer multiple variations of your base texture. Instead of just one seamless image, you create two or three slightly different versions. One might be a bit darker, another could have a different crack pattern, and a third might have subtle moss on it.
Then, inside a 3D application like Blender or a game engine like Unreal Engine, you blend them together using masks.
- Vertex Painting: This is a manual approach where you paint directly onto the 3D model’s vertices. Painting with black might reveal your first texture, while white reveals the second. It’s an artistic way to break up repetition along a pathway, under ledges, or in areas that would naturally see more wear.
- Noise-Based Masks: For a more procedural approach, you can use a noise map (like Perlin or Simplex noise) as a mask. The black-and-white values of the noise texture automatically control which of your seamless textures shows through, creating a natural, randomized blend across the entire surface.
This way, even though the base textures are repeating on a small scale, the large-scale combination of them feels unique and non-repetitive.
Using Procedural Noise for Macro Variation
Beyond blending different textures, you can use noise maps to add subtle, large-scale variations to a single texture. This is a common technique in professional game and film production to make materials feel more grounded.
Consider a large concrete floor. In reality, it would not be one uniform color. Some areas would be slightly darker, others lighter, perhaps with faint stains. You can simulate this by overlaying a large, low-frequency noise map on top of your tiling concrete texture.
By multiplying your base color texture with a large, soft noise map, you introduce subtle shifts in brightness and color that span across many tiles. This effectively shatters the visual monotony without touching the fine details of the underlying seamless pattern.
This technique is highly efficient. You are still using the same small, repeating texture for all the high-frequency detail, but the procedural noise provides the large-scale variation that sells the illusion of a vast, unique surface. You can apply the same logic to roughness or color tint for even more believable results.
Strategic Decal and Object Placement
Sometimes, the best way to hide repetition is to cover it up. This is a level design technique as much as it is a texturing one. Once your base surface is textured, you can place decals and small 3D objects to break up the visual field.
- Decals: Add decals for puddles, oil stains, patches of fallen leaves, or extra cracks. Placing these at irregular intervals helps the eye ignore the repeating pattern underneath.
- Small Objects: Scatter small rocks, tufts of grass, pieces of debris, or furniture over the surface. This not only adds detail and story to your scene but also effectively hides potential tiling artifacts.
The key here is asymmetry and intentional randomness. These extra elements disrupt the grid your brain is trying to find, letting the seamless texture do its job as a convincing, continuous material in the background. By combining these advanced techniques, you can ensure your surfaces look believable, no matter how large an area you need to cover.
Testing and Optimizing Your Final Textures

You’ve blended the seams, broken up the repetition, and crafted what appears to be a perfect texture. Before you finalize it and use it in a project, it needs a quality check. This is where you identify visual flaws and optimize for technical performance, ensuring your asset is both beautiful and efficient.
Think of it as the final inspection on an assembly line. This step is where you catch subtle mistakes that are invisible in a 2D editor but become obvious in a 3D environment. Skipping this can lead to issues later on.
The first and most important test is seeing how your texture behaves in a 3D scene. Do not just rely on Photoshop's Pattern Preview—you need to see it wrapped around a real 3D model.
Previewing in a 3D Environment
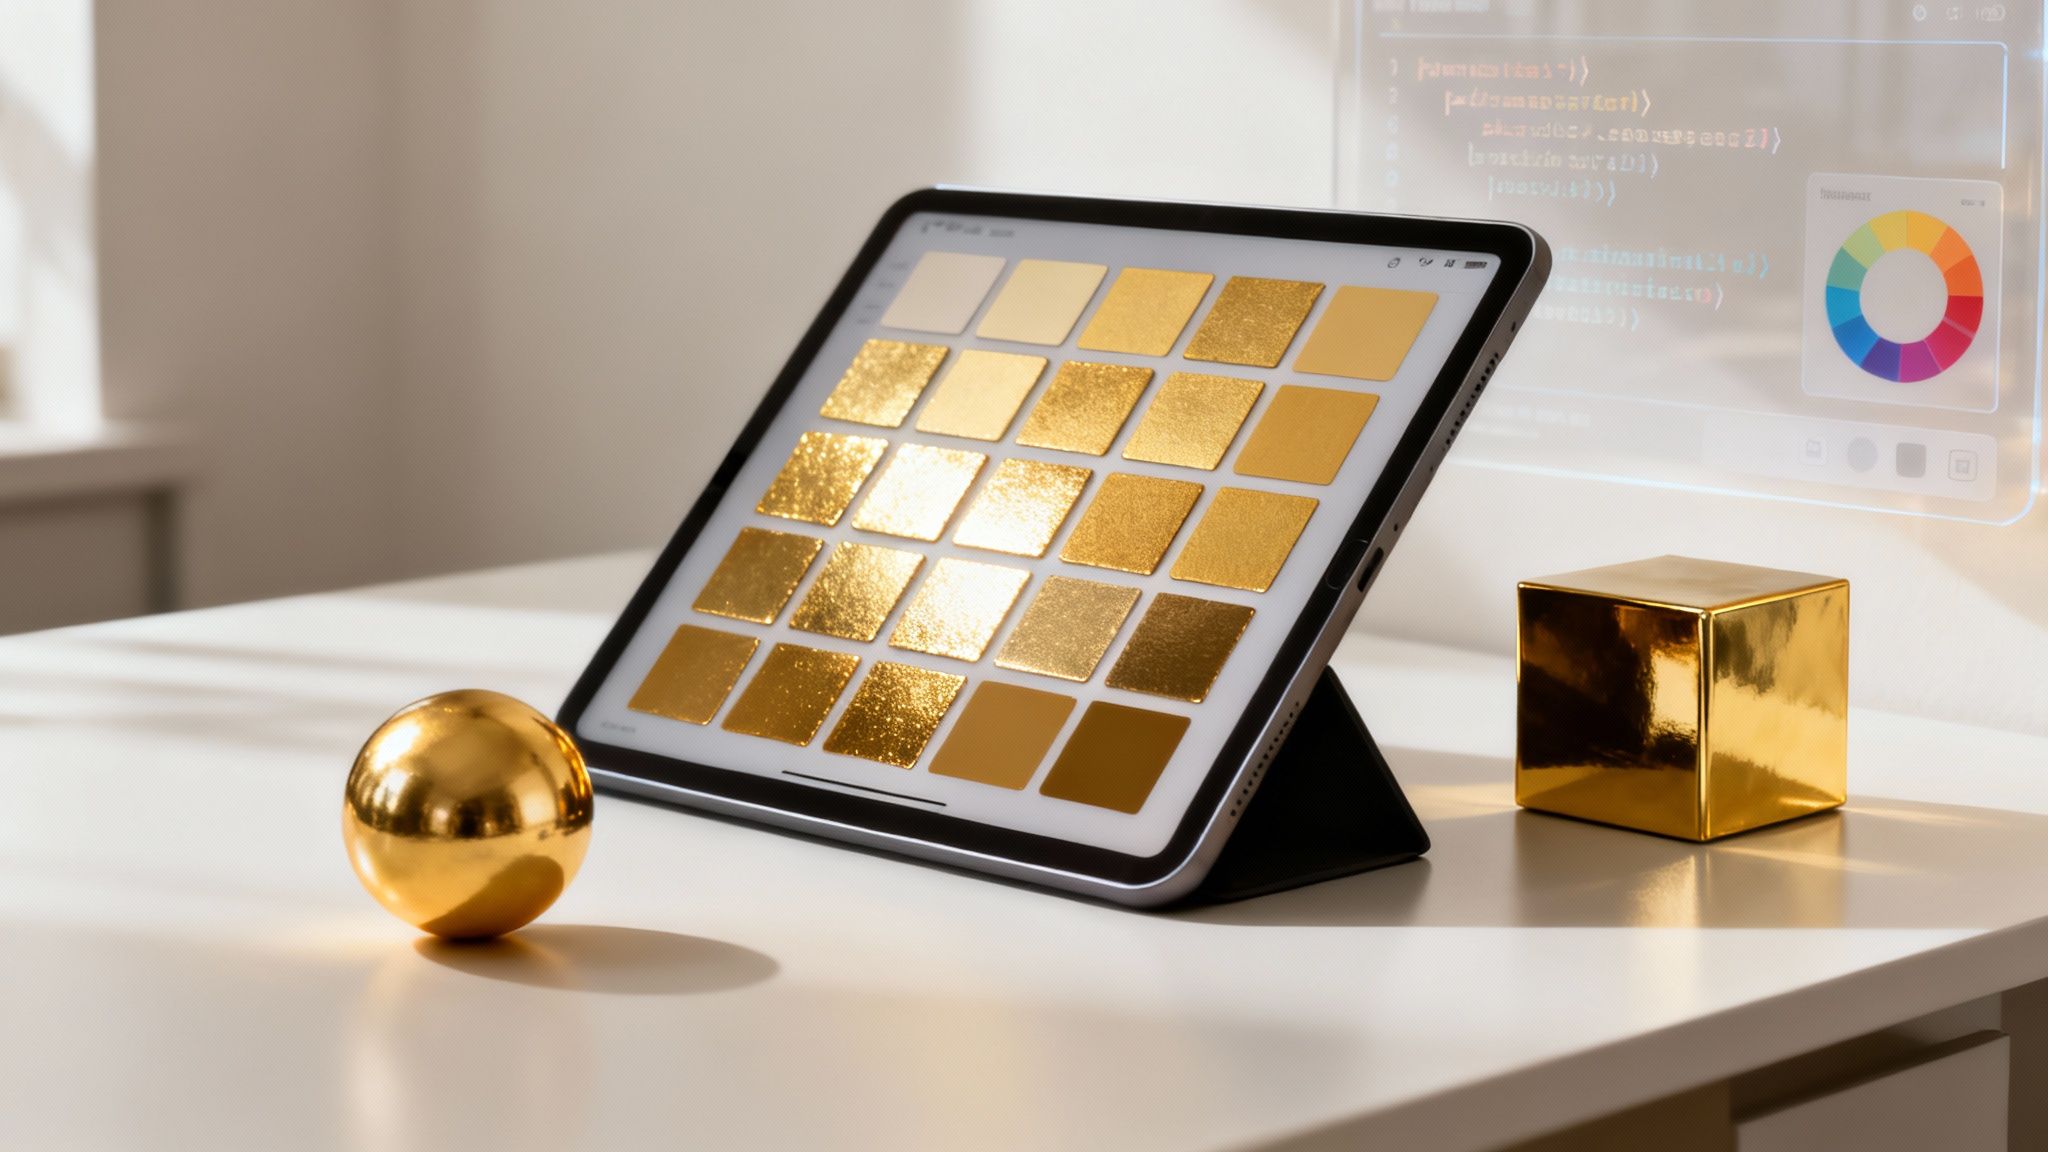
The best way to find hidden issues is to apply your texture to a few simple primitive shapes—a sphere, a cube, a plane—inside your 3D application or game engine. The sphere is especially useful. Its curved surface will immediately expose any unwanted stretching or pinching that you couldn't see on a flat plane.
Once it's applied, move the model and the lights. Look at it from every angle and under different lighting conditions.
- Direct, Harsh Light: This will reveal any subtle color or brightness seams you might have missed.
- Soft, Ambient Light: This can help you spot inconsistencies in the material's perceived roughness or finish.
- Low-Angle Light: This is the ultimate test for your normal map. It exaggerates the perceived depth and shows you instantly if the bumps and grooves are behaving correctly.
The goal here is active fault-finding. You are specifically looking for that one bad angle or lighting setup that exposes a seam. If it holds up under this kind of scrutiny, you can be confident it’s ready for any scene.
During this process, you might find that your normal map needs adjustment. For a complete walkthrough, our guide on how to make a normal map has all the details you'll need. Ensuring your PBR maps work in harmony is essential.
Optimizing for Performance
A visually flawless texture is great, but a heavy, inefficient one can negatively impact performance, especially in real-time applications like games or VR. Optimization is about striking a balance between visual quality and technical cost. Two main factors come into play: resolution and file format.
For resolution, the industry standard is to always use power-of-two dimensions. That means sizes like 512x512, 1024x1024, or 2048x2048 pixels. Graphics hardware is designed to handle these dimensions efficiently, leading to better performance and lower memory usage.
Choosing the right file format is the next critical decision. Each format comes with its own trade-offs in quality, compression, and features.
Quick Guide to Texture File Formats
Selecting the right file format involves balancing quality, file size, and the need for transparency. This table breaks down the most common choices.
For most modern game engine workflows, PNG is a reliable choice for anything needing transparency, while TGA remains a standard for its uncompressed quality. Use JPEGs with caution; their lossy compression can introduce visual artifacts.
By taking the time to test and optimize, you ensure your work not only looks great but also contributes positively to the project without becoming a technical bottleneck.
Tackling Common Questions on Seamless Textures
As you gain experience making seamless textures, a few questions often arise. You might be determining the right resolution, correcting lighting in a source photo, or cleaning up artifacts from an AI generator. A few key insights can help you navigate these challenges.
Consider this your quick-reference guide for those common "what now?" moments. Mastering these details is what separates a decent texture from one that is truly production-ready.
What's the Best Resolution for a Seamless Texture?
There's no single answer—it’s all about context. The right size for your texture depends on where and how it will be used. A high-end PC game where a player can inspect a wall up close has different needs than a mobile app where assets are viewed from a distance.
The real goal is to match the texture's detail level to how it will be viewed.
- High-End Games & Archviz (PC/Console): For projects where the camera gets close, 2K (2048x2048) is a solid baseline. For hero assets or cinematic shots, teams often use 4K (4096x4096).
- Mobile Games & Distant Assets: To maintain performance and keep memory usage low, 1K (1024x1024) or even 512x512 pixels is usually sufficient.
A core principle is to always use power-of-two dimensions (like 256, 512, 1024, 2048). Graphics hardware is optimized to handle these sizes efficiently, which directly impacts performance and memory.
Before you start, ask yourself: how close will the viewer get, and what is the performance budget? Answering that first will prevent you from creating textures that are either too blurry or needlessly large.
How Can I Fix Lighting Inconsistencies in My Source Photo?
Baked-in lighting is a common issue that can ruin a seamless texture. If your source photo has obvious shadows, highlights, or color gradients, they will repeat in a jarring pattern when tiled. The solution is to "de-light" the image, creating a flat, evenly lit base to work from.
A good starting point in Photoshop is to duplicate your image layer. Then, navigate to Filter > Other > High Pass. Set the layer's blend mode to 'Overlay' or 'Soft Light' and invert it (Ctrl/Cmd + I). This technique can effectively neutralize most obvious light and shadow information.
For more precise fixes, the Dodge and Burn tools are valuable. Set them to target the 'Midtones' with a very low exposure—around 5-10%—to gently brighten dark spots and tone down highlights. This helps create a much more uniform surface. Advanced tools like Adobe Substance Sampler also have powerful AI-driven de-lighting filters that can automate much of this work.
Can I Make a Seamless Texture from a Non-Symmetrical Image?
Yes, absolutely. In fact, the most natural-looking textures often come from non-symmetrical, organic sources. The entire manual workflow, especially using Photoshop's Offset Filter, was designed to handle these kinds of images.
The goal isn't perfect symmetry; it's edge continuity. The Offset Filter is effective because it moves the image's edges to the center, exposing the hard seams. Your task is to use tools like the Clone Stamp, Healing Brush, and Content-Aware Fill to blend those seams until they are invisible.
It can be more challenging with large, distinct features that are cut off at the edge. However, with careful cloning and painting, you can create a transition that the human eye will not spot when the image is repeated. It is more of an artistic puzzle than a technical one.
My AI-Generated Texture Has Weird Artifacts. How Do I Fix It?
AI texture generators are excellent for speed and ideation, but they often produce artifacts—morphed details, nonsensical patterns, or blurry spots. This is a trade-off for their rapid generation speed. The best way to handle this is a hybrid approach, combining the AI's speed with your artistic judgment.
Think of the AI-generated image as 80% of the work completed for you.
- Import the texture into a dedicated image editor like Photoshop or GIMP.
- Use the Healing Brush or Spot Healing Brush to paint over small, glitchy areas. These tools intelligently blend in surrounding pixels for a seamless fix.
- For larger problem areas, the Clone Stamp Tool gives you precise control to paint over unwanted sections with cleaner parts of the texture.
- A professional tip is to generate a few different AI variations and composite the best parts from each to create one polished, final image.
Do not expect perfection straight from the prompt. That last stage of human refinement is what elevates a texture from an AI experiment to a professional-grade asset.
Ready to take your 3D workflow to the next level? Virtuall helps creative teams accelerate their asset creation pipeline by transforming text and images into high-quality 3D models in seconds. Reduce tedious tasks and start creating faster. Explore how Virtuall can help your team today.

