A Studio-Grade Guide to Modern T Shirt Design
Master the modern t shirt design workflow. Learn how studios use AI, vector tools, and 3D mockups to create production-ready apparel from concept to print.
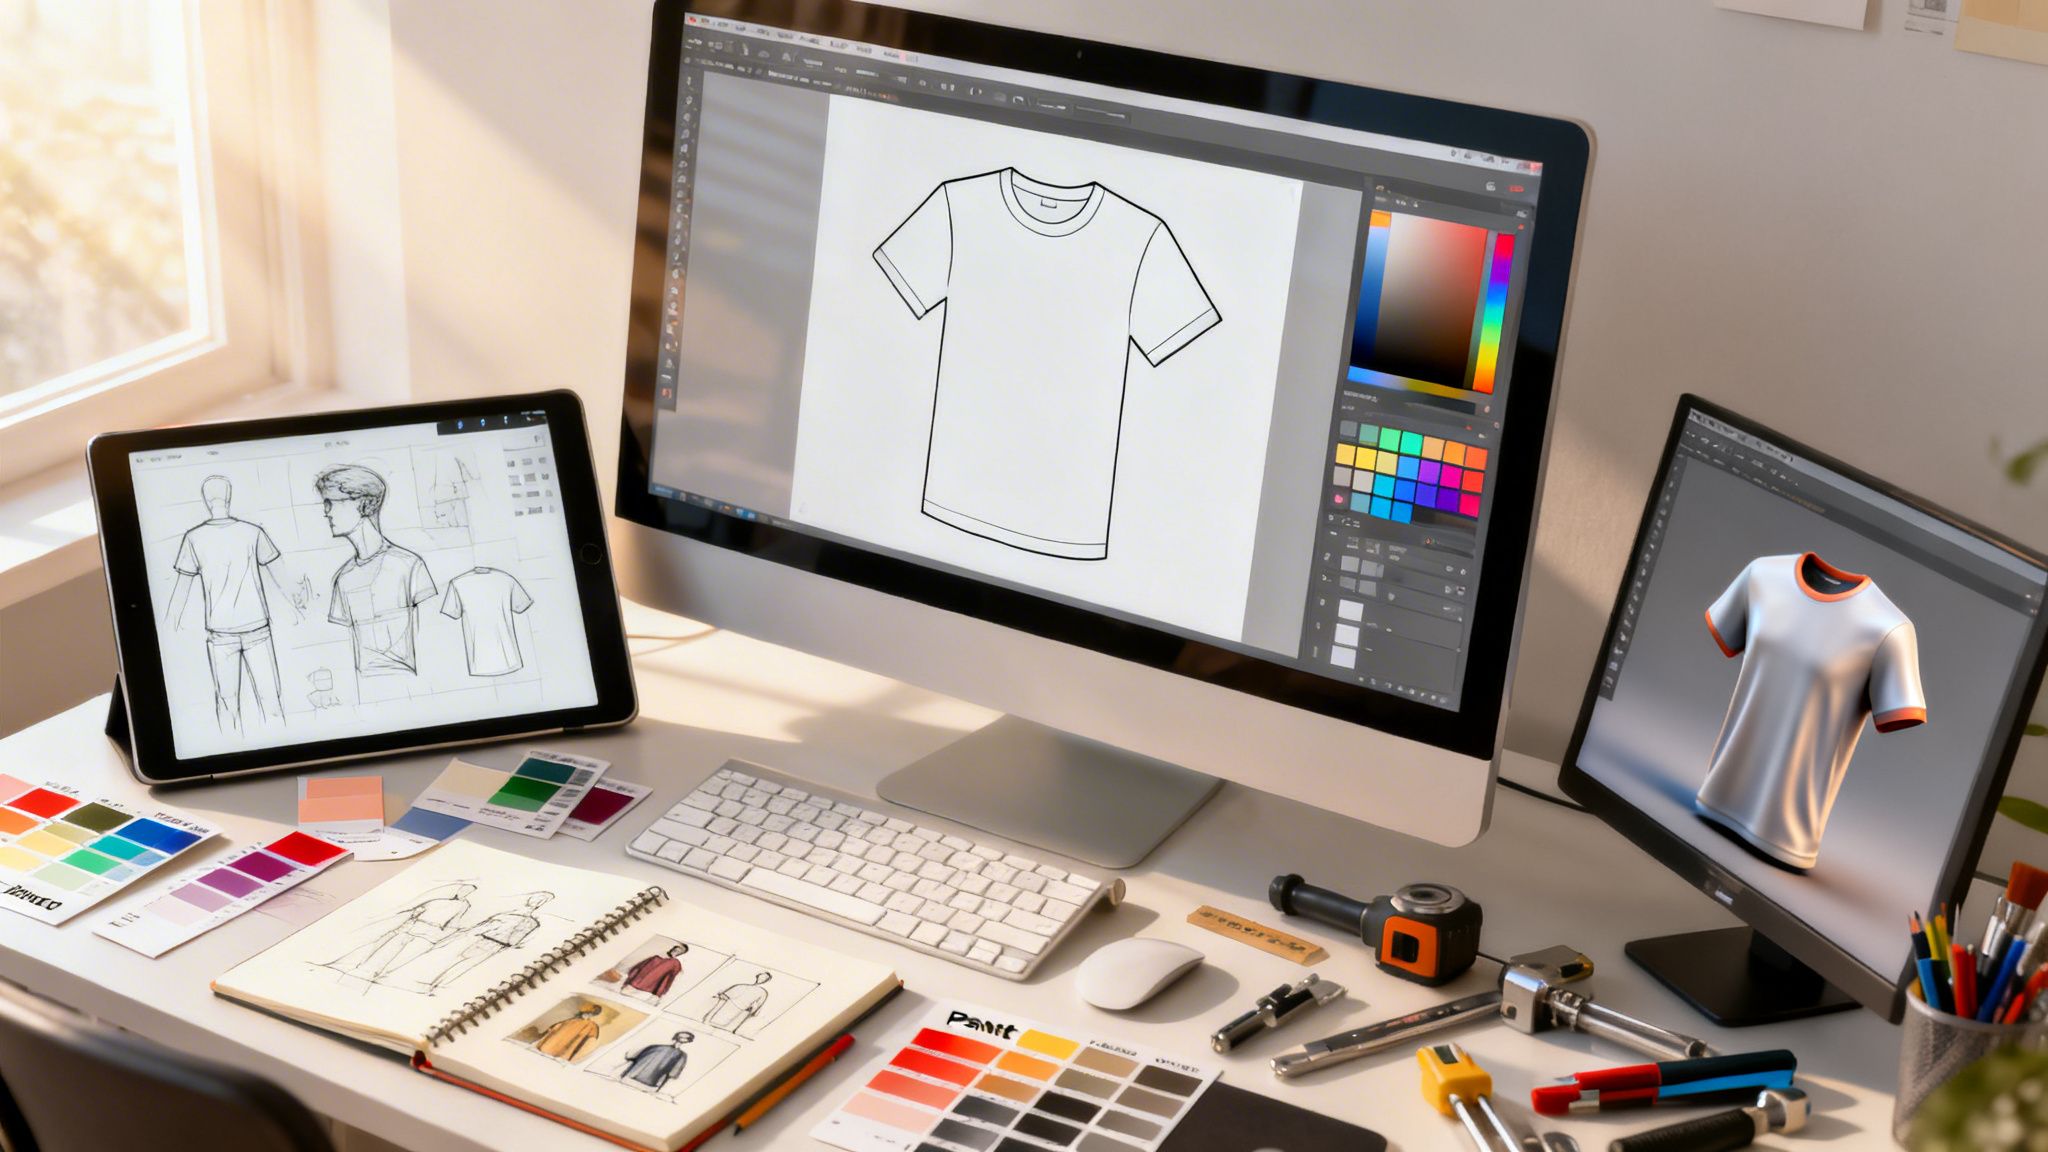
At its heart, T-shirt design is where art meets commerce. It’s the craft of turning a graphic, a piece of typography, or a clever concept into something people actually want to wear. This means you need more than just a good idea; you need a solid grasp of colour theory, layout, and the technical side of printing to create designs that are both cool and commercially viable. Ready to see how a professional, compliant, and safe studio-grade platform can transform your workflow? If you haven't generated anything with us before, you can try the Creative AI OS for free.
Your T-shirt Design Blueprint: From Concept to Print
Let's walk through the modern way to get a professional T-shirt design done. This isn't just about drawing something cool; it's a complete workflow, from the first spark of an idea all the way to a production-ready file.
This guide breaks down the essential stages. For creative teams and art directors, this isn't just a process—it's a strategic map for scaling up high-quality apparel design without losing your mind. We'll show you how working in a single, unified space can cut out the chaos of juggling a dozen different apps, ensuring every design stays on-brand and on-point.
This visual flow shows the core stages you'll move through on a typical T-shirt design project.
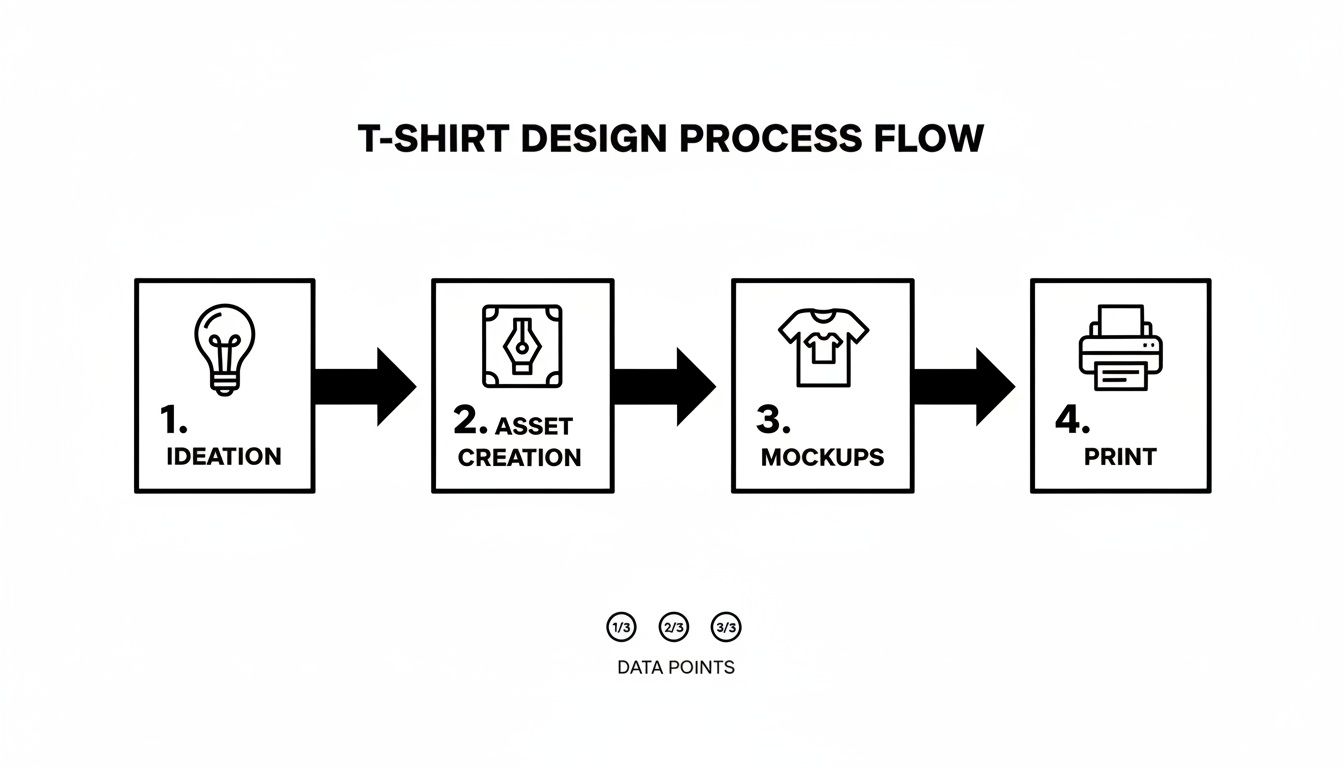
As you can see, it’s a clear path from a raw concept to tangible assets, which then get visualised on mockups before being prepped for the real world of printing.
Building Your Workflow
A great T-shirt design doesn't happen by accident. It comes from a structured, repeatable process. This is especially true for busy studios and brands juggling multiple campaigns at once. A solid workflow means every single design hits both creative and technical standards before it ever touches a printer. You save time, slash errors, and keep quality high.
The key stages in a modern workflow really boil down to these four pillars:
- AI-Powered Ideation: Instead of staring at a blank page, use intelligent tools to spitball dozens of visual concepts in minutes.
- Asset Creation: This is where you build out the final art, creating clean vector or high-res raster files that are ready for professional printing.
- Photorealistic 3D Mockups: See how your design actually looks and feels on different garments before committing. True-to-life visualisations are a game-changer.
- Print Preparation: The final, crucial step. You'll need to finalise your files with the right colour profiles, resolutions, and formats for specific print methods.
By nailing down these steps, creative teams can get from an idea to a print-ready file way faster, without ever compromising on quality. Think of this as your foundational blueprint for scaling apparel design. And if you're looking to build out the business side of things, it’s worth learning how to start a print on demand T-shirt business to see the full picture.
Kickstarting Ideas with Creative AI
Staring at a blank canvas is the worst. We've all been there. The pressure to come up with something fresh for a new T-shirt design can bring any creative team to a halt. Instead of waiting for a lightning bolt of inspiration, modern studios are now using AI to get the ball rolling, turning that initial dread into a rapid-fire exploration of what’s possible.
This isn't about letting a robot design your T-shirts. It's about giving your designers a supercharged mood board—a nearly endless stream of visual starting points.
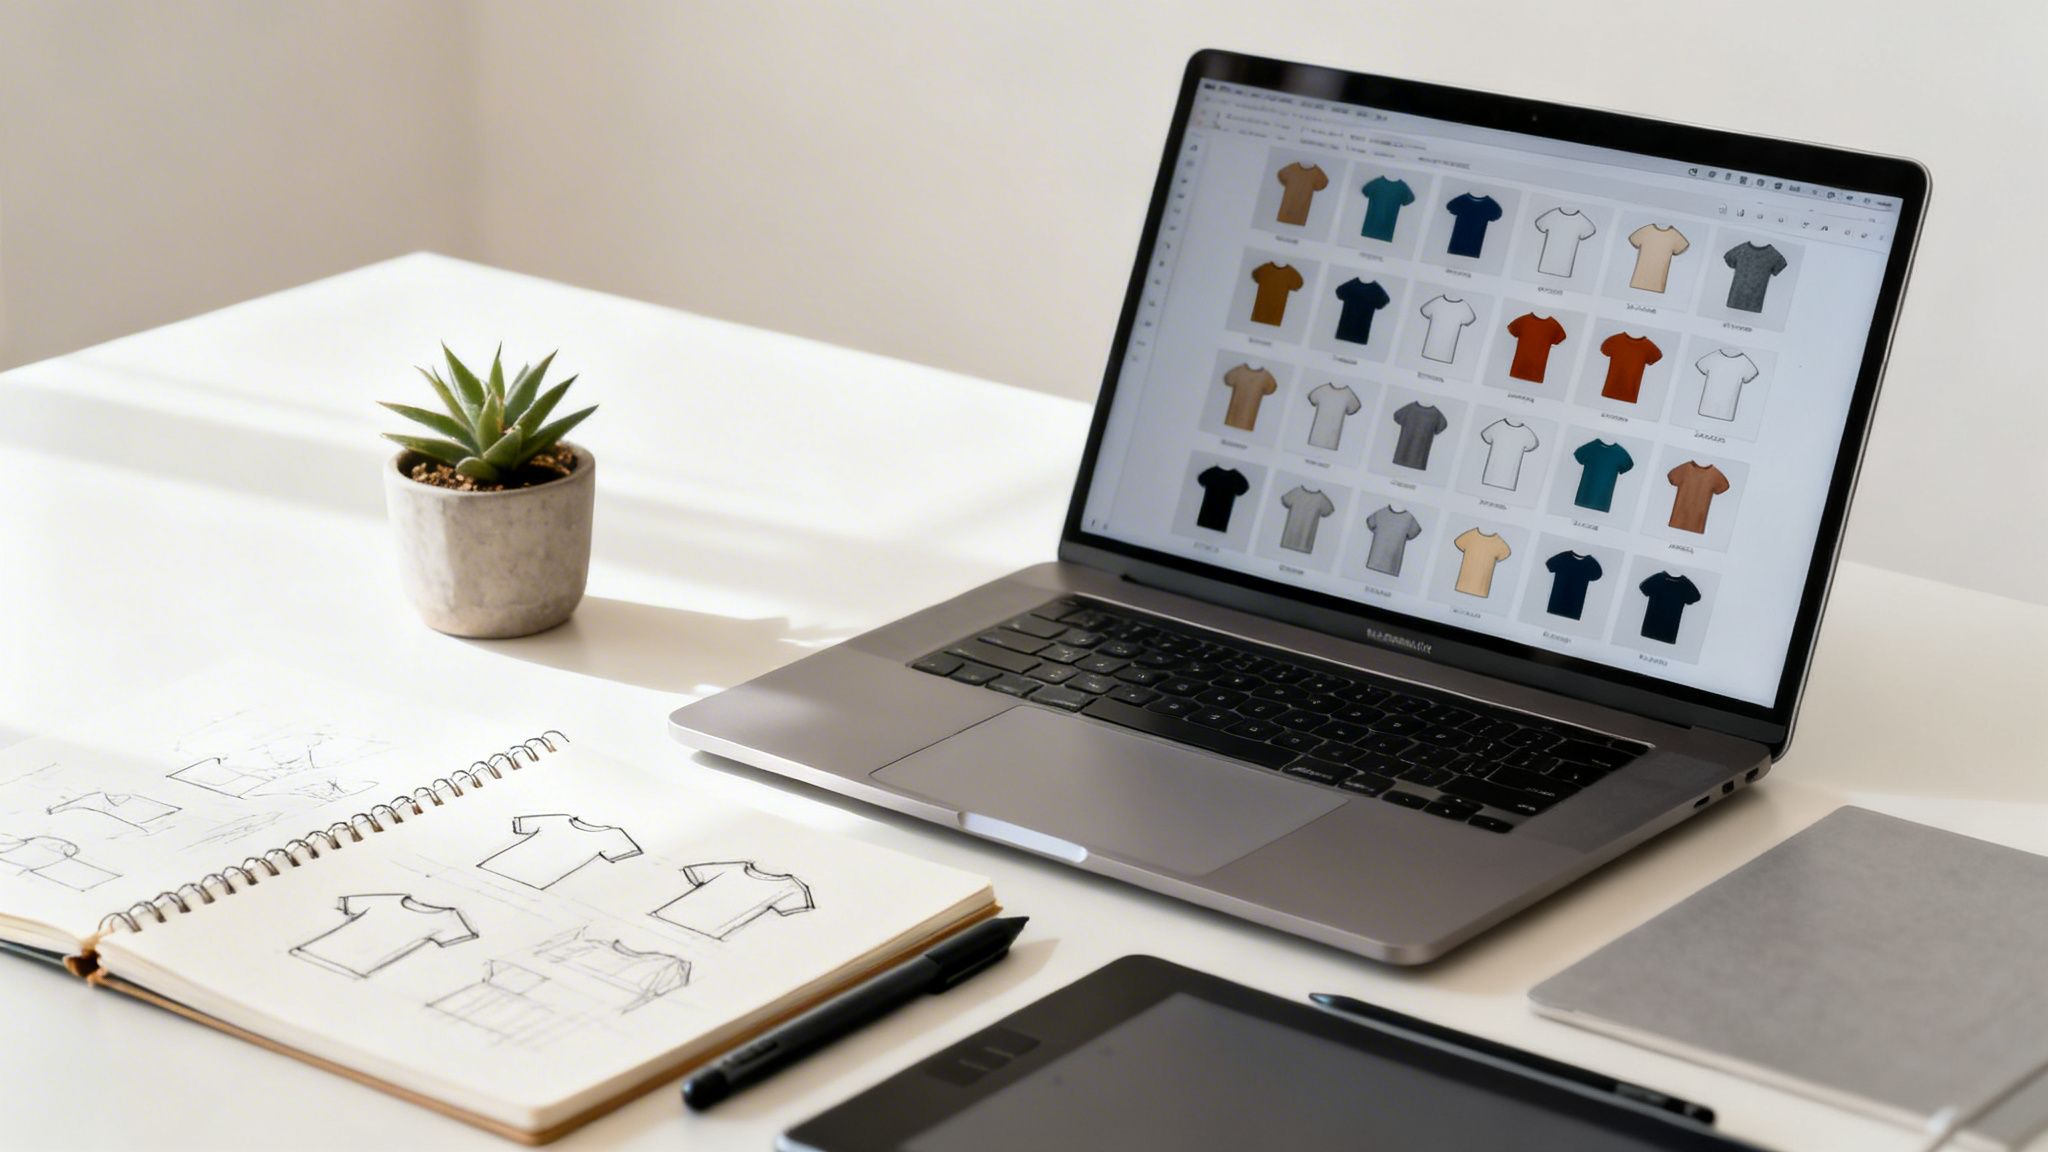
This new way of working lets creative directors jump from a written brief to a library of visual concepts in minutes. Need some minimalist, Scandi-style graphics for a lifestyle brand? Or maybe some gritty, textured visuals for a gaming merch drop? With a platform like VirtuallPRO, you can point Nyx, the AI Art Director, at these themes and get back a huge range of high-quality concepts that actually fit the brief—no complex prompt engineering needed.
Systemising Creativity with AI Blueprints
The real magic happens when you stop generating one-off images and start building a repeatable, on-brand system. Inside VirtuallPRO, you can create Blueprints—these are essentially pre-set creative recipes that keep every AI-generated graphic locked into your campaign’s specific look and feel.
This is where the opportunity gets huge. Denmark's T-shirt market is projected to hit US$91.31 million in revenue by 2025, and consumption already jumped 11% in 2022 to 44 million units. That’s a massive appetite for unique apparel. You can find more details on the Danish apparel market on Statista.com.
For creative teams, this means you need to produce unique designs at scale. Using Virtuall's Nyx AI Art Director, studios can crank out custom T-shirt designs that stay consistent across images, videos, and even 3D assets, helping you meet that growing demand head-on.
The point of AI-powered ideation isn’t just to make random pictures. It’s about directing the AI to build a curated library of on-brand concepts. This speeds up the whole process and lets designers get back to what they do best: refining and executing.
From Raw Concepts to Curated Collections
Once Nyx has generated a ton of initial ideas, it’s time to curate. This is a critical step where the team gets together to filter, discuss, and refine the creative direction.
A simple curation workflow looks something like this:
- Generate a Mix of Styles: Use Nyx to explore different takes on the brief. Push it from photorealistic to abstract and see what sticks.
- Review and Tag as a Team: Get everyone into a shared workspace to review the concepts. Tag the ones you love and drop notes on what needs to change.
- Iterate on the Winners: Based on that feedback, you can tell Nyx to create variations of the strongest concepts, zeroing in on the perfect design.
This approach brings structure to the chaos of brainstorming. It turns a messy, open-ended process into something focused and efficient. By the time a designer opens up Illustrator or Photoshop, they’re not starting from scratch—they’re building on a concept that the whole team has already bought into.
Creating and Refining Production-Ready Assets
So you’ve got a solid concept, maybe even one sparked by AI. Fantastic. Now for the real work: turning that idea into a polished, print-ready file. This is where creative vision bumps up against the hard realities of manufacturing.
Getting this stage right means transforming your concept into either a clean vector graphic or a high-resolution raster image. The choice isn't just a technical detail; it's dictated by your final printing method. Make the wrong call here, and you're looking at blurry prints, wasted materials, and a lot of frustration.
Vector vs Raster: Which Format Is Right?
Understanding the fundamental difference between vector and raster is non-negotiable for professional T-shirt design. Each format serves a very different purpose, and using the right one is critical for a quality print.
Vector Files (AI, EPS, SVG): Think of these as blueprints made from mathematical equations. They can be scaled from a tiny chest logo to a massive back piece with zero loss in quality. This makes them the undisputed industry standard for screen printing, where crisp, clean lines are everything.
Raster Files (PSD, PNG, TIFF): These are pixel-based, like digital photos. They’re perfect for designs with rich colour gradients, complex textures, and photographic details. Raster is the format of choice for Direct-to-Garment (DTG) printing, but there's a catch: you have to create them at the exact size and resolution (at least 300 DPI) you need. They absolutely cannot be scaled up without turning into a pixelated mess.
If your AI-generated idea needs to become a scalable logo or graphic, you'll have to vectorise it. If you're new to that, our guide on how to trace an image in Illustrator is a great place to start.
A Collaborative Refining Workflow
Once the initial file is built, the real refinement begins. In any professional studio, this is almost never a solo mission. It’s a dance between art directors, designers, and production managers, all needing a central place to track feedback and manage versions.
In a studio environment, collaboration is everything. A messy feedback loop of emails and Slack messages leads to missed details and production delays. Centralising annotations and version control in a single workspace ensures everyone is on the same page before anything goes to print.
This is where a platform like VirtuallPRO changes the game. Instead of juggling files and confusing email chains, your team can comment and annotate directly on the visual asset. An art director can circle a bit of type and say, "Let's tighten the kerning here," while a producer flags a colour that won't show up well on heather grey fabric.
This organised approach helps you nail down the critical details:
- Linework Cleanup: Making sure every line is sharp and free of stray anchor points.
- Typography Refinements: Dialling in the kerning, leading, and font weights for maximum visual punch.
- Colour Palette Finalisation: Locking in the exact Pantone colours for screen printing or finalising the CMYK values for DTG.
This structured process guarantees that the design that looks so good on your screen translates perfectly onto the final T-shirt.
Visualizing Designs with Photorealistic 3D Mockups
Your final design asset is ready. But a flat file on a screen rarely tells the whole story, does it?
To really see how your t-shirt design will look and feel in the real world, you need to bridge that gap between the digital canvas and the finished garment. This is where photorealistic 3D mockups become an essential, non-negotiable part of any professional workflow.
High-fidelity visuals are so much more than a "nice-to-have." Think of them as your final quality check and your first marketing tool, all rolled into one. They let you test how your design plays with different fabric textures, colours, and fits before you sink money into a production run.
Will that intricate line art get lost on a heather grey marl? Does the colour palette really pop on an off-white cotton? 3D mockups give you those answers with startling accuracy.
Crafting True-to-Life Product Visuals
So, how do you create mockups that look like they came straight from a professional photoshoot? It all comes down to the details. Getting the texturing, lighting, and rendering right is what transforms a basic 3D model into a powerful sales tool. It's a game-changer for getting stakeholder buy-in or giving marketers killer visuals for a pre-sale campaign.
Inside a unified creative workspace like VirtuallPRO, your team can manage this entire process. You can even direct Nyx, our AI Art Director, to generate consistent 3D assets that perfectly match your 2D campaign visuals. It’s all about keeping your brand looking sharp across every channel. For a deeper dive, check out our dedicated guide on creating a powerful t-shirt mockup.
A few practical tips to really elevate your mockups:
- Fabric Texturing: Apply realistic fabric maps. You need to simulate the actual weave and drape of cotton, polyester, or whatever blend you're using.
- Studio Lighting: Don't just use a default light source. Set up virtual lights to mimic a real-world photo studio. This creates the soft shadows and accurate highlights that sell the image.
- Realistic Rendering: When you export, use settings that capture those tiny details, like the subtle puckering of fabric around the seams.
A photorealistic mockup isn't just a preview; it's a strategic asset. It de-risks production by catching design flaws early and empowers marketing teams with content that can drive sales before the first shirt is even printed.
Beyond Static Images to Animated Mockups
The power of 3D doesn’t stop at static images. Using the same 3D models, your team can easily spin up eye-catching animated mockups for social media and digital ads.
Imagine a 360-degree spin of your new design. A slow-motion ripple of the fabric. Or a dynamic video showing the fit on an animated model.
This kind of dynamic content grabs attention far better than a simple flat-lay photo. It helps potential customers see the garment in motion, giving them a much better feel for its quality and fit. It closes that gap between seeing a design online and actually wanting to wear it.
Mastering Print Preparation and Production
Even a killer T-shirt design can fall flat if the print prep is sloppy. This is where your digital vision gets translated into a tangible, wearable product, and getting the technical details right is everything. Nail this final step, and you avoid costly reprints and ensure the finished garment looks exactly how you imagined.
The entire prep process boils down to one thing: your chosen printing method. Each technique—screen printing, DTG, heat transfer—has its own set of rules for file formats, colour profiles, and resolution. There's no one-size-fits-all.
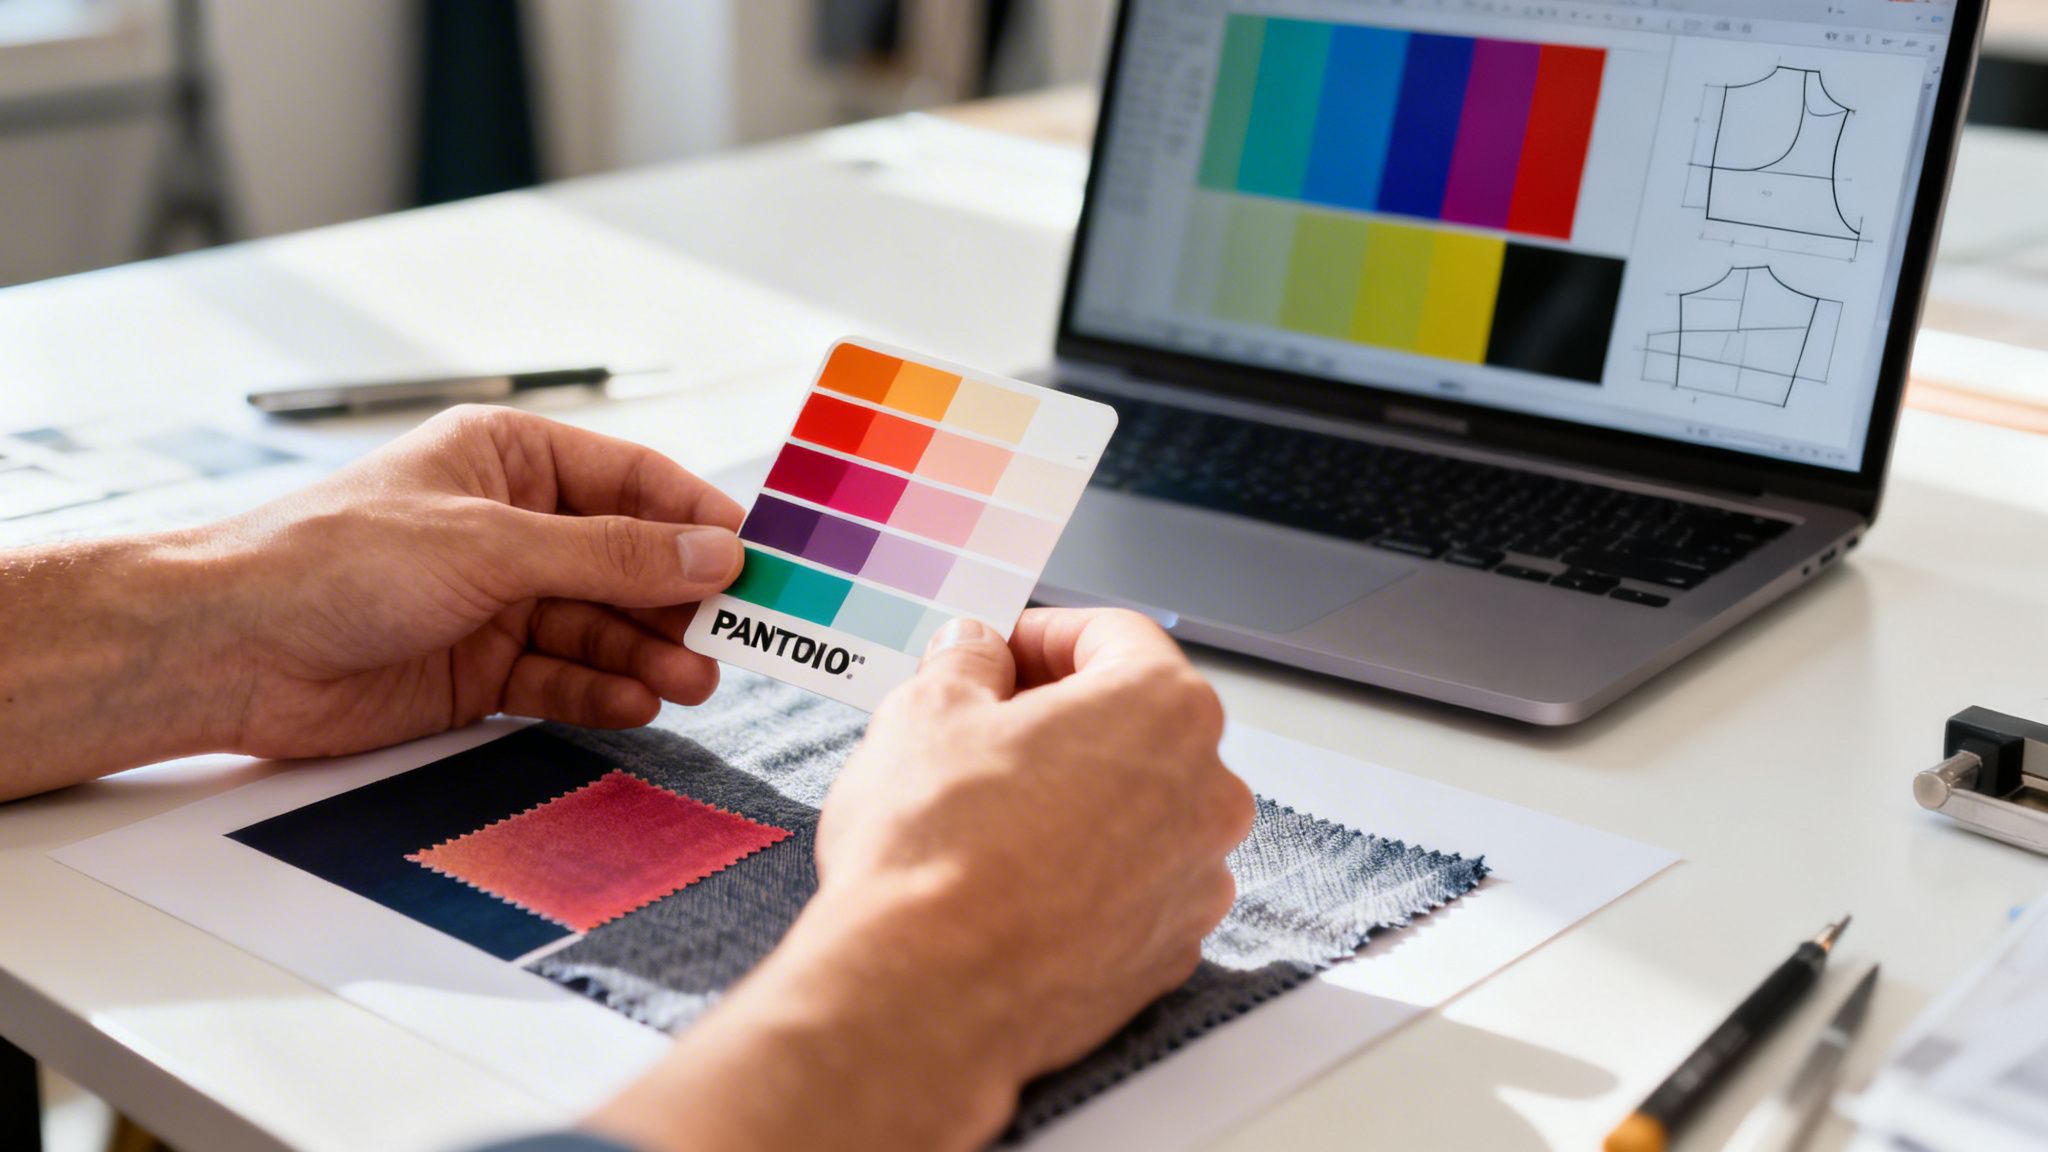
Key Printing Methods and Their Technical Specs
Choosing how to print your shirt is a strategic decision that balances your design’s complexity, the number of shirts you need, and your budget. Let’s break down the big three and what each one needs from your design files.
Screen Printing: This is the undisputed champ for big orders with fairly simple graphics. Think bold logos and limited colour palettes. It demands vector files (like AI, EPS, or SVG) where each colour is isolated on its own layer. For brand work, specifying exact Pantone (PMS) colours is non-negotiable for getting that perfect match.
Direct-to-Garment (DTG): DTG works a lot like your desktop inkjet printer, but for fabric. This makes it perfect for intricate, multi-colour designs, gradients, and even photos. You’ll need high-resolution raster files (PSD, PNG, TIFF) set to 300 DPI. Critically, the file must be in a CMYK colour profile. If you want to dive deeper, our guide on CMYK to RGB conversion explains exactly why this matters.
Heat Transfers: With this method, your design is printed onto special paper and then applied to the shirt using a heat press. It’s a versatile option that works for both simple and complex designs, usually requiring the same high-res raster files as DTG.
A classic rookie mistake is sending an RGB file to a DTG printer. The machine will automatically convert it to CMYK on the fly, and the result is almost always a disappointing, muddy colour shift. Always prep your files in the right colour mode from the start.
T Shirt Printing Method Comparison
Picking the right production partner is crucial for both quality and your bottom line. With Denmark's clothing manufacturing sector projected to include 357 businesses in 2025—a 4.0% CAGR since 2020—the demand for high-quality, well-produced designs is massive. You can learn more about the growing Danish clothing manufacturing industry from IBISWorld.
To help guide your decision, here’s a quick breakdown of how the main printing methods stack up.
| Method | Best For | Color Limitations | Cost Per Unit | Durability |
|---|---|---|---|---|
| Screen Printing | Large batches (50+), simple graphics, corporate merch. | Limited colours, each adds cost. Gradients are difficult. | Low on high volumes, high setup cost. | Very high; ink bonds with the fabric. |
| Direct-to-Garment | Small runs, complex designs, photorealistic images. | Unlimited colours, great for gradients and detail. | Moderate and consistent, no setup cost. | Good, but can fade over time with washes. |
| Heat Transfer | One-offs, small orders, full-colour logos on specific items. | Unlimited colours, handles complex images well. | Varies by transfer quality; generally low to moderate. | Varies; can sometimes crack or peel with age. |
By getting a handle on these technical details, you can stop guessing and start making informed decisions. Choosing the right method ensures your team's creative vision is executed flawlessly, every single time.
Right, so you've nailed a single T-shirt design. But what happens when you need to scale that up for a full campaign or an entire product line? Suddenly, you're juggling dozens of assets, and the risk of inconsistency or a costly printing error skyrockets.
This is where the real work begins. Moving from one-off designs to volume production hinges on having a solid system for governance and version control. You need a single source of truth.
For a creative director, this is non-negotiable. A unified platform like VirtuallPRO becomes your command centre. It’s less about fancy features and more about enforcing brand guidelines, managing asset versions, and keeping everyone aligned so that expensive mistakes simply don't happen.
A huge part of this is building a rigorous quality assurance (QA) process. And I don't mean a quick once-over at the very end. True QA means building checkpoints directly into your workflow, from concept to final export.
Building a Production-Ready Checklist
Before any design file gets the green light, it needs to pass a standardised quality check. Think of it as a pre-flight inspection. This step alone can save you thousands in reprints and countless hours of headaches.
Here’s what a solid checklist should cover:
- Resolution Verification: Are your raster files actually 300 DPI at the final print size? Don't just trust the file info; double-check the physical dimensions.
- Colour Accuracy: Make sure your colours are in the right profile. That means CMYK for most DTG printing or specific Pantone codes for screen printing. Check them against your approved brand palette.
- File Format Compliance: Is the file saved exactly how the printer needs it? This could be a layered AI file for screen printers who need to separate colours, or a clean, transparent PNG for DTG.
- Typography and Linework Inspection: This is the final manual sweep. Look for font errors, stray anchor points, or any unexpanded strokes in your vector files that could cause chaos on the press.
Centralising final approvals in a shared workspace is the only way to scale production without losing your mind. It forces every stakeholder—from the designer to the marketing lead—to sign off before a single shirt is printed. Miscommunication dies right there.
This kind of governed, in-house production is a powerful shift away from relying on a messy chain of external suppliers. Just look at the numbers: Scandinavian apparel imports, with Denmark leading the way, hit around €9 billion in 2023. T-shirts made up 9.2% of imports from developing countries, and the average price per shirt rose to €3.17, pointing to a bigger appetite for premium quality.
Instead of navigating that complex import model, a tool like VirtuallPRO gives your team control over the entire process. You can read more about the apparel market's potential on CBI.eu.
Got Questions About T-shirt Design? We’ve Got Answers.
When you’re deep in the creative flow of designing t-shirts, a few technical questions always seem to pop up. Getting them sorted early saves a ton of headaches down the line.
Here are some of the most common queries we see from design teams and our go-to, studio-tested answers.
What’s the Right File Format for a T-shirt Design?
This one trips up a lot of people, but the answer is simple: it depends entirely on how you plan to print it.
- For screen printing, you need a vector file. Think Adobe Illustrator (AI), EPS, or SVG. Why? Because vectors are infinitely scalable without losing an ounce of quality, which is non-negotiable for creating crisp, clean screens for each colour layer.
- For Direct-to-Garment (DTG), you’ll want a high-resolution raster file. A PNG with a transparent background is perfect, but a layered PSD from Adobe Photoshop works great too. Just make sure it’s saved at 300 DPI at the exact size you want it printed.
How Can I Find a Manufacturer I Can Trust?
Choosing a production partner is one of the most critical steps. The best design in the world can be ruined by a bad print job.
Start by asking for samples. Don't just get a generic sample pack—ask them to print your design on the specific garment you intend to use.
Check for colour accuracy, see how the print holds up after a wash, and pay attention to the feel of the ink on the fabric. A good manufacturer will be upfront about their process and give you clear technical specs to work with.
Quick tip: Never, ever skip the physical proof. What you see on your calibrated monitor can look wildly different on a cotton tee. A single pre-production sample can save you from a costly mistake on a full run.
Getting these details right clears the runway for a smooth production process and a final product that actually lives up to your creative vision.
Ready to bring all your creative work together? From AI ideation to final production, VirtuallPRO is the governed workspace that helps your team create better, faster. Try the Creative AI OS today.