Create a 3D Figur af Dig Selv The Ultimate Guide
Your complete guide to creating a 3d figur af dig selv. Learn photo capture, AI generation with VirtuallPRO, texturing, and 3D printing from start to finish.
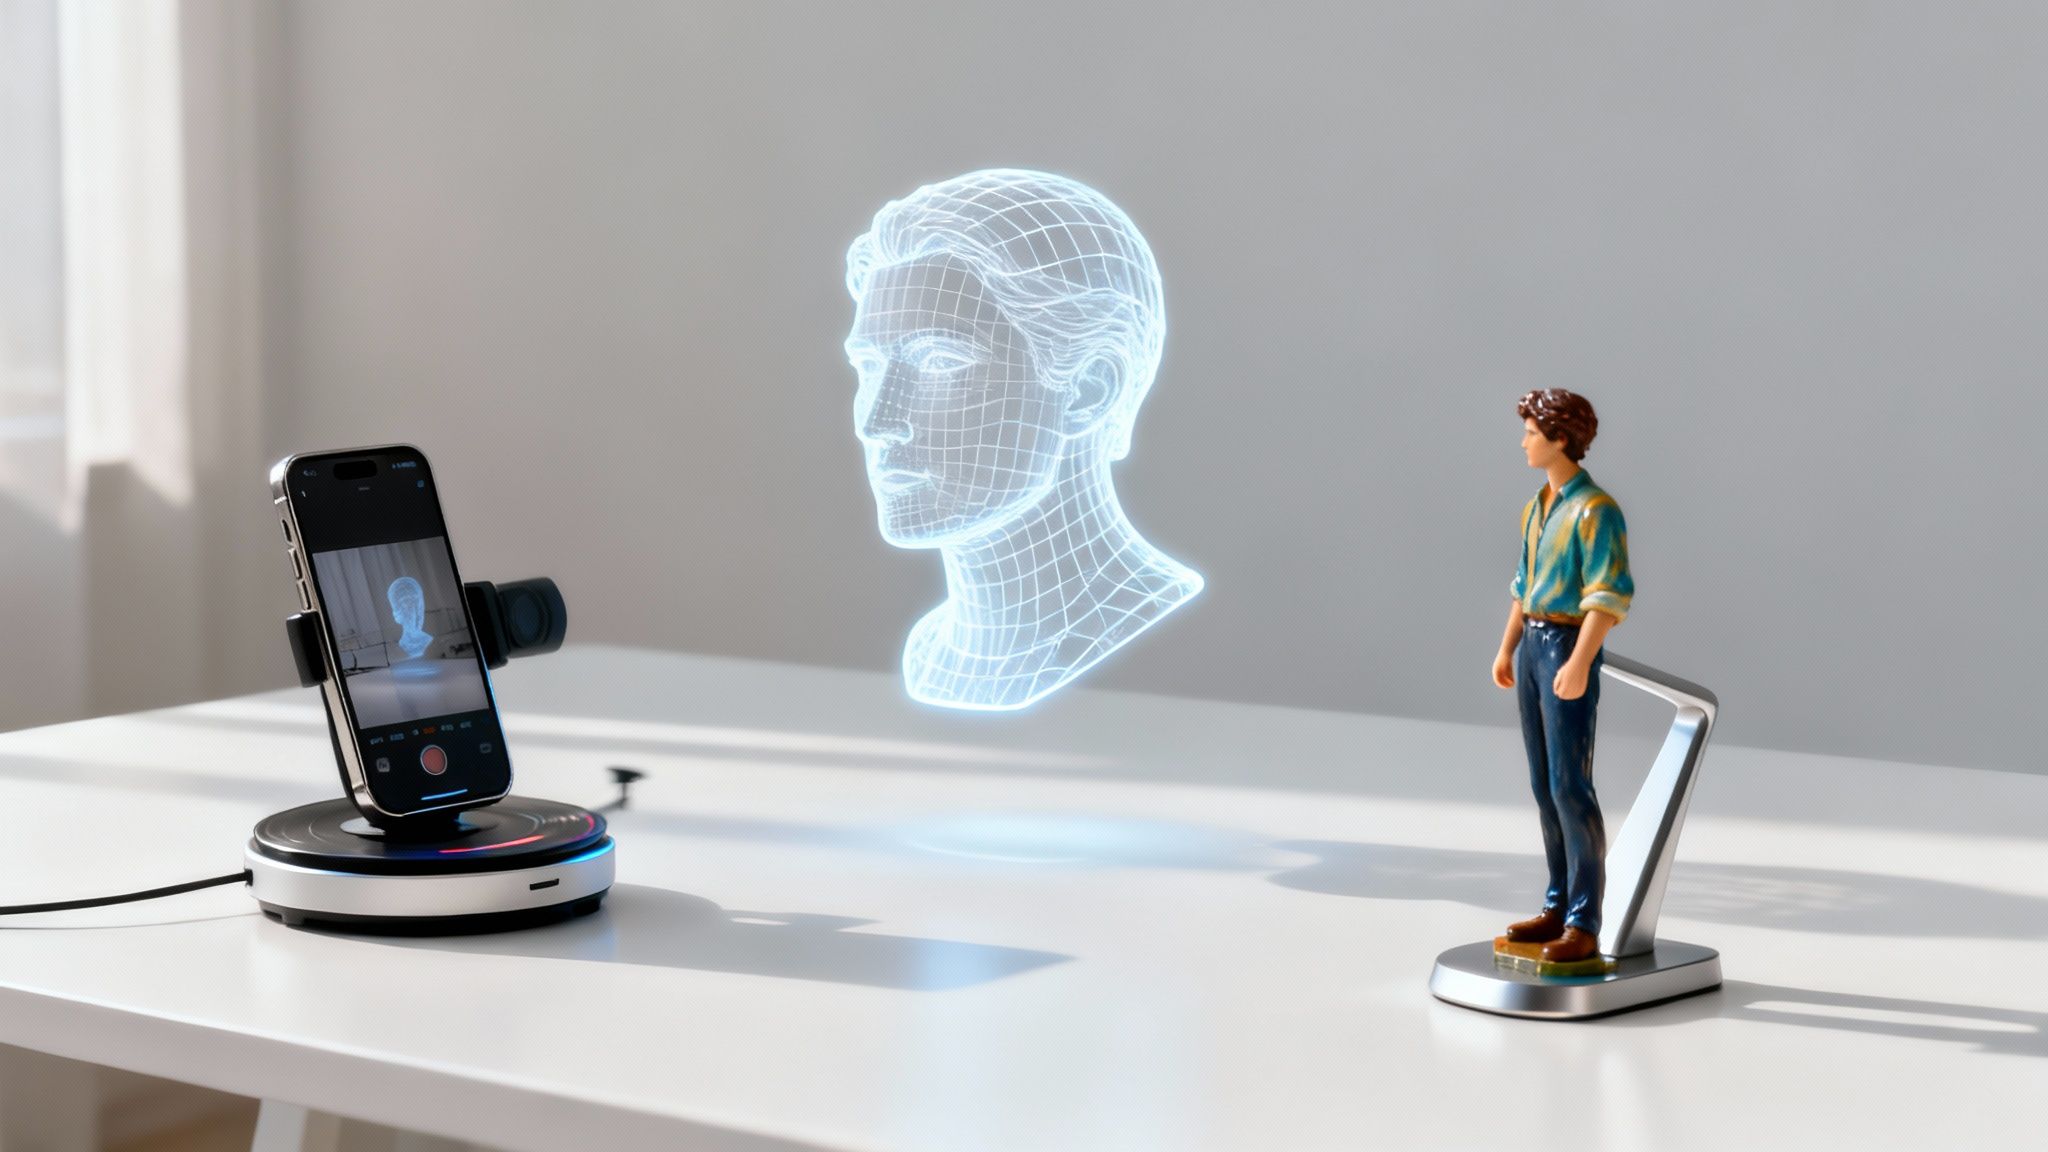
Ever thought about holding a perfect miniature version of yourself, or dropping a photorealistic avatar of a team member into your latest project? Creating a 3D figur af dig selv isn't science fiction anymore. It’s a surprisingly straightforward process that you can manage from start to finish, often with just the phone in your pocket. At Virtuall, we're dedicated to building a responsible, compliant, and safe enterprise platform for all your visual creative work. Our Creative AI OS is designed to help you bring your ideas to life securely.
If you haven't generated anything yet, you can try VirtuallPRO for free and follow along with this guide.
Your Digital Double Awaits
Turning a real person into a high-quality 3D asset used to be the exclusive domain of big-budget visual effects studios. It was complicated, expensive, and slow. That's all changed. Now, creative teams of any size can access the same level of quality, opening up a whole new world of creative possibilities.
This guide will walk you through the entire workflow. We'll start with capturing your likeness using simple photos and move all the way through to generating a polished, professional 3D model using powerful AI tools. By the end, you'll have a model ready for digital use in your projects or even for physical 3D printing. The best part? It's a practical workflow that delivers professional results without needing a room full of specialised hardware.
Unlocking Creative Potential
This isn't just about creating a cool novelty item; it's a game-changer for visual storytelling and content creation. For creative professionals, a personalised 3D figur af dig selv becomes a uniquely powerful asset. Just think about the applications:
- Game Development: Imagine populating your virtual worlds with realistic NPCs or offering players customisable avatars that truly resonate.
- Marketing and Advertising: You could produce incredibly engaging brand visuals with lifelike digital influencers or characters tailored to specific demographics.
- AR/VR Experiences: Design immersive training simulations or interactive product demos with realistic human guides.
- Product Design: Visualise how new apparel or accessories look on an accurate digital model long before you create a physical prototype.
The real advantage here is moving beyond generic stock assets. When you generate your own 3D figures, you gain complete creative control, making sure every visual element aligns perfectly with your project's vision.
Here at Virtuall, our whole mission is to make advanced creative workflows like this accessible. That’s why we built VirtuallPRO, our Creative AI OS, which brings together AI generation and team collaboration in a single browser-based workspace. Throughout this guide, we'll be using it to bring a digital self to life.
Nailing the Capture: Your First Step to a Flawless Model
The final quality of your 3d figur af dig selv is only as good as the data you feed the system at the very start. It’s a bit like building a house—a shaky foundation will compromise the entire structure. The same thing happens here; a poor-quality scan or set of photos will always lead to a distorted or incomplete 3D model.
Luckily, there are several solid methods to choose from, each offering a different mix of accessibility, cost, and precision. The best one for you really boils down to your budget, your project goals, and just how realistic you want the final figure to be. Let's look at the most common approaches.
Photogrammetry with Your Smartphone
This is by far the most accessible way to get started. You'd be surprised at the level of detail you can get from a modern smartphone camera paired with the right photogrammetry software. The basic idea is simple: you take a whole lot of overlapping photos from every conceivable angle, and the software cleverly stitches them all together to build a 3D mesh.
To get a good result, consistency is your best friend. Paying close attention to your setup and technique will give you the best possible raw data to work with.
- Lighting is Everything: Aim for soft, diffuse lighting. Harsh, direct light creates strong shadows, which the software can mistake for actual physical features, resulting in weird lumps and divots on your model. An overcast day outside is perfect, or if you're indoors, use multiple light sources to cancel out any shadows.
- Keep Your Background Simple: A cluttered background can throw the software off. A plain wall or even a solid-coloured bedsheet is a much better choice. For those looking to level up, understanding the advantages of a green screen background can make a huge difference, as it simplifies isolating you from the background.
- Overlap is Non-Negotiable: Every photo needs to overlap with the previous one by about 60-70%. Move in complete circles around yourself (or have a friend do it) at different heights—start low, then move to eye-level, and finish with a high angle to capture the top of your head and the area under your chin.
This flowchart illustrates how your end goal—be it a digital avatar or a physical print—shapes the entire process from capture to creation.
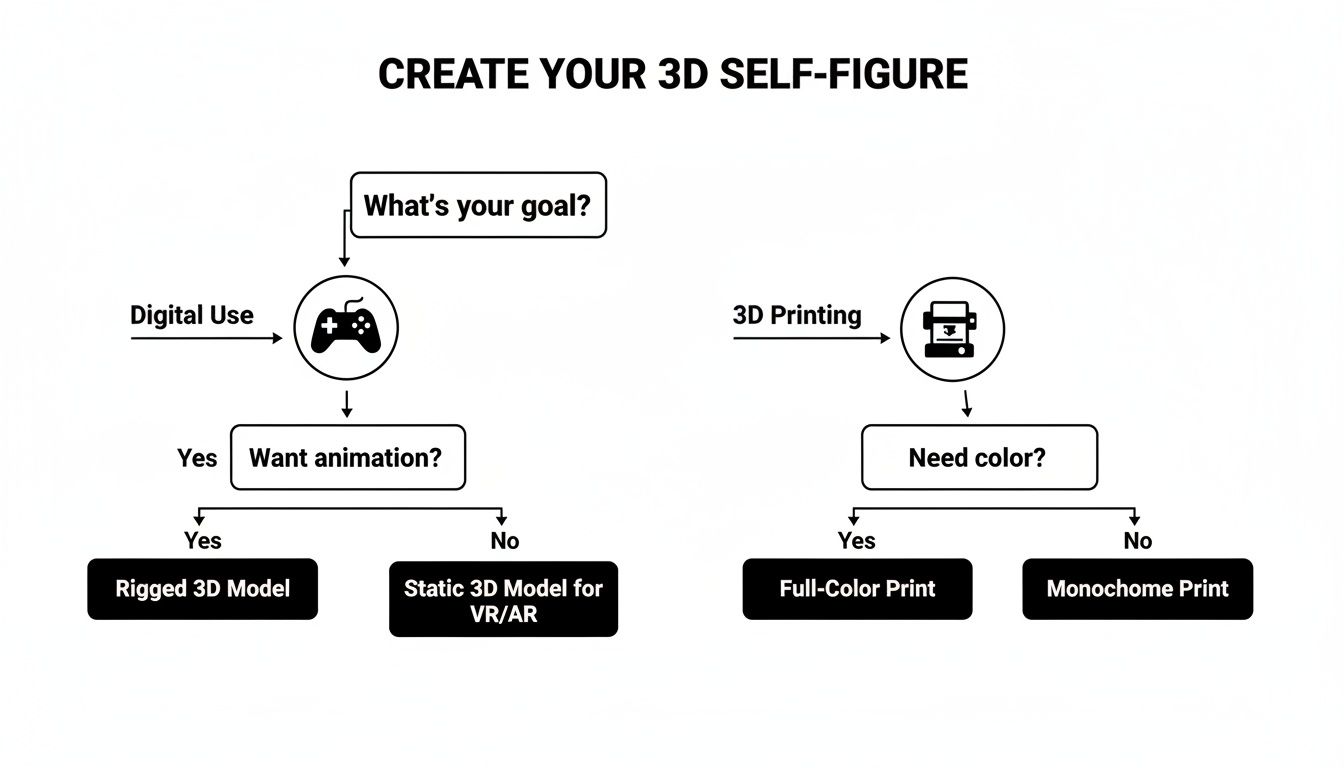
The main takeaway? Both paths start with high-quality data, but they branch off when it comes to the technical details of refinement and final preparation.
Dedicated 3D Scanners
If you're part of a creative team or simply need higher fidelity, dedicated 3D scanners are the way to go. These devices use structured light patterns or lasers to map a subject's shape with incredible precision, often doing it in real-time.
Choosing the right type of scanner depends on the job. Structured light scanners are fantastic for quickly capturing detailed facial expressions and other organic shapes. Laser scanners, on the other hand, deliver pinpoint accuracy, making them the top choice for projects where exact measurements are critical.
While they do require a bigger upfront investment, a dedicated scanner can slash the amount of cleanup work you'll need to do later. You get a clean, highly detailed mesh right out of the gate, which saves a tonne of production time that would otherwise be spent fixing artifacts from a less accurate capture method. For professional workflows, that efficiency is almost always worth the cost.
Comparing 3D Self-Capture Methods
To help you decide, let's break down the most common methods for capturing your likeness. Each has its place, and seeing them side-by-side makes it easier to pick the right tool for your project.
| Method | Pros | Cons | Best For |
|---|---|---|---|
| Smartphone Photogrammetry | Highly accessible, low-cost (uses existing hardware). | Can be time-consuming; highly dependent on lighting and user skill; requires significant cleanup. | Hobbyists, beginners, and projects where budget is the primary concern. |
| DSLR Photogrammetry | Higher resolution and better image quality lead to more detailed models. | Requires a DSLR camera and more technical knowledge; still needs careful lighting control. | Enthusiasts and semi-professionals needing better quality than a smartphone can provide. |
| Structured Light Scanner | Fast capture speed; excellent at capturing fine details like hair and facial expressions; safe for eyes. | Higher cost; can be sensitive to ambient light conditions and reflective surfaces. | Professional character modelling, digital avatars, and high-fidelity facial scanning. |
| Laser Scanner | Extremely high accuracy and precision; less sensitive to lighting than other methods. | Very expensive; can be slow; some high-power lasers are not eye-safe. | Engineering, reverse engineering, and projects where precise measurements are non-negotiable. |
Ultimately, the method you choose sets the stage for everything that follows. Investing a little more time or money in the capture phase almost always pays off with a better final product and fewer headaches down the line.
Bringing Your Photos to Life with AI in VirtuallPRO
Alright, you’ve got your high-quality photos or scan data. Now for the magic. This is where we turn those flat images into something you can practically hold in your hand—a 3d figur af dig selv. Using a platform like our Creative AI OS, VirtuallPRO, gives you direct access to powerful AI models right from your browser, making the whole process incredibly collaborative.
The first move is to get your photo set or scan data into a VirtuallPRO workspace. Once uploaded, the AI gets to work, interpreting all the geometric and textural details to generate an initial 3D mesh. Think of this first pass as your digital clay—it’s the foundational shape that captures your basic likeness and proportions, ready for you to start sculpting and refining.
Guiding the AI to Get the Style You Want
Getting the AI to create precisely what you have in your head is a bit of an art form. Instead of just accepting whatever the machine spits out, you can steer it with specific prompts and pre-made Virtuall Blueprints. These are your secret weapons for hitting a particular aesthetic, whether you're chasing hyper-realism or aiming for something more stylised.
Here’s how you might nudge the AI in the right direction:
- For a Photorealistic Look: A good prompt could be, "Generate a photorealistic 3D model from the uploaded images, focusing on accurate facial symmetry and subtle skin texture. Render with a neutral expression."
- For a Stylised Figure: You could try something like, "Create a stylised 3D figure with exaggerated, heroic proportions, similar to a classic action figure. Simplify clothing folds into clean, sharp lines."
- For a Gaming Character: A prompt might be, "Generate a low-polygon, game-ready 3D character model. Emphasise distinct features for easy recognition at a distance. Create clean topology for animation."
This is the real creative control VirtuallPRO hands to your team—a direct line to the AI to shape the final result.
The biggest advantage here is the speed of iteration. Your team can generate multiple versions, drop annotations right onto the 3D model, and jump back to previous states, all within the same workspace. No downloading files or switching apps. This kind of collaborative feedback loop is absolutely essential for nailing the finer details like facial features or clothing.
Take a look below. This is what a professional 3D modelling environment looks like, showing the kind of complex geometry and texturing that goes into a realistic human figure.
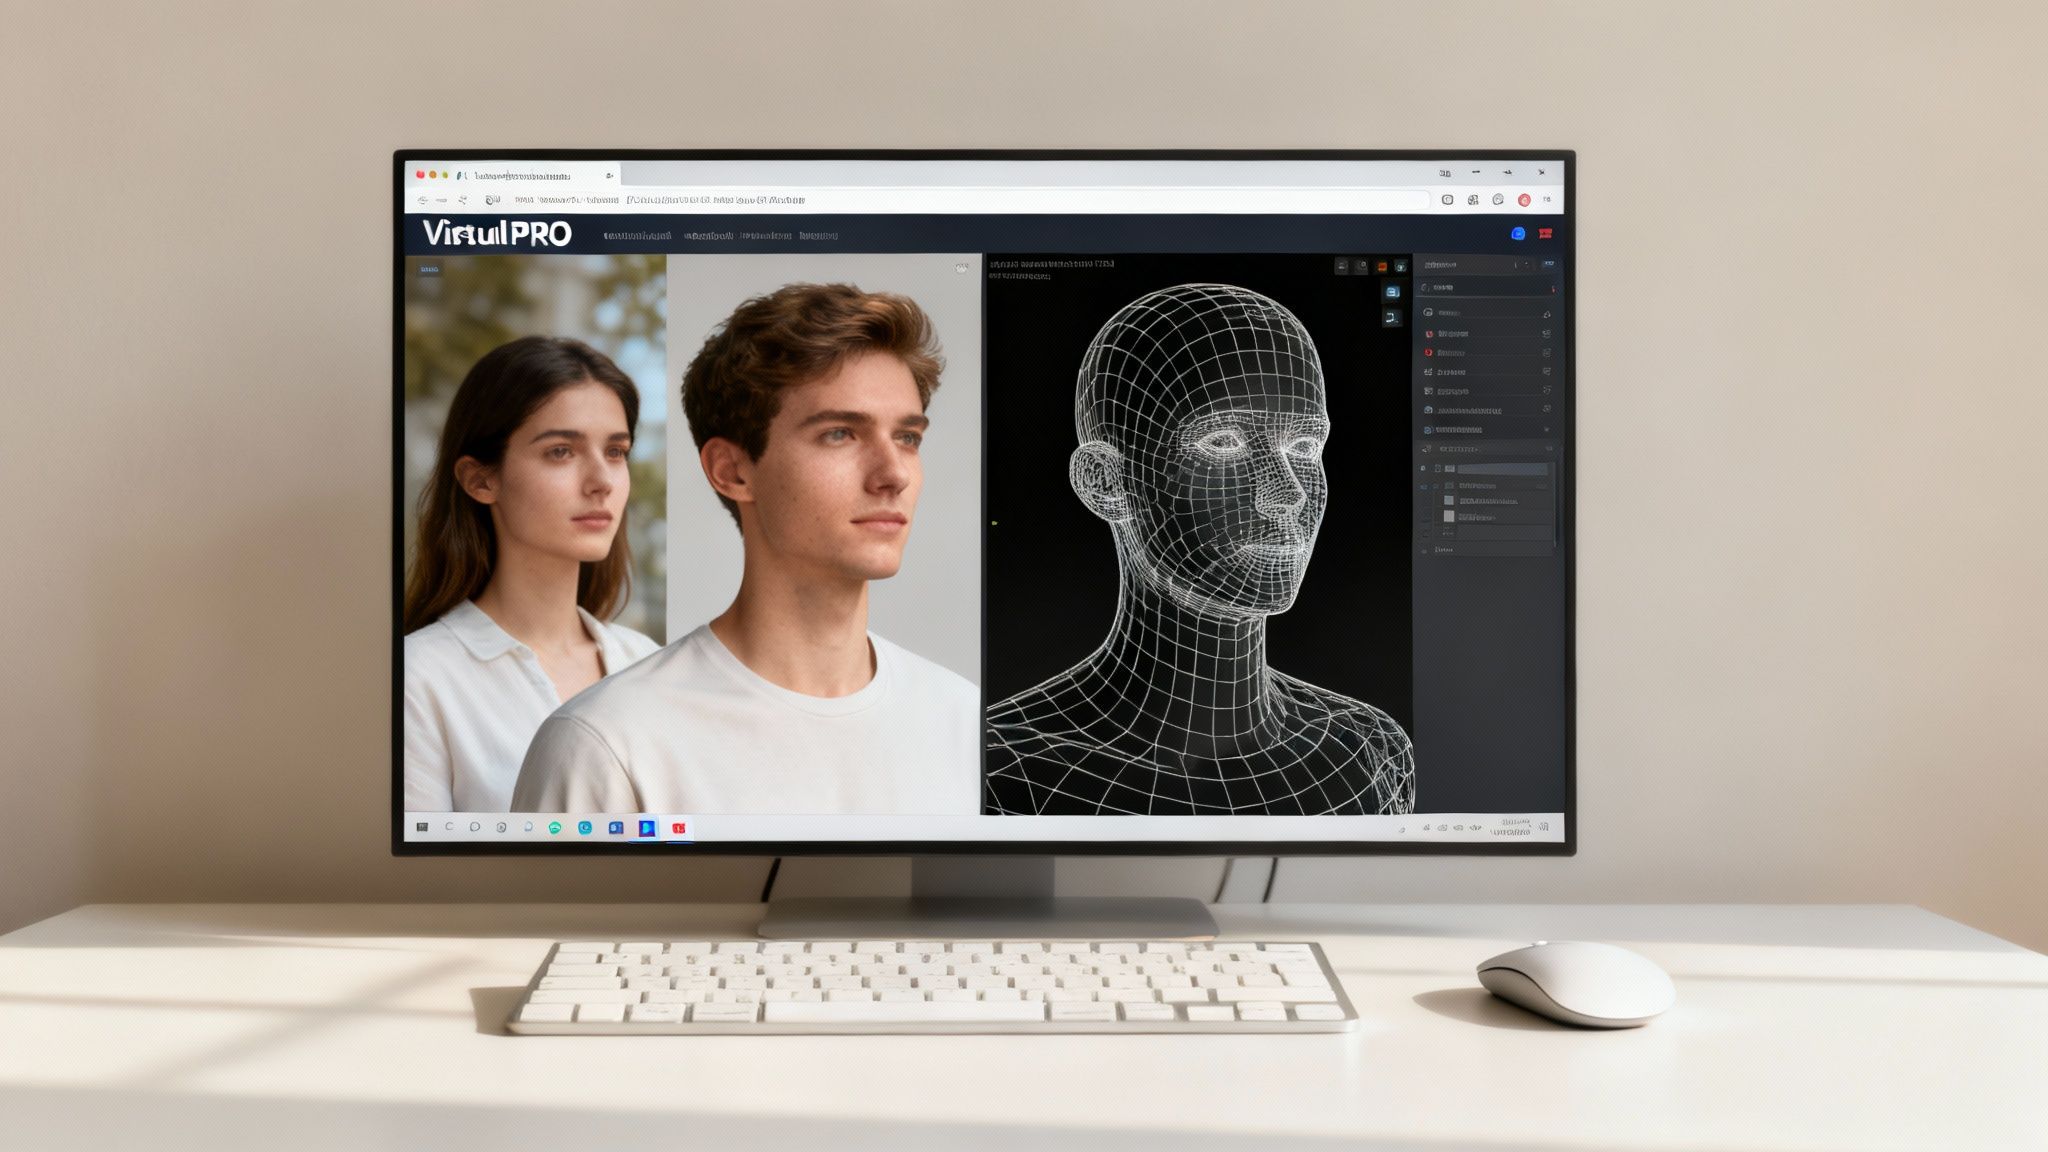
This interface gives you a sense of how artists traditionally work with wireframes and textures to build a lifelike digital double. It’s a painstaking process that AI can now dramatically speed up.
Why Custom 3D Figures Are in High Demand
The ability to create personalised 3D assets has never been more relevant. We're seeing this play out in market trends everywhere. In Denmark alone, the desktop 3D printing market was valued at USD 15.3 million in 2023 and is projected to hit USD 62.7 million by 2030. That’s a clear signal of the growing appetite for accessible creation tools.
For creative teams, VirtuallPRO is a way to tap directly into this trend, generating assets for AR/VR, marketing campaigns, or even AI clothing try on technology, all from a single browser window.
If you’re keen to get into the nuts and bolts of the process, our guide on how to generate a 3D model with AI is a great next step. It’s clear that knowing how to create a 3d figur af dig selv is quickly becoming an essential skill for any modern creative.
Refining and Texturing Your Digital Twin
The initial AI-generated model is an incredible starting point, but getting a truly professional-grade 3d figur af dig selv is where the real artistry begins. Think of the AI's first pass as the raw block of marble; now, it's your job to chisel away the imperfections and bring out the final form, whether it’s destined for a digital portfolio or a physical print.
This post-generation phase is all about elevating a good model to a great one. It involves a few crucial technical steps that ensure your digital twin is clean, optimised, and ready for whatever you have planned for it.
Essential Mesh Cleanup
The very first thing I always tackle is the model's geometry. AI generation, particularly from photogrammetry, is brilliant but can leave behind small imperfections that need a human touch.
Here are the usual suspects on my cleanup list:
- Mesh Simplification: Your first model might have millions of polygons, which can be a nightmare to work with. Simplifying the mesh brings that polygon count down to a manageable level without losing the details that matter. This makes a huge difference for animation or 3D printing performance.
- Filling Holes: The capture process isn't always perfect and can miss tiny spots, leaving little gaps or holes in the mesh. These have to be patched up to create a solid, "watertight" model—a non-negotiable step for successful 3D printing.
- Smoothing Surfaces: You can go in and selectively smooth out any rough patches, especially on areas like skin or clothing, to give the final model a much more polished and natural look.
A common pitfall I see all the time is non-manifold geometry. This is a technical term for errors where the mesh has edges connected to more than two faces, creating impossible shapes that will completely confuse a 3D printer or rendering engine. Spotting and fixing these issues early will save you a world of headaches later on.
Applying Lifelike Textures
Once the mesh is clean and solid, it's time to bring your model to life with colour and detail. This is done through a process called UV unwrapping, which sounds complex but is basically like flattening your 3D model's surface into a 2D map. This "UV map" acts as a canvas where you can apply high-resolution image textures for skin, hair, and clothing.
This is another area where a tool like VirtuallPRO can really speed things up. Instead of hunting for generic patterns online, you can use its AI to generate a completely unique fabric texture as a simple 2D image. For instance, you could prompt it to create a "vintage Danish floral pattern" and apply that image directly to your model's clothing, all within the same workspace. If you want to get into the weeds on this, check out our guide on creating seamless textures.
Getting the refinement stage right is especially critical if you're planning on a physical print. Here in Denmark, the 3D printing scene is really starting to take off, projected to kick off with a 0.17% growth rate in 2025 and build from there. It's part of a much bigger European trend, with the market expected to jump from USD 6.84 billion to over USD 14.84 billion. For creative teams in a design-focused country like ours, this is a fantastic opportunity to get ahead with AI-driven 3D figure generation. You can explore more 3D printing statistics to get the full scope.
Getting Your Model Ready for the Real World (or the Virtual One)
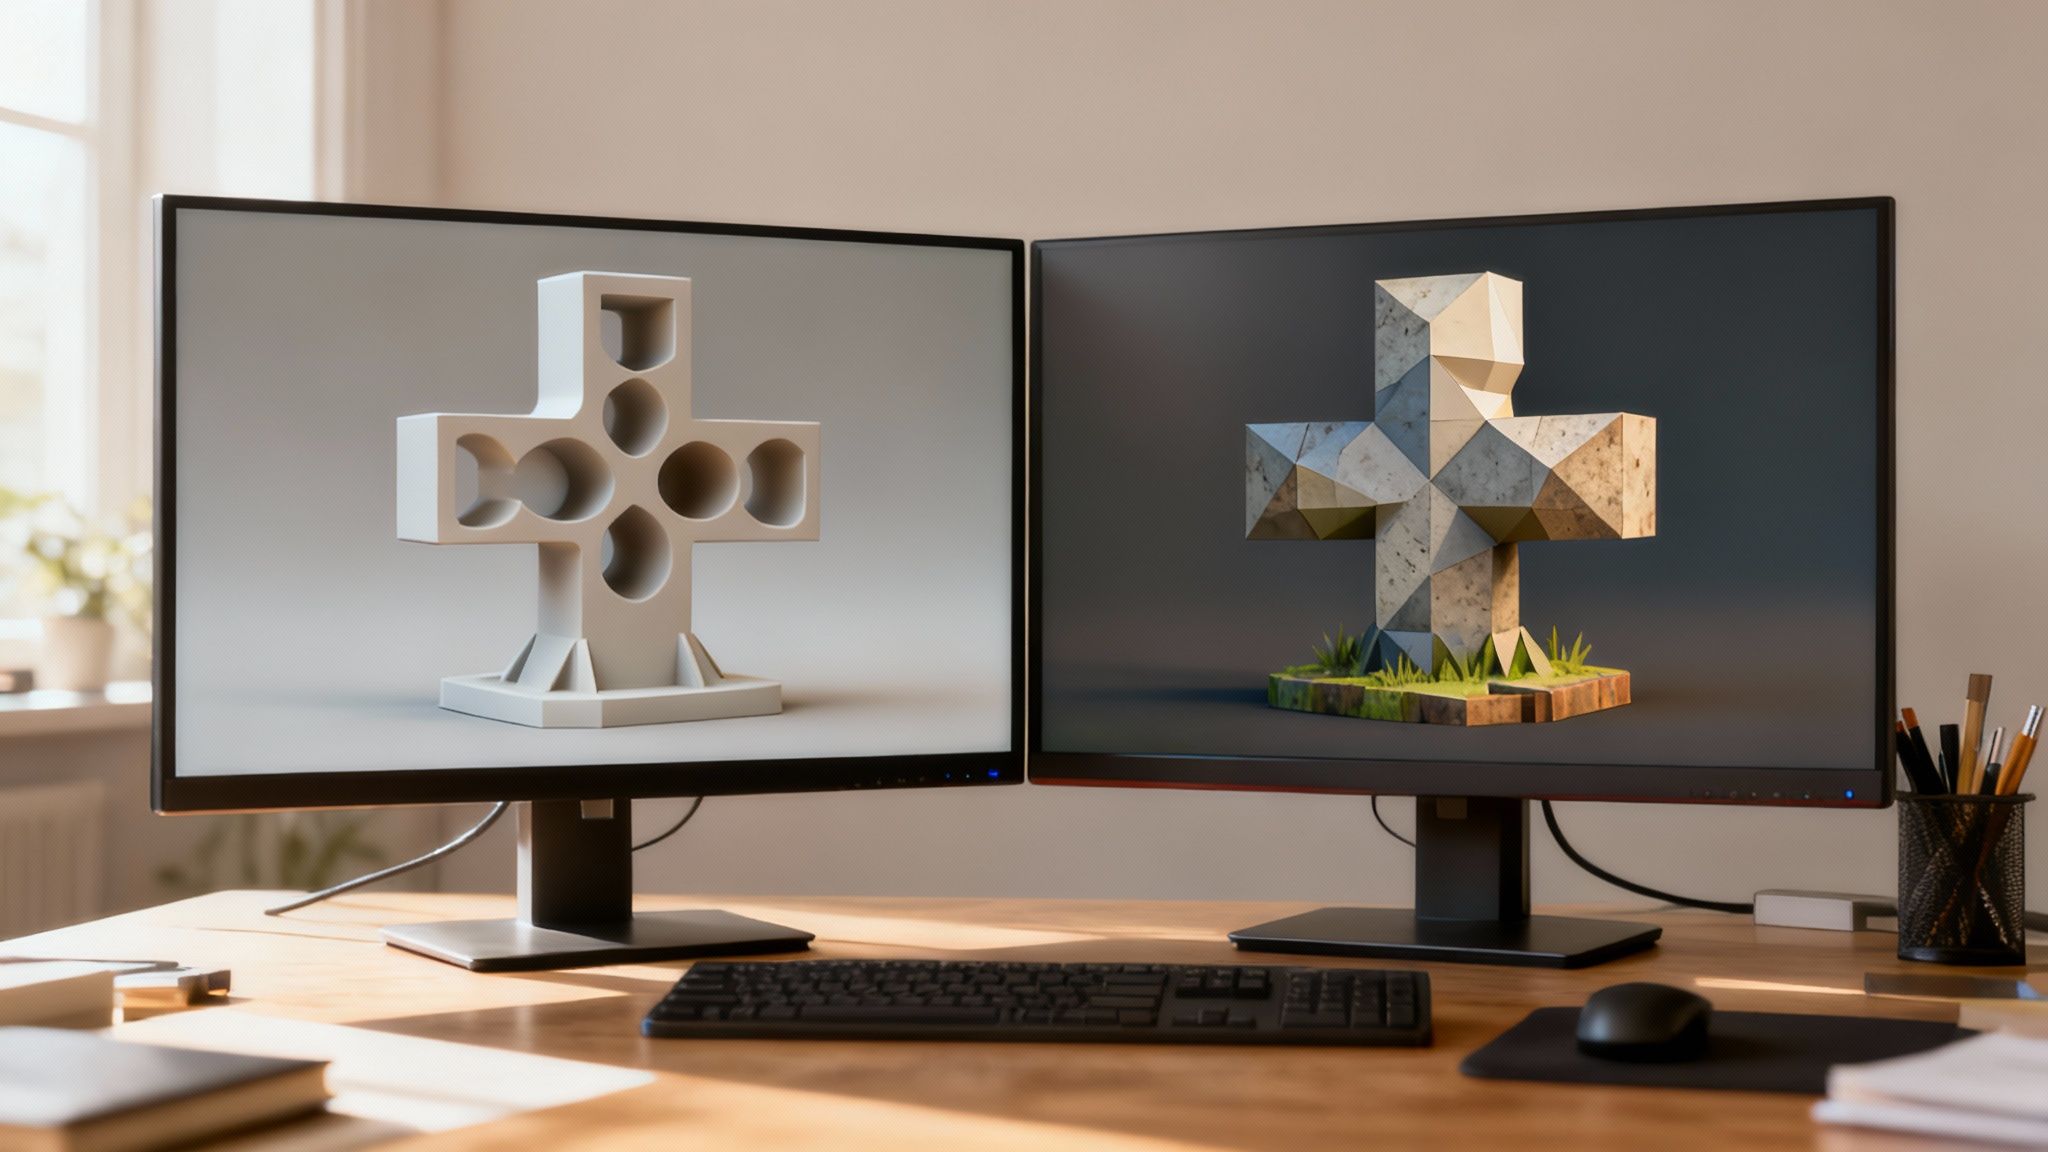
You’ve got a beautifully refined and textured model. Now what? You’ve hit a classic fork in the road. The final step is prepping your 3d figur af dig selv for its final destination, and your next moves depend entirely on whether you want it on a physical shelf or a digital screen.
These two paths have completely different technical demands. One is all about making your model physically sound for a 3D printer. The other is about optimising it to run smoothly in a game, an AR app, or a marketing video without slowing everything down.
Setting Up for a Physical 3D Print
Turning a digital file into a real-world object is all about physical viability. Your design has to translate into a solid, stable figurine that won’t fall apart or fail halfway through the printing process. It’s a bit of an engineering puzzle.
Here’s your essential checklist to get it right:
- Make it Watertight: Your model needs to be a completely sealed object with no holes or gaps in the mesh. Think of it like a boat – any leaks will sink the print. You also need to fix any "non-manifold" geometry, which is just a technical way of saying all the edges are joined correctly.
- Add Support Structures: Got an arm sticking out or a cape flowing behind you? Anything with a steep overhang needs temporary supports. These act like scaffolding, preventing parts from drooping or collapsing as the printer builds your figure layer by layer.
- Hollow It Out: This is a pro tip, especially for resin prints. Hollowing out the inside of your figure saves a huge amount of material, which means lower costs and faster print times. Just remember to add a couple of small drainage holes so the uncured resin can escape.
We're seeing a massive boom in accessible 3D printing, and it’s not just for hobbyists anymore. In Denmark alone, the desktop 3D printing market was worth USD 15.3 million in 2023 and is expected to rocket to USD 62.7 million by 2030. This incredible growth shows just how much demand there is for creative tools like Virtuall's Creative OS that make creating 3D assets easier for everyone. You can dig into the numbers yourself by reading about the growth of Denmark's desktop 3D printing market.
Prepping for Digital Use
If your figurine is headed for a digital environment, the game changes. Physical stability doesn't matter, but performance is everything. A model with millions of polygons might look incredible in a static render, but it will bring a game engine or an AR experience to a grinding halt.
Here are the key steps to make your model game-ready:
- Retopology: This is the art of building a new, clean, and much simpler mesh right on top of your highly detailed model. The idea is to create a "low-poly" version that keeps the overall shape but uses a tiny fraction of the polygons. It’s essential for performance.
- Baking Textures: So how do you keep all that gorgeous detail? You "bake" it. This process transfers the fine details from the high-poly model onto the low-poly one's texture maps. This creates special images, like normal maps, that cleverly fake the illusion of complex surface detail without adding a single extra polygon.
- Rigging for Animation: Want your 3d figur af dig selv to walk, wave, or jump? It needs a digital skeleton, known as a "rig." This internal framework of bones and joints is what allows animators to pose and control the model, bringing your digital double to life.
Got Questions About Making Your 3D Figure?
Jumping into the world of creating a 3d figur af dig selv for the first time usually sparks a few questions. It’s a mix of tech, artistry, and a bit of trial and error, so it's natural to wonder about the best approach. Let’s clear up some of the most common queries I hear.
How Many Photos Are We Talking About?
For a really solid result, whether you're making a bust or a full-body model, you'll want to aim for at least 50 to 100 photos.
But here's the thing: it's not just about the number. The real magic is in the technique. Every single photo needs to overlap with the one before it by about 60-70%. Think of it like you're giving the software a series of clues, and with enough overlap, it can easily connect the dots to build your form.
You have to get shots from every conceivable angle—high, low, and all around. This comprehensive coverage is what prevents those frustrating gaps or holes in the final 3D mesh. A pro tip: make sure your lighting is soft and even. Hard shadows are a killer because the software can mistake them for actual physical dips or bumps, leading to a lumpy, inaccurate model.
What's the Right File Format to Use?
The best file format for your 3d figur af dig selv really hinges on what you plan to do with it. There’s no single "best" option; it’s all about picking the right tool for the job.
Headed for a 3D Printer? STL is the old reliable. It's the industry standard for a reason—it’s simple, and pretty much every slicer program out there can handle it. That said, OBJ and 3MF are also fantastic choices. 3MF is the newer kid on the block and has the bonus of being able to hold colour and material data, which is a big plus.
Going Digital? If your model is destined for a game, an AR app, or an animation, then you’ll want to look at FBX or GLB/glTF. These are more like versatile containers. They can bundle everything—textures, materials, even animation data—into one tidy file, which is incredibly efficient for digital workflows.
Thankfully, VirtuallPRO is built to be flexible. It lets you export to all the main formats, so your creation can slot right into whatever project you have in mind.
Can AI Really Make a Figure From a Single Photo?
Absolutely. With the AI models inside VirtuallPRO, you can generate a 3D figure from just one image or even a simple text description. It's a game-changer for brainstorming ideas or whipping up stylised characters in a flash.
But, and this is a big but, if you're after a model that's a true likeness of you, more data is always king. A full set of photogrammetry photos gives the AI so much more rich detail to work with. The result is a model that captures the nuances of your features in a way a single photo just can't.
The AI's true power isn't just in creating something from nothing; it's in how it intelligently processes complex information and lets you refine your model with incredible speed. It offers a level of creative freedom that would be unthinkable if you were trying to do it all by hand.
Ready to turn your vision into a physical or digital reality? Virtuall is a complete Creative AI OS that gives teams one workspace to generate, manage, and collaborate on 3D models, images, and videos. Start creating with VirtuallPRO for free.