A Creative Team's Adobe Premiere Pro Tutorial
Elevate your team's video editing with our Adobe Premiere Pro tutorial. Learn professional workflows, collaborative techniques, and tips to scale production.
Ready to elevate your video editing from hobbyist to professional? This guide is your roadmap to mastering Adobe Premiere Pro, built for creative teams who need to produce high-quality, compliant video content efficiently and at scale. We’re not just talking about which buttons to press; we’re diving into the studio-grade workflows and mindset that separate amateur edits from polished, compelling stories.
Before diving in, consider how you manage your entire creative workflow. At Virtuall, we've developed a responsible, compliant, and safe studio-grade option called VirtuallPRO. It's a Creative AI OS designed to orchestrate your entire visual content pipeline, from generation to final delivery. If you haven't generated anything yet, you can try it for free and see how a fully integrated system can transform your process.
Building Your Foundation in Professional Video Editing
Before we even touch a keyframe or a transition, let's talk about the real secret to great video production: structure. A solid foundation isn't built in the timeline; it's built before you even launch the software.
It’s about seeing Premiere Pro as the powerful engine it is, but also understanding it’s just one part of a larger creative pipeline. For teams, this is where a system to manage everything comes into play. Our Creative AI OS at Virtuall was designed for exactly this, helping you wrangle all your visual assets, especially AI-generated content. If you're curious, you can generate your first AI assets for free and see how it fits.
Mindset and Organisation First
Every great video project starts long before the first clip is imported. It begins with a professional mindset, a rock-solid organisational strategy, and a commitment to quality from the get-go.
Think of it as a simple, three-part process: get your head in the game, get your files in order, and only then, start creating.
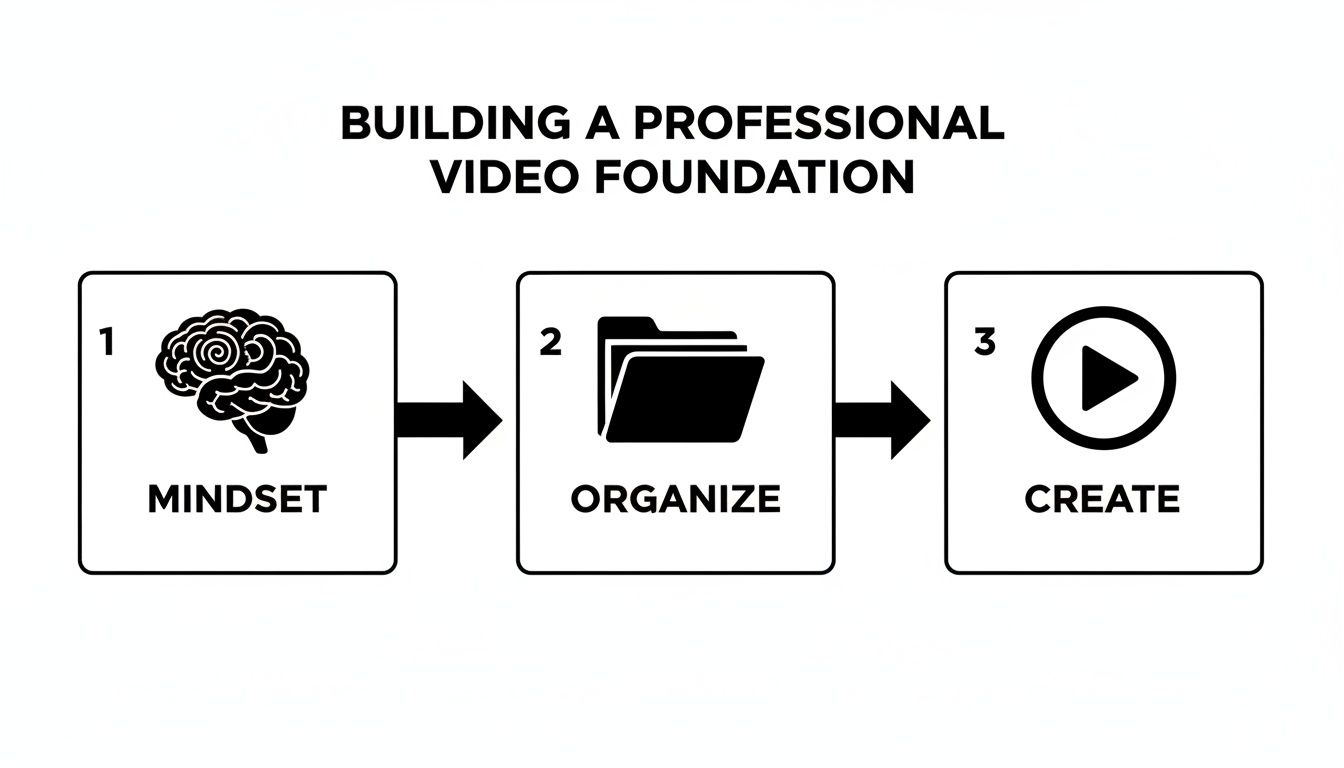
This flow isn’t just a suggestion; it’s a professional necessity. Creation is the final piece of the puzzle, and it only works smoothly when the prep work is done right.
Here in the Danish creative scene, Adobe Premiere Pro is an absolute powerhouse. It holds a staggering 22.9% market share in the audio and video editing space, making it an essential tool for any serious professional.
A well-organised project is the single greatest gift you can give your future self and your collaborators. It saves time, prevents costly errors, and makes the creative process more enjoyable.
Preparing for a Scalable Workflow
Your prep work starts with the source material. Garbage in, garbage out, right? Ensuring your footage is top-notch from the beginning is non-negotiable. For streamers or anyone capturing screen recordings, knowing the best OBS settings for streaming is a perfect example of optimising quality at the source.
This discipline extends to how you handle all your project files. For teams, a chaotic folder structure is a project killer. When multiple people need to find footage, graphics, and audio, a clear system is critical. We cover how to build these robust systems in our guide on digital asset management for video. Get this right, and you're setting the stage for a workflow that’s scalable, collaborative, and built for amazing results.
Designing a Collaborative Workspace and Project
Before anyone even thinks about dragging a clip onto the timeline, a video project's fate is often sealed by its initial setup. A messy project is a team's worst nightmare, leading to hours wasted hunting for assets or wrestling with inconsistent layouts. This is where we build our project from the ground up for smooth collaboration.
The real goal here is to create a digital workspace where any team member—whether they're the lead editor or a junior assistant—can jump in and instantly know where everything is. This isn't just about being tidy; it's about creating a system that scales, preventing those costly delays and creative roadblocks down the road.
Building a Logical Project Structure
The bedrock of any collaborative project is a logical, predictable folder structure. In Premiere Pro, we call these "bins." The absolute best practice is to make your bin structure inside Premiere a direct mirror of the folders on your shared server or cloud drive.
This one-to-one mapping creates an intuitive workflow for everyone. If a producer needs to grab the latest motion graphics, they instinctively know to look in the 04_Graphics folder on the server and find the corresponding 04_Graphics bin in the project. No guesswork needed.
A solid, repeatable structure usually looks something like this:
- 01_Footage: All your raw camera media, maybe organised by shoot date or camera.
- 02_Audio: This bin should have sub-bins for dialogue, music, and sound effects.
- 03_Sequences: This is home for all your timelines—rough cuts, fine cuts, and final delivery versions.
- 04_Graphics: Logos, lower thirds, and any other visual elements live here.
- 05_Project_Files: A tidy spot for linked After Effects comps or Photoshop files.
Using a numerical prefix like this forces the bins to always appear in the same order, no matter who opens the project. For a deeper dive into organising creative assets across teams, check out our insights on team collaboration best practices.
Importing Media The Professional Way
When you’re ready to bring footage into your project, Premiere Pro gives you two main options: the classic File > Import command and the Media Browser panel. For any serious workflow, especially when dealing with footage from cameras like RED, ARRI, or Sony, the Media Browser is non-negotiable.
Why? Unlike a simple import, the Media Browser actually understands the complex file structures of professional cameras. It correctly reads metadata, links associated files (like separate audio channels), and stops those dreaded "offline media" errors from ruining your day.
Using the Media Browser is a simple habit that separates amateur editors from seasoned professionals. It respects the integrity of your source media and prevents countless technical headaches later on.
Customising Your Editing Workspace
Premiere Pro's interface is incredibly flexible, and arranging the panels to fit your workflow is a massive time-saver. While Premiere offers default workspaces like "Editing," "Colour," and "Effects," creating a custom layout for your team is the key to consistency.
Here's a look at the default "Editing" workspace, which is a great starting point.
As you can see, the most critical panels are front and centre: Project (bottom left), Source (top left), Program (top right), and the Timeline (bottom right). You can drag, drop, and resize any of these panels and then lock in your perfect layout via Window > Workspaces > Save as New Workspace.
By agreeing on a unified workspace, your team ensures that when one editor hands off a project, no time is lost trying to find panels or get reoriented. Even better, a lead editor or producer can create a master project template with the standardised bin structure and saved workspace already built-in. Every new project then starts on an organised, efficient foundation, making handoffs completely seamless.
A shared understanding of the workspace panels is crucial for this to work. Here’s a quick breakdown of the essentials:
Key Premiere Pro Workspace Panels and Their Functions
This table outlines the core panels and their roles, helping everyone on the team speak the same language.
| Panel Name | Primary Function | Pro Tip for Teams |
|---|---|---|
| Project Panel | Your project's central hub. It organises all imported media—clips, audio, graphics, and sequences. | Keep this panel tidy with a consistent bin structure. A clean project panel is the first sign of a professional editor. |
| Source Monitor | Used to preview individual clips before adding them to the timeline. You can set In and Out points here. | Use keyboard shortcuts (I for In, O for Out) to quickly mark selections. This speeds up rough cuts immensely. |
| Program Monitor | Shows the video from your active timeline. This is where you watch your edited sequence as you build it. | Enable Safe Margins (wrench icon > Safe Margins) to ensure titles and graphics don't get cut off on different screens. |
| Timeline Panel | The heart of the edit. This is where you assemble clips, audio, and graphics to build your sequence. | Lock tracks that are finished (e.g., music or narration) to prevent accidental changes during collaborative sessions. |
| Effects Panel | Contains all of Premiere's built-in video and audio effects, transitions, and presets. | Create a shared "Team Favourites" bin within the Effects panel for commonly used transitions or colour presets. |
| Effect Controls | After applying an effect, this panel lets you adjust its parameters, like position, scale, opacity, and effect-specific settings. | Copy and paste attributes (Ctrl/Cmd+C on a clip, then Ctrl/Cmd+Alt+V on another) to quickly apply the same effects. |
Having this shared layout and knowledge base means your team can focus on the creative work, not on fighting with the software.
Mastering Your Timeline with Pro Editing Techniques
The timeline is where your story actually takes shape. Sure, dragging and dropping clips works, but professional editors use a whole different set of tools to build narratives with speed and precision. If you're part of a serious creative team, moving beyond the basics isn't optional.
Think about it. You’ve just been handed a pile of footage for a new marketing video: an interview, a bunch of B-roll, and a music track. The goal is to get a compelling rough cut together fast, so you have plenty of time for the real creative work. This is where mastering the timeline turns a slow, clunky process into a fluid, almost rhythmic one.

Surgical Clip Selection with Three-Point Editing
The single biggest speed boost you can give yourself is learning three-point editing. Instead of dragging a massive clip onto the timeline only to trim it down, you tell Premiere Pro exactly what you need beforehand. It’s called three-point editing because you only need to set three out of four possible points to make an edit.
What are the four points?
- Source In Point: Where the clip starts in the Source Monitor.
- Source Out Point: Where the clip ends in the Source Monitor.
- Timeline In Point: Where you want the clip to start on the timeline.
- Timeline Out Point: Where you want the clip to end on the timeline.
You only need to define three. For instance, set a Source In (I key) and Source Out (O key) on your B-roll shot, then just move your playhead to set a Timeline In point. Premiere Pro instantly knows the duration and the exact spot to place it. No more guesswork.
Insert Versus Overwrite Edits
Okay, you’ve marked your points. Now what? You have two main ways to get that clip onto the timeline: Insert (the comma key ,) and Overwrite (the period key .).
An Overwrite edit is exactly what it sounds like. It pastes your selected clip right on top of whatever is on the timeline, replacing anything in its path. This is your go-to for laying down the foundation of a sequence or swapping a shot without messing up the total runtime.
An Insert edit, on the other hand, is much more surgical. It shuffles everything on the timeline to the right, making room for your new clip. This is a lifesaver when you need to add a quick cutaway or a soundbite without wrecking the timing of everything that comes after it.
Get the muscle memory down for setting In/Out points and using Insert/Overwrite. This is what separates amateurs from pros. It turns editing from a series of mouse clicks into a fast, keyboard-driven flow.
Refining Cuts with Precision Tools
Let's be honest, your first cut is never the final cut. That’s where Premiere Pro’s trim tools come in, letting you finesse the timing and rhythm of your edit without tearing the whole sequence apart.
- Razor Tool (C): The most basic tool in your kit. It slices a clip into two or more pieces. Simple, but essential for making quick cuts.
- Slip Tool (Y): This one is brilliant. Think of the clip on your timeline as a small window looking at your full source clip. The Slip Tool lets you slide the source footage back and forth inside that window, changing the start and end frames without affecting the clip’s duration on the timeline. Perfect for adjusting the timing of an action within a shot.
- Slide Tool (U): The Slide Tool moves an entire clip left or right on the timeline, but it also automatically shortens or lengthens the clips on either side to close the gap. It's the best way to change a shot's position in the sequence without leaving any blank space.
Managing a Complex Timeline
As your marketing video grows, you’ll be juggling multiple video tracks, audio layers, graphics, and music. Keeping it all organised is non-negotiable, especially when you’re working with a team.
First, Link your primary audio and video clips, like an interview subject’s video and their dialogue. Just right-click and select Link. This locks them together, so you don't accidentally knock them out of sync—a problem that can be a true nightmare to fix later.
Next, get comfortable with Markers (M). Use them to leave notes for yourself or your teammates. You can drop a marker on a specific clip or on the timeline itself. Double-click it to add comments like "Needs colour correction" or "Check audio level here." A well-marked timeline is a clear roadmap that keeps the whole team on the same page.
Polishing Your Edit with Effects and Colour Grading
Once your timeline tells a clear story, it's time to give it that final, professional sheen. This is where you move beyond the mechanics of cutting and sequencing and start shaping the mood and feel of your video. We're talking about effects, transitions, and—most importantly—colour.
This isn't just about making things look "pretty." It’s about using visual tools to deepen the narrative, create a consistent brand look, and subtly guide your audience's attention. Every choice serves the story.
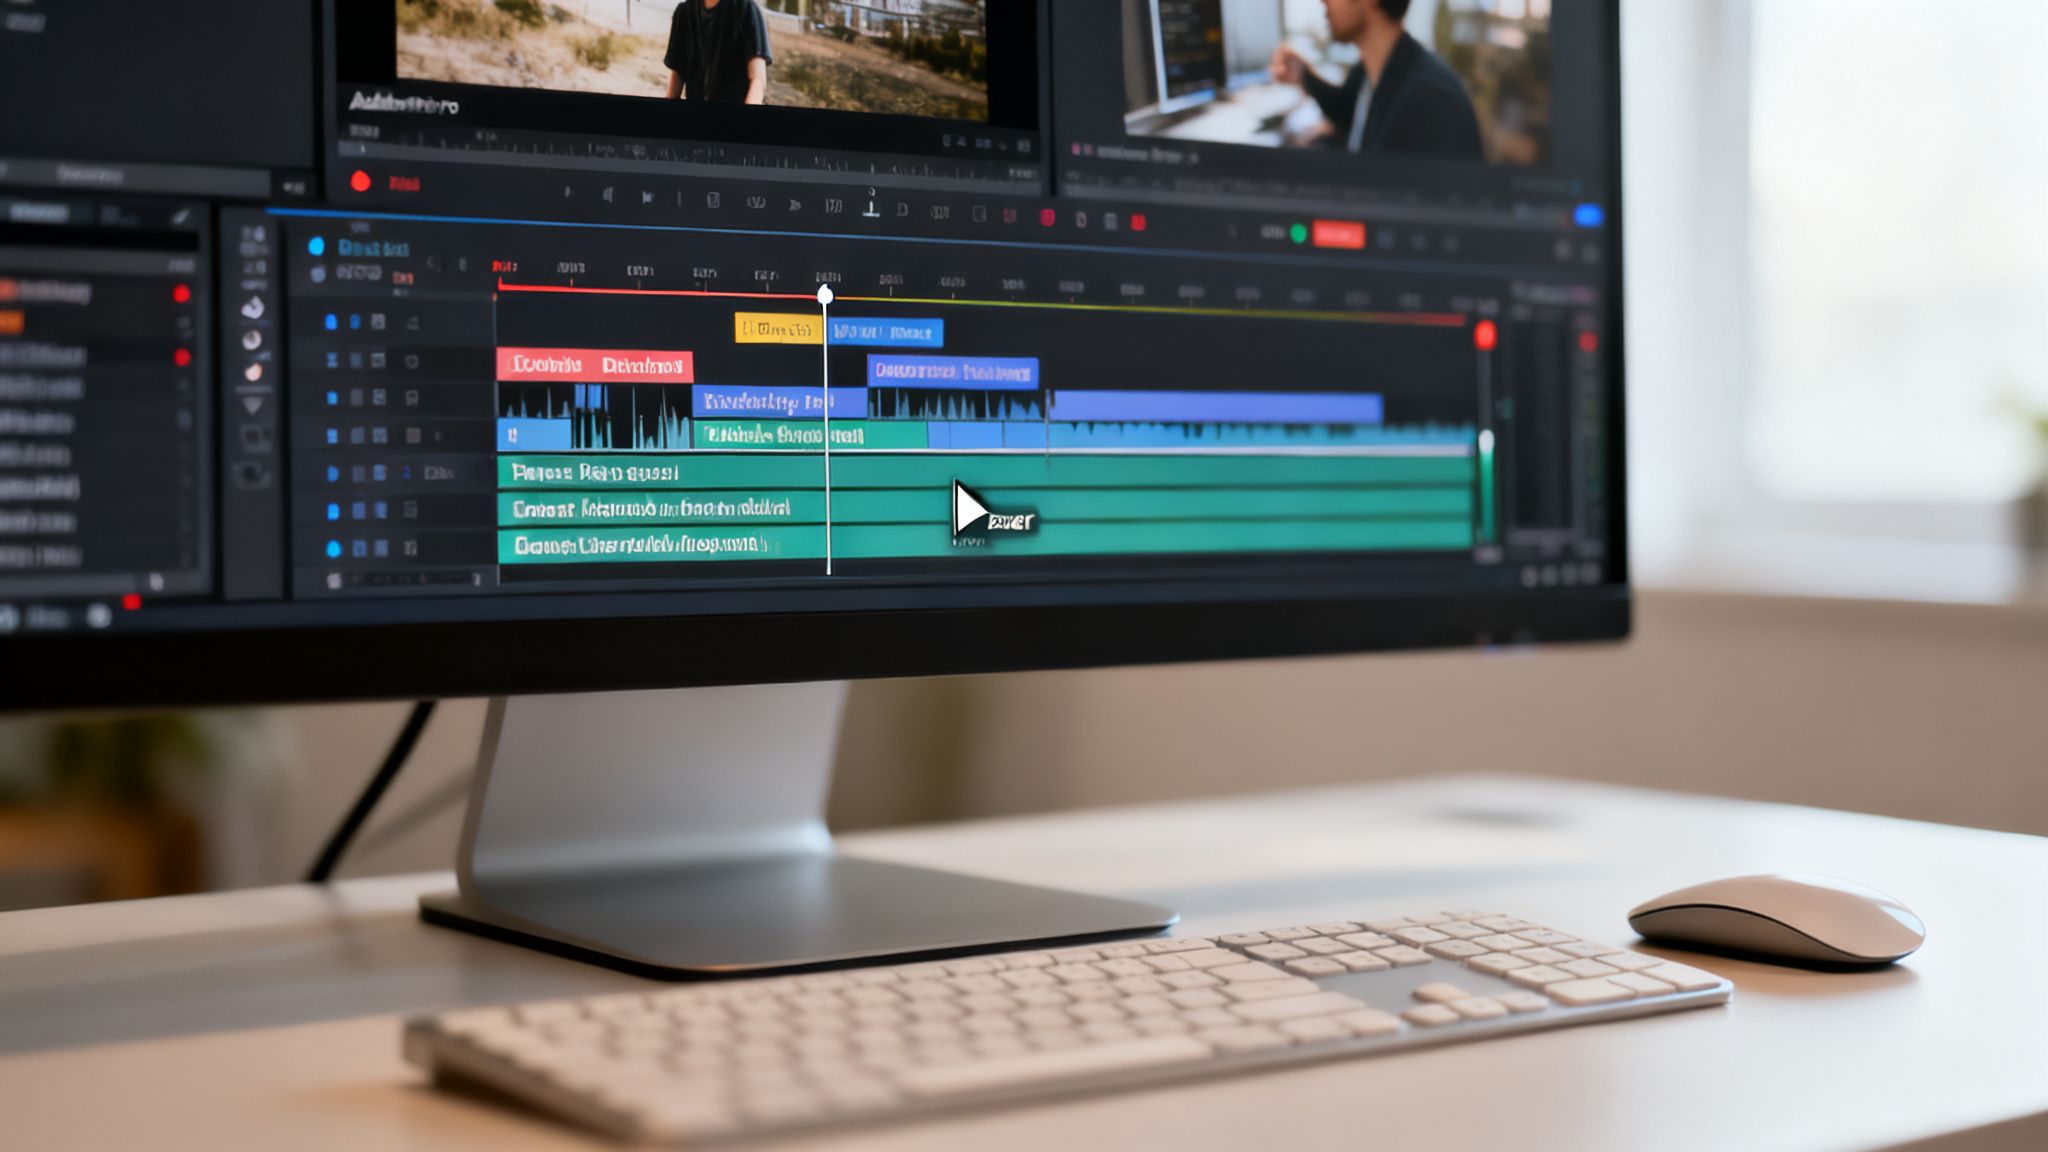
Finding Your Tools in the Effects Panel
Premiere Pro's Effects panel is your creative sandbox. You'll usually find it tucked in the same window as your Project panel. Inside, you’ll find everything neatly organised: video transitions, video effects, and audio effects.
Applying an effect is as simple as dragging it onto a clip. From there, all the magic happens in the Effect Controls panel. This is where you dial in the parameters and fine-tune every detail to get the exact look you're after.
Bringing Your Shots to Life with Keyframing
Static shots can feel a bit flat. Keyframing is the secret to adding dynamic movement and making your project feel more alive. In the Effect Controls panel, almost every property—from Scale and Position to Rotation and Opacity—has a little stopwatch icon next to it.
Click that stopwatch, and you’ve set your first keyframe, which essentially locks in that property's value at that specific point in time. Move your playhead down the timeline, change the value, and Premiere Pro automatically adds a second keyframe, creating a smooth animation between the two points.
For instance, want to add a slow, subtle push-in on an interview subject? Just keyframe the Scale property. Start with the scale at 100 at the beginning of the clip, then set it to 105 at the end. It's a simple trick that adds a ton of energy and helps keep your viewer engaged.
Mastering Colour with the Lumetri Color Panel
Colour is arguably one of the most powerful storytelling tools you have. Premiere Pro’s Lumetri Color panel is your all-in-one command centre for everything colour-related, and it's so robust that it's a huge reason why the software is an industry standard.
Its tight integration into the Creative Cloud ecosystem has helped drive its adoption in places like Denmark, where it commands a 14.81% market share in the video editing space. It's a favourite in both marketing (7%) and higher education (7%), proving its versatility. You can dig into more stats about Adobe Premiere's market position on enlyft.com.
Your colour workflow should always start with correction. This is the technical step where you balance your footage—adjusting exposure, white balance, and contrast to create a clean, neutral baseline.
Think of colour correction as prepping a canvas before you paint. You need a clean, balanced base before you can start making creative artistic choices.
Once your shots are corrected and consistent, you can move on to grading. This is the creative part where you craft a specific "look" or "mood." Want a warm, nostalgic feel? Push the midtones toward yellow and red. Going for a cold, dramatic vibe? Desaturate the image and cool down the shadows. The Lumetri panel's Curves, Colour Wheels, and HSL Secondaries give you all the control you need.
To make sure your adjustments are accurate, you need to rely on Lumetri Scopes. Your monitor might not be perfectly calibrated, but these scopes provide objective, graphical data about your video's colour and luminance.
Each scope tells you something different, from colour saturation (Vectorscope) to brightness levels (Waveform), ensuring your grade is technically sound, not just subjectively pleasing.
The Power of Adjustment Layers
So you've spent ten minutes perfecting the colour grade on one clip. Now you have to apply it to a dozen more. Don't waste time copying and pasting attributes. This is where Adjustment Layers come in.
It's a simple but game-changing workflow. Just create a new Adjustment Layer (File > New > Adjustment Layer) and place it on the video track above your clips. Now, any effect or colour grade you apply to this layer will affect all the clips underneath it. It's a non-destructive way to maintain a consistent look across a scene or an entire project, allowing you to make one global change that updates everything instantly.
Finalizing Your Export and Streamlining Team Review
Your edit is picture-locked, the sound is mixed, and the colour grade feels just right. Awesome. But the job isn’t finished until the video is out in the world, and that means navigating the export process.
This final step can feel like a technical minefield, but it’s where you translate all that hard work into a real file.
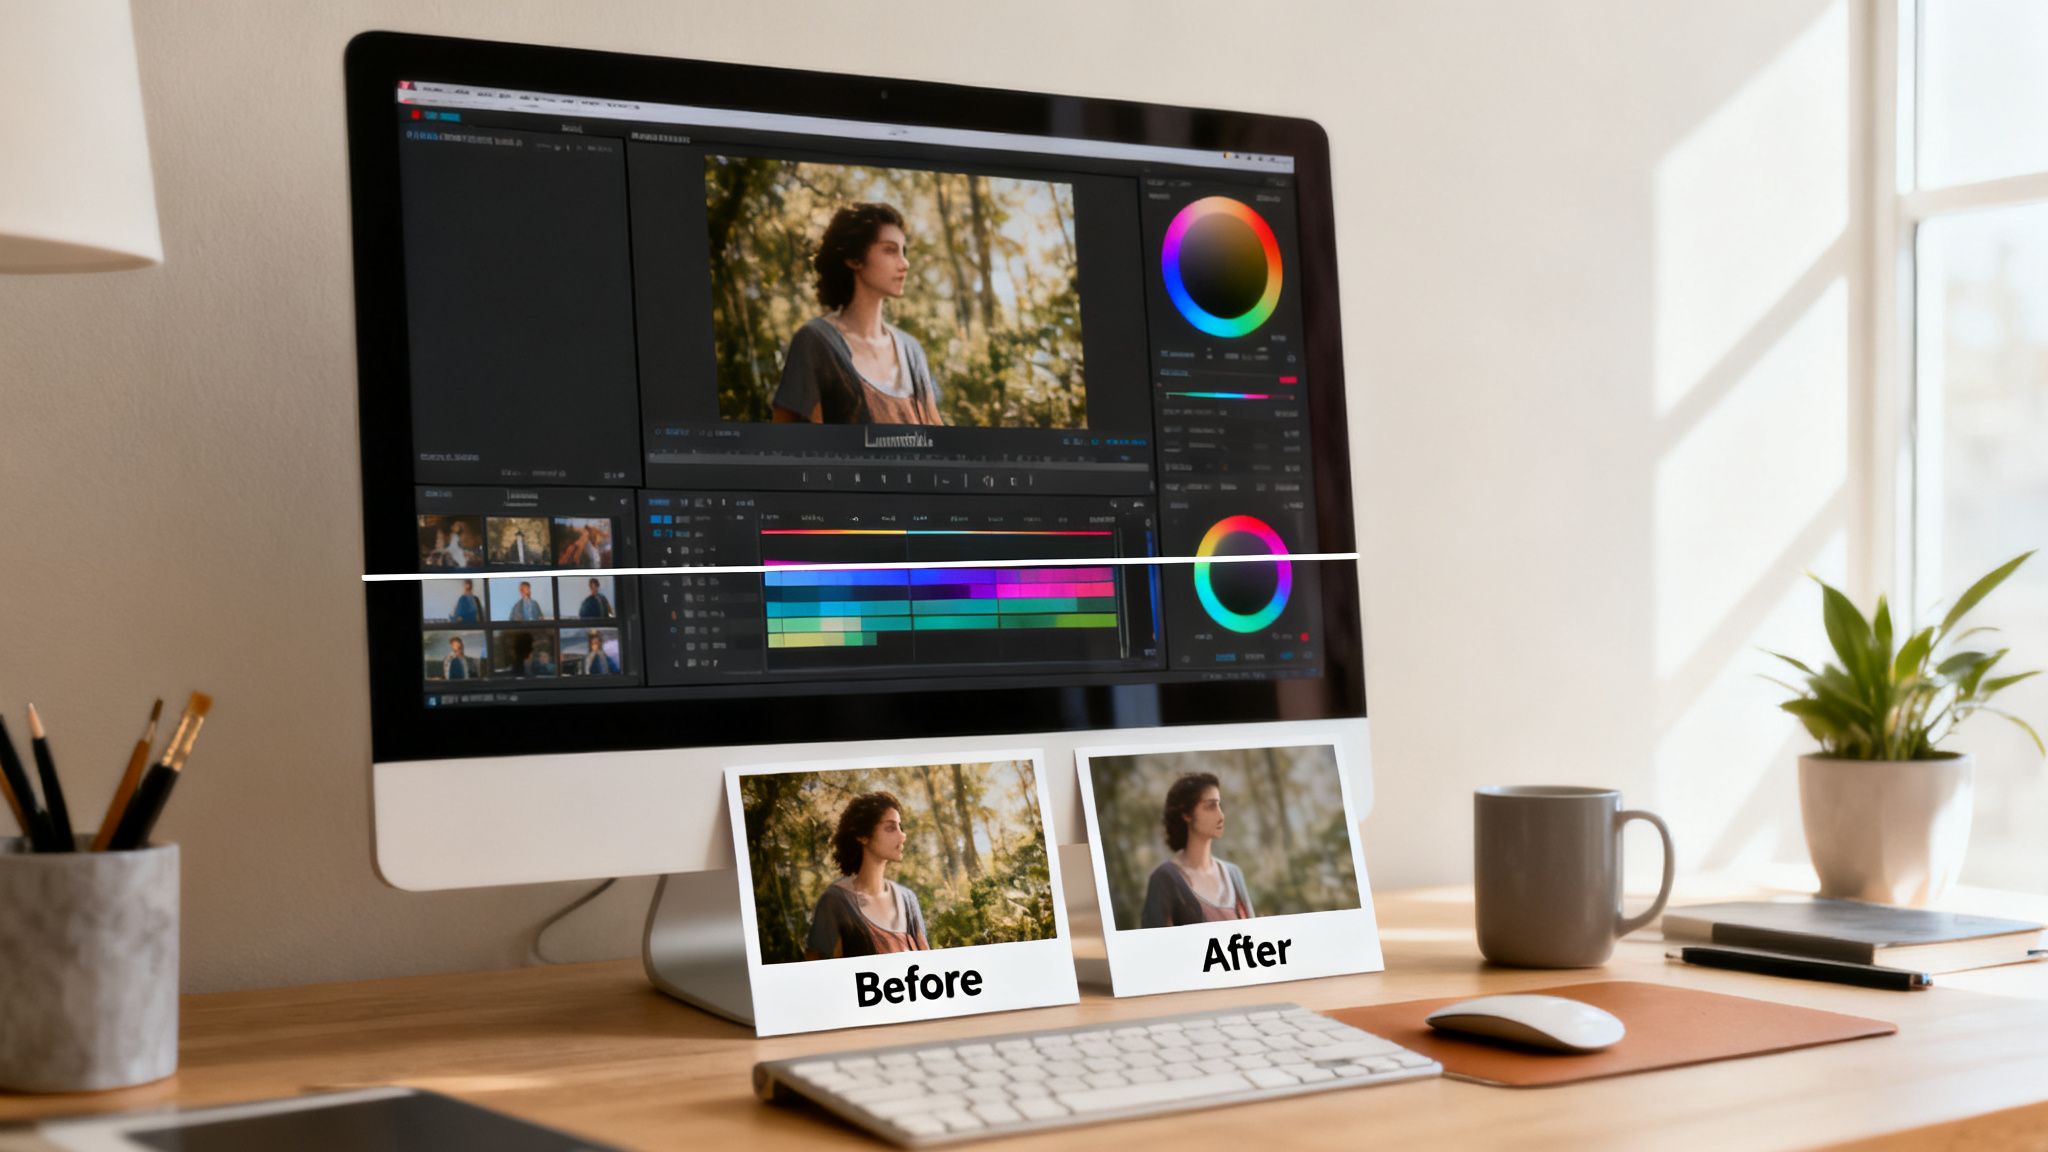
Hitting "Export" is more than a final click; it's about making smart choices to ensure your video looks as good on YouTube as it does in your Program Monitor. For professional teams, getting this right is non-negotiable for maintaining quality and consistency.
Demystifying Core Export Concepts
To get the best results, you need to understand three key terms: container, codec, and bitrate. Think of it like a shipping delivery.
- Container (.MP4, .MOV): This is the box the video comes in. It doesn’t really affect quality, but it dictates where the file can be played. An .MP4 is the universal standard, compatible with just about everything.
- Codec (H.264, ProRes): This is how your video is packed inside the box. H.264 is a super-compressed codec, making it perfect for web streaming where small file sizes are king. ProRes, on the other hand, is much less compressed and is the go-to for mastering or when the file needs more editing.
- Bitrate (Mbps): This is all about data. It determines how much data is used per second of video. A higher bitrate gives you better quality but a much larger file. A lower bitrate shrinks the file size but can introduce nasty visual artefacts if you push it too far.
Getting a handle on these concepts is a fundamental skill. It’s no surprise that in Denmark's creative sector, Premiere Pro is so widely adopted—teams need this level of control. Data shows the software is used by 62% of small businesses here, with a strong presence in Media Production and IT Services where mastering exports is critical for professional output.
Go-To Export Settings for Common Platforms
Every project has its own needs, but you don't have to reinvent the wheel every single time. Premiere Pro’s Export window (Ctrl/Cmd + M) is loaded with excellent presets to get you most of the way there.
For most online platforms, these settings are a fantastic starting point:
| Platform | Recommended Preset | Key Consideration |
|---|---|---|
| YouTube | YouTube 1080p Full HD | This preset nails the H.264 codec and variable bitrate (VBR) that plays nicely with YouTube's own compression. |
| Instagram/TikTok | Match Source - Adaptive High Bitrate | For vertical video, just make sure your sequence is set to a 9:16 aspect ratio. The high bitrate keeps things looking sharp. |
| Vimeo | Vimeo 1080p Full HD | Similar to YouTube's preset, but Vimeo often handles slightly higher bitrates, giving you a bit more fidelity. |
| Master File | Apple ProRes 422 HQ | When you need a high-quality archive or a file to hand off to another editor, ProRes is the undisputed industry standard. |
Once your edit is polished, the next step is getting it out there for review or publishing. Using a platform where you can easily upload your finalized videos can make your team's feedback loop way more efficient.
Always export a high-quality master file (like a ProRes version) for your archives before you create the compressed versions for the web. You can never go back and add quality that wasn't there to begin with.
Integrating Exports into a Team Workflow with Virtuall
For creative studios, exporting is just one piece of a much larger puzzle involving review, approvals, and asset management. This is where a system like our VirtuallPRO platform becomes essential to keep things organised.
Instead of messy email chains and confusing cloud folders, you can build a proper workflow.
Once your final versions are exported from Premiere Pro, upload them directly into your VirtuallPRO campaign library. From there, you can manage versions, share them with stakeholders, and use annotation tools to get precise, frame-accurate feedback. No more guessing which version everyone is talking about.
This is also where your workflow comes full circle. Maybe the client needs a new title card or a background graphic. Using Nyx—our AI Art Director inside VirtuallPRO—you can generate on-brand visuals in seconds, download them, and drop them right back into your Premiere Pro project. This tight integration means even last-minute changes stay on-brand, speeding up your entire timeline. And if you ever hit a snag with file formats, our guide on how to convert MOV to MP4 can be a lifesaver.
Common Premiere Pro Questions Answered
No matter how many hours you log in the timeline, questions always pop up. Sometimes it's a frustrating bug, other times it's that nagging feeling there has to be a faster way to do something.
This is your go-to guide for those moments. We’ve rounded up the most common questions we hear from creative teams and laid out clear, practical answers to get you unstuck and back to editing.
Why Is My Premiere Pro Playback So Laggy?
Choppy, stuttering playback is the number one killer of creative flow. When you hit the spacebar and your Program Monitor can’t keep up, it’s almost always because your computer is choking on compressed, high-resolution media.
The best long-term fix is to build proxies. Think of them as low-res stand-ins for your massive 4K or 8K source files. You edit with the small, nimble proxy files, which even a laptop can handle smoothly. When you’re ready to export, Premiere Pro automatically switches back to the original high-quality files for a perfect final render.
Need a quick fix right now? Look at your Program Monitor and drop the Playback Resolution from Full down to 1/2 or 1/4. This won't affect your final export quality at all, but it can make a massive difference to your real-time performance.
How Do I Keep My Project Files Organised?
A messy project isn't just a headache—it’s a direct path to slow performance, lost files, and team confusion. The single most important habit for any professional editor is a rock-solid folder and bin structure, set up before a single clip is imported.
A few non-negotiable rules we live by:
- Mirror Your Drive Structure: The bin layout inside your Premiere project should perfectly match the folder structure on your shared drive. No exceptions.
- Use Numbered Prefixes: Force a logical order by naming top-level bins like
01_Footage,02_Audio,03_Graphics, and so on. It keeps things predictable for everyone. - Create a Project Template: Build one perfectly organised, empty project file. Save it, and start every single new job from this template. Consistency is everything.
Organisation is a discipline, not an option. A well-organised project is the fastest way to improve team efficiency and reduce errors. It's a non-negotiable part of professional video editing.
What Is the Difference Between Nesting and Grouping?
Both of these features clean up a busy timeline, but they do completely different jobs. Knowing when to use each one is key to an efficient workflow.
Grouping is simple. It just links clips together so they move as one. Select a video clip and its corresponding audio, right-click, and hit Group. Now you can’t accidentally knock them out of sync. It’s purely for organisation on the timeline.
Nesting, however, is far more powerful. It takes a bunch of clips, collapses them into a brand new sequence, and then places that sequence back on your main timeline as a single clip. You should nest when you want to apply one effect—like a colour grade or a scale adjustment—to a whole series of shots at once.
Can I Recover an Unsaved Project?
We’ve all been there. A sudden crash or a mistaken click, and hours of work seem to vanish. Luckily, Premiere Pro has your back with its Auto Save feature.
By default, Premiere saves a backup copy of your project every 15 minutes. These backups live in a folder called "Adobe Premiere Pro Auto-Save," which you'll find right next to your main project file.
If disaster strikes, just navigate to that folder, find the most recent timestamped project file, and open it. The first thing you should do is Save As to make it the new master version. You might lose a few minutes of work, but it’s a world away from starting from scratch.
Ready to move beyond disconnected tools and bring true orchestration to your creative pipeline? Virtuall provides the intelligence and control needed to run AI-powered creative production at scale. See how our Creative AI OS can transform your workflow at https://virtuall.pro.